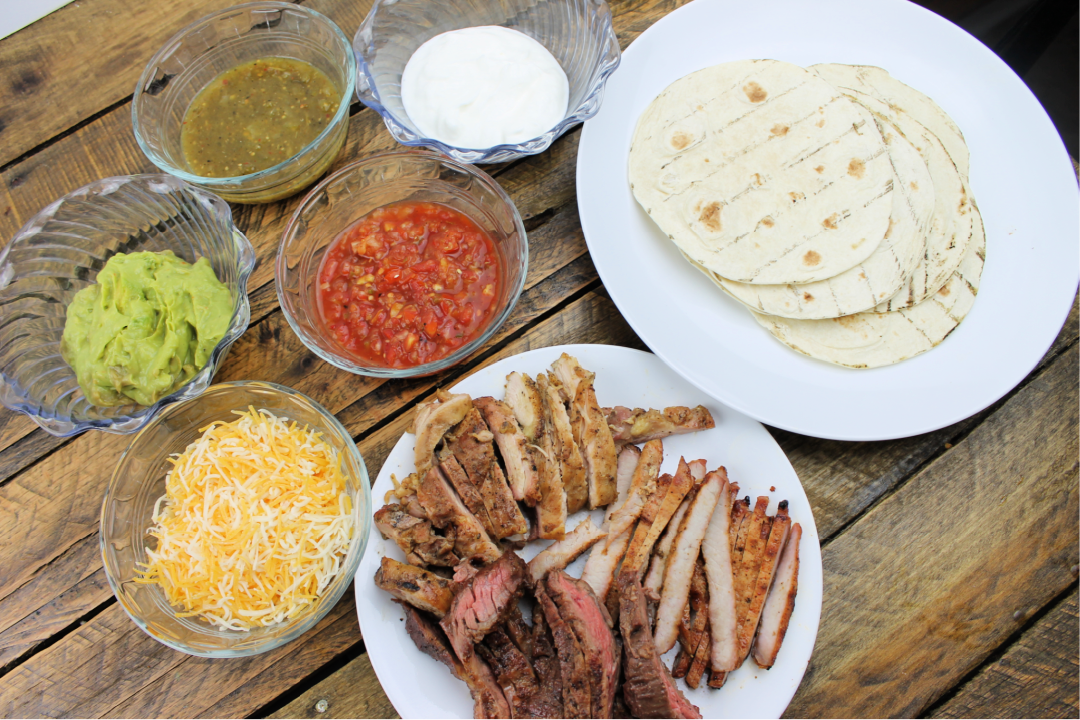
Enjoy these Chicken, Pork, and Beef Fajitas fresh off of the grill this summer! Create a fajita bar and serve your favorite sides to go with these tasty fajitas!
Sometimes as a man, I just want to fire up the grill and cook some delicious meats. Nothing fancy, just protein, fire, spices, and of course a rocking chair and a cold beer!
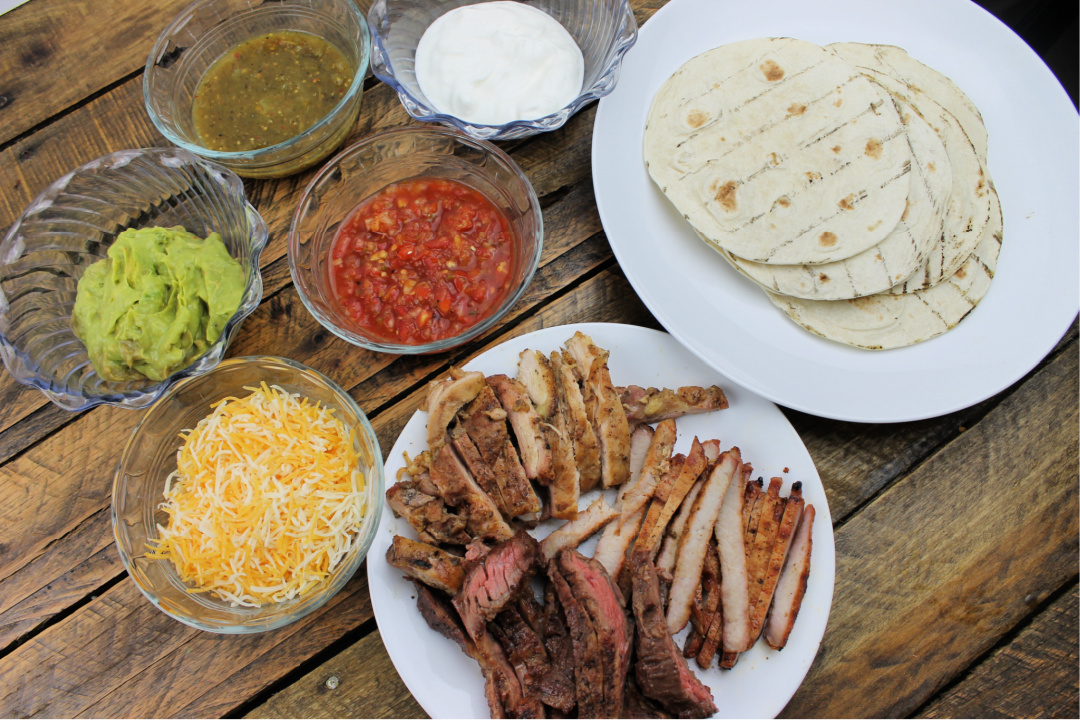
Fajitas are a great excuse for enjoying an easy and fun cooking experience, and they also feed a lot of people. Additionally, besides the grilled meats, fajitas are super easy because you can use pre made salsa, shredded cheese, sour cream, and guacamole to add to your fajita.
You can use either a charcoal or propane grill, but if you use a charcoal grill like I did, wait until the coals are white. Lots of folks think that this is when the fire is starting to die, but the truth is that this stage of the charcoal fire burns the most steady and consistent.
Too often, folks think that when there are orange flames and black coals then that’s the best time to grill your meat. That’s just not the case! Remember flames burn, and I don’t want to eat charred black meat. So wait a few minutes, and let the flames die before putting your meat on the grill.
For the meat prep, I also kept it very simple. I added 2 tsp each of table salt, black pepper, garlic powder, and onion powder to an empty black pepper shaker. That’s it! I used 4 spices, mixed them well, put them in an old shaker, and then dusted skirt steak, pork chops, and boneless skinless chicken thighs.
Once I seasoned the meat, I covered them and put them in the fridge to marinate for an hour. Once the fire in the grill was ready, I took each of the meats out of the fridge and let them cook while I sat on the porch, listened to music, and drank cold beer.
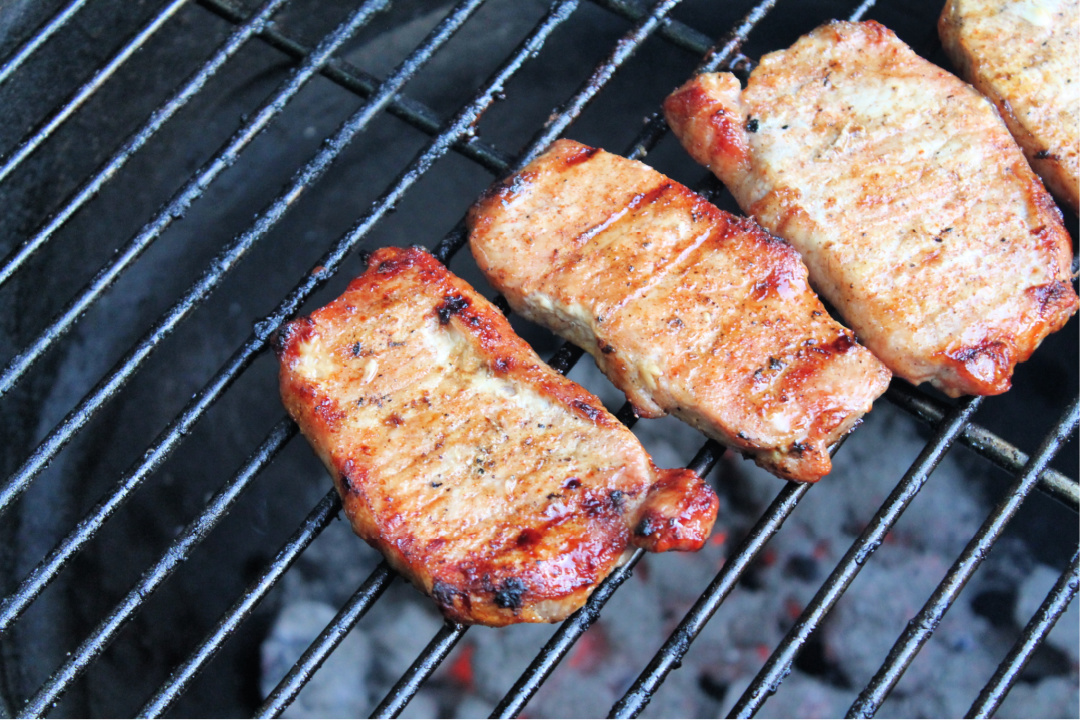
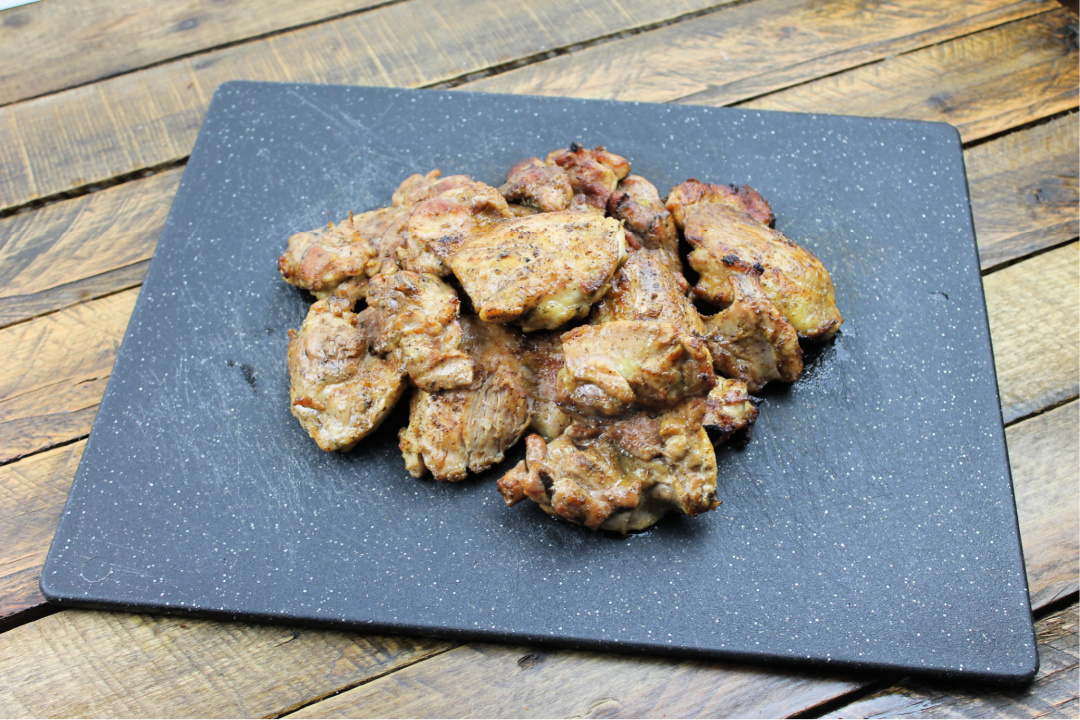
The size and type of meat determined how often I checked it and flipped it. For the small pork chops, I only cooked them for about 4-5 minutes per side over a hot grill. They were cut thin, and they were cooked through quickly.
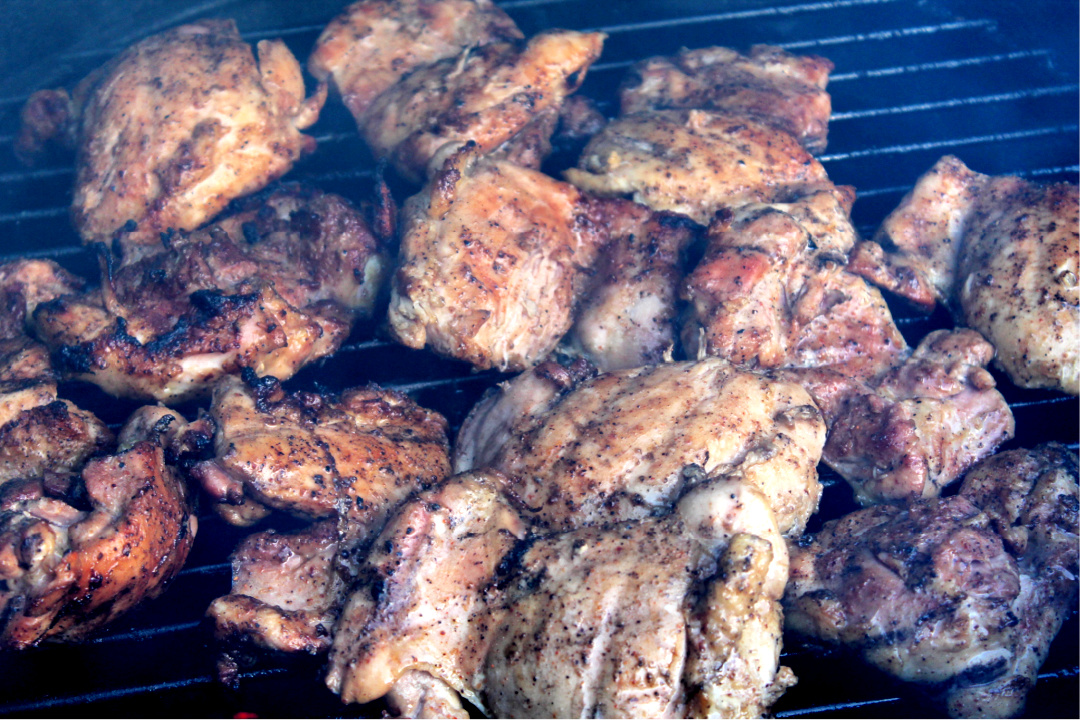
The same with the chicken, however there were more pieces of chicken and the chicken didn’t have the same consistency of cuts as a pork chop does.
The chicken might take 12-15 minutes depending on the size of the chicken and the temperature of the grill.
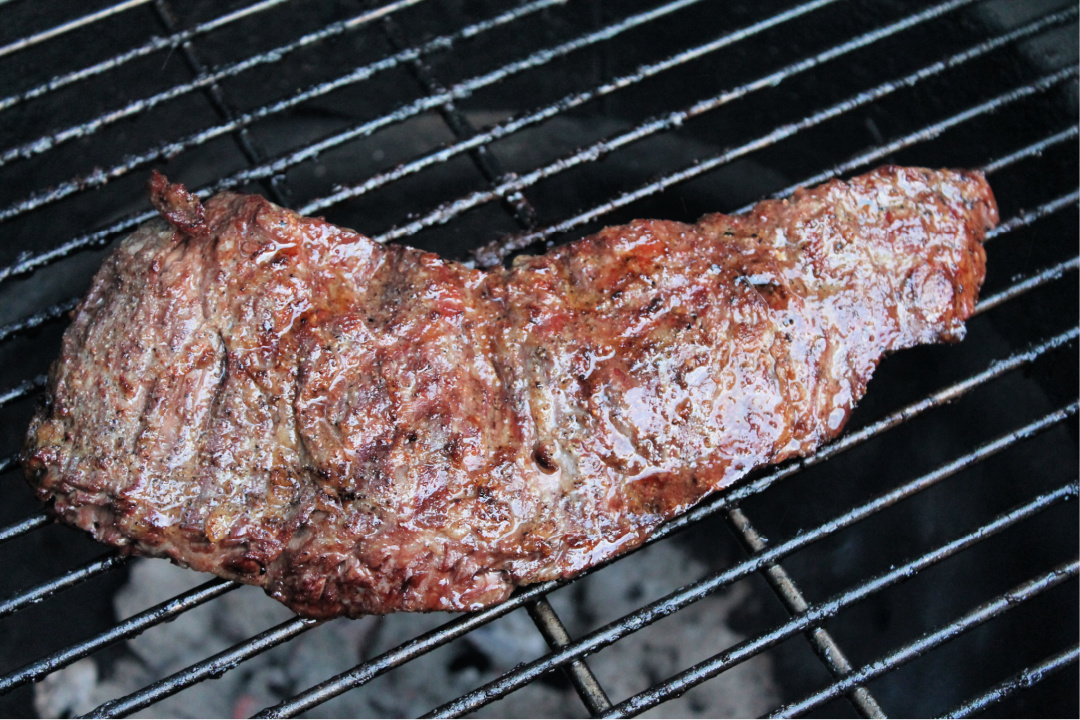
Finally, for a large skirt steak, it will take at least 20 minutes. It might even take longer if you have a guest that wants ZERO pink in the middle of their steak fajitas.
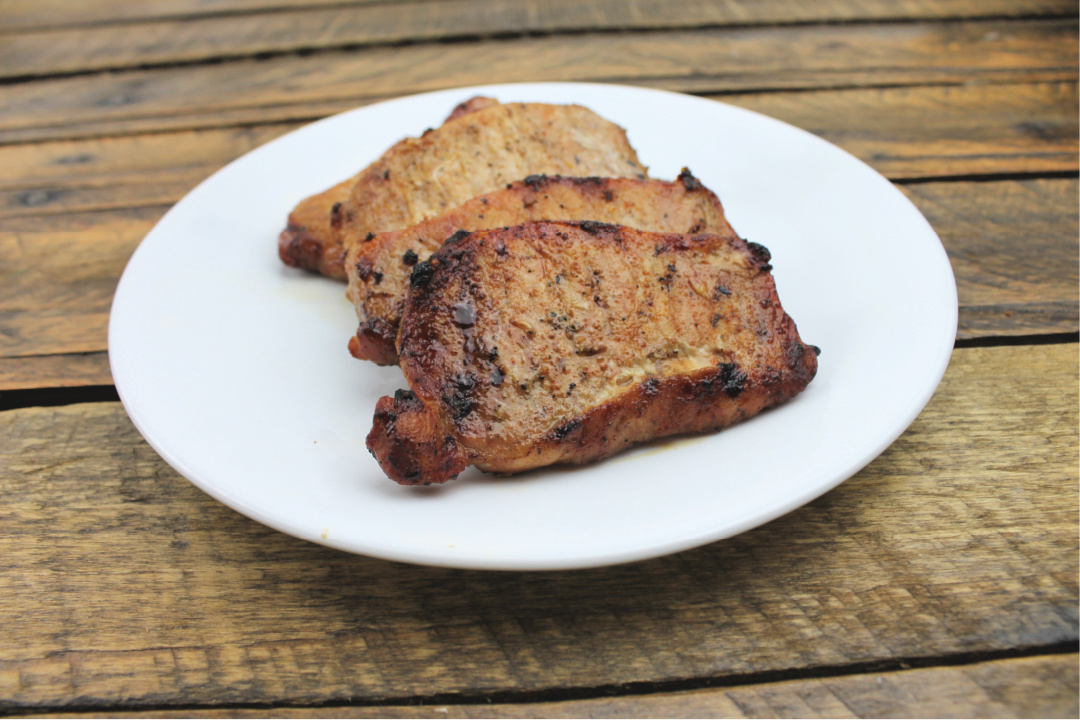
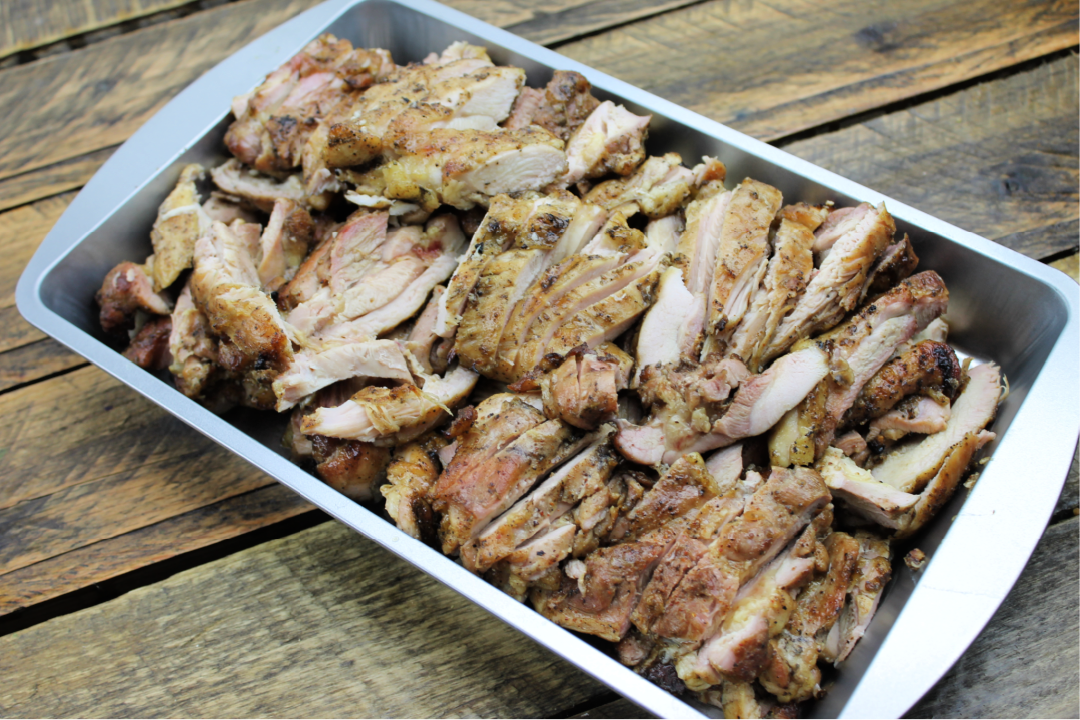
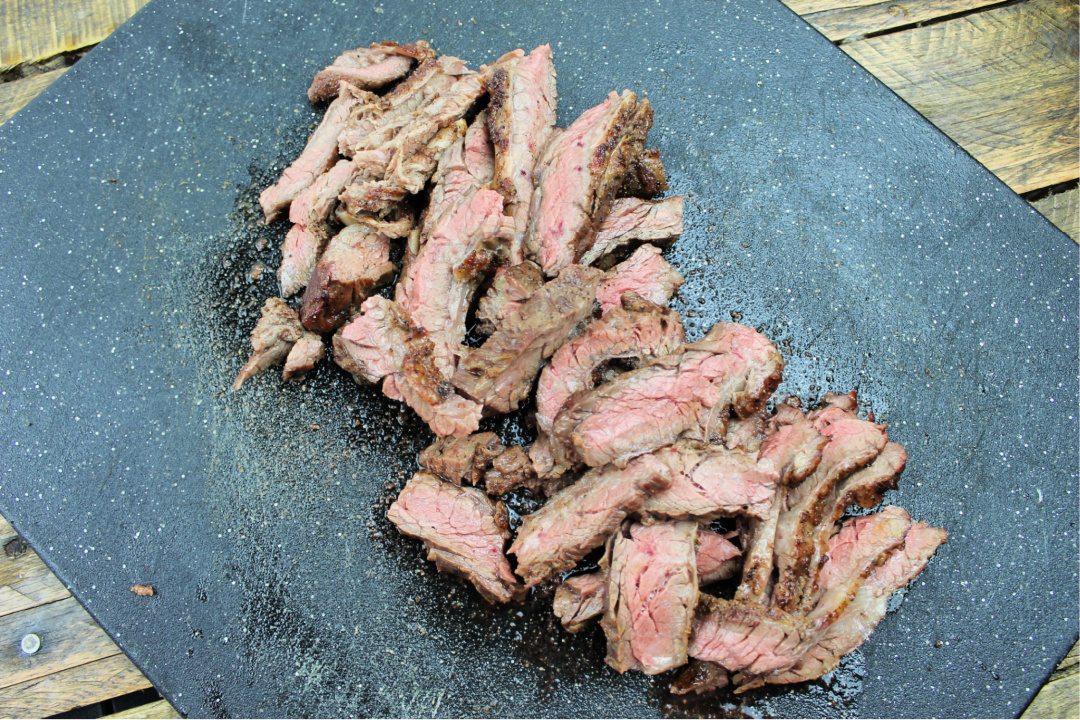
Once the meat is done, let it rest. Trust me, the meat is still hot and still cooking even after taking it off the grill. Let the meat rest for at least 5 minutes.
Once you’ve let the meat rest, then slice it up! Next, you can set up your side items to include cheese, sour cream, guacamole, etc.
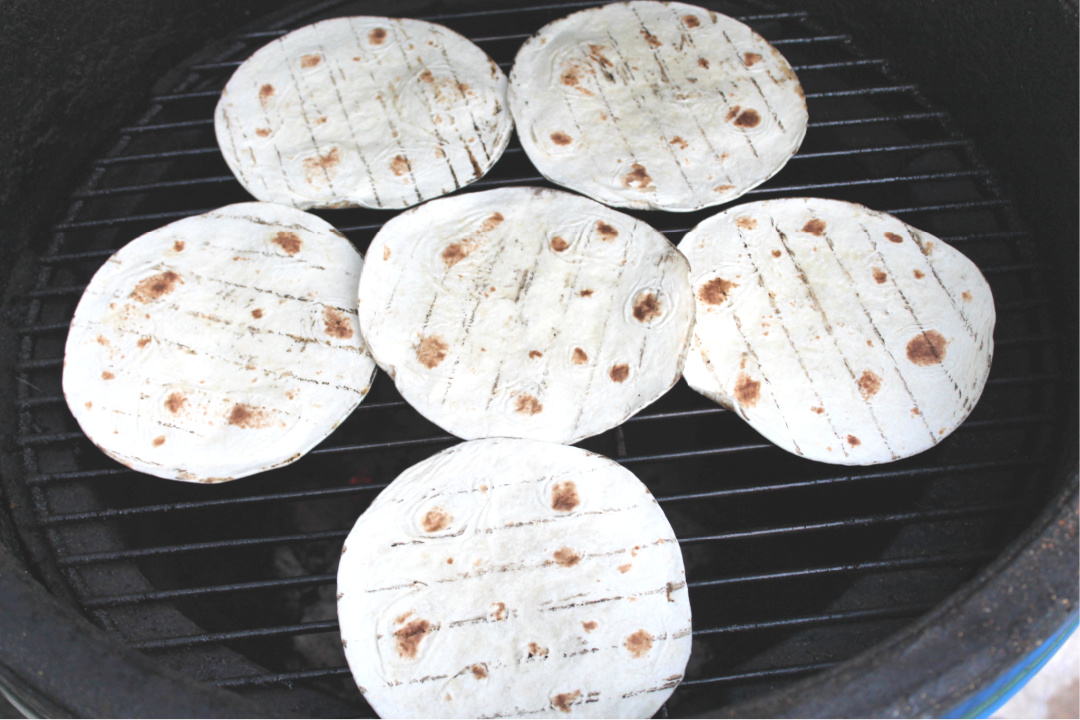
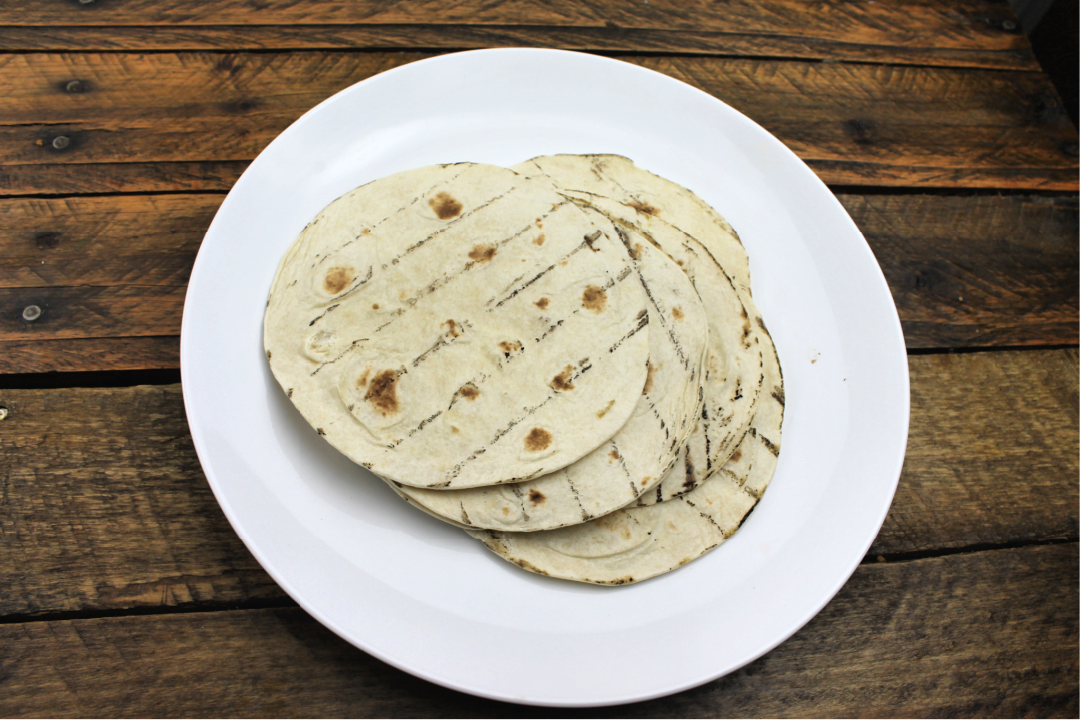
Finally, take some tortillas and let them warm up on the grill for 1-2 minutes for each side of the tortilla. Enjoy!
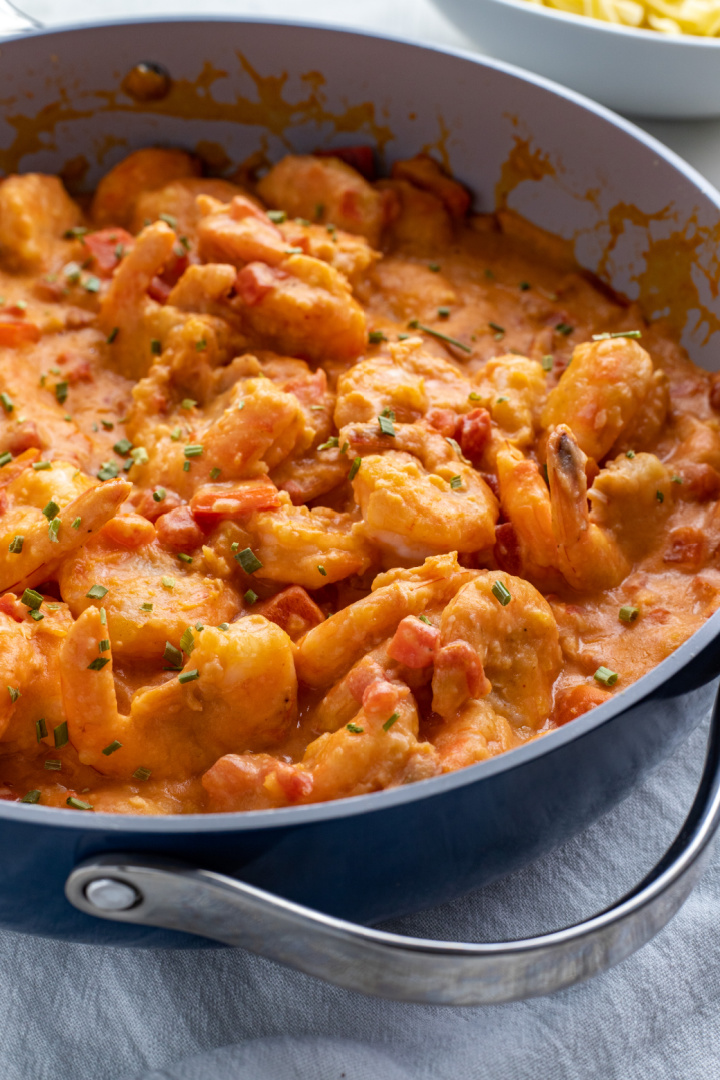
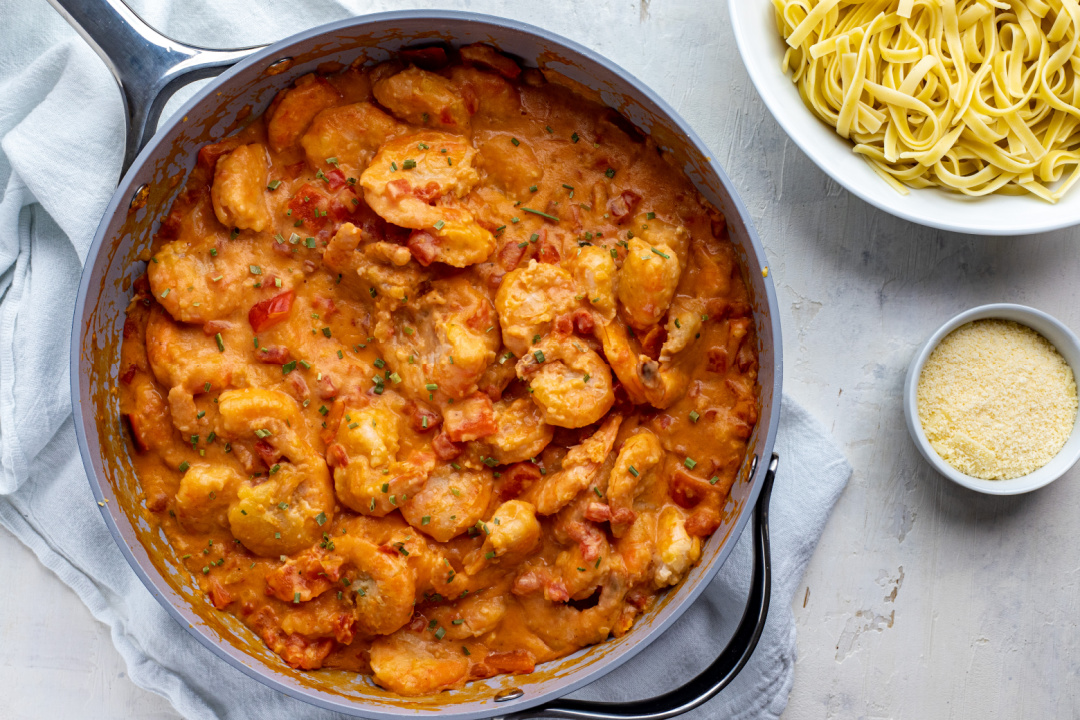
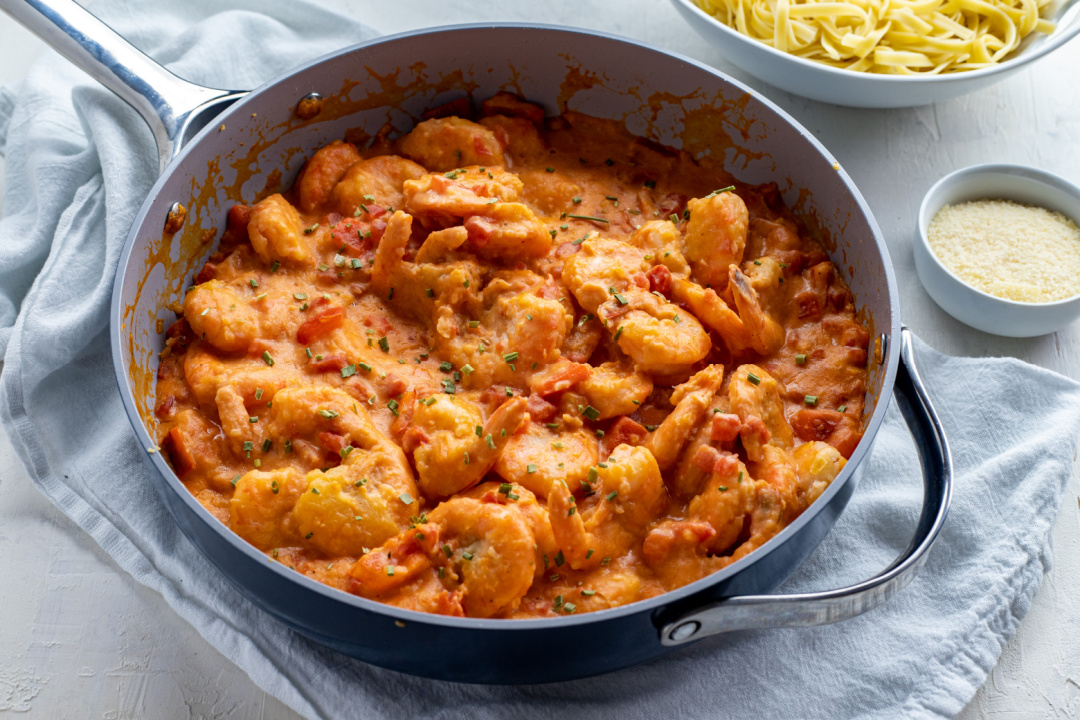
Combine shrimp and pasta to create this delicious Creamy Shrimp Pasta recipe for dinner this week!
If you’re in the mood for a dish that combines rich, creamy flavors with a bit of a Southern kick, this Creamy Shrimp Pasta is calling your name.
This recipe has all the hallmarks of a satisfying Southern meal—simple, hearty, and packed with bold flavors that remind you of home.
Whether you’re a seasoned cook or just starting, this dish is straightforward to prepare, making it perfect for a weeknight dinner when you want something special but don’t have hours to spend in the kitchen.
Well, for one, it’s a fantastic way to enjoy seafood in a way that feels indulgent without being too heavy.
The Cajun seasoning adds a subtle heat that pairs perfectly with the creamy sauce, making each bite a delightful blend of spice and comfort.
Plus, shrimp is a great source of protein and cooks up quickly, so you’ll have dinner on the table in no time.
This dish is perfect for those evenings when you want to treat yourself or your family to something a little more special.
It’s versatile enough to serve for a casual family dinner or even when you have guests over.
Pair it with a side of crusty garlic bread to soak up that delicious sauce, and maybe a simple green salad to keep things light.
A glass of chilled white wine wouldn’t hurt either—it’s all about balance, right?
This Creamy Shrimp Pasta also travels well, making it a great option for potlucks or bringing along to a friend’s house.
You can easily reheat it without losing any of its creamy texture or robust flavor.
So next time you’re wondering what to make for dinner, give this recipe a try.
It’s got all the comfort of a Southern meal with a touch of elegance that’ll make it a go-to in your kitchen.
Plus, it’s so delicious, you might just find yourself making it again and again.
Creamy Shrimp Pasta
Ingredients:
6 oz. whole grain linguine
1 cup all-purpose flour
1 1/2 tsp. Cajun seasoning
1 lb. large shrimp (peeled and deveined)
2 tbsp. canola oil (divided)
1 cup red bell pepper (chopped)
3/8 tsp. cayenne pepper
5 cloves garlic (minced)
3/4 tsp. kosher salt
2 bay leaves
1 can diced tomatoes (undrained)
1/2 cup half-and-half
1 green onion (sliced)
1 cup parmesan cheese
Directions:
Cook pasta according to package directions.
Drain in a colander over a bowl, reserving 1/3 cup pasta cooking liquid.
Heat a large skillet over medium-high heat.
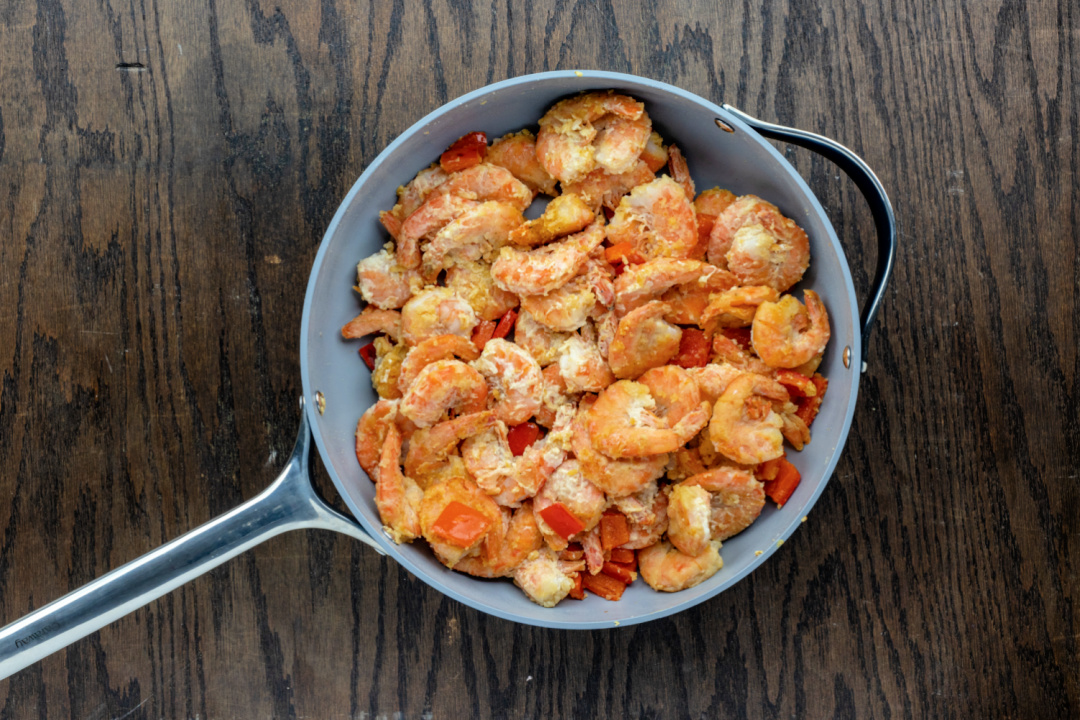
Combine Cajun seasoning, flour, and shrimp in a medium bowl and toss to coat.
Add 1 tablespoon oil to the pan.
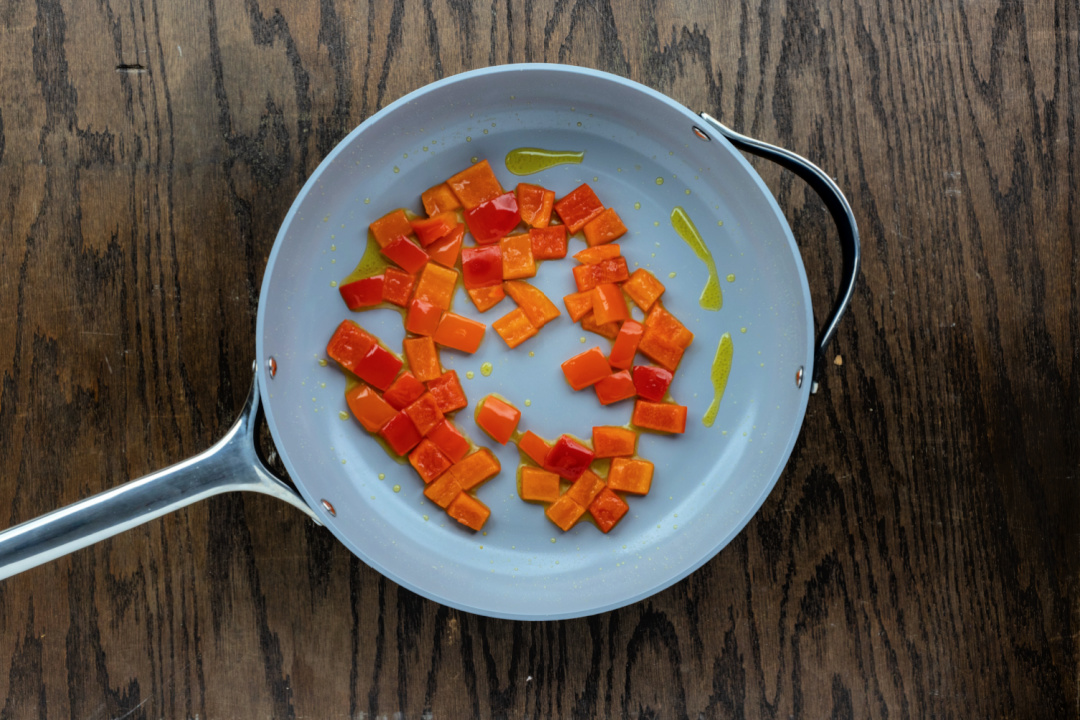
Add the bell pepper to the pan and cook for 2-3 minutes, until crisp-tender.
Add shrimp mixture to the pan and cook 2-3 minutes or until shrimp are done.
Add remaining 1 tablespoon oil to the pan.
Add cayenne pepper and garlic.
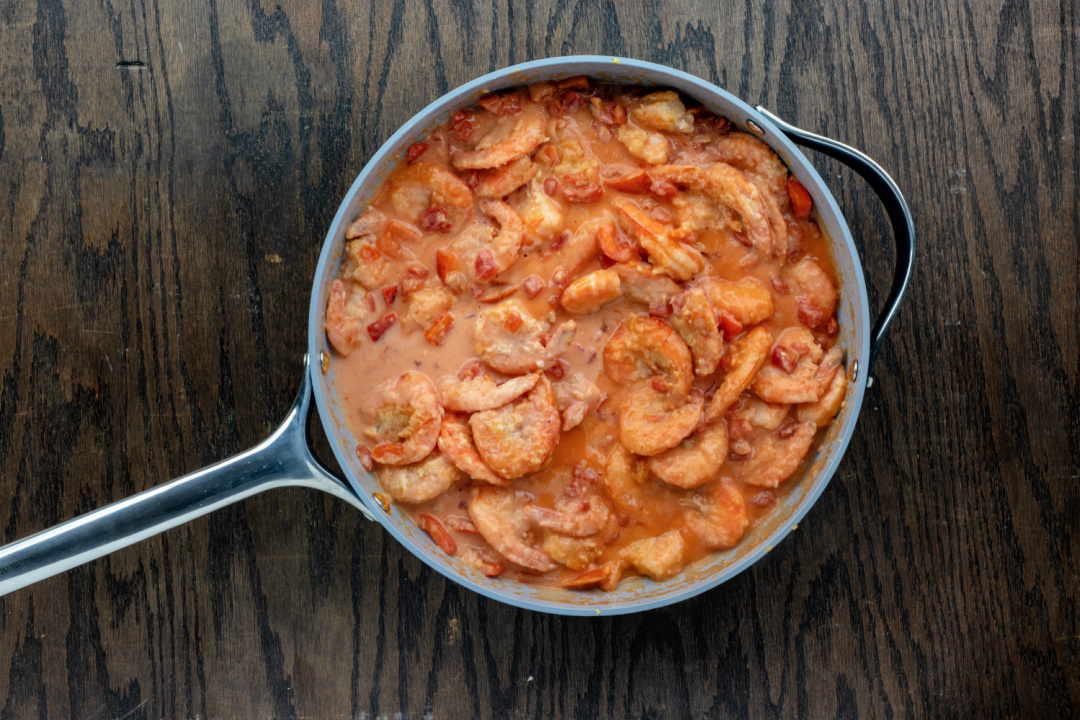
Add reserved 1/3 cup cooking liquid, salt, bay leaves, and tomatoes, bringing it to a boil.
Reduce heat, and simmer 5 minutes or until thickened.
Discard bay leaves.
Stir in half-and-half.
Cook 1 minute over medium heat or until thoroughly heated.
Sprinkle with green pepper and parmesan cheese.
Creamy Shrimp Pasta
Ingredients
6 oz whole-grain linguine
1 cup all-purpose flour
1 1/2 tsp Cajun seasoning
1 lb large shrimp (peeled and deveined)
2 tbsp canola oil (divided)
1 cup red bell pepper (chopped)
3/8 tsp cayenne pepper
5 cloves garlic (minced)
3/4 tsp kosher salt
2 bay leaves
1 can diced tomatoes (undrained)
1/2 cup half-and-half
1 green onion (sliced)
1 cup parmesan cheese
Instructions
Cook pasta according to package directions.
Drain in a colander over a bowl, reserving 1/3 cup pasta cooking liquid.
Heat a large skillet over medium-high heat.
Combine Cajun seasoning, flour, and shrimp in a medium bowl and toss to coat.
Add 1 tablespoon oil to the pan.
Add the bell pepper to the pan and cook for 2-3 minutes, until crisp-tender.
Add shrimp mixture to the pan and cook 2-3 minutes or until shrimp are done.
Add remaining 1 tablespoon oil to the pan,
Add cayenne pepper and garlic.
Add reserved 1/3 cup cooking liquid, salt, bay leaves, and tomatoes, bringing it to a boil.
Reduce heat, and simmer 5 minutes or until thickened.
Discard bay leaves.
Stir in half-and-half.
Cook 1 minute over medium heat or until thoroughly heated.
Sprinkle with green pepper and parmesan cheese.
Frequently Asked Questions
What makes this Creamy Shrimp Pasta recipe Southern?
This recipe combines bold Cajun seasoning with a creamy sauce, which is a hallmark of Southern cooking. The use of fresh shrimp and spices adds that distinct Southern flavor profile that’s both comforting and satisfying.
Can I use a different type of pasta?
While linguine works great for this dish, you can substitute it with other pasta types like fettuccine, penne, or even spaghetti. Just be sure to cook the pasta al dente to hold up well in the creamy sauce.
What can I serve with this Creamy Shrimp Pasta?
This dish pairs wonderfully with a side of crusty garlic bread, a simple green salad, or roasted vegetables. A glass of white wine also complements the flavors nicely.
Is this dish spicy?
The dish has a mild kick from the Cajun seasoning and cayenne pepper, but it’s not overwhelmingly spicy. You can adjust the level of heat by adding more or less cayenne pepper to suit your taste.
Can I make this recipe ahead of time?
Yes, you can prepare the sauce and cook the shrimp ahead of time. When ready to serve, simply cook the pasta and toss everything together. If making in advance, store the sauce and shrimp separately in the refrigerator and reheat gently on the stovetop.
What can I use instead of half-and-half?
If you don’t have half-and-half, you can substitute it with equal parts heavy cream and milk. This will give you the same creamy consistency for the sauce.
Can I add other vegetables to this recipe?
Definitely! Feel free to add vegetables like spinach, mushrooms, or zucchini. Just sauté them along with the bell pepper for extra flavor and nutrition.
Is this recipe gluten-free?
To make this recipe gluten-free, use a gluten-free pasta and substitute the all-purpose flour with a gluten-free flour blend for coating the shrimp. Make sure to check the labels on all other ingredients to ensure they are gluten-free.
How do I store leftovers?
Store any leftovers in an airtight container in the refrigerator for up to 2 days. Reheat gently on the stovetop or in the microwave, adding a splash of water or cream if the sauce needs to loosen up.
Can I use frozen shrimp?
Yes, you can use frozen shrimp, but be sure to thaw them completely before cooking. Pat them dry to remove excess moisture, which will help them cook evenly and prevent the sauce from becoming watery.
For starters, it’s versatile. You can serve it as a side with grilled chicken, steak, or even seafood.
It pairs beautifully with anything from tacos to a classic Southern BBQ spread. Plus, it’s a crowd-pleaser.
The combination of corn and peppers offers a pop of freshness that everyone will love, from kids to adults.
As for when to serve this Fiesta Corn, the answer is just about any time you want to bring a little extra flavor to the table.
It’s great for summer cookouts, but it’s also a wonderful way to brighten up your winter dinners.
Whether it’s a casual family meal or a more festive occasion, this dish fits right in.
And here’s a tip: if you want to make it even heartier, try adding in some black beans or diced jalapeños for an extra kick.
Or, sprinkle some crumbled cotija cheese on top before serving to add a creamy contrast to the corn and peppers.
So, the next time you’re wondering what to serve alongside your main dish, remember this Fiesta Corn.
It’s a simple, flavorful side that’s sure to become a favorite in your recipe rotation.
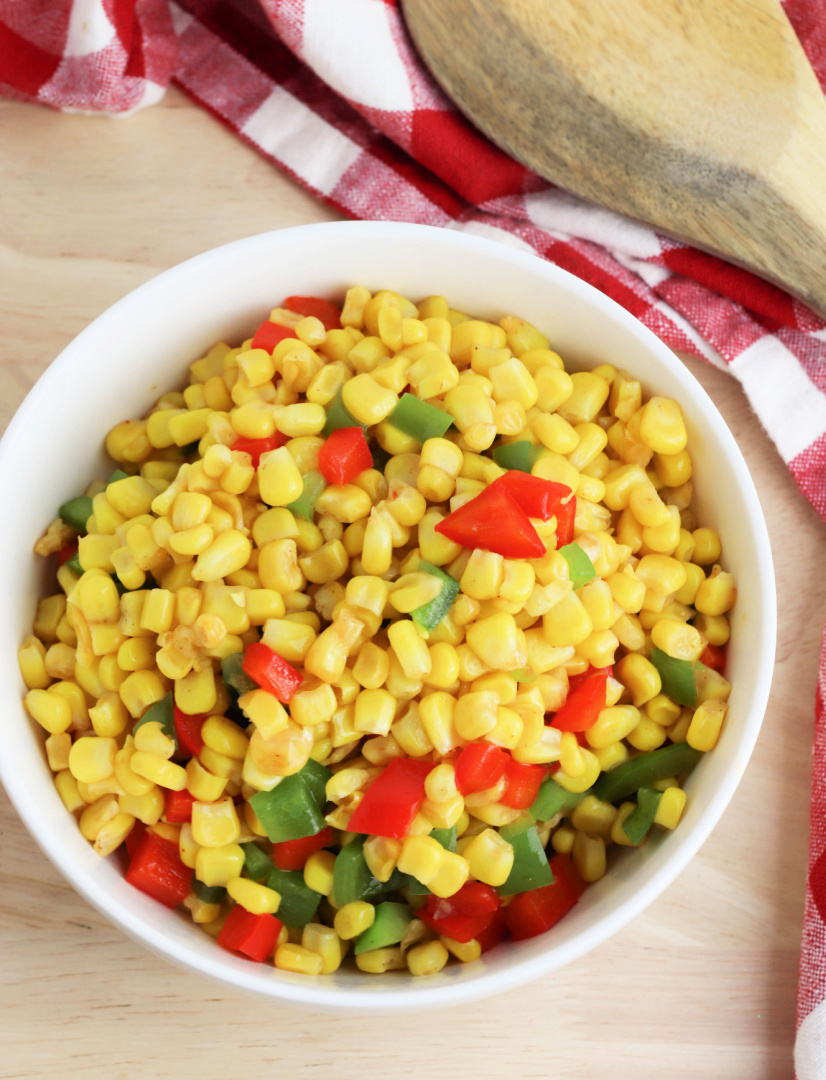
What is Fiesta Corn?
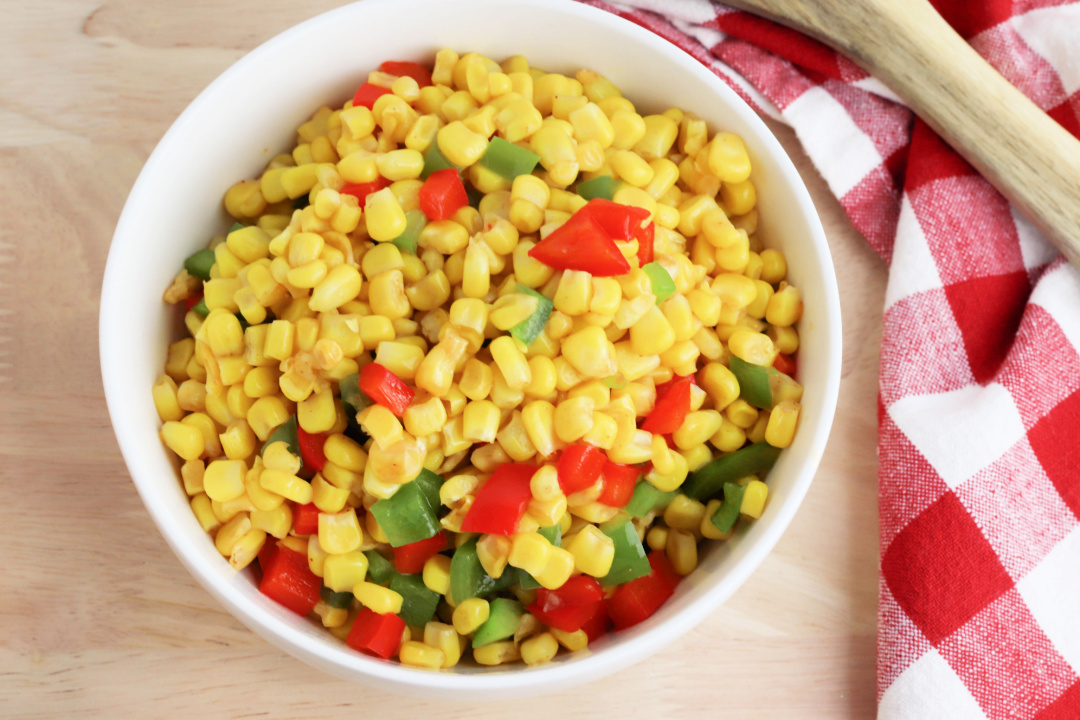
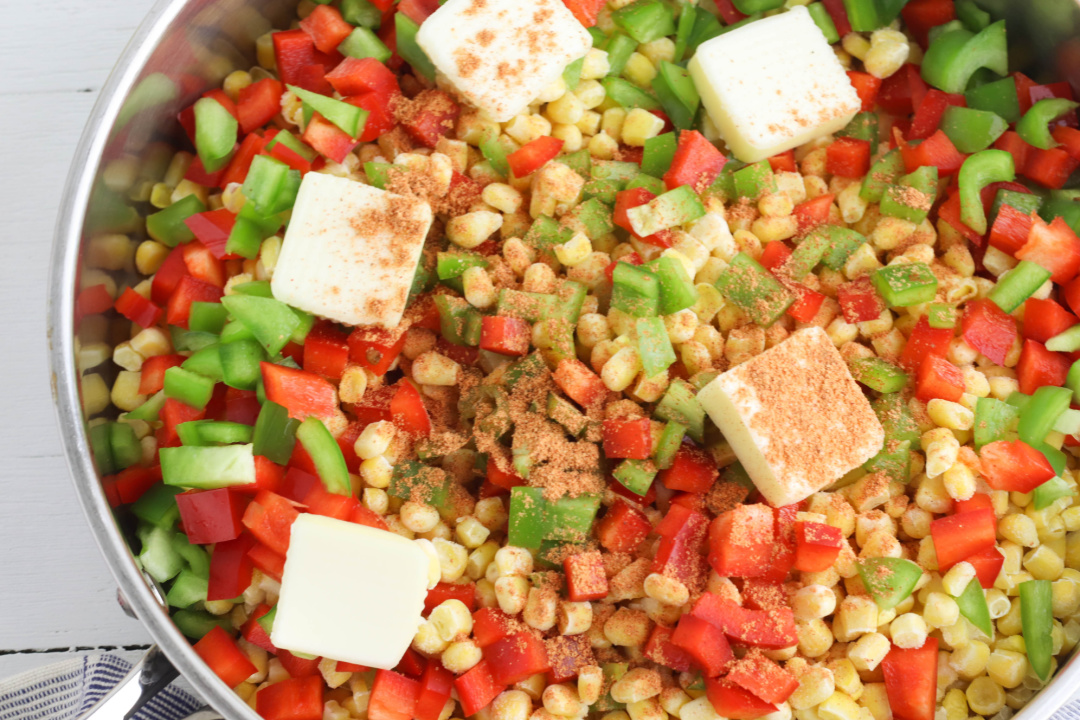
Fiesta Corn (also called mexi-corn) is a bright and flavorful side dish made with red and green bell peppers, plus other seasonings for a zesty kick.
For this recipe, I add taco seasoning, butter, and salt to the corn and bell pepper mix.
Try this simple and tasty recipe soon!
Fiesta Corn
Ingredients:
2 12-ounce packages frozen corn
1 red bell pepper, diced
1 green bell pepper, diced
4 tbsp. butter
1 tsp. salt
1 tbsp. taco seasoning
Directions:
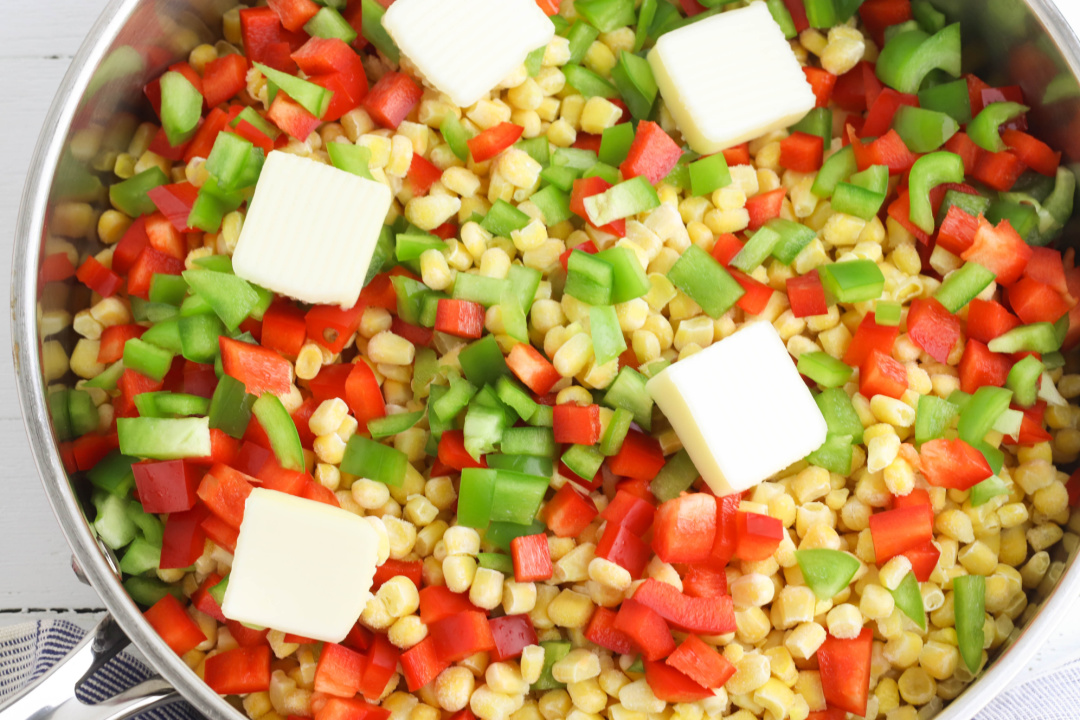
Add the corn, peppers, butter, salt, and taco seasoning to the pan. Stir to combine.
Saute the ingredients over medium heat, stirring constantly, until the corn and peppers are cooked through, around 20 minutes.
Fiesta Corn
Ingredients
2 12-ounce packages frozen corn
1 red bell pepper, diced
1 green bell pepper, diced
4 tablespoons butter
1 teaspoon salt
1 tablespoon taco seasoning
Instructions
1. Add the corn, peppers, butter, salt, and taco seasoning to the pan. Stir to combine.
2. Saute the ingredients over medium heat, stirring constantly, until the corn and peppers are cooked through, around 20 minutes.
Frequently Asked Questions
What is Fiesta Corn?
Fiesta Corn is a flavorful side dish made with corn, bell peppers, butter, and taco seasoning. It’s a vibrant and easy-to-make dish that brings a Southwestern flair to your table.
Can I use fresh corn instead of frozen?
Yes, you can definitely use fresh corn. Simply cut the kernels off the cob and follow the same cooking instructions. It might add a bit more time to the prep, but the fresh flavor is worth it.
Can I make Fiesta Corn ahead of time?
Absolutely! Fiesta Corn can be made ahead of time and reheated when you’re ready to serve. Just store it in an airtight container in the refrigerator and reheat on the stovetop or in the microwave.
What can I serve with Fiesta Corn?
Fiesta Corn pairs well with grilled meats like chicken, steak, or fish. It’s also a great side for tacos, fajitas, or any Mexican-inspired dishes. You can even serve it with a classic Southern BBQ spread.
Can I add other ingredients to this recipe?
Yes, you can customize Fiesta Corn to your liking. Consider adding black beans, diced jalapeños, or crumbled cotija cheese to enhance the flavors even more.
Is this dish spicy?
Fiesta Corn has a mild kick from the taco seasoning, but it’s not overly spicy. If you prefer more heat, you can add extra seasoning or a dash of hot sauce.
Can I use canned corn instead of frozen?
Yes, canned corn can be used in place of frozen corn. Just be sure to drain it well before adding it to the pan.
How do I store leftovers?
Store any leftovers in an airtight container in the refrigerator. Fiesta Corn will stay fresh for up to 3 days. To reheat, simply warm it on the stovetop or in the microwave.
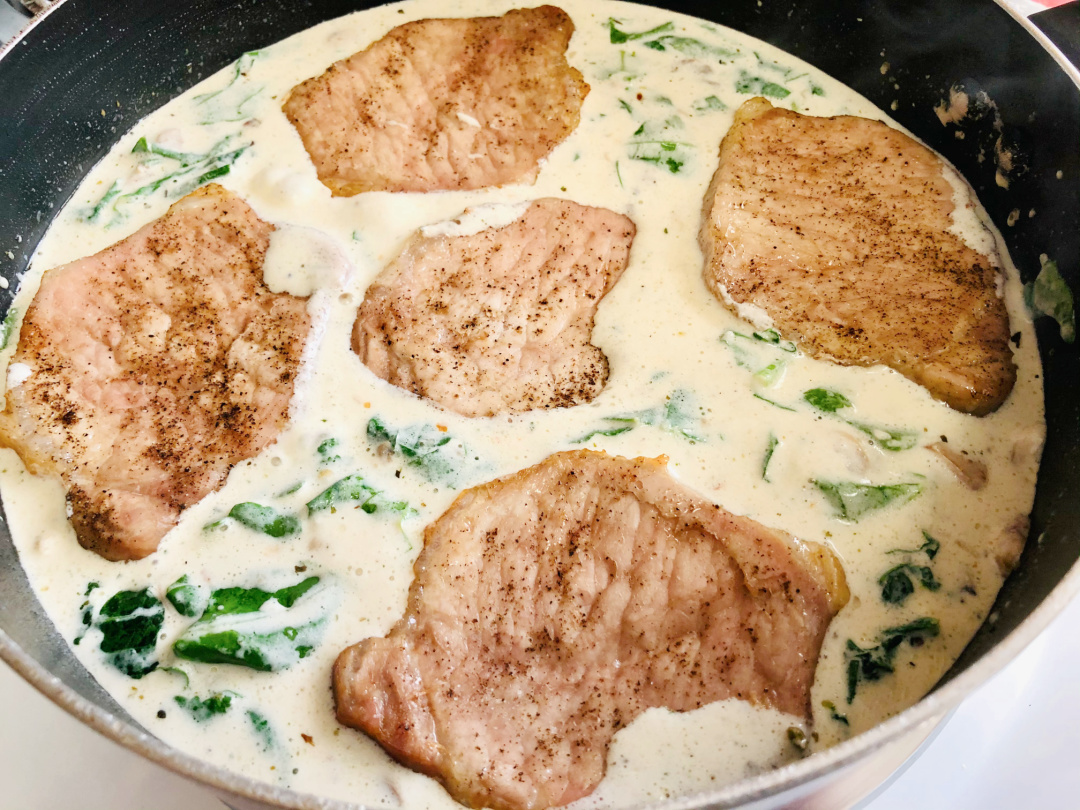
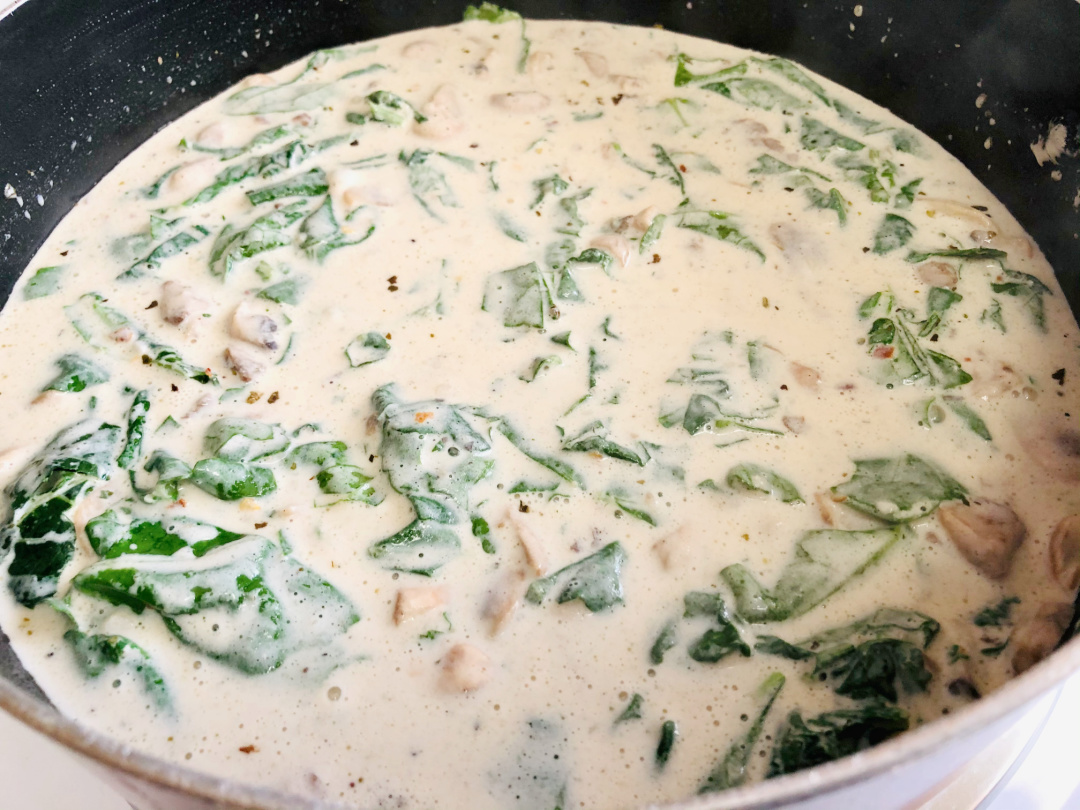
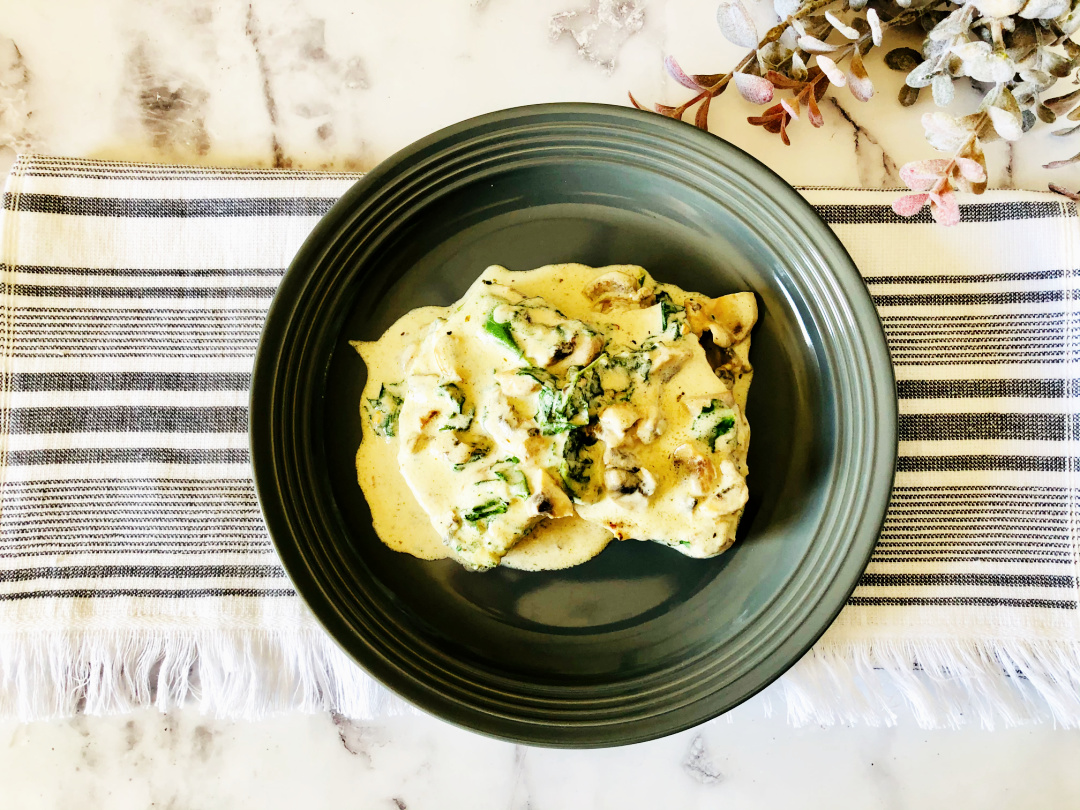
Try this delicious Pork Chops with Mushroom and Spinach Gravy for dinner tonight!
Pork chops are one of my favorite meals to serve for my family. There are so many tasty options and recipes for making pork chops and it’s fun to get creative!
Smothered pork chops have become a regular recipe in my household. I can’t wait to share my pork chop recipe with bacon and onions, too!
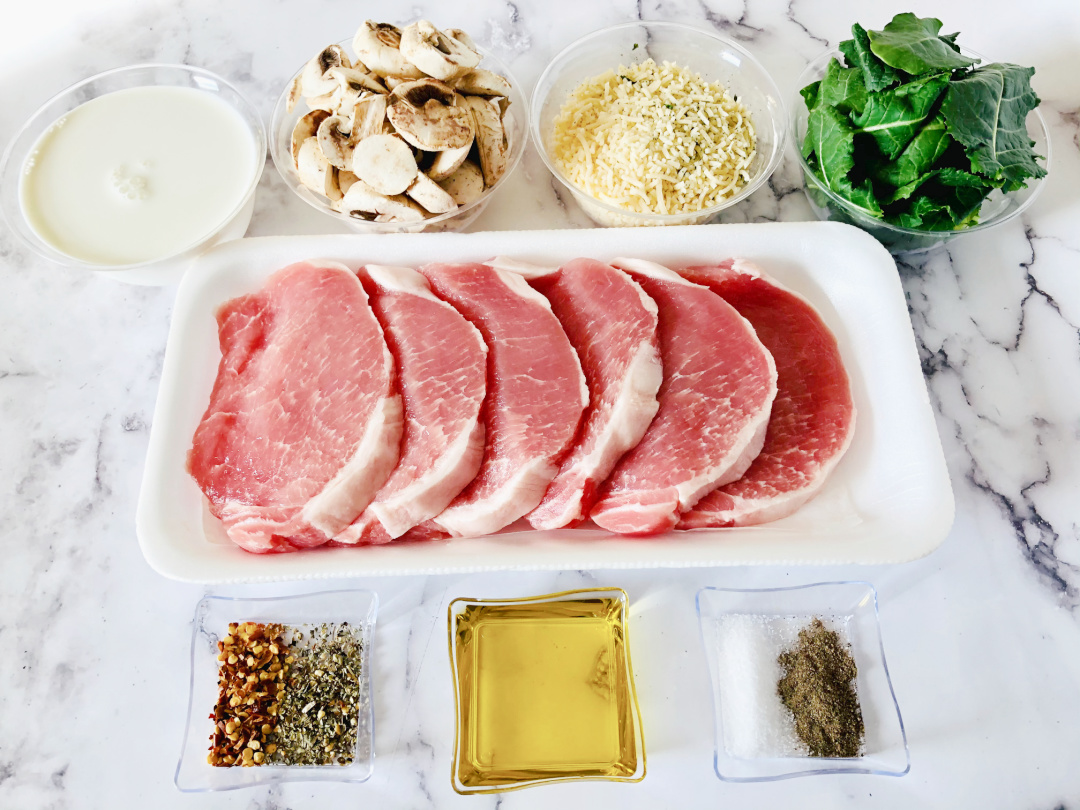
If you are looking for a change up from the traditional beef or chicken recipe, you can always use pork as a leaner meat option for the menu. On their own, pork chops are bland and do need to be dressed up with good sauces and seasonings in my opinion!
For this recipe, I use a gravy sauce with spinach and mushrooms to add flavor to the pork chops! The garlic and parmesan ties the flavor together and makes for one tasty dinner time meal solution!
How do you make pork chops tender?
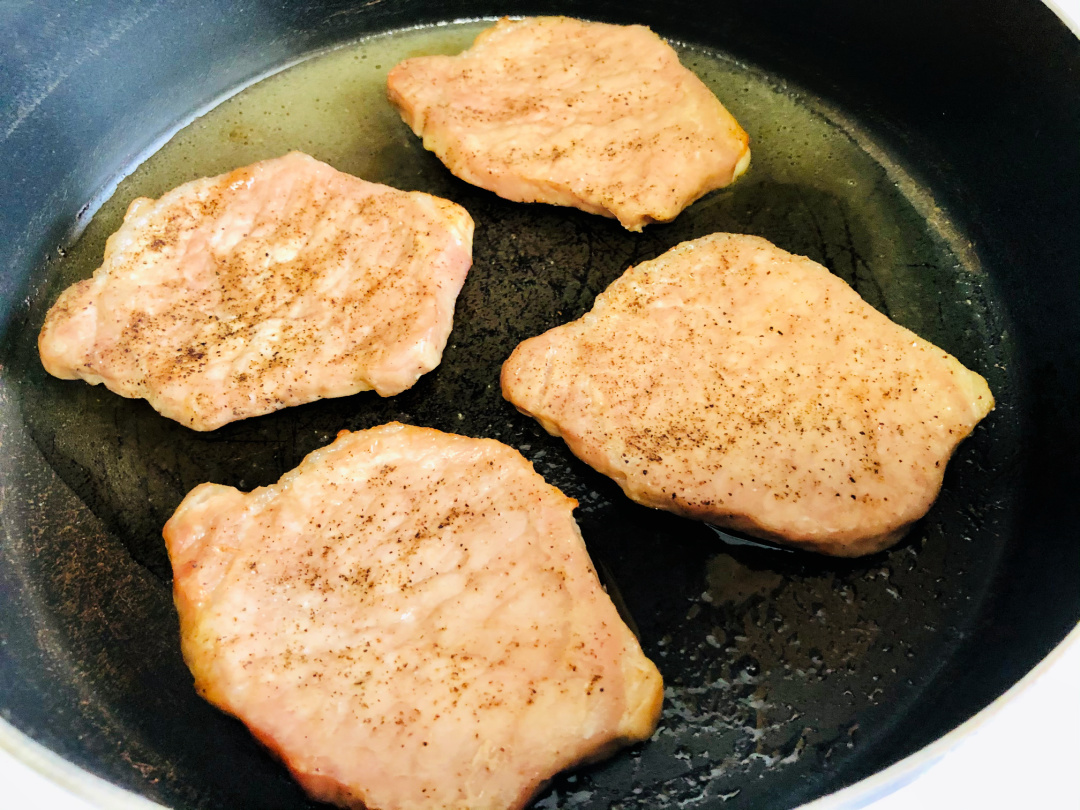
If you prefer a more tender pork chop like I do, I tenderize the meat before cooking with a meat tenderizer! This is also my father in laws secret to delicious pork chops!
What is the cooking temperature for pork?
According to Pork.org, the safe internal pork cooking temperature is 145°F followed by a 3-minute rest.
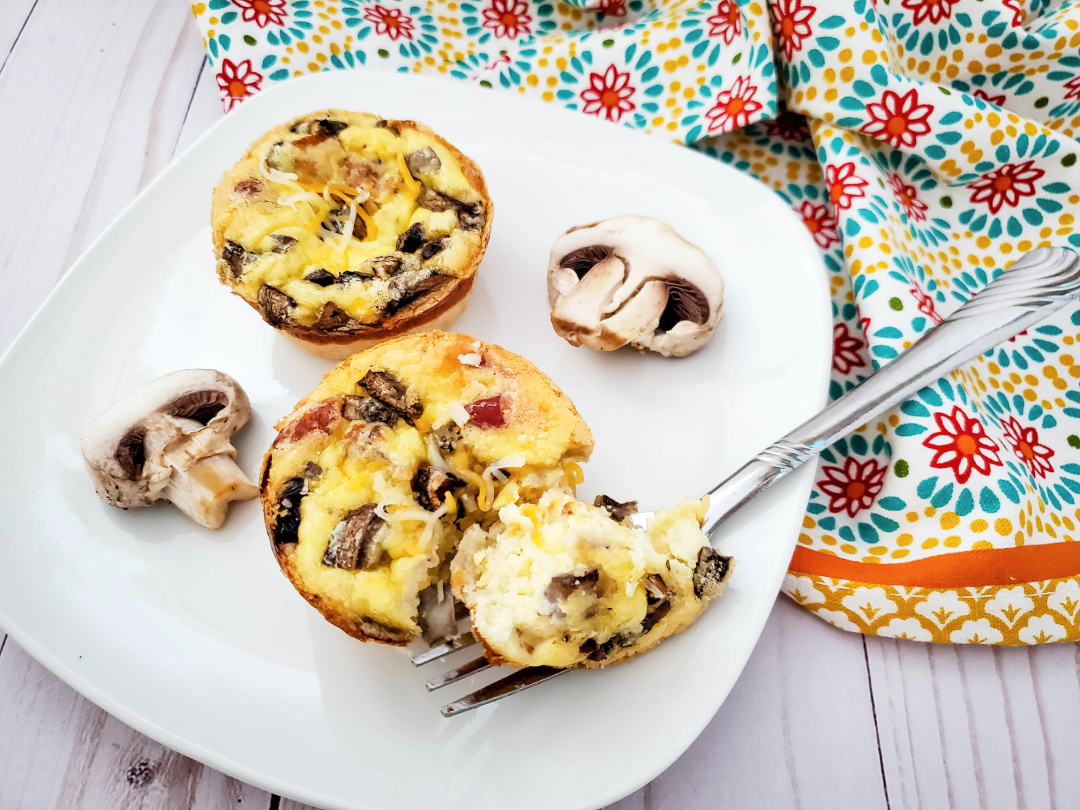
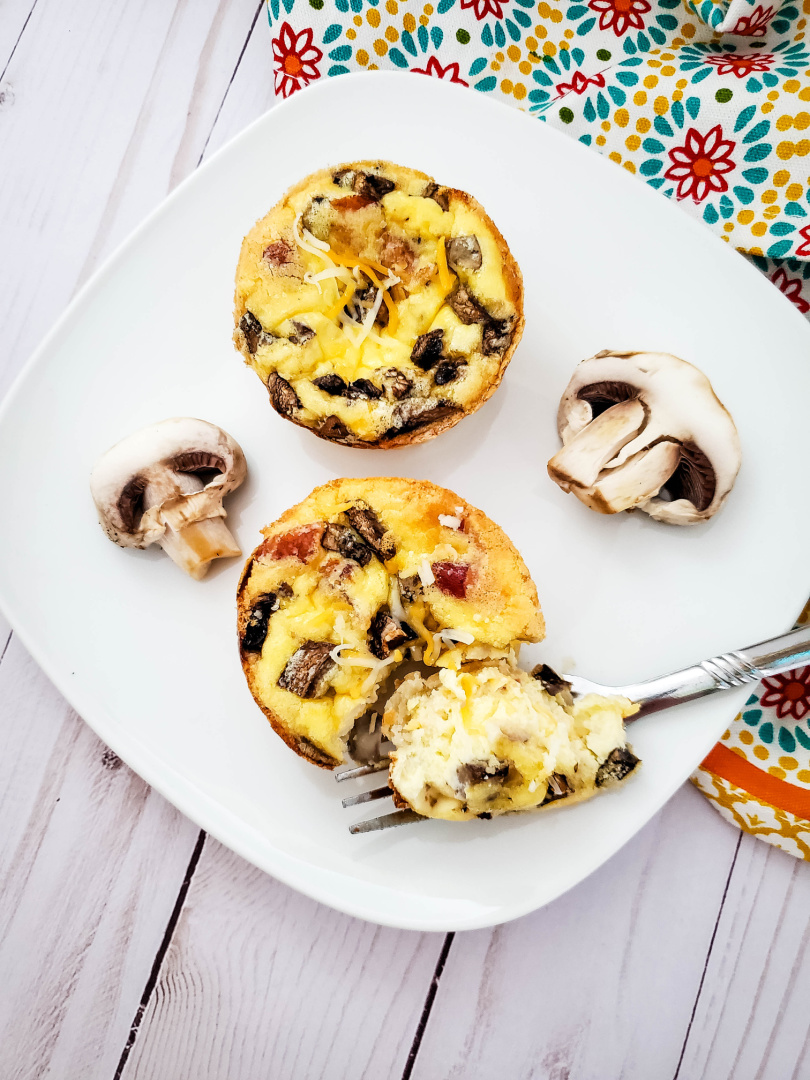
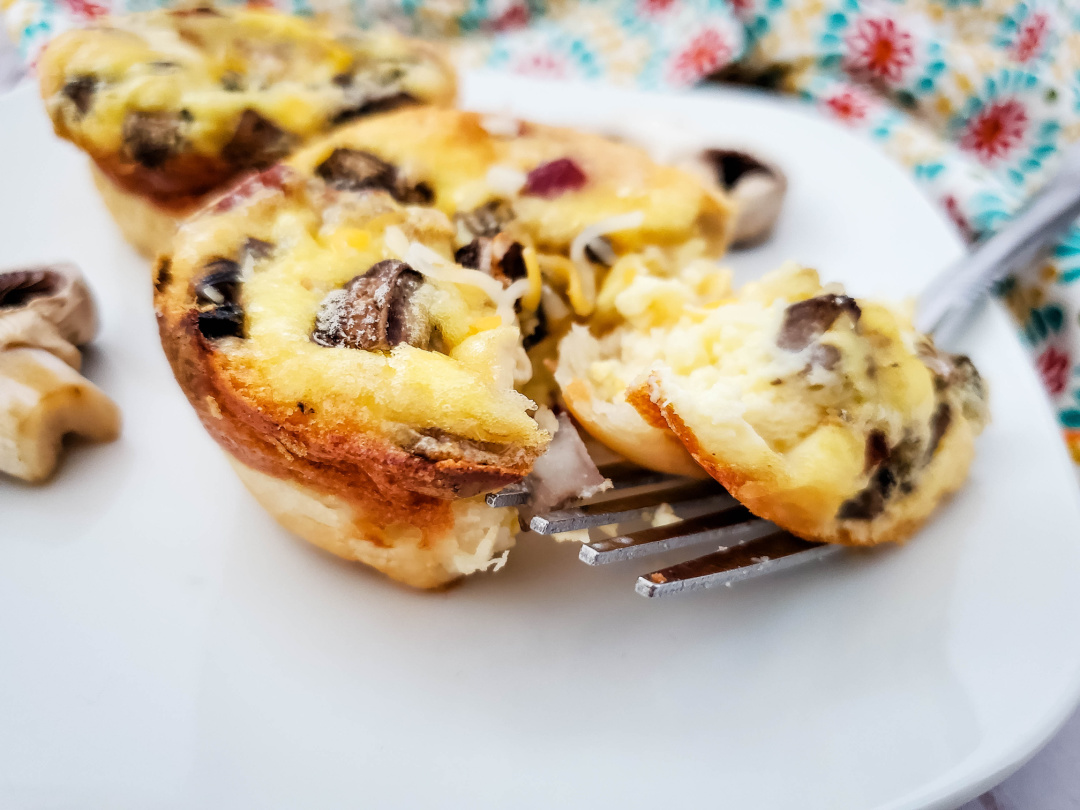
This quick and easy Bacon and Mushroom Mini Quiche recipe is a great option to serve for breakfast this week!
If you are looking for a quick breakfast recipe to put together for your family or guests, try this Bacon and Mushroom Mini Quiche!
These mini quiche bites made in a muffin pan make great individual serving sizes for guests. Pair this recipe with fresh fruit like cantaloupe, grapes, watermelon, or pineapple!
This quiche recipe also pairs well with your morning cup of coffee, milk, or fresh juice.
Cook the bacon over medium heat for 10-18 minutes, until it’s cooked to your desired crispness, flipping half way through. Remove slices from pan and place on paper towel covered plate, then blot with paper towel to remove grease. Chop into small pieces.
Chop mushrooms into small pieces.
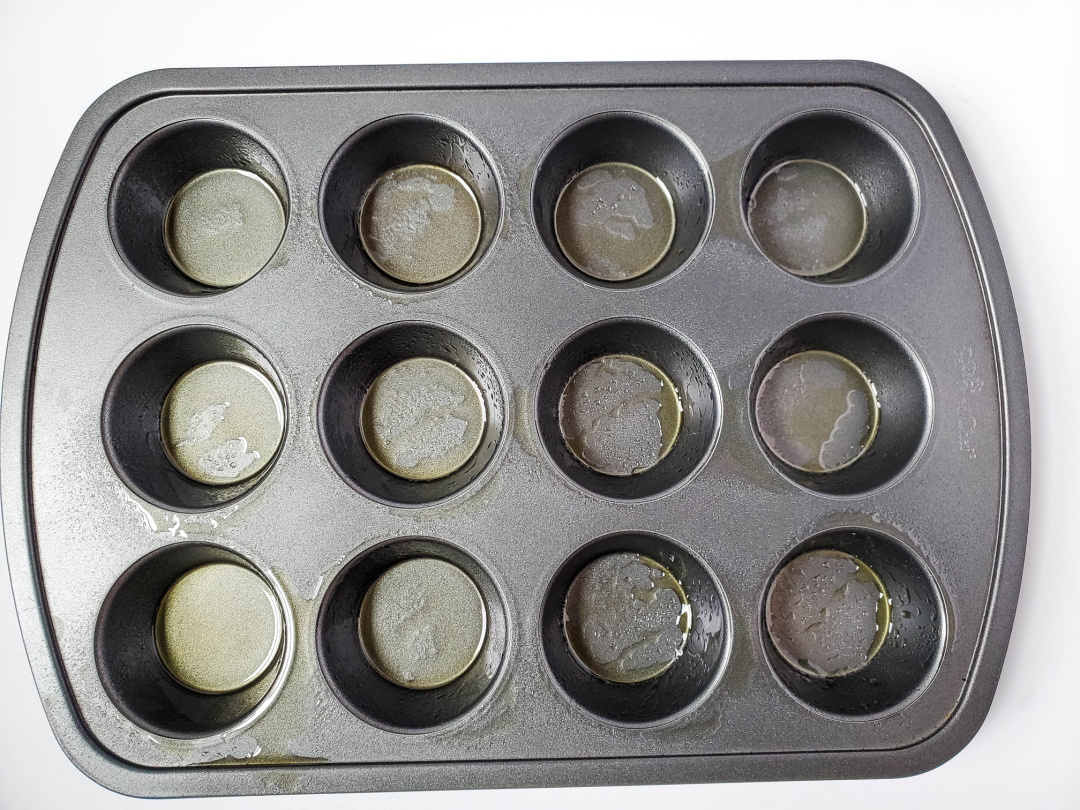
Spray the insides of a muffin tin with cooking spray.
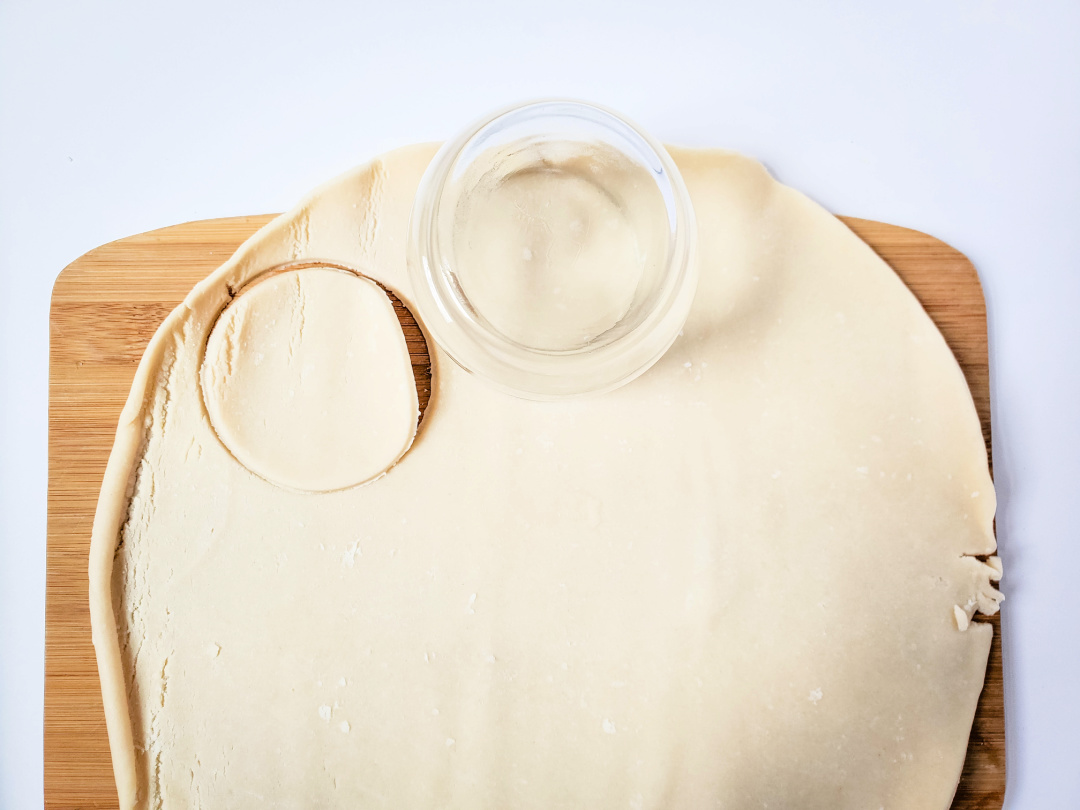
Roll pie crust out onto a flat surface.
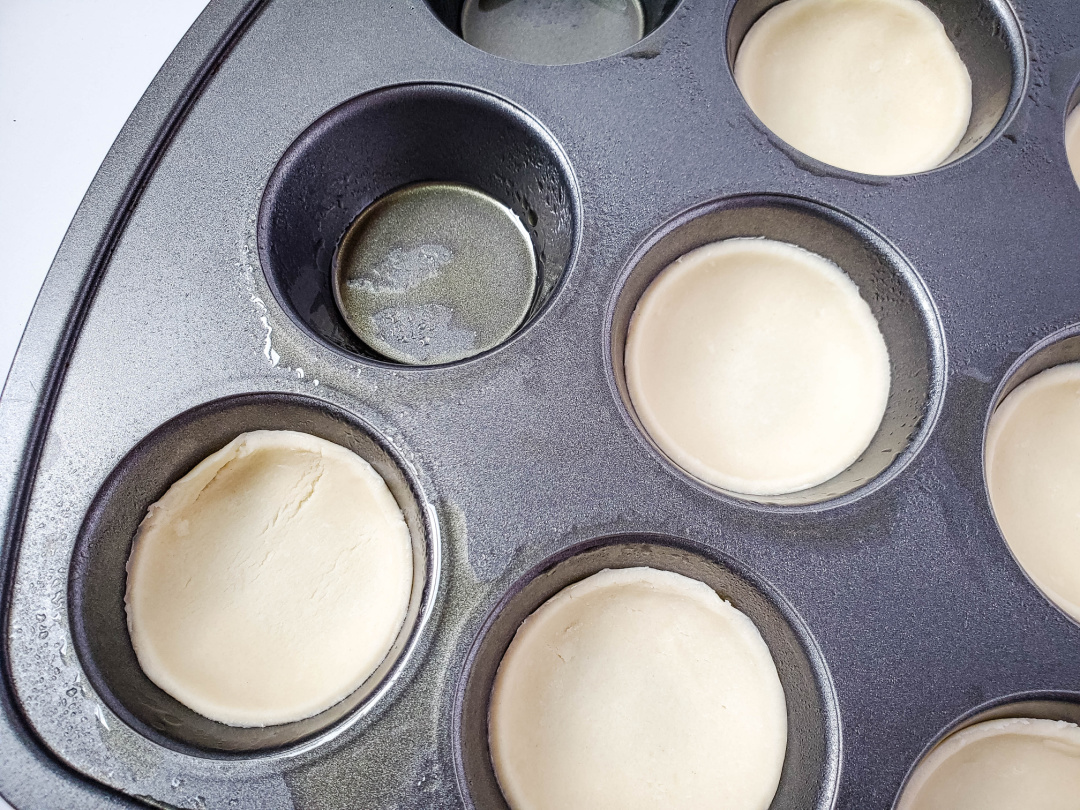
Using a cookie cutter or drinking glass, cut 12 circles out of the pie crust, and line 12 muffin tin cavities with one of the circles.
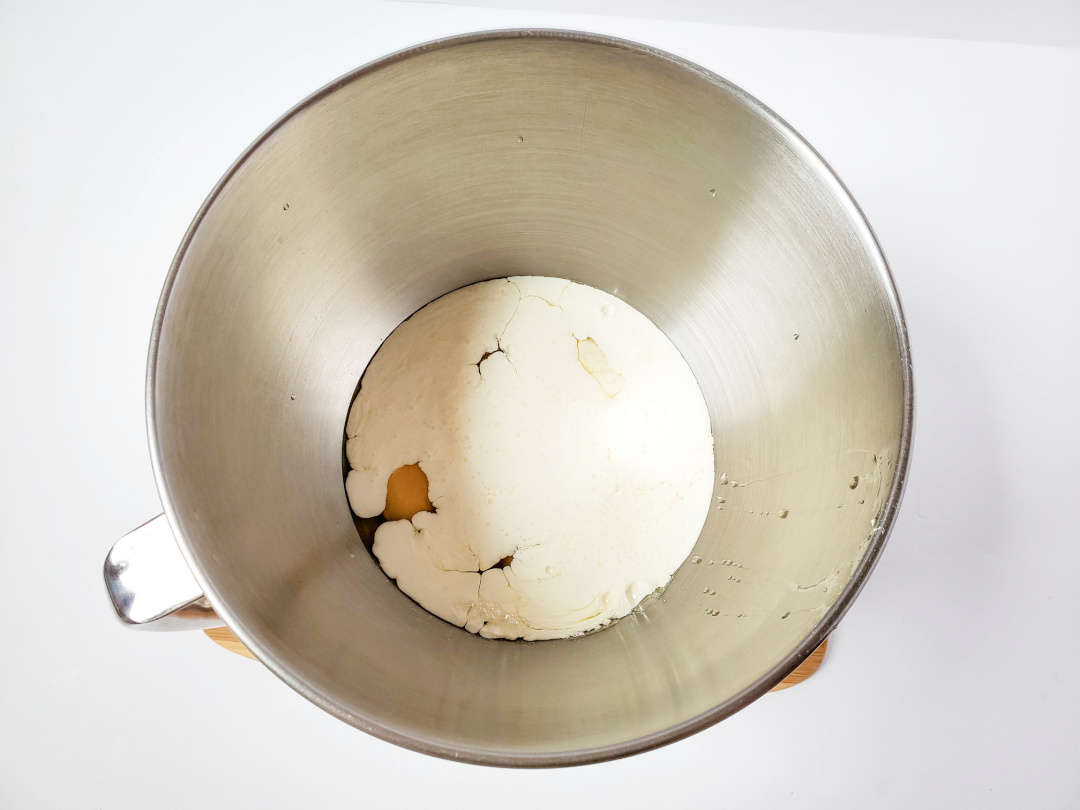
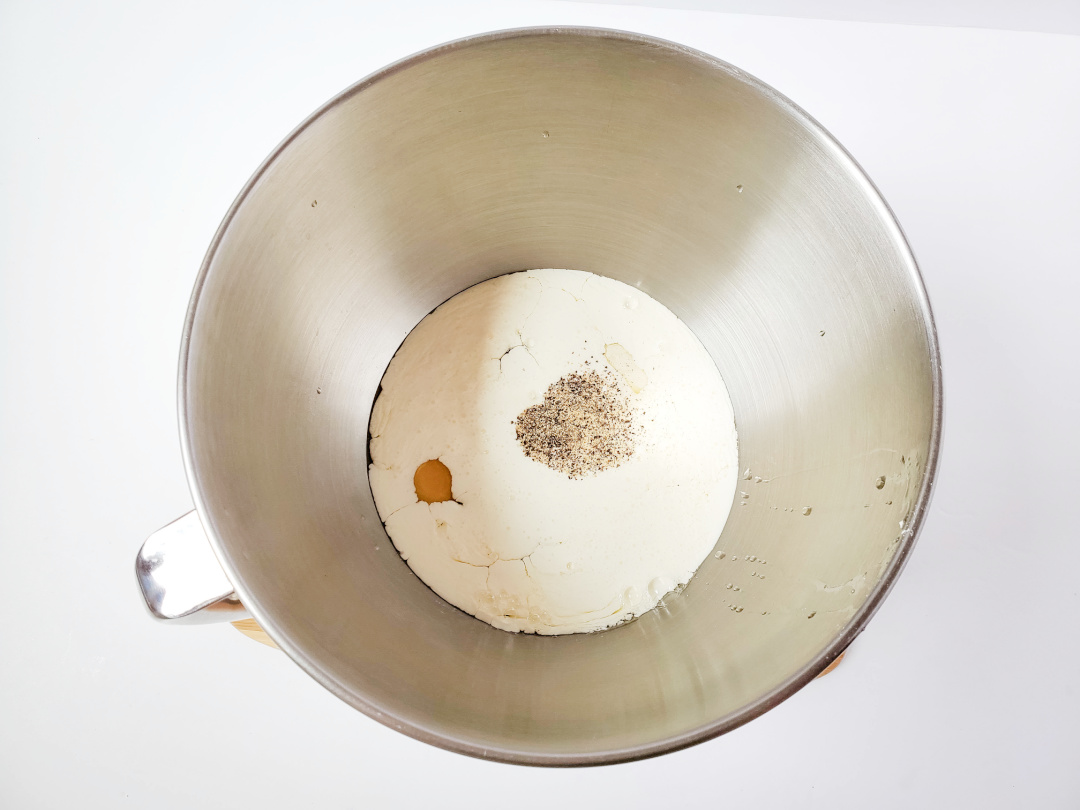
In a large bowl, beat eggs and heavy cream for 5 minutes.
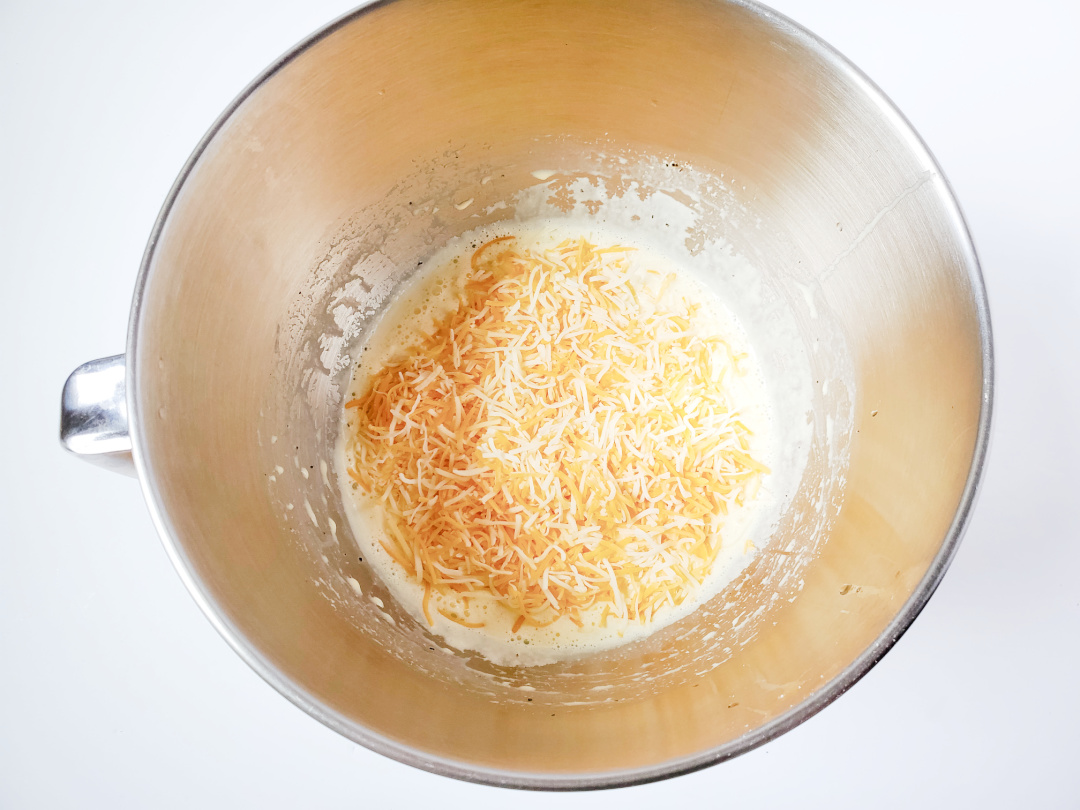
Add salt, pepper, and cheese. Stir.
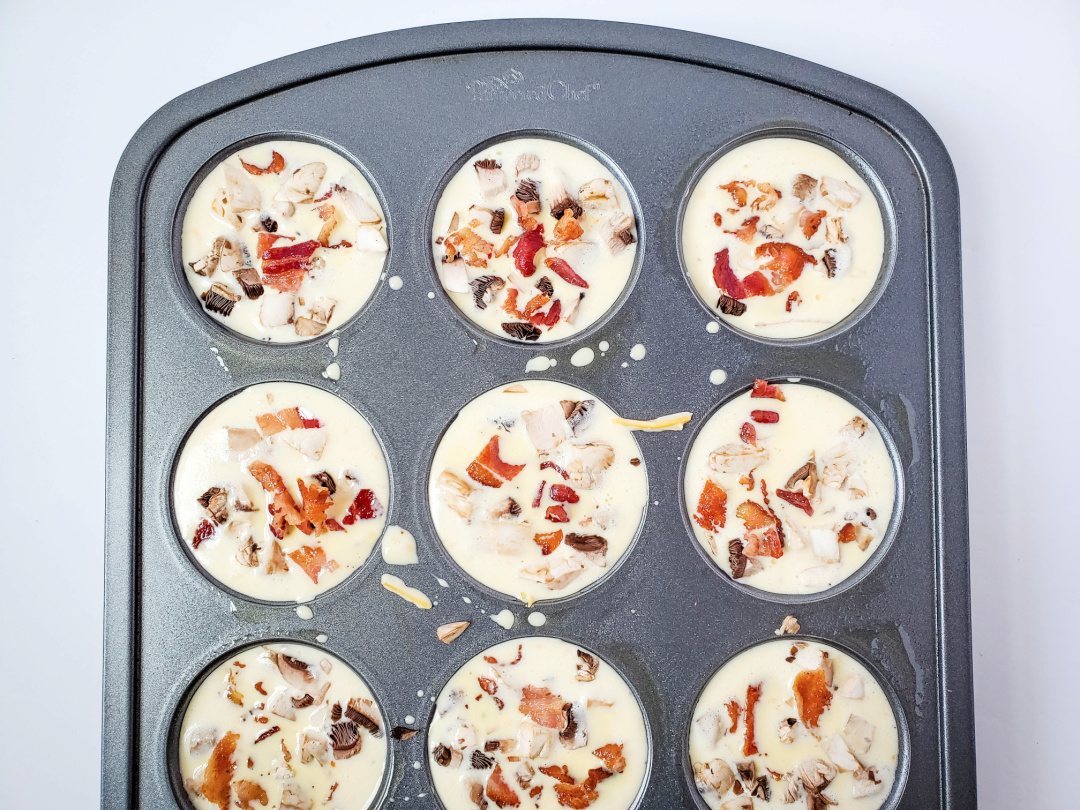
Pour mixture into pie shells, using a spoon to help you evenly distribute the cheese.
Top with crumbled bacon and mushrooms.
Bake for 25-30 minutes, until you can insert a toothpick into the middle and it comes out clean.
Remove from oven and let set for about 5 minutes before serving.
Bacon and Mushroom Mini Quiche
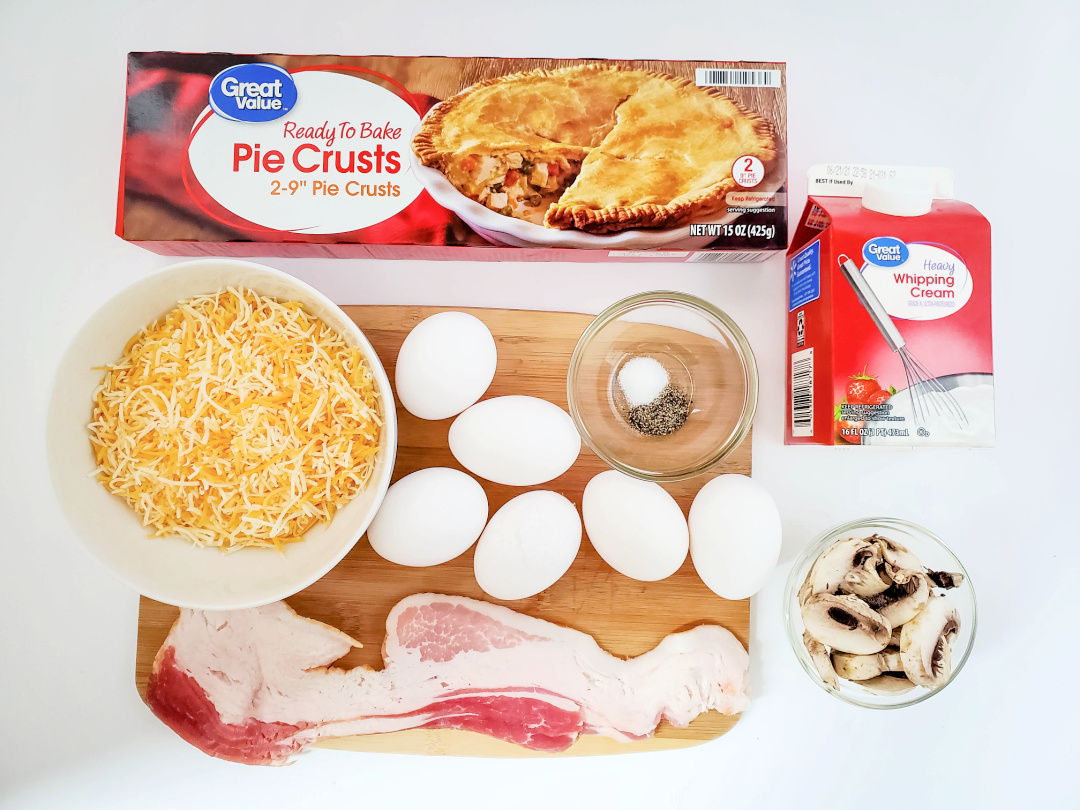
Ingredients
1 ready to bake pie crust sheet
6 large eggs
1 cup heavy cream
8 oz cheddar cheese, shredded
¼ tsp salt
¼ tsp pepper
3 slices bacon
½ cup sliced mushrooms
Cooking spray
Instructions
Preheat oven to 350 degrees.
Cook the bacon over medium heat for 10-18 minutes, until it’s cooked to your desired crispness, flipping half way through. Remove slices from pan and place on paper towel covered plate, then blot with paper towel to remove grease. Chop into small pieces.
Chop mushrooms into small pieces.
Spray the insides of a muffin tin with cooking spray.
Roll pie crust out onto a flat surface.
Using a cookie cutter or drinking glass, cut 12 circles out of the pie crust, and line 12 muffin tin cavities with one of the circles.
In a large bowl, beat eggs and heavy cream for 5 minutes.
Add salt, pepper, and cheese. Stir.
Pour mixture into pie shells, using a spoon to help you evenly distribute the cheese.
Top with crumbled bacon and mushrooms.
Bake for 25-30 minutes, until you can insert a toothpick into the middle and it comes out clean.
Remove from oven and let set for about 5 minutes before serving.