Do you want to make a tasty breakfast casserole to serve your guests? Try this Tater Tot Breakfast Casserole!
The Heart of Southern Comfort: Tater Tot Breakfast Casserole
In the South, we cherish recipes that bring the whole family together, especially those that are both delicious and easy to prepare.
This Tater Tot Breakfast Casserole does just that. It’s the kind of dish that makes you think of a cozy kitchen filled with the aromas of home-cooked meals, where love is the main ingredient.
Simple Ingredients, Big Flavor
The beauty of this casserole lies in its simplicity.
With just a handful of ingredients, each component plays a crucial role in creating a flavor profile that’s both familiar and inviting.
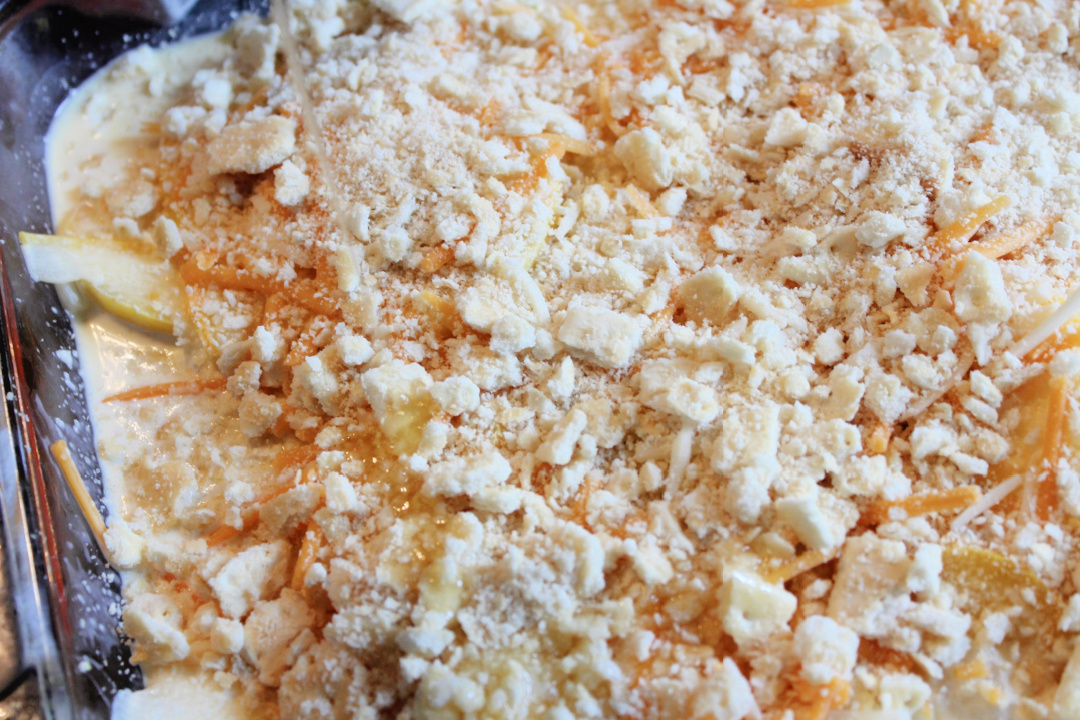
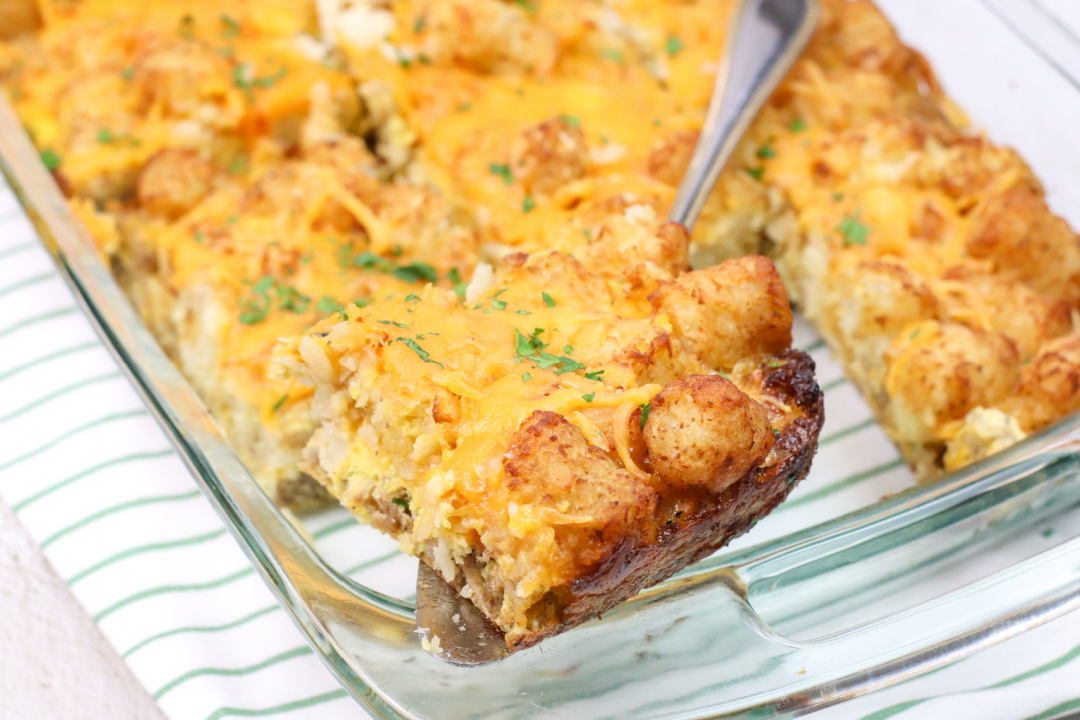
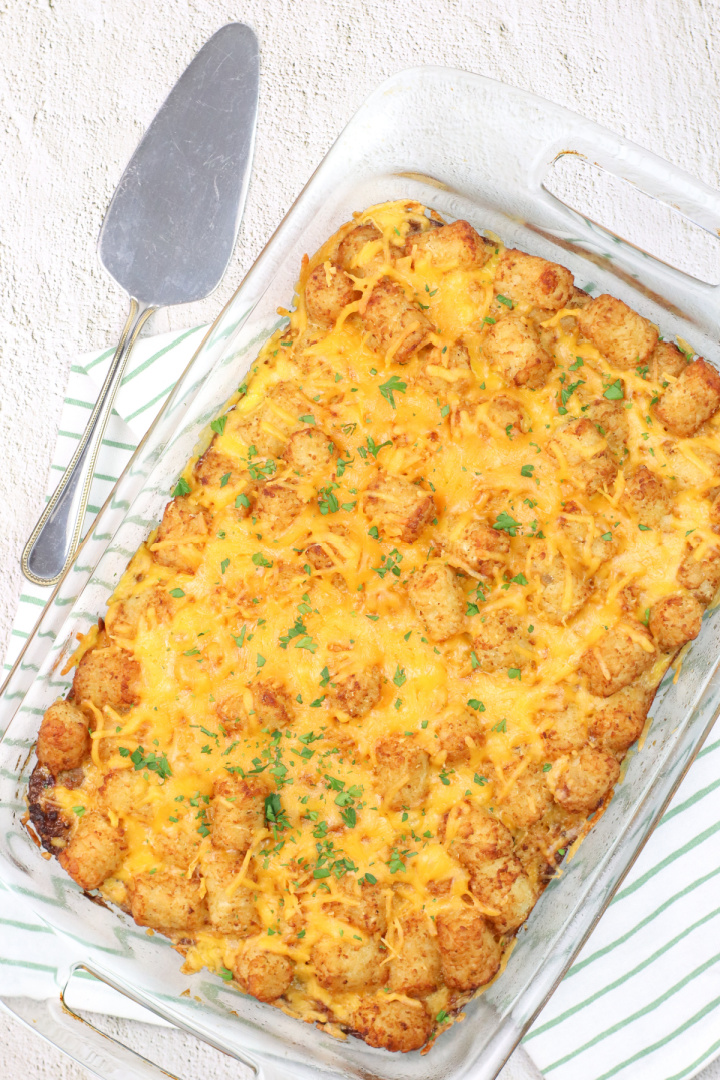
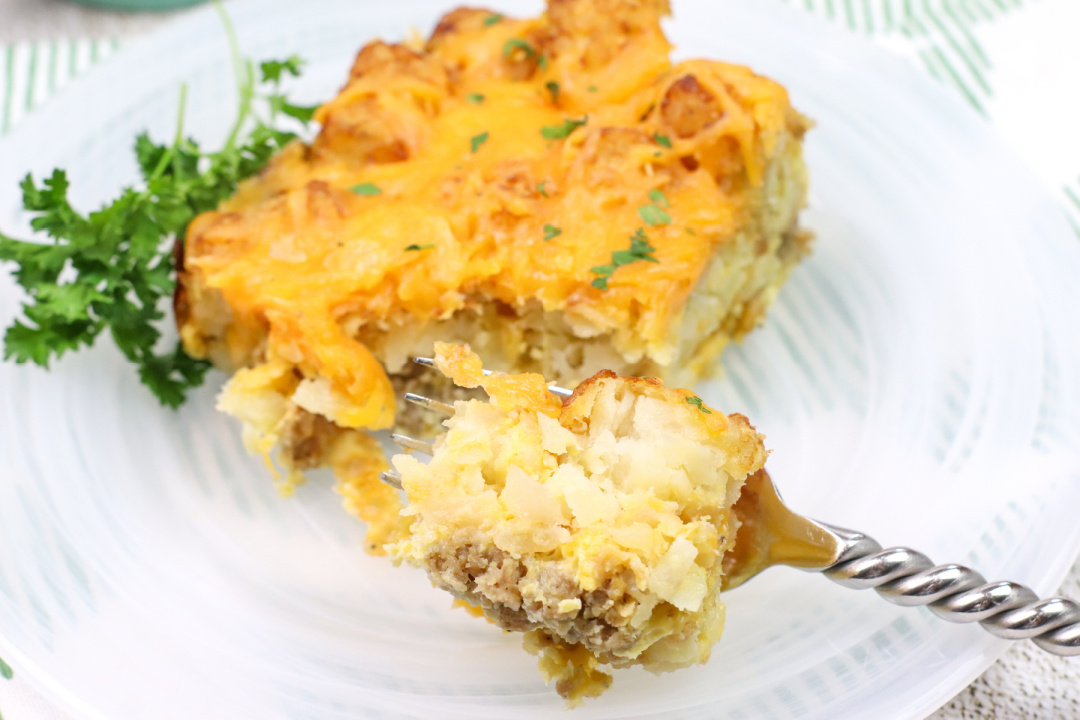
The crispy tater tots form a golden brown crust, hiding a layer of flavorful ground sausage beneath, while the eggs and cheese meld together to form the ultimate comfort food casserole.
Perfect for Any Occasion
Whether it’s a special weekend brunch or an easy weeknight dinner, this casserole is a versatile choice.
It requires just minutes of prep time, making it a great way to feed the entire family without spending hours in the kitchen.
Plus, it’s a good option for those evenings when you want a complete meal without the fuss.
- French Toast Casserole
- French Bread Egg Casserole
- Sausage and Grits Casserole
- Slow Cooker Cheesy Bacon Ranch Tater Tots
A Dish That Everyone Loves
One of the great things about this casserole is its ability to please even the pickiest eaters.
The familiar taste of crispy tater tots, lots of cheddar cheese, and savory sausage makes it a family favorite.
It’s a delicious casserole that captures the essence of Southern cooking — hearty, comforting, and unpretentious.
Cooking Made Easy
The process begins with a large skillet where the sausage is cooked to perfection. This flavorful ground beef serves as the base of our casserole, adding a rich depth to the dish.
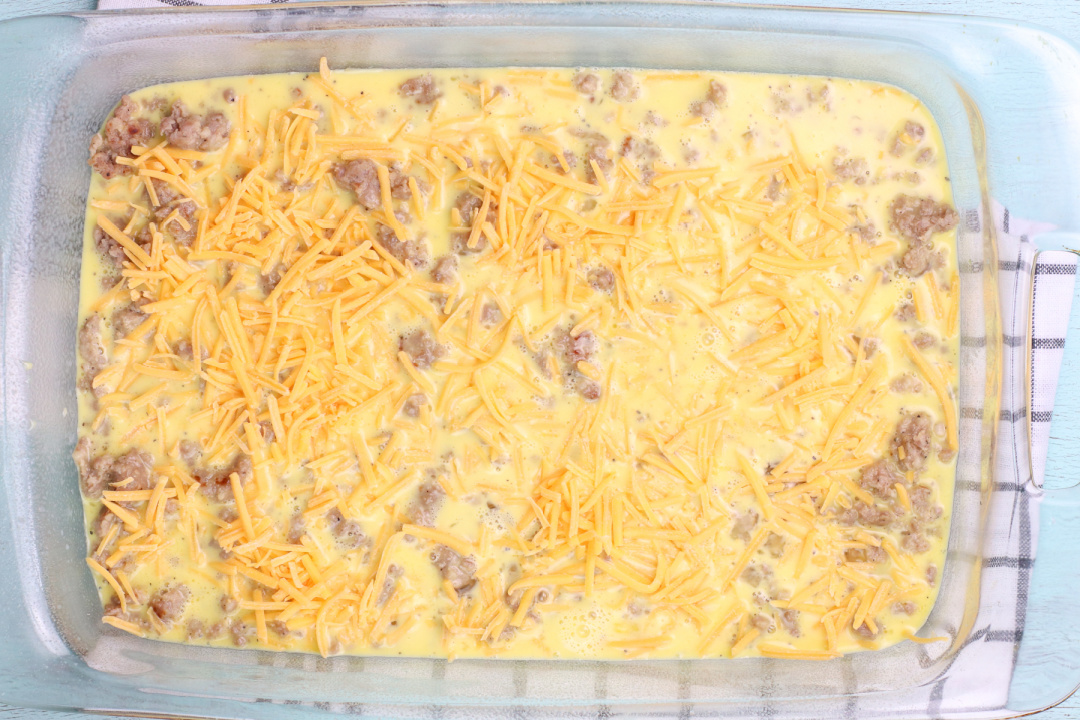
In a casserole dish, these ingredients come together in harmony. The eggs and half and half create a custardy base, enveloping the sausage in a creamy embrace, while a sprinkle of cheddar cheese adds a gooey, melty top layer.
A Versatile Main Dish
This casserole isn’t just for breakfast. It’s a main dish that can be served at any meal.
Pair it with a simple side dish, and you’ve got a complete, satisfying dinner. The flexibility of this recipe also allows for variations.
Add in some frozen vegetables for an extra nutritional boost, or swap the sausage for a different protein to change up the flavor profile.
Make-Ahead Magic
For those busy weeknights, this tater tot casserole can be prepared in advance.
Simply assemble the casserole, cover it with aluminum foil or store it in an airtight container, and refrigerate.
When you’re ready to eat, pop it in the oven, and in about 50 minutes, you’ll have a delicious dinner ready to grace your dinner table.
Leftovers for the Next Day
Another great aspect of this easy casserole recipe is that it tastes just as good the next day.
Store any leftovers in an airtight container, and you’ll have a quick and tasty meal ready for the next day.
It’s a dish that keeps on giving, providing comfort and satisfaction with each bite.
A Southern Staple
In the South, casseroles are a staple at family gatherings, potlucks, and on the dinner table.
This easy tater tot casserole recipe fits right in, embodying the essence of Southern cuisine.
It’s not just a meal; it’s a reminder of home, of family, and of the simple pleasures of good food.
A Celebration of Southern Cooking
This Tater Tot Breakfast Casserole is more than just a recipe; it’s a celebration of Southern cooking.
It represents a lifestyle where food is about comfort, family, and creating memories.
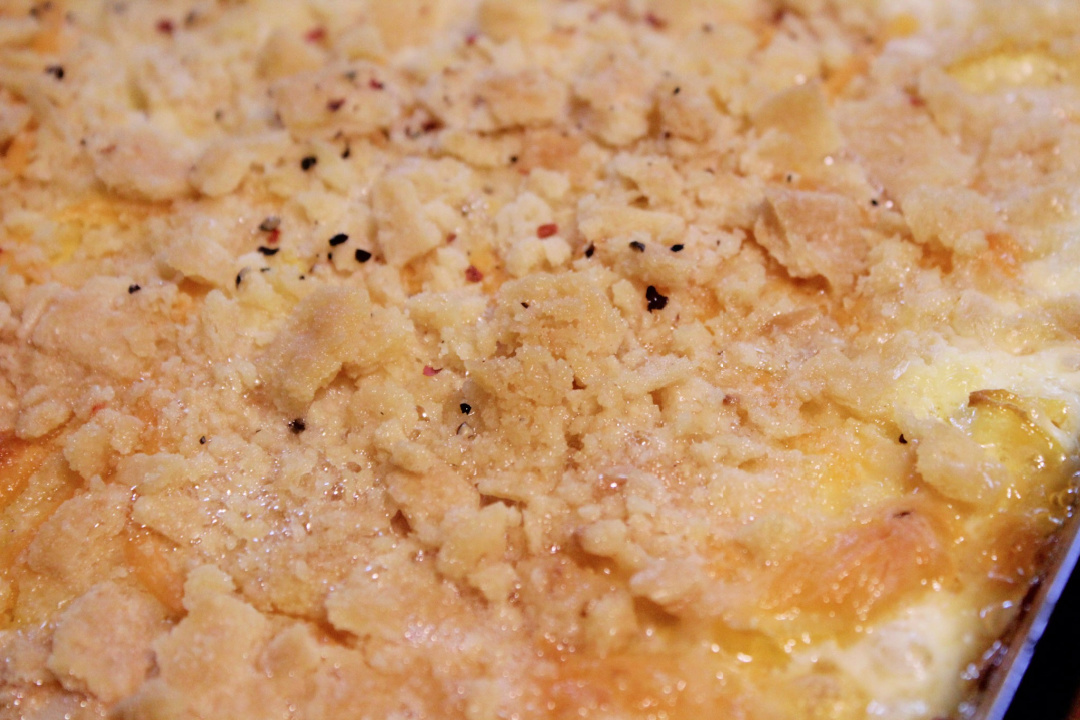
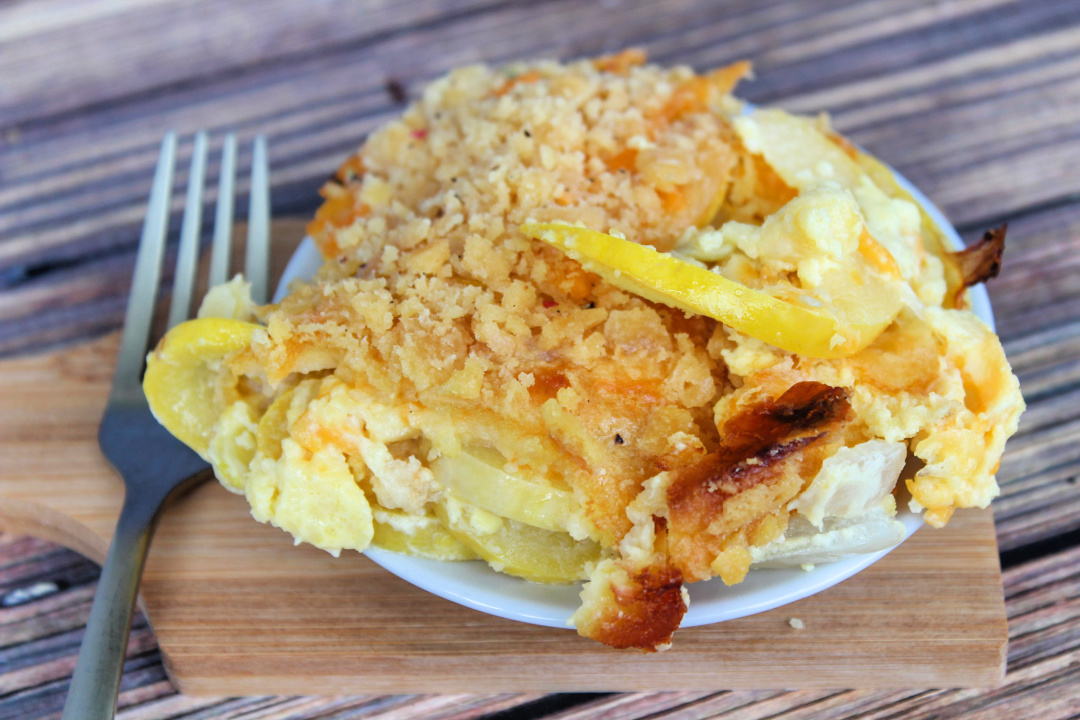
With its golden brown crust, creamy and cheesy middle, and hearty base, this casserole is the perfect comfort food.
It’s an easy dinner recipe that brings joy to the dinner table and warmth to the heart.
In every bite, you’ll find the essence of the South — a region known for its rich culinary traditions and love for hearty, soul-satisfying meals.
This casserole is a tribute to that tradition, an easy recipe that brings people together, creating moments of joy around the dinner table.
Whether for a special occasion or a simple family meal, the Tater Tot Breakfast Casserole is a dish that embodies the spirit of Southern hospitality and the joy of home cooking.
Helpful Product Recommendations:
Baking Dish – A high-quality, large baking dish is essential for preparing a breakfast casserole. A 9×13-inch dish is the perfect size for this recipe.
Mixing Bowls – A set of durable mixing bowls is useful for combining ingredients.
Whisk – A whisk is essential for beating eggs and mixing ingredients evenly.
Tater Tot Breakfast Casserole
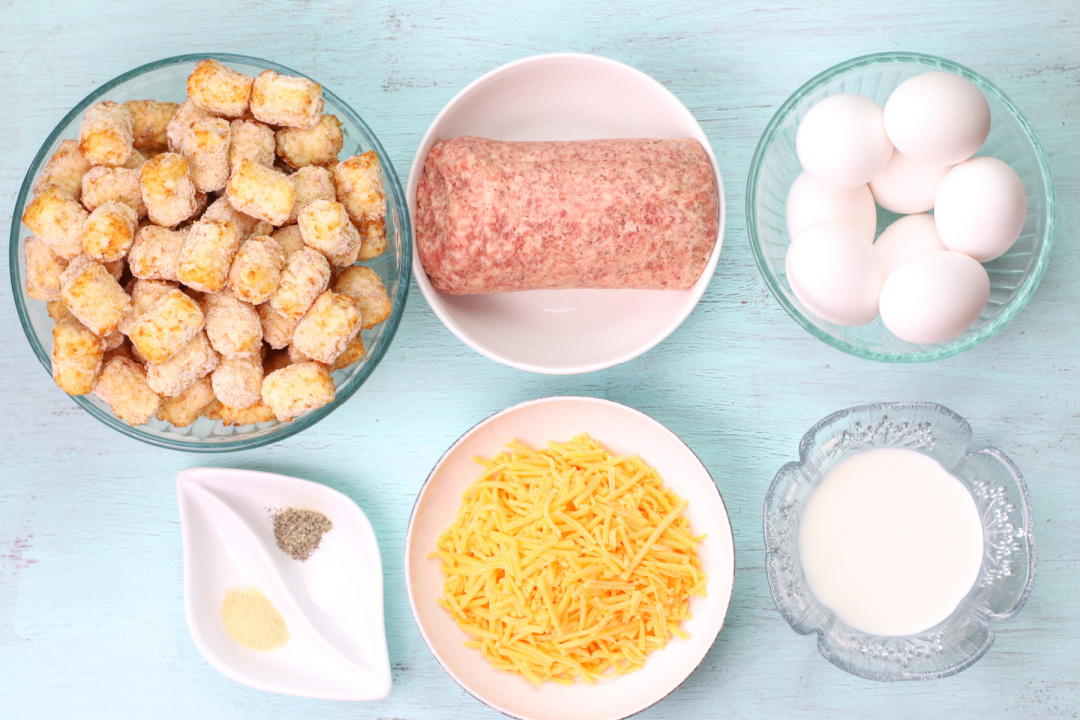
Ingredients:
- 1 lb. ground sausage
- 8 large eggs
- 3/4 cup half and half
- 1 tsp. garlic powder
- 1/2 tsp. salt
- 1 tsp. black pepper
- 1 cup shredded cheddar cheese
- 1 lb. frozen tater tots
Directions:
Preheat the oven to 350 ℉.
In a medium skillet, cook ground sausage over medium heat while breaking into small pieces until meat is browned.
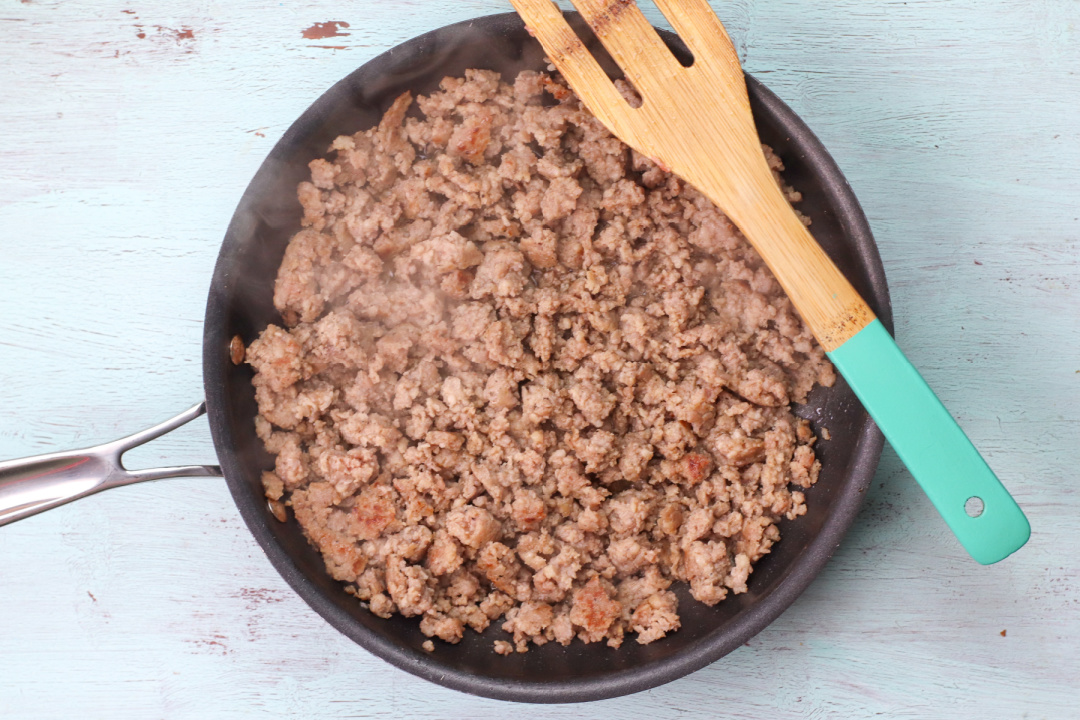
Remove skillet from heat, drain grease from sausage and set aside.
Grease a 9′ x 13′ glass baking dish with non-stick cooking spray.
Spread the crumbled sausage in an even layer over the bottom of the baking dish.
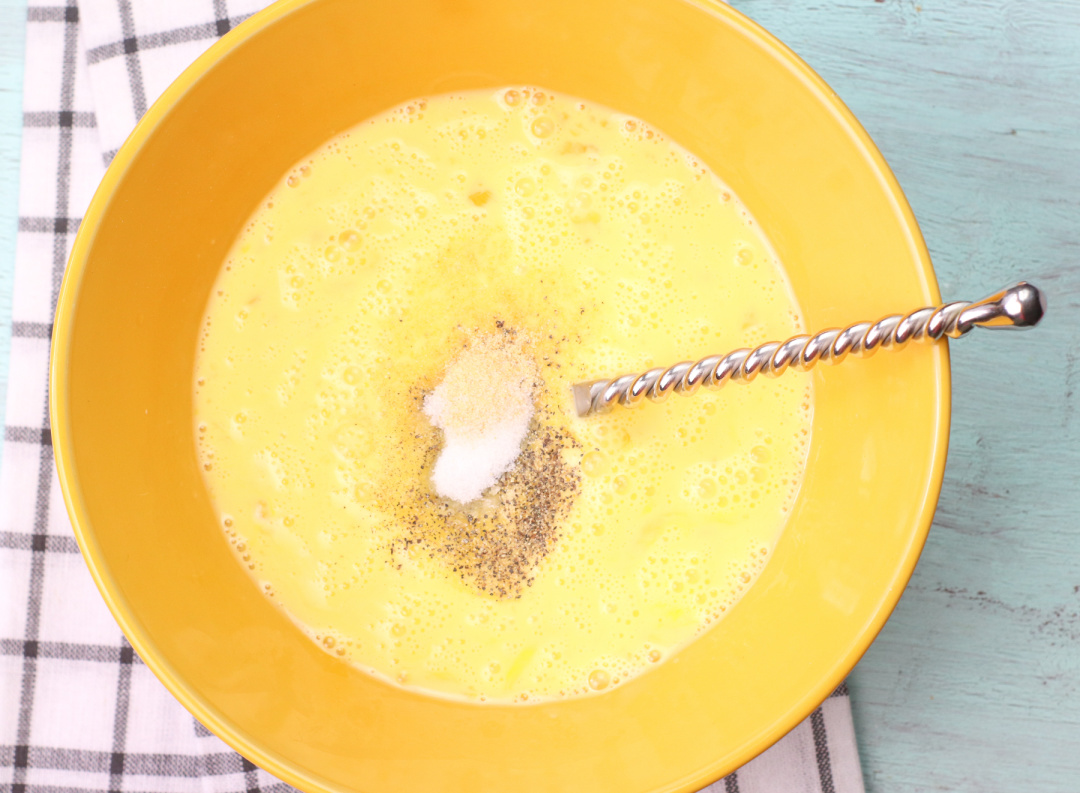
In a medium sized mixing bowl whisk eggs, half and half, garlic powder, salt and pepper until well combined.
Pour the egg mixture over the sausage in the baking dish.
Top with shredded cheese.
Place frozen tater tots evenly over the top of sausage, egg and cheese mixture. Do not submerge tater tots.

Bake for about 50 minutes or until a knife inserted in the middle comes out clean.
Remove the casserole from the oven. Allow the casserole to sit for 5 minutes before serving.

Tater Tot Breakfast Casserole
Ingredients
- 1 lb. ground sausage
- 8 large eggs
- 3/4 cup half and half
- 1 tsp garlic powder
- 1/2 tsp salt
- 1 tsp black pepper
- 1 cup cheddar cheese, shredded
- 1 lb. frozen tater tots
Instructions
Preheat the oven to 350 ℉.
In a medium skillet, cook ground sausage over medium heat while breaking into small pieces until no longer pink.
Remove skillet from heat, drain grease from sausage and set aside.
Grease a 9' x 13' glass baking dish with cooking oil spray.
Spread the crumbled sausage in an even layer over the bottom of the baking dish.
In a medium bowl whisk eggs, half and half, garlic powder, salt and pepper until well combined.
Pour the egg mixture over the sausage in the baking dish.
Top with shredded cheese.
Place frozen tater tots evenly over the top of sausage, egg and cheese mixture. Do not submerge tater tots.
Bake for approx. 50 minutes or until a knife inserted in the middle comes out clean.
Remove the casserole from the oven and let it sit for 5 minutes before serving.
Can you freeze leftover tater tot casserole?
Leftover tater tot casserole can be frozen, which is great news for those who like to batch cook or simply have leftovers to store. Here’s a step-by-step guide on how to do it effectively:
Cool Down: Ensure that the tater tot casserole has completely cooled down after baking. Rapid cooling can be done by placing the dish in the refrigerator. Do not place a hot dish directly into the freezer as it can lower the overall temperature of the freezer, potentially spoiling other food.
Portioning: Consider cutting your casserole into individual portions if you’re likely to reheat smaller servings at different times. This makes it easier to defrost and reheat only what you need, reducing waste.
Packaging: Transfer the cooled casserole or portions into freezer-safe containers or heavy-duty freezer bags. If you use bags, try to lay them flat in the freezer until the casserole is fully frozen to help them hold a flat, stackable shape. It’s important to leave a little bit of space for the food to expand as it freezes.
Sealing: Ensure the containers or bags are sealed properly to prevent freezer burn. If you’re using a container, consider adding a layer of cling wrap directly onto the surface of the casserole before putting the lid on to provide an extra layer of protection against freezer burn.
Labeling: Don’t forget to label your containers or bags with the date of freezing. While the frozen casserole should maintain its best quality for 2-3 months, it remains safe indefinitely if kept at 0°F.
Reheating: When you’re ready to enjoy your frozen casserole, it’s best to thaw it overnight in the refrigerator and then reheat it in the oven at the same temperature as originally cooked. If the top isn’t as crispy as you’d like, a few minutes under the broiler should do the trick.
Remember, when freezing and reheating any food, safety is key. Make sure to always cool food quickly, store it properly, and reheat it to a safe temperature.
Frequently Asked Questions About Tater Tot Breakfast Casserole
Can I prepare this casserole ahead of time?
This is one of the best features of casserole recipes like this one. You can assemble the casserole the night before, cover it with aluminum foil or store in an airtight container, and refrigerate. When you’re ready, bake it as directed, adding a few extra minutes to the cook time if it’s coming straight from the fridge.
What’s the best way to store and reheat leftovers?
Store any leftovers in an airtight container in the refrigerator. To reheat, place a portion in the microwave, or for a crispy top, reheat in the oven or toaster oven until warmed through. It’s perfect for a quick and easy breakfast or an easy weeknight dinner the next day.
Can I add vegetables to this casserole?
Adding frozen vegetables is a great way to turn this into a more complete meal. Mix in your choice of veggies like bell peppers, onions, or spinach with the sausage layer for an extra nutritional boost and flavor profile.
Is this casserole suitable for large gatherings?
This Tater Tot Breakfast Casserole is fantastic for feeding a big batch. It’s a family favorite and a great way to serve a delicious meal to a crowd. Just make sure you have a large enough baking dish or make multiple batches.
What type of sausage works best in this recipe?
You can use any type of ground sausage you prefer. A flavorful ground beef sausage, spicy Italian sausage, or even a milder turkey sausage are all good options depending on your taste preference.
How do I know when the casserole is done baking?
The casserole is done when the eggs are set and the top is golden brown. A good indicator is when a knife inserted in the middle comes out clean. The typical bake time is around 50 minutes, but ovens can vary, so it’s always good to check.
Can I use a different type of cheese?
While cheddar cheese is a classic choice for its melty goodness and flavor, feel free to experiment with different types of shredded cheese like Monterey Jack, Pepper Jack, or a Mexican blend for a different twist.
Is this casserole a good option for those on a calorie diet?
While this casserole is on the indulgent side, it can be modified for a lighter version. Consider using low-fat cheese, skim milk instead of half and half, and a leaner meat like turkey sausage. However, remember that modifications might alter the final flavor profile and texture.
Can I make this casserole in a different type of dish?
While a 9′ x 13′ glass baking dish is typically used, any similar-sized casserole dish will work. If using a metal or ceramic dish, just be aware that the cooking time might vary slightly.
Can this recipe be made gluten-free?
This recipe is naturally gluten-free. Just ensure that the sausage and any added ingredients are gluten-free. This makes it a great option for those with dietary restrictions.