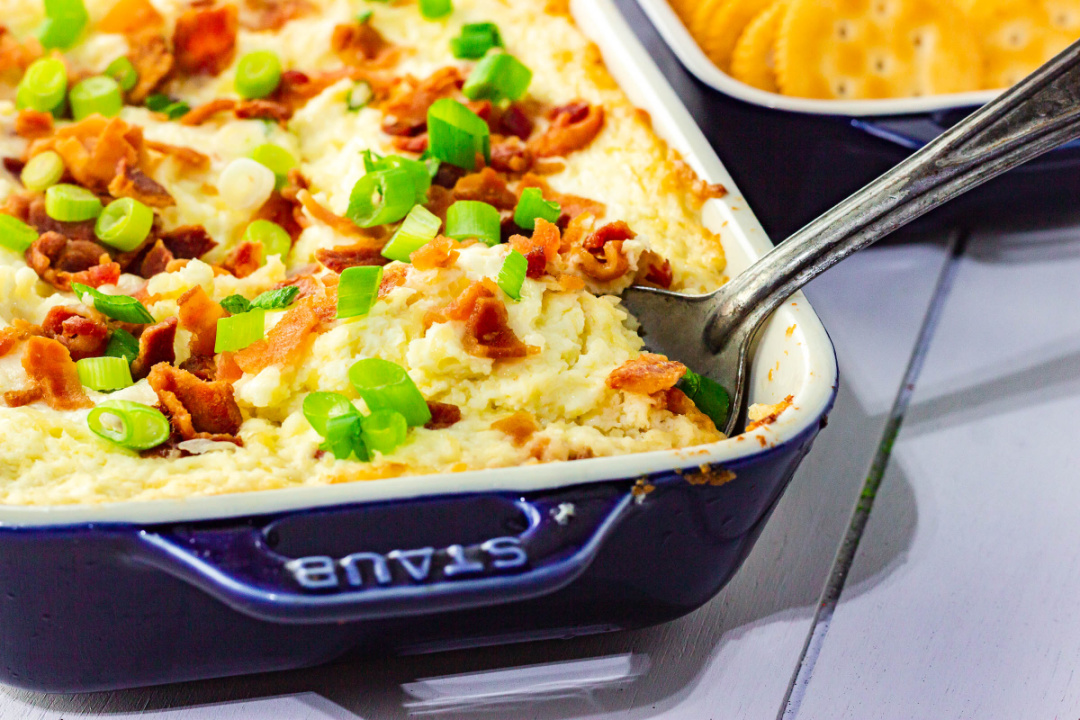
Are you looking for the perfect appetizer to serve your guests for a gathering or the big game day? Try this easy Baked Cheesy Dip recipe!
It’s almost game day, and you know what that means—time to get your snack on!
This baked cheesy dip is the perfect appetizer for feeding a hungry crowd. This dish is easy to make and only requires a few ingredients. Plus, it’s packed with flavor and sure to please everyone at your next gathering.
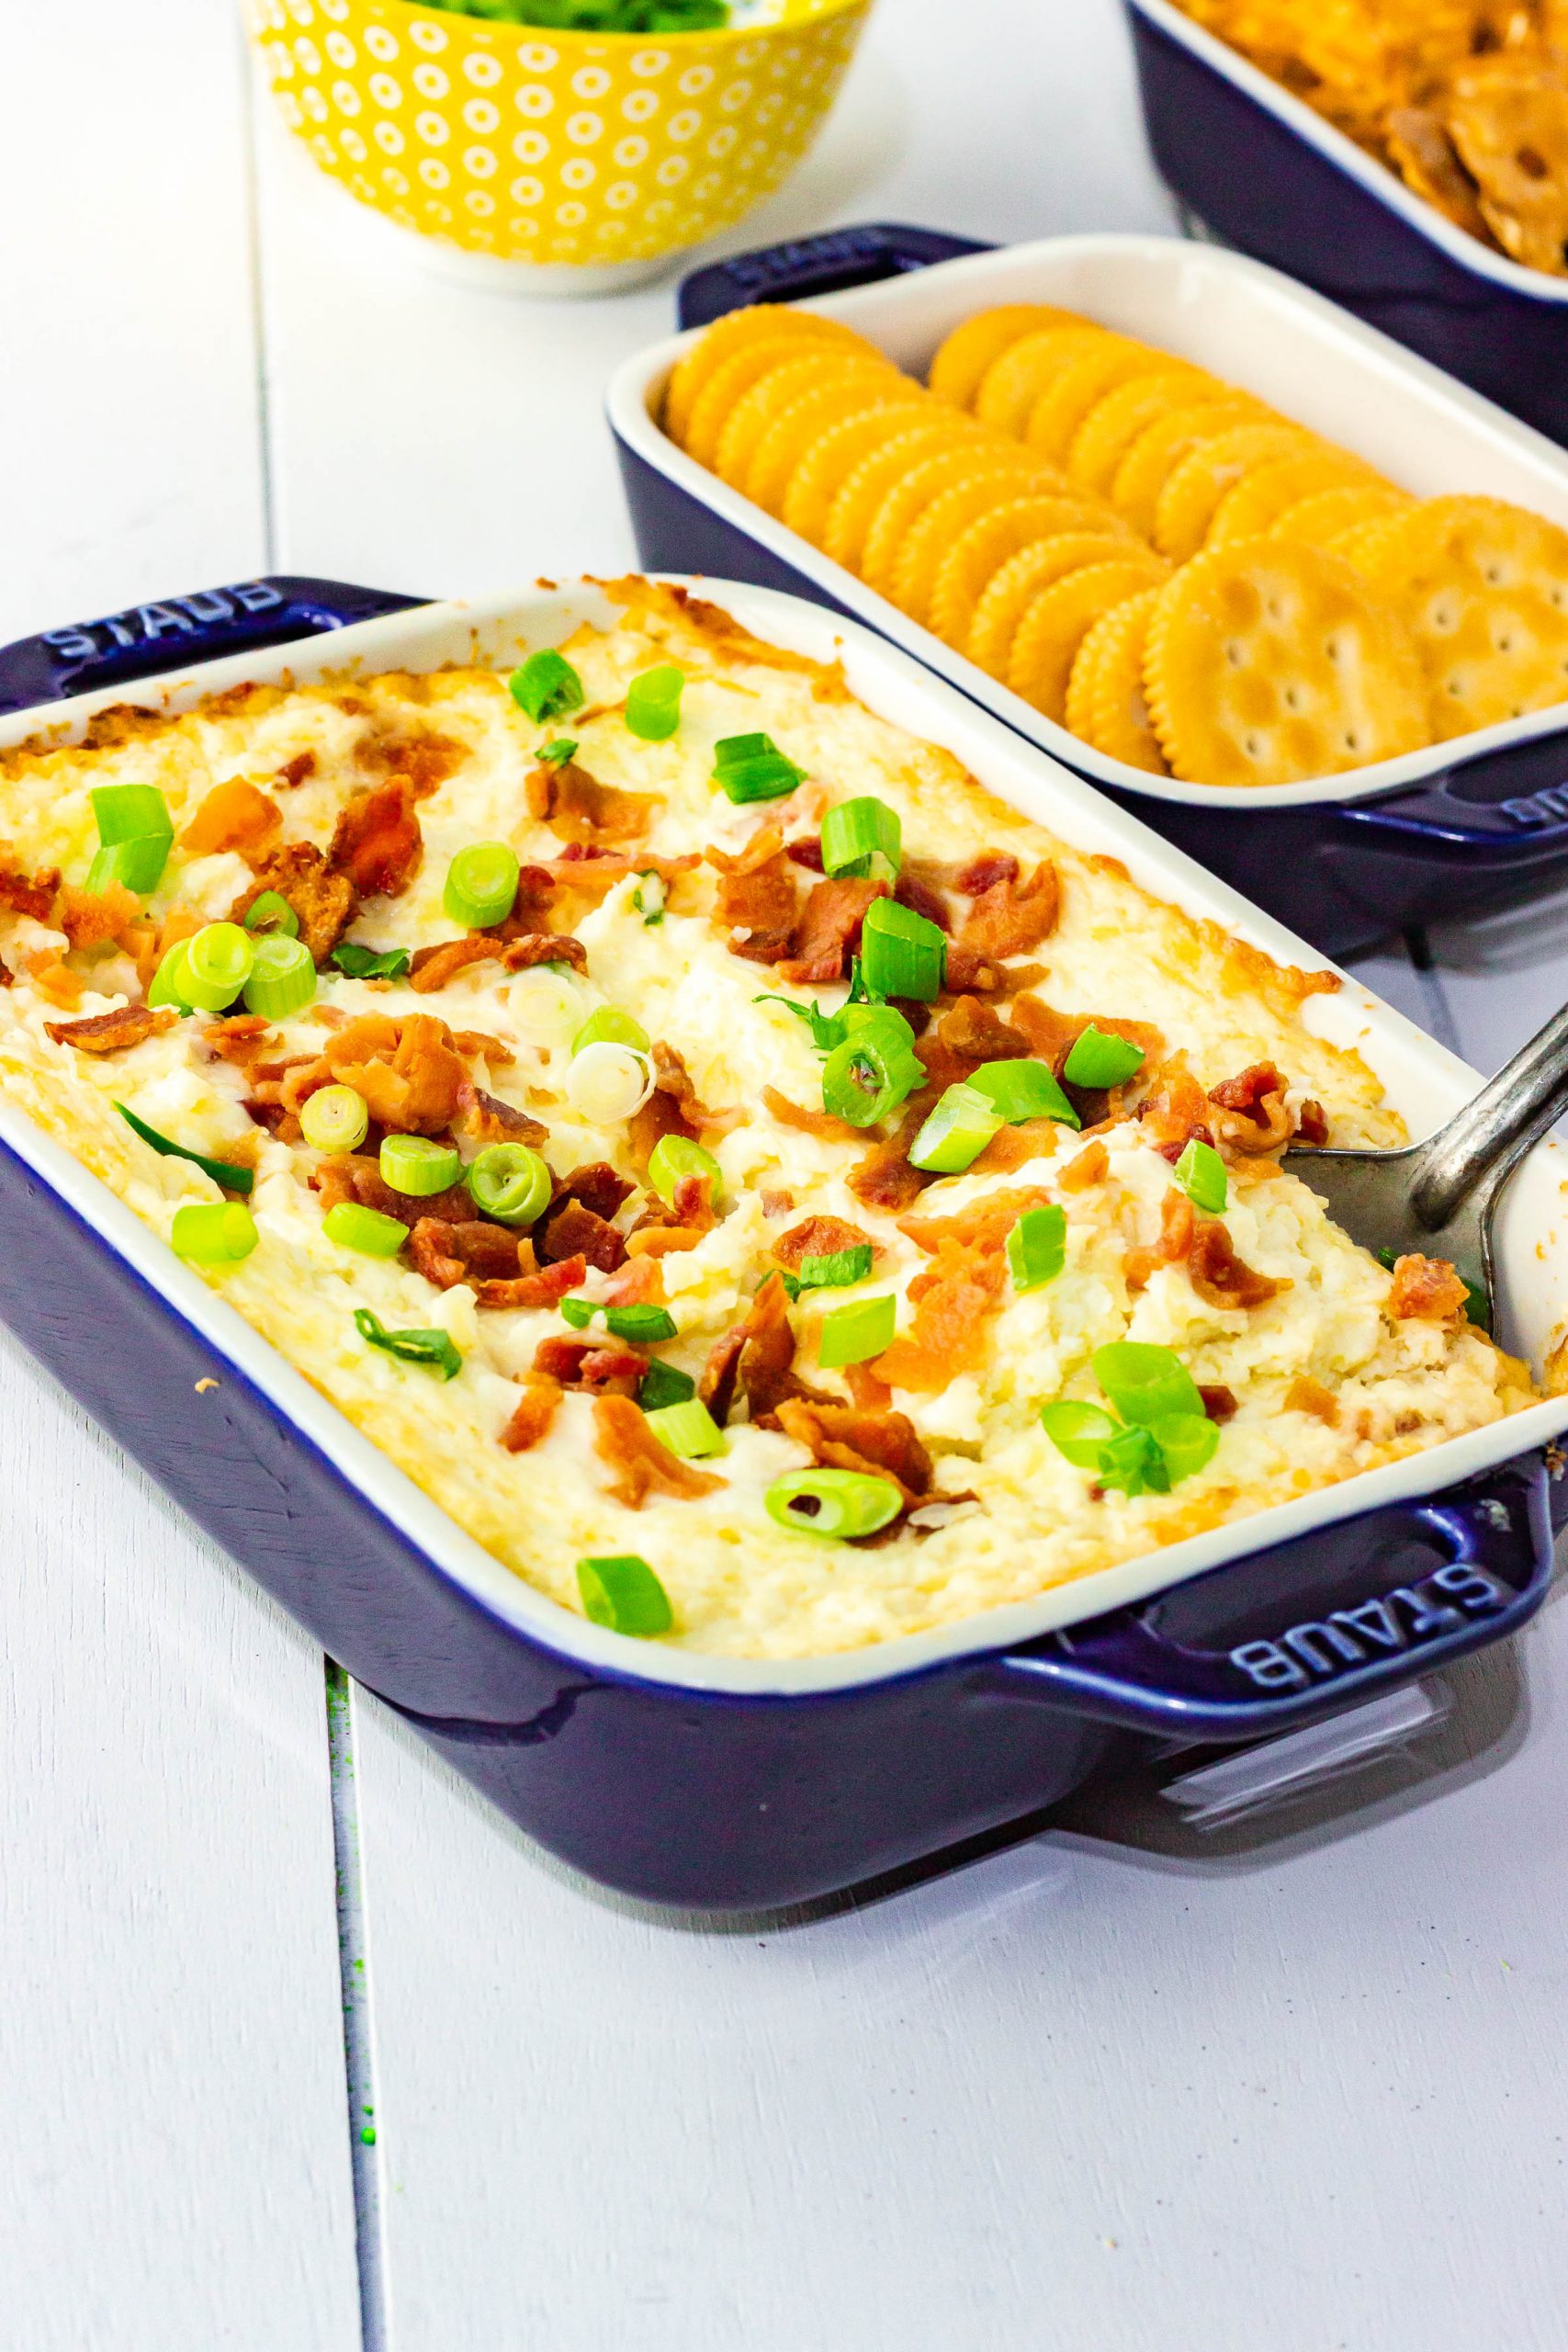
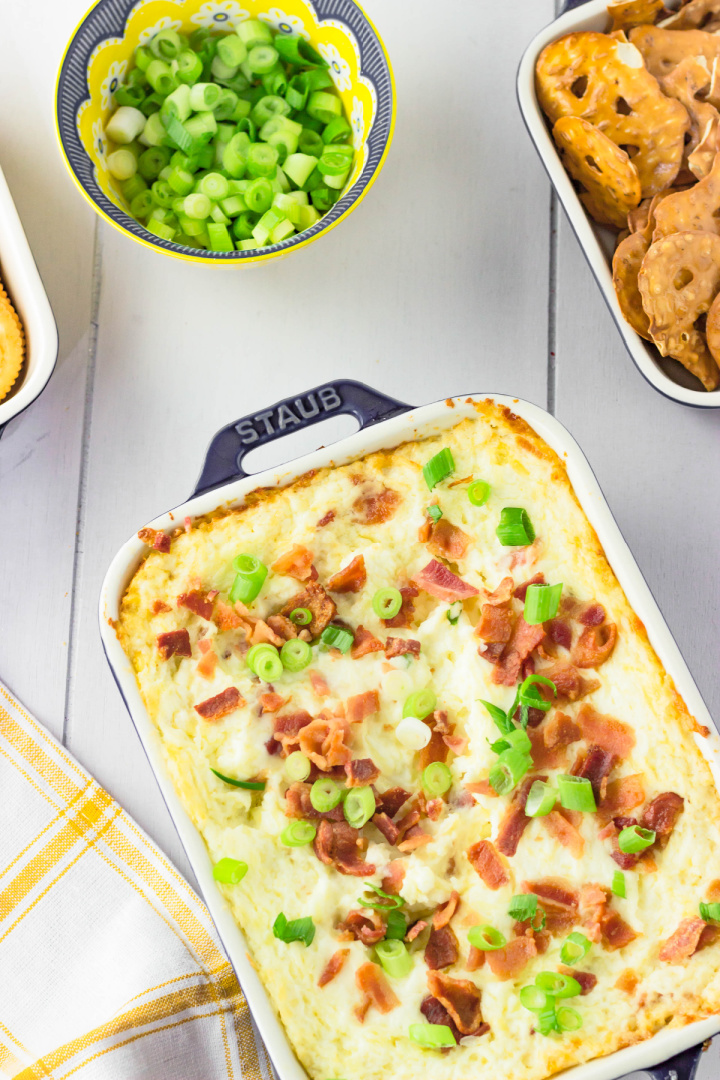
Enjoy this recipe loaded with cheese and bacon goodness. Serve with pretzels, crackers, bread bowls, or even baguette bread. Dig in and enjoy!
Lay out the cream cheese so it can soften to room temperature.
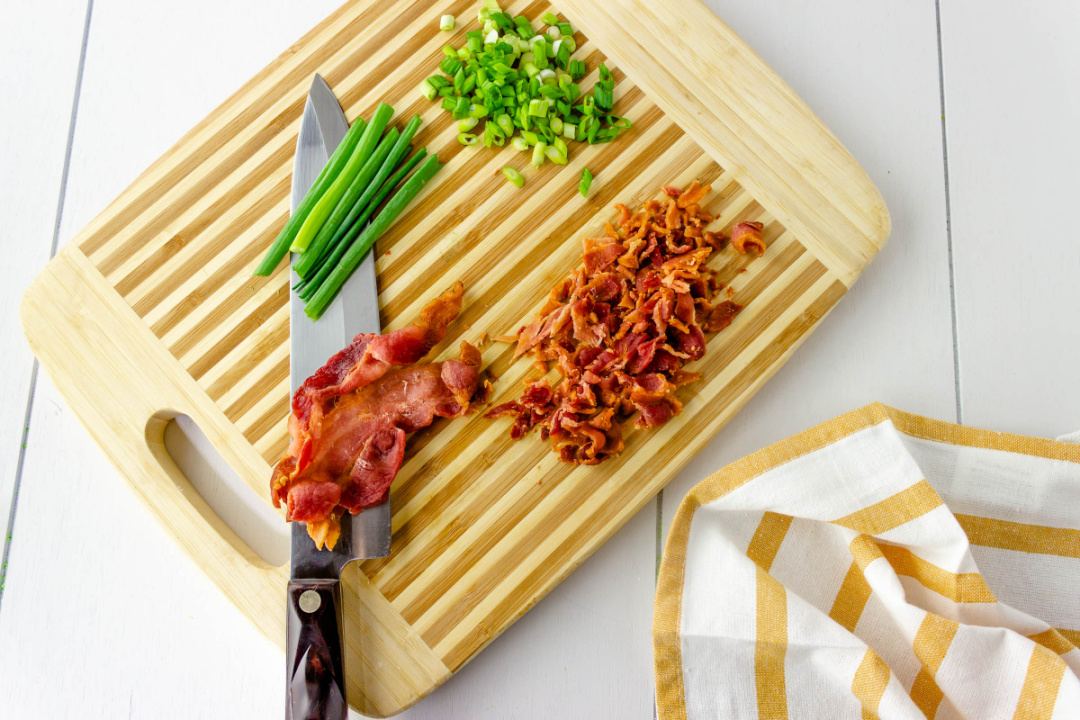
Cook the bacon in the manner that you normally would, allow to cool, and chop into small pieces.
Wash and dry the green onions and thinly slice on an angle.
Preheat the oven to 375 degrees.
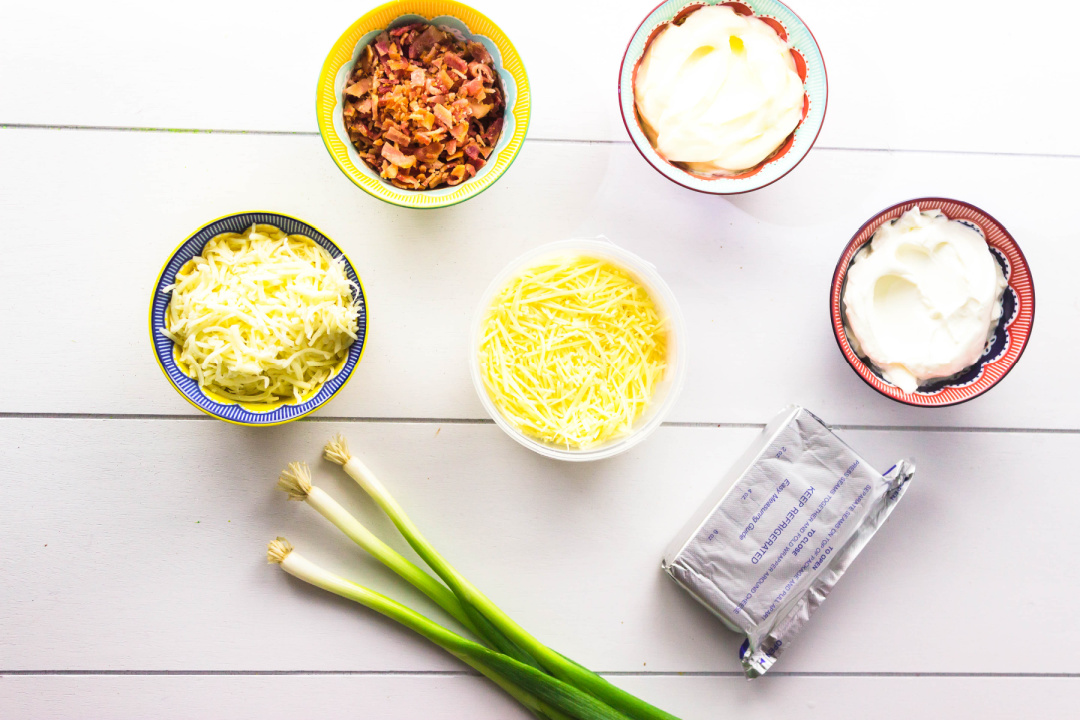
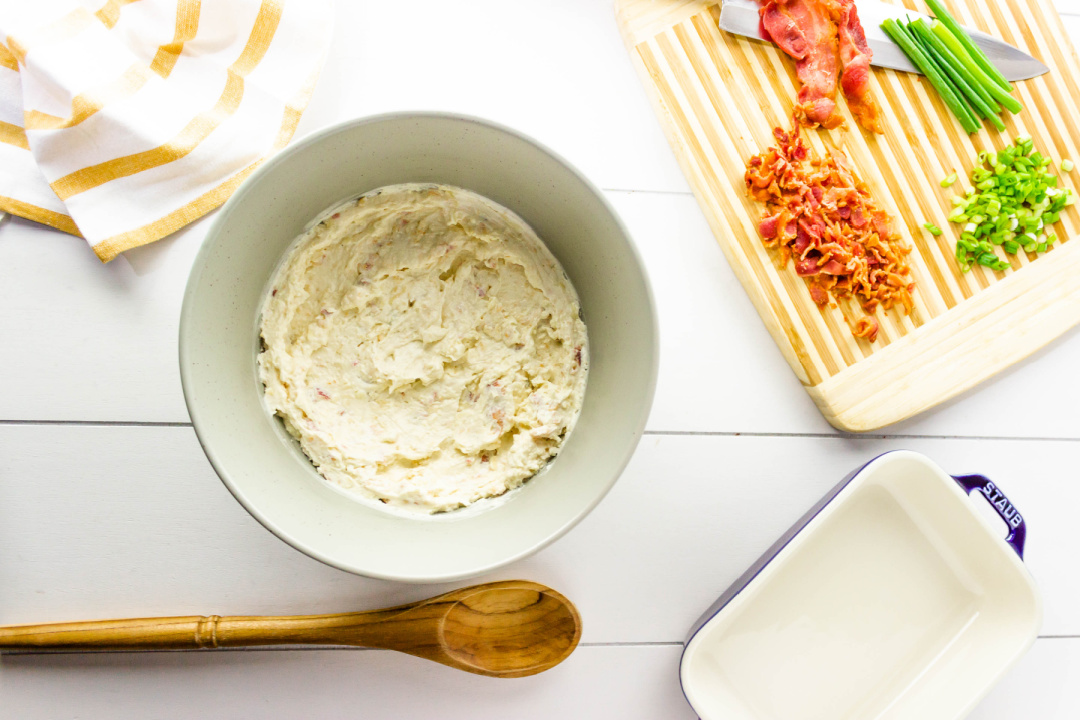
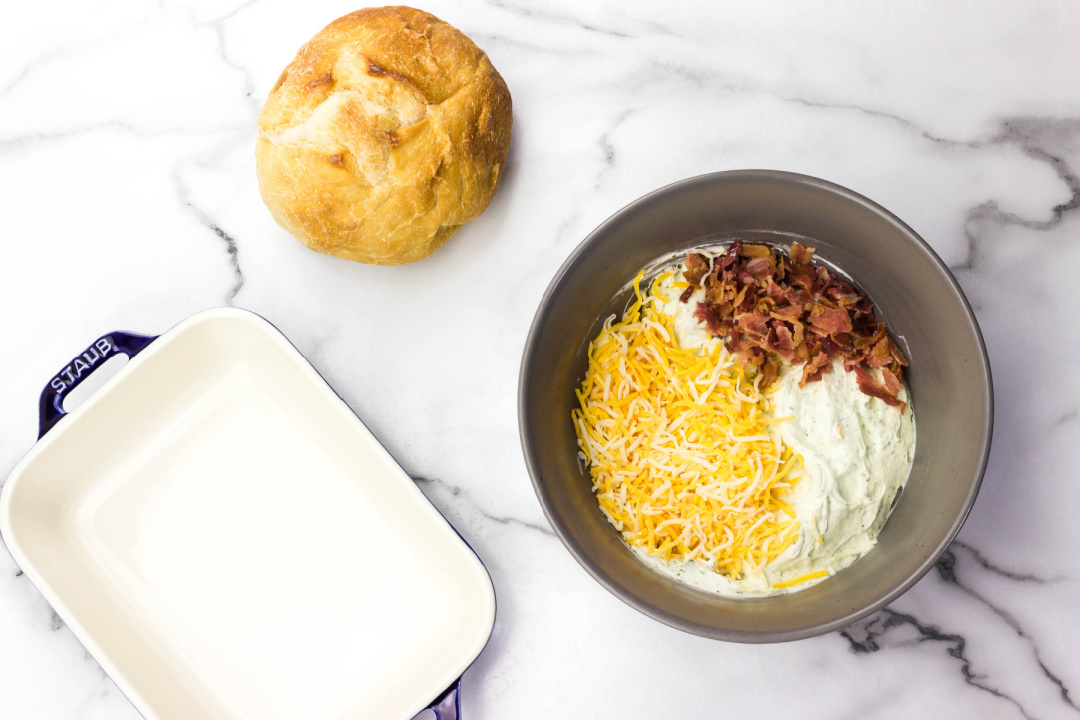
In a medium sized bowl, add in the cream cheese, mayo, sour cream, mozzarella cheese, gruyere cheese, bacon (reserve some for topping the dip), and combine thoroughly with a spoon.
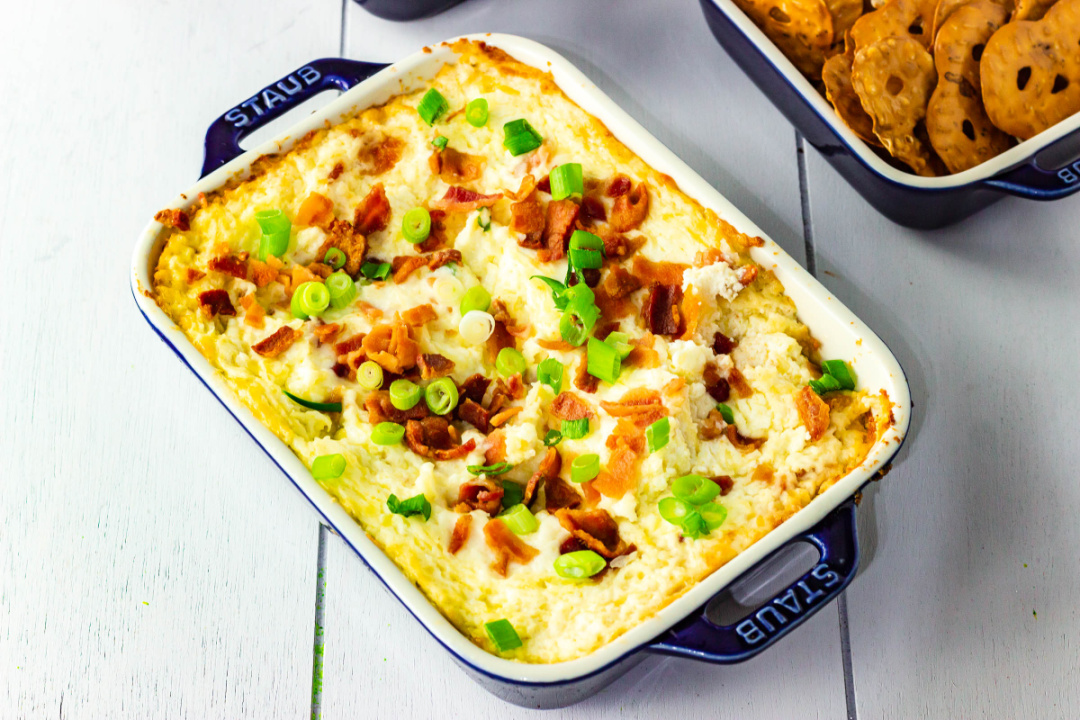
Then pour into a baking dish, cover with foil, and bake for 35 minutes.
Remove from oven, top with additional bacon and the green onions and serve warm!
Baked Cheesy Dip
Ingredients
8 oz cream cheese
1 cup of mayo
8 oz sour cream
8 oz of shredded mozzarella cheese
4 oz of gruyere cheese
8 pieces of bacon
Green onions, thinly sliced
Instructions
Lay out the cream cheese so it can soften to room temperature.
Cook the bacon in the manner that you normally would, allow to cool, and chop into small pieces.
Wash and dry the green onions and thinly slice on an angle.
Preheat the oven to 375 degrees.
In a medium sized bowl, add in the cream cheese, mayo, sour cream, mozzarella cheese, gruyere cheese, bacon (reserve some for topping the dip), and combine thoroughly with a spoon.
Then pour into a baking dish, cover with foil, and bake for 35 minutes.
Remove from oven, top with additional bacon and the green onions and serve warm!
Preheat the oven to 375 degrees and grease 8 cups of a muffin pan with nonstick cooking spray.
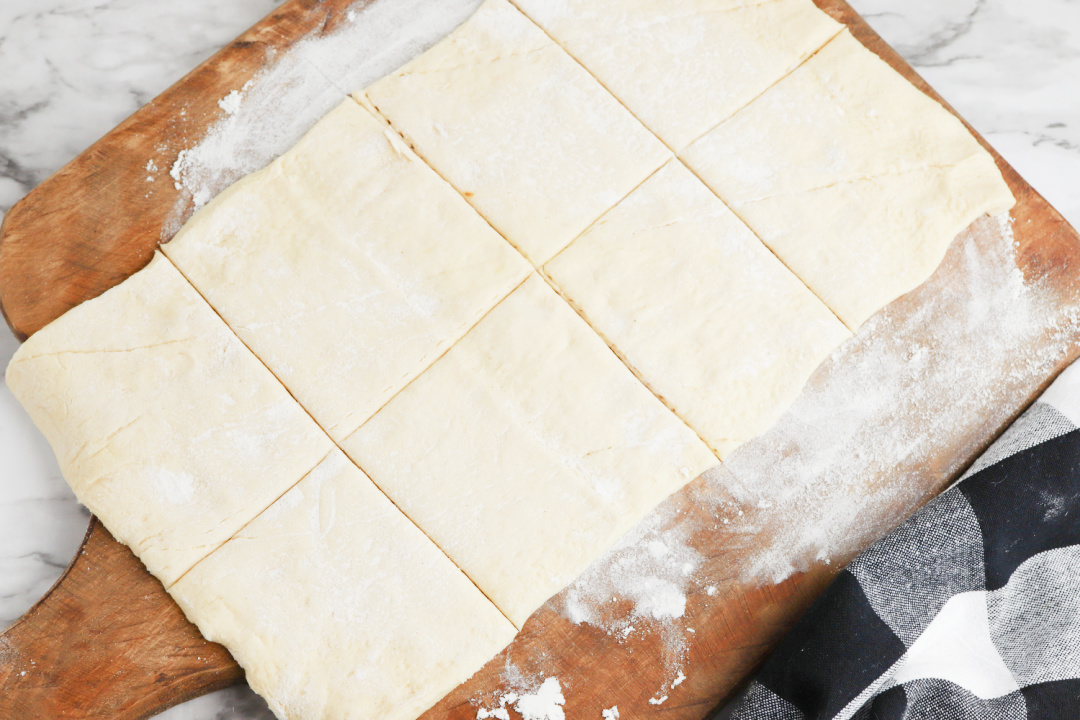
Unroll the crescent roll dough on a lightly floured surface and pinch the seams together. Use a rolling pin to flatten the dough and seal the seams, then cut it into eight squares.
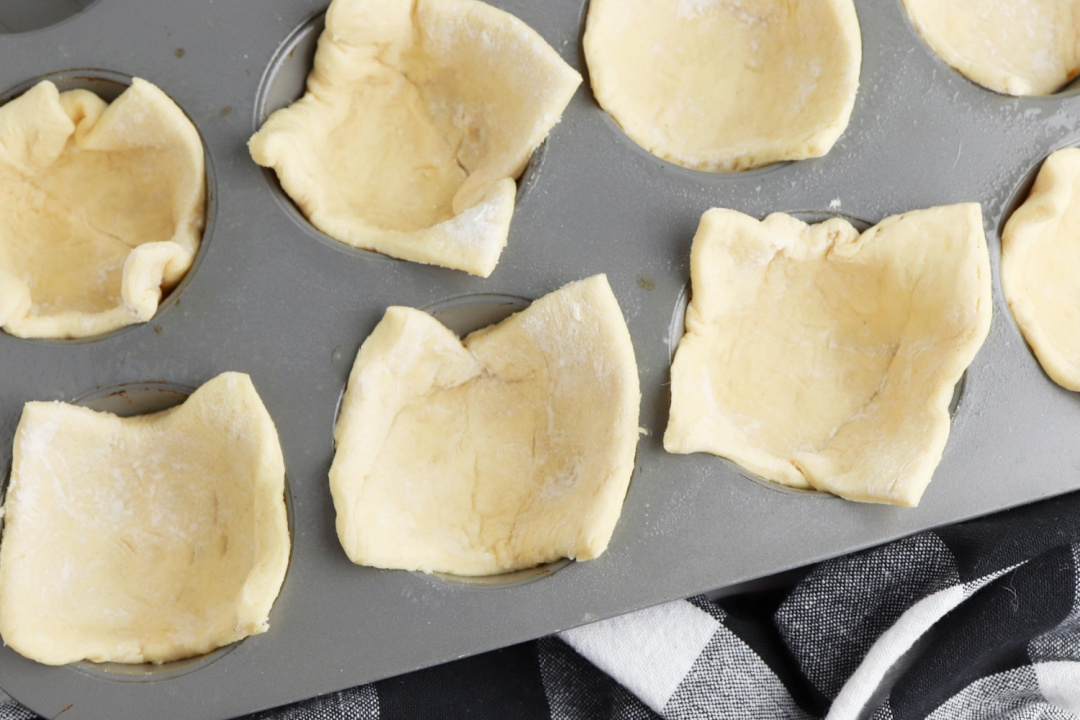
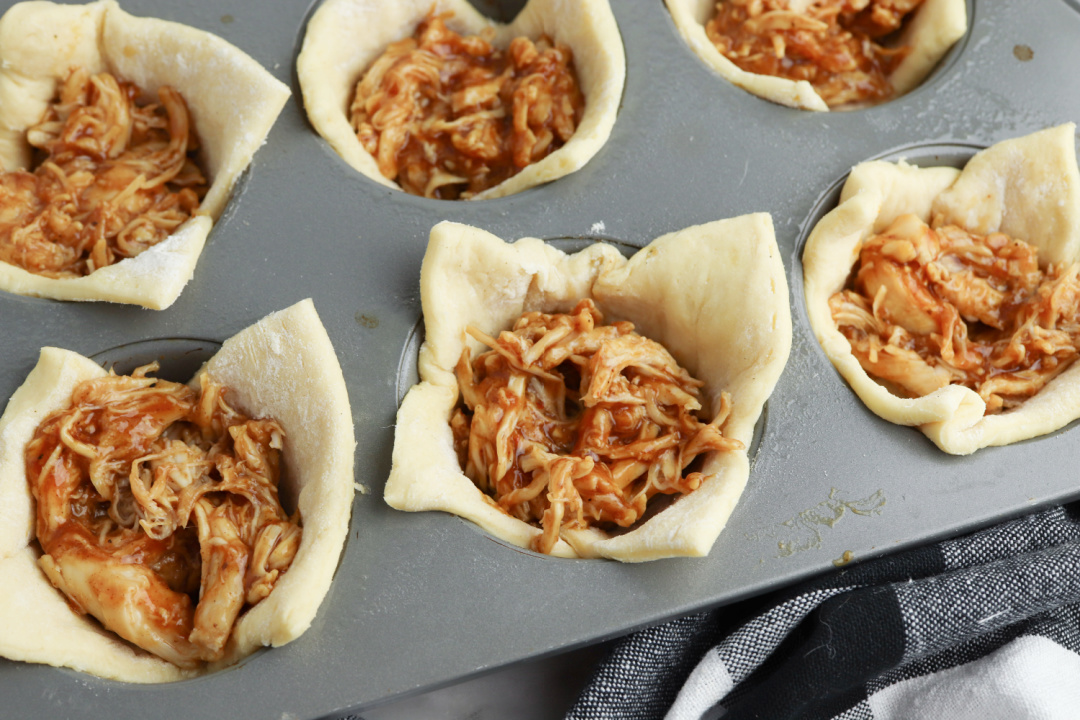
Press the squares into the muffin pan to form cups.
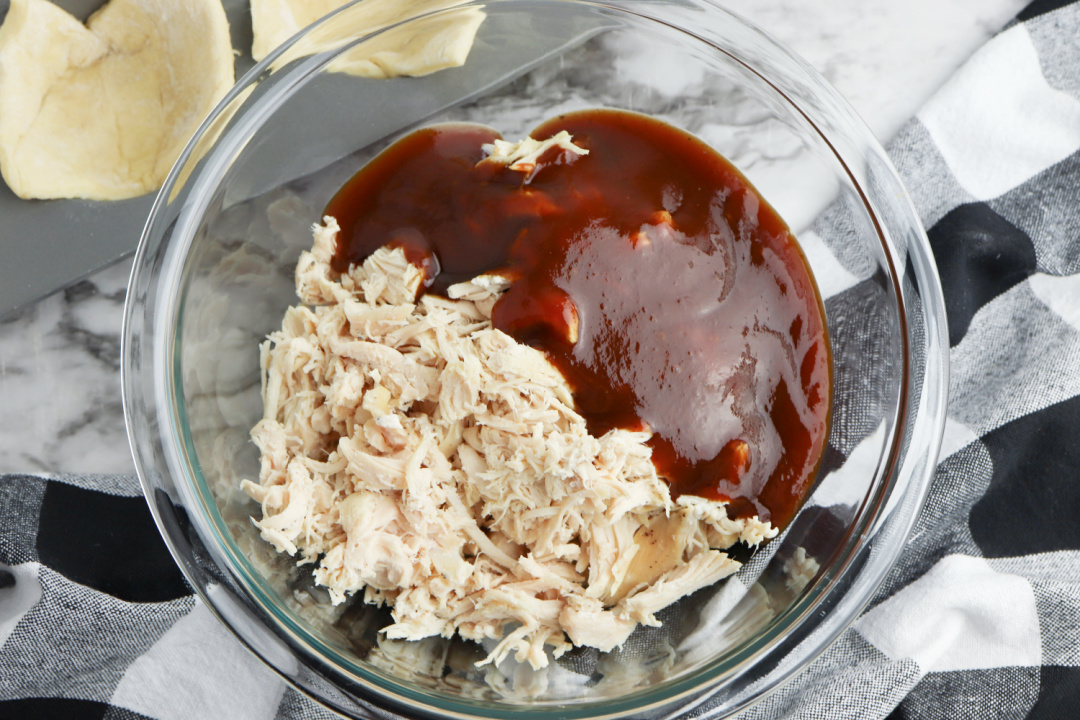
Stir together the shredded chicken and BBQ sauce in a medium bowl. Spoon the mixture into the cups.
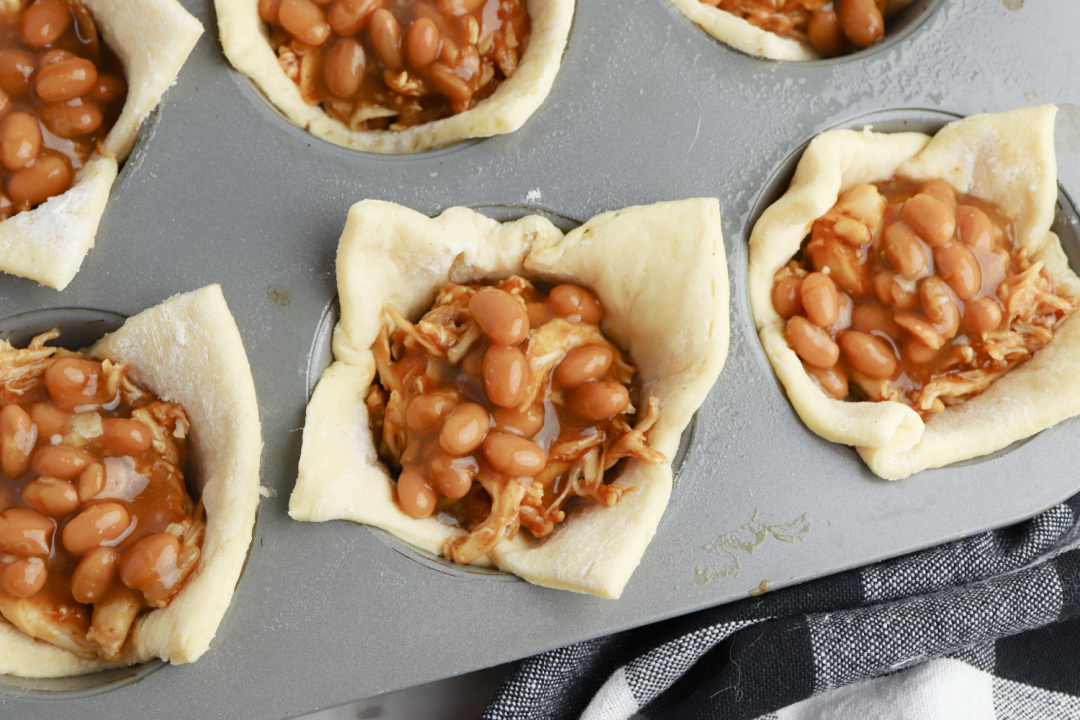
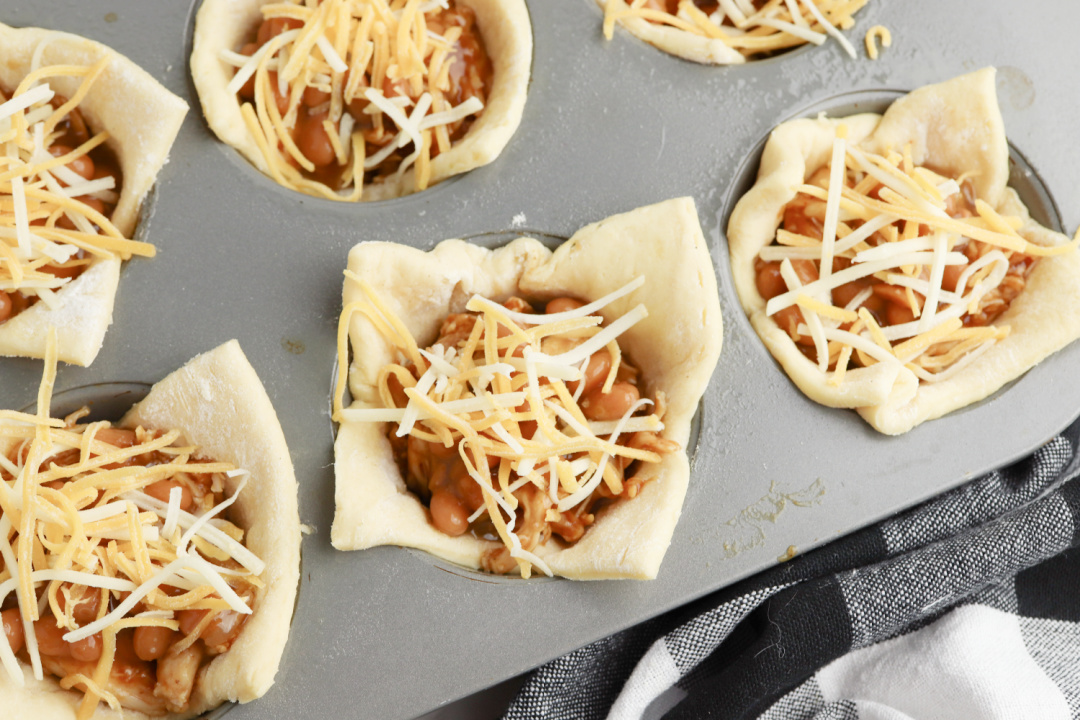
Top the chicken with baked beans, then sprinkle shredded cheese over the top of each cup.
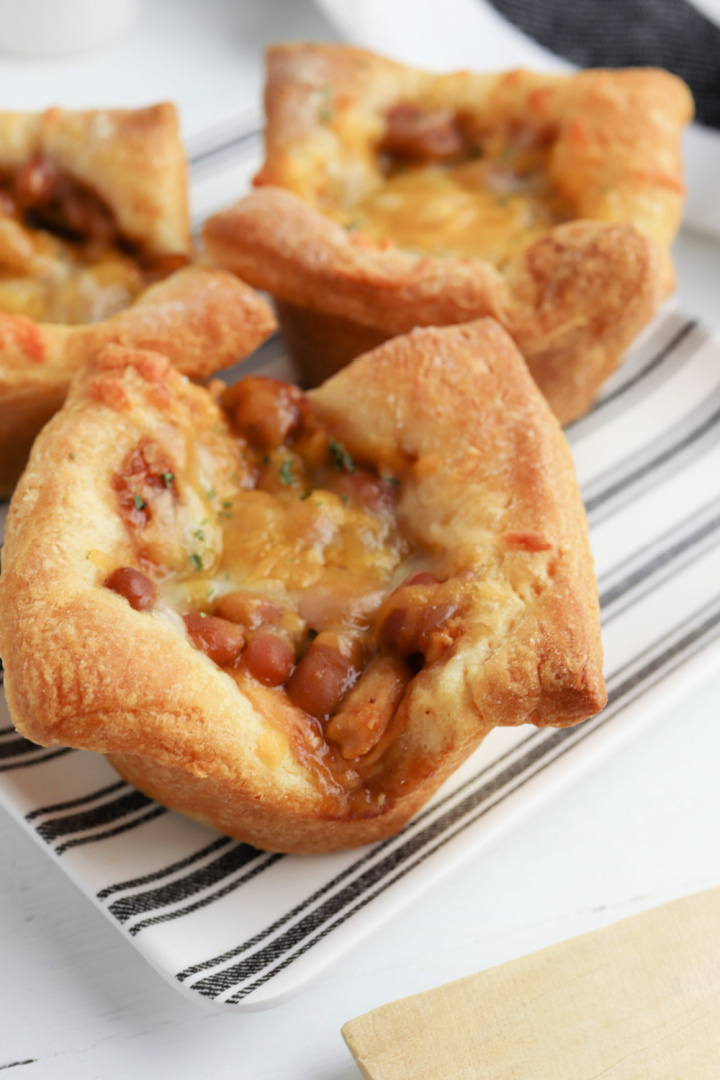
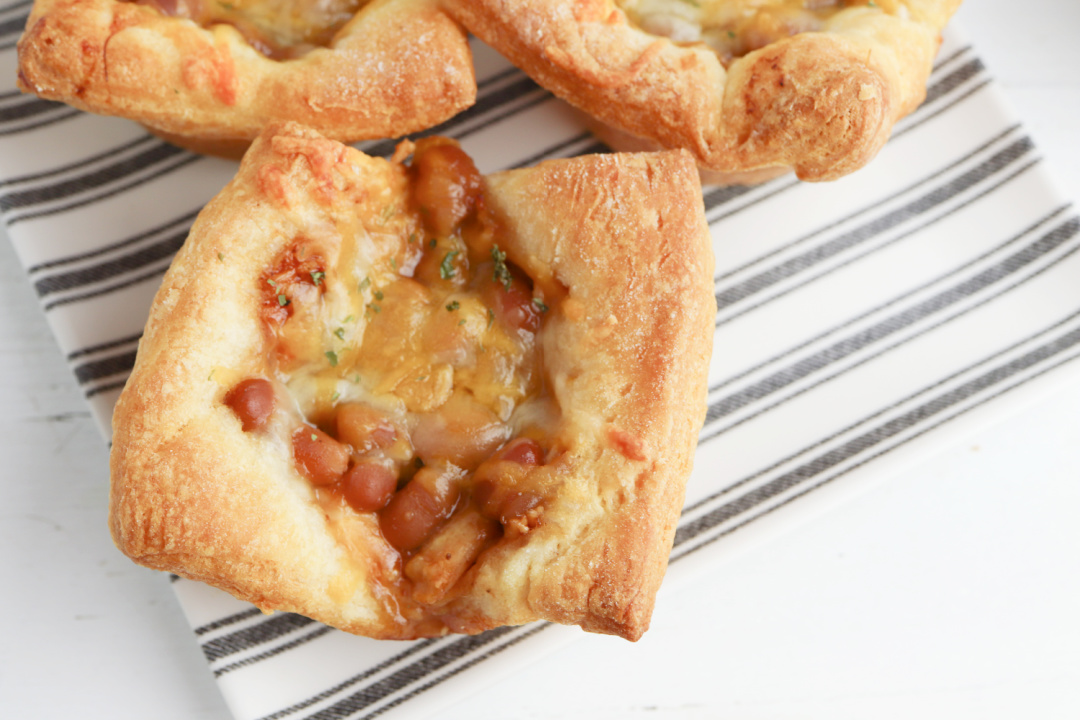
Bake in the oven for 12 to 15 minutes, until the cheese is melted and the crescent rolls are golden brown.
BBQ Chicken Crescent Cups
Ingredients
1 package crescent roll dough
2 cups shredded chicken
1 cup BBQ sauce
1 8-ounce can baked beans
1 cup shredded cheddar jack cheese
all purpose flour
Instructions
Preheat the oven to 375 degrees and grease 8 cups of a muffin pan with nonstick cooking spray.
Unroll the crescent roll dough on a lightly floured surface and pinch the seams together. Use a rolling pin to flatten the dough and seal the seams, then cut it into eight squares.
Press the squares into the muffin pan to form cups.
Stir together the shredded chicken and BBQ sauce in a medium bowl. Spoon the mixture into the cups.
Top the chicken with baked beans, then sprinkle shredded cheese over the top of each cup.
Bake in the oven for 12 to 15 minutes, until the cheese is melted and the crescent rolls are golden brown.
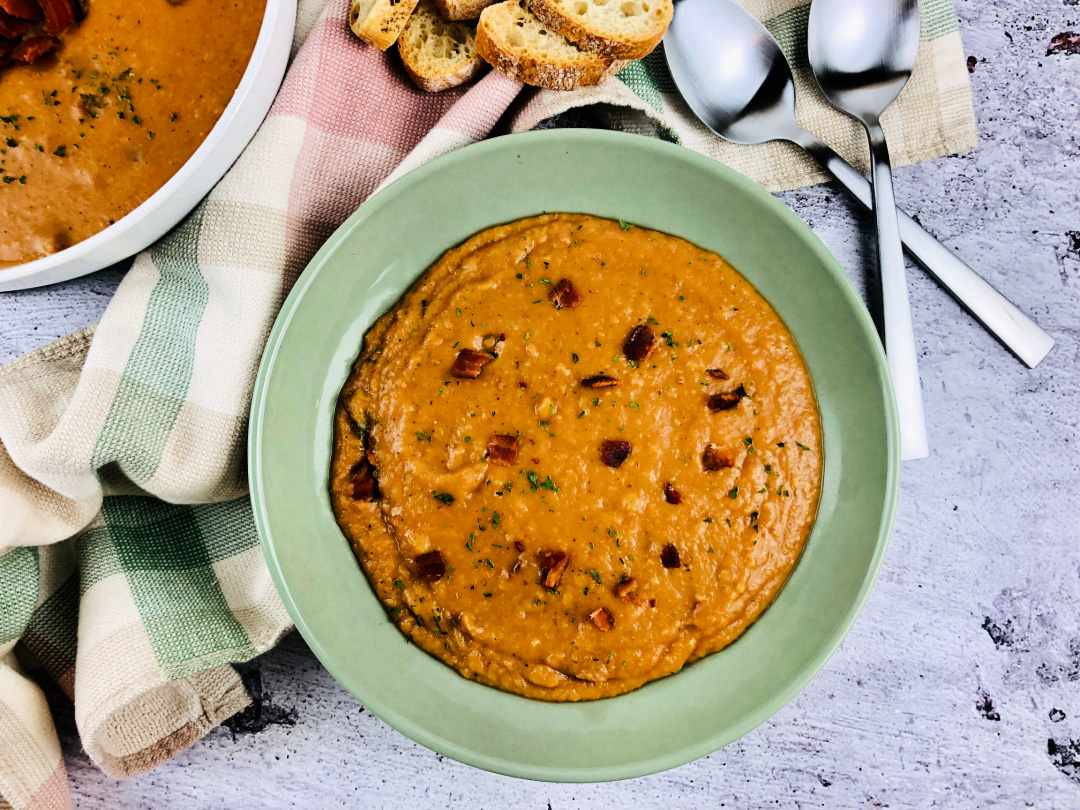
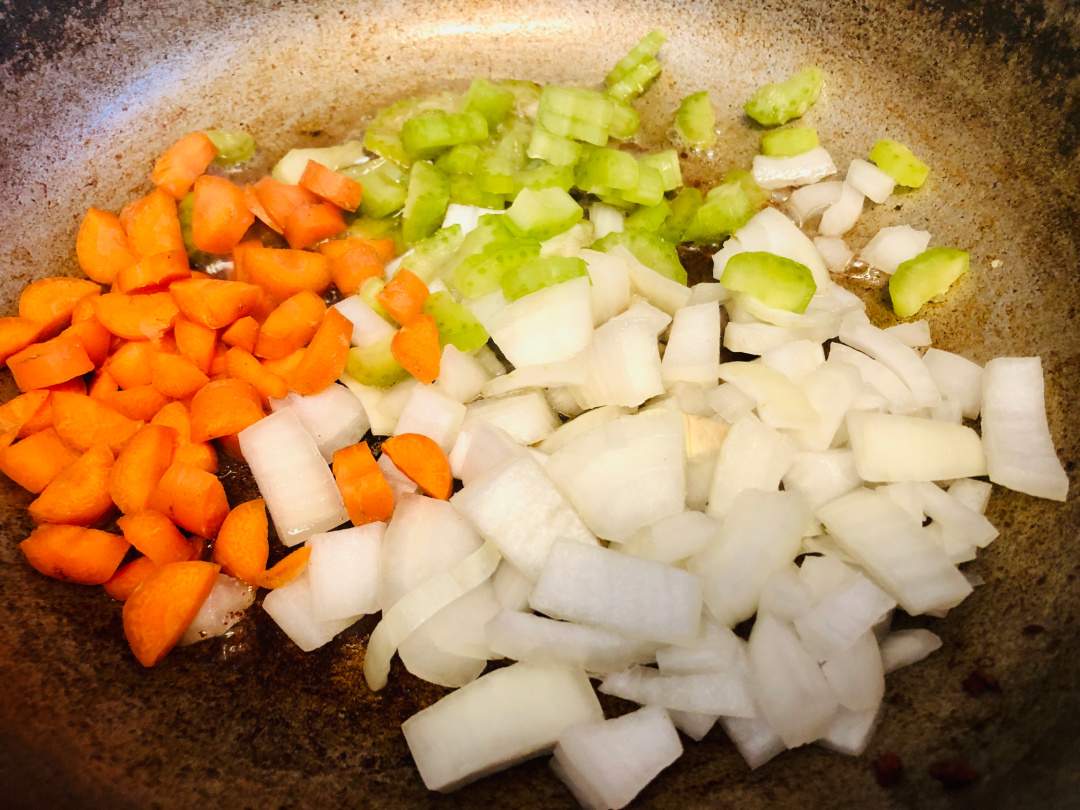
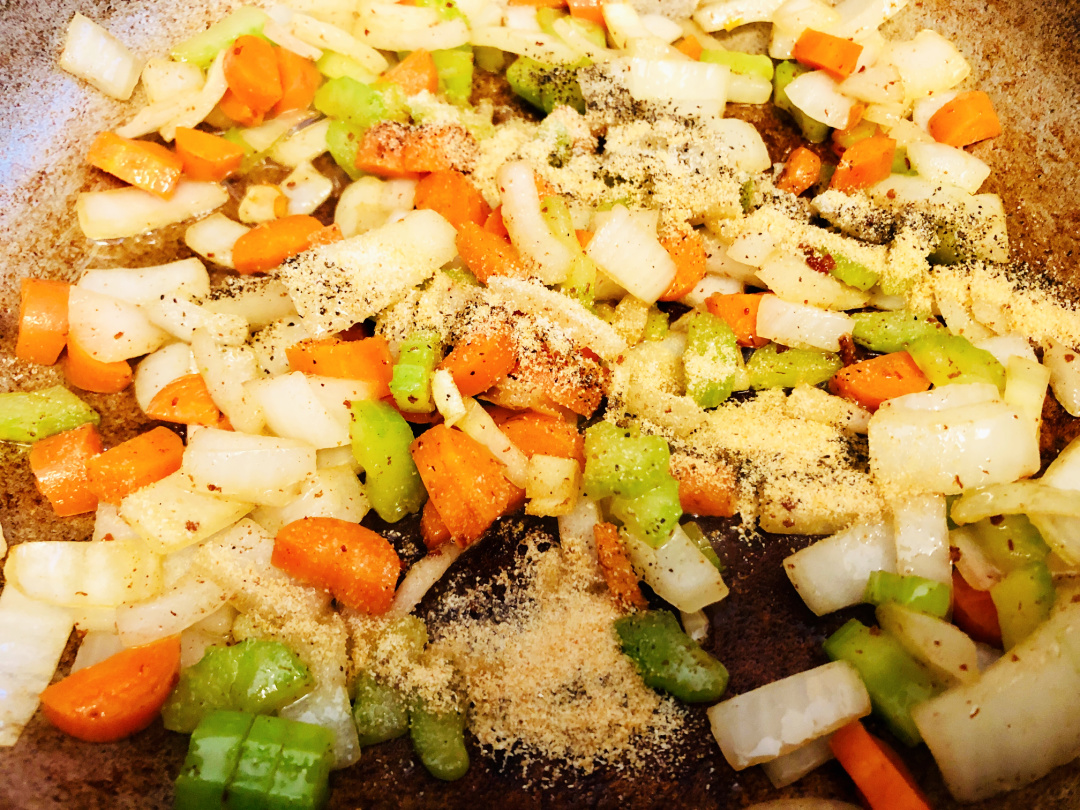
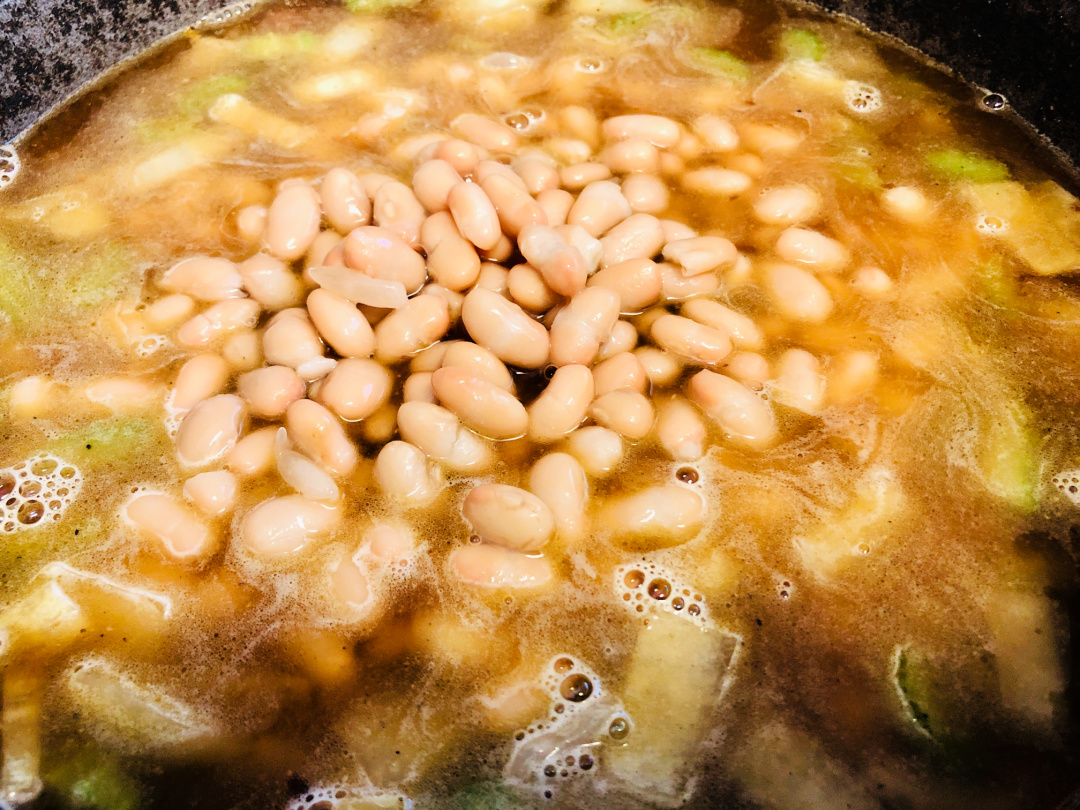
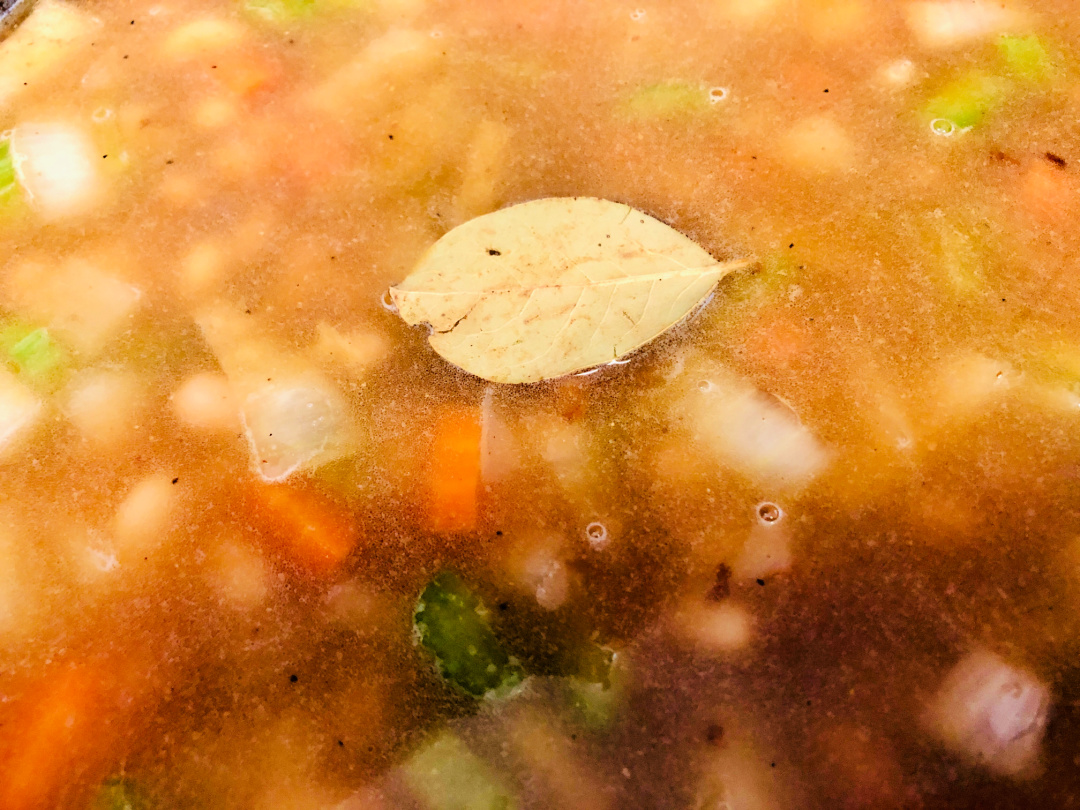
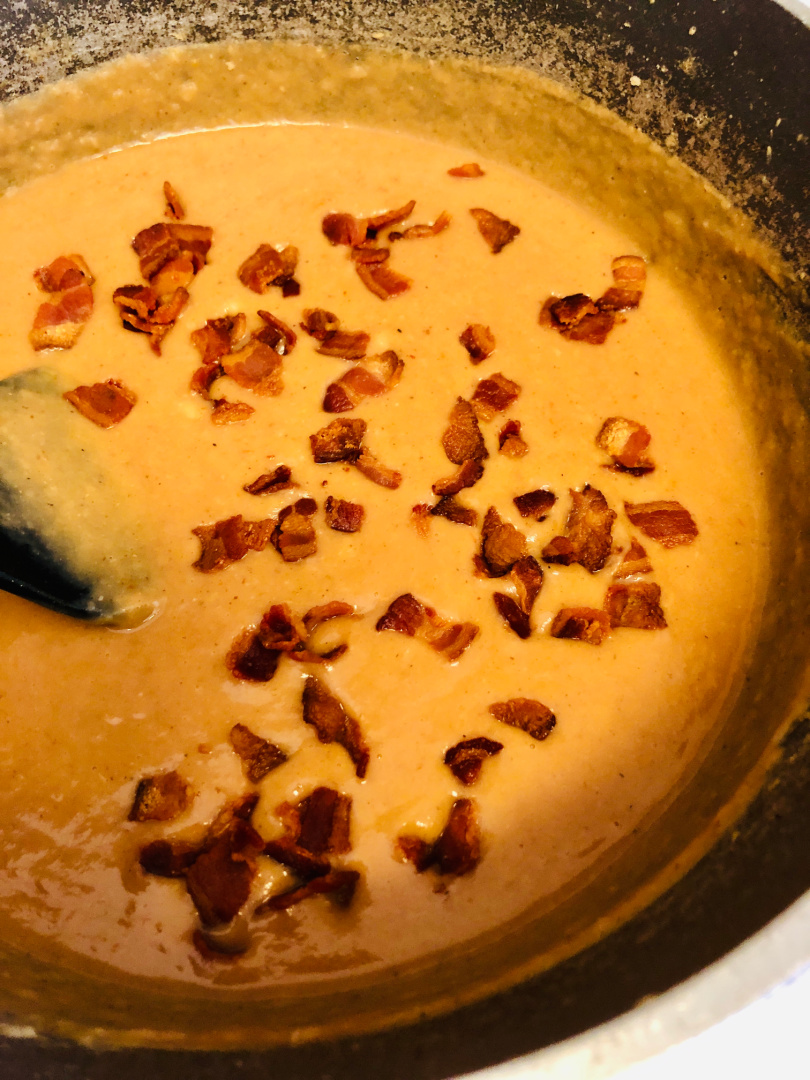
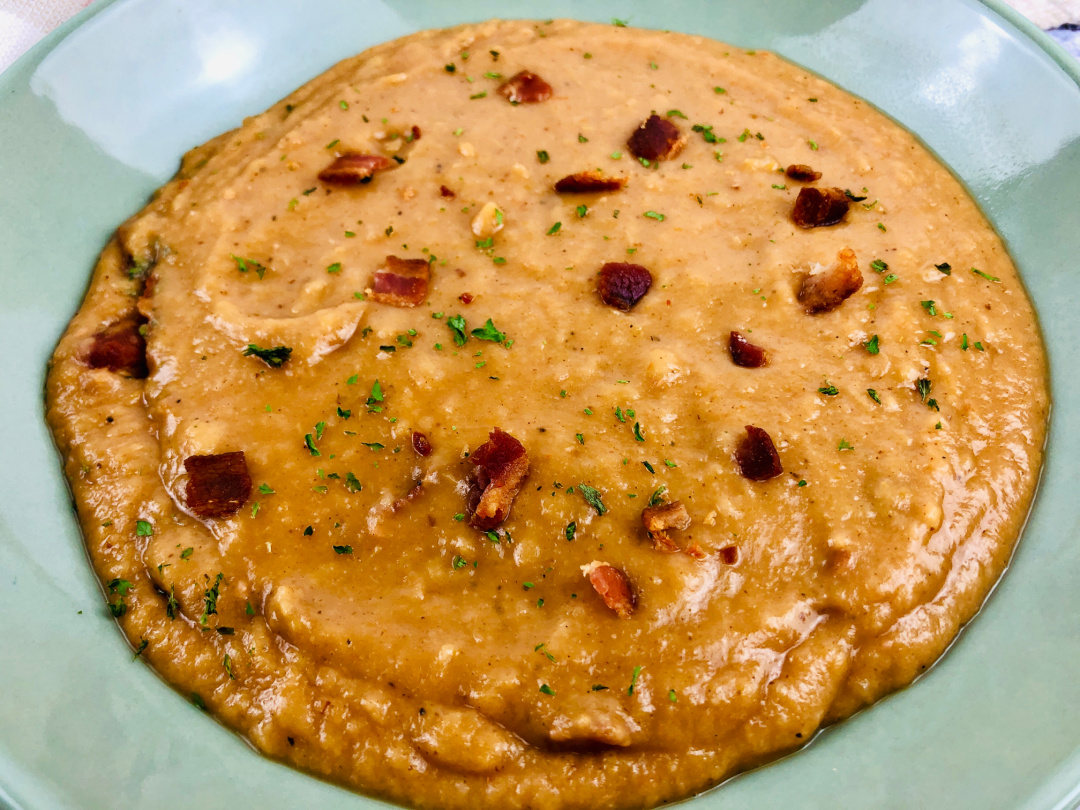
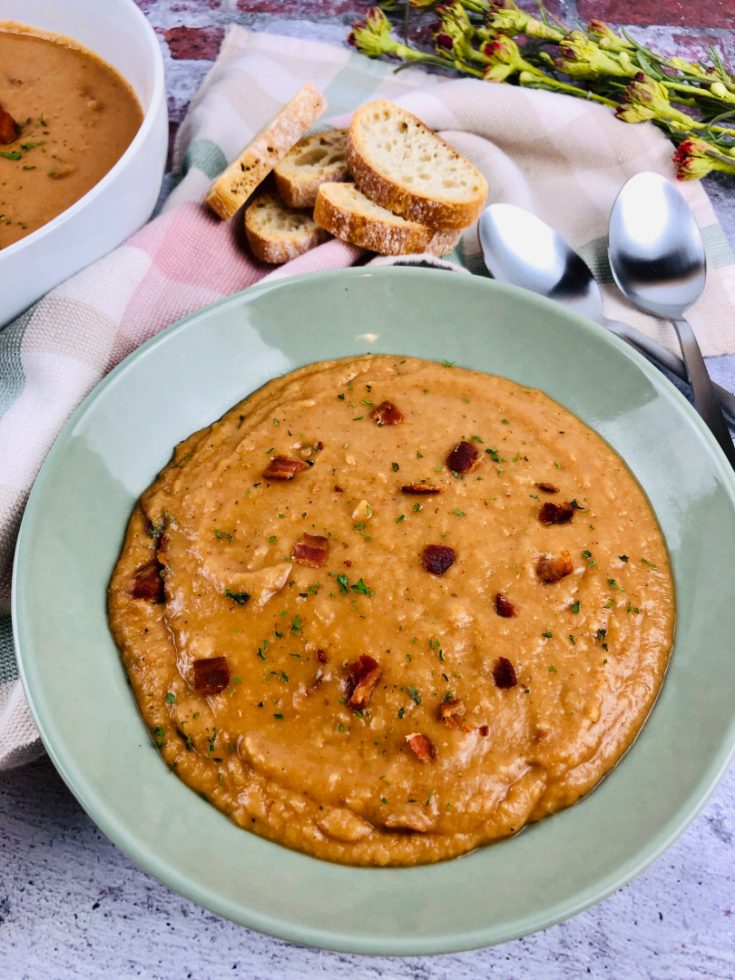
Bean and bacon soup is the perfect comfort food – it’s hearty, filling, and warming. And best of all, it’s easy to make.
Who doesn’t love a big, steaming bowl of soup on a cold day?
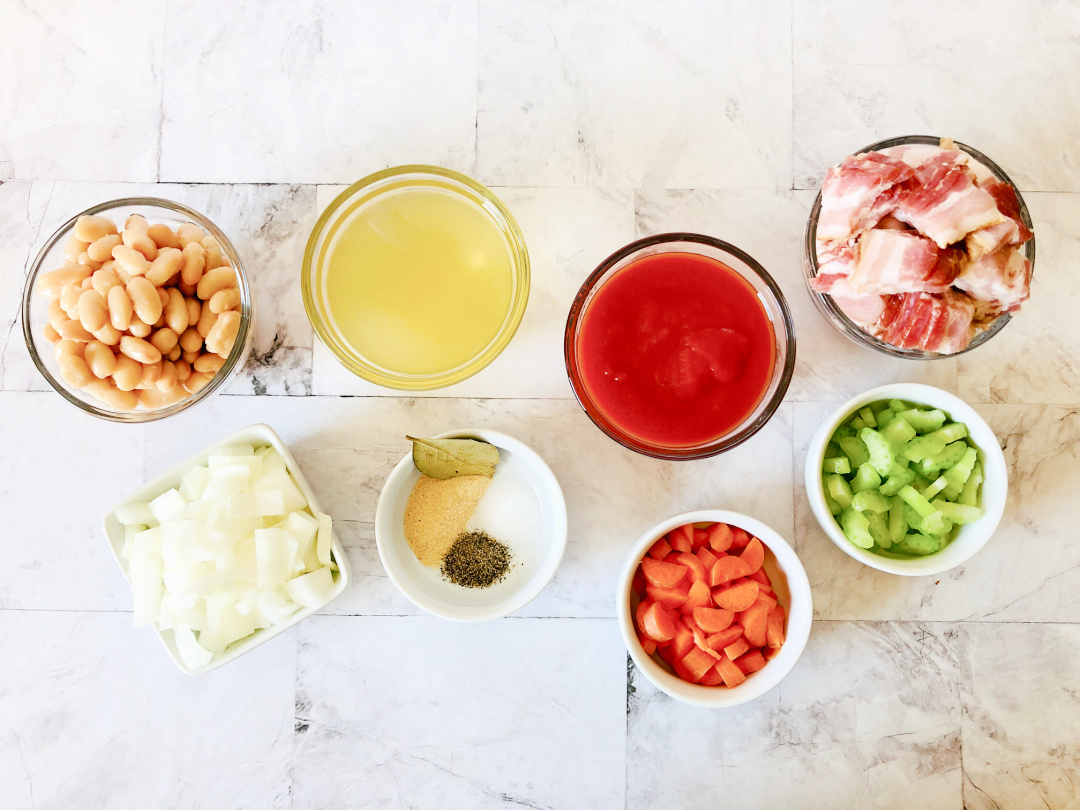
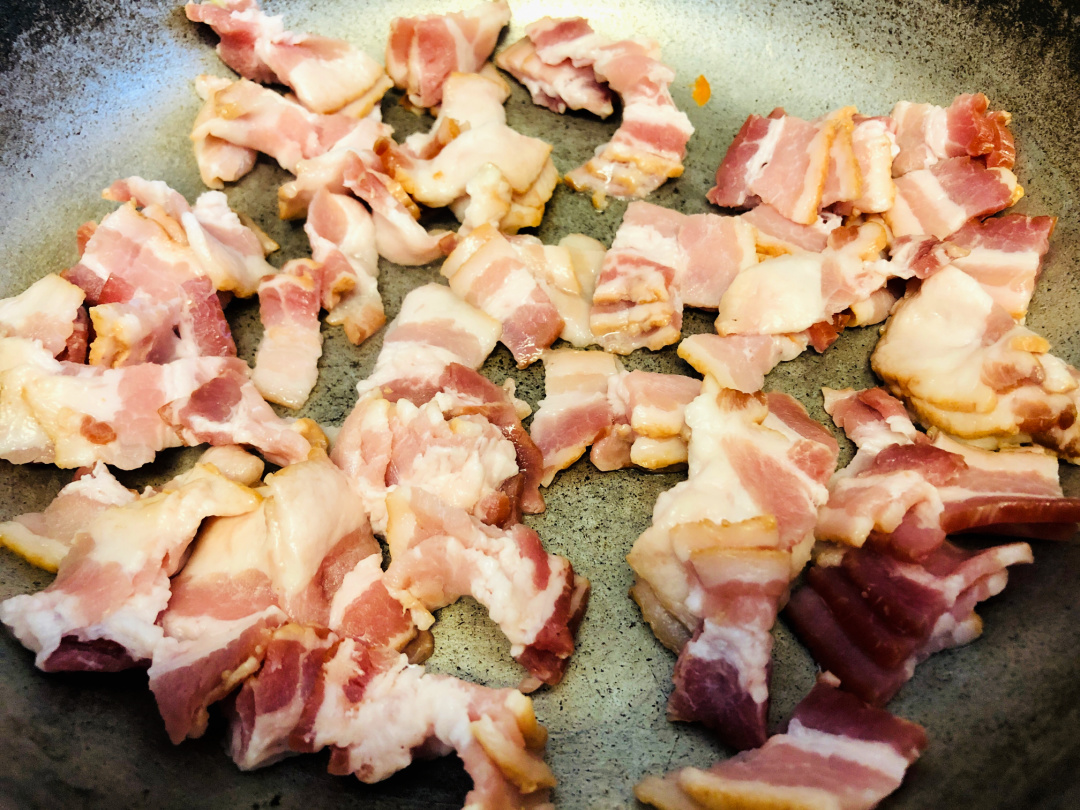
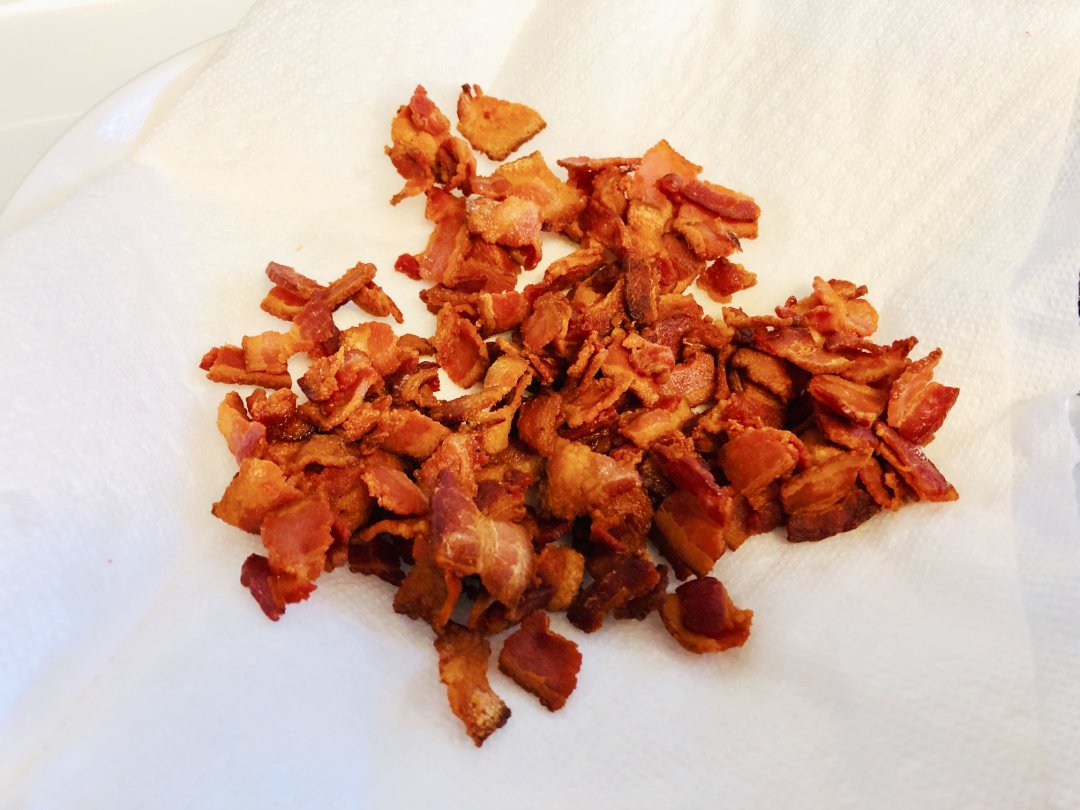
This recipe is simple but delicious – just cook the bacon until crisp, then add the beans, broth, and other spices. Let it simmer for a while to let the flavors blend, then enjoy!
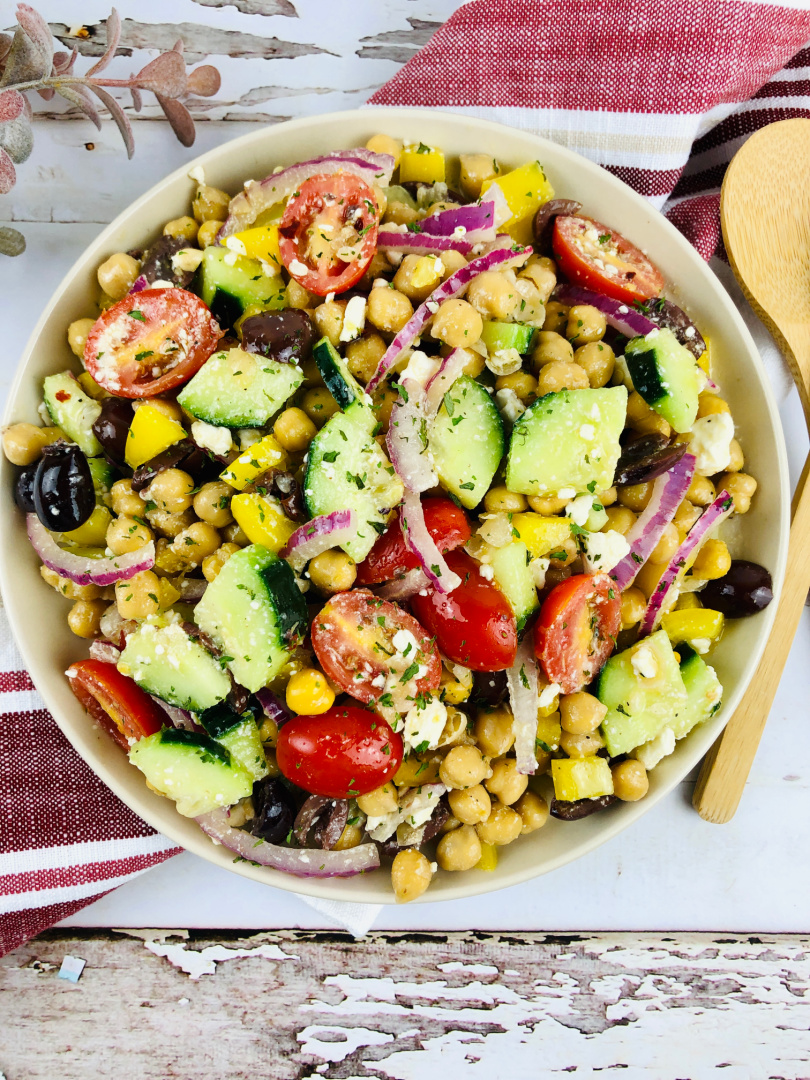
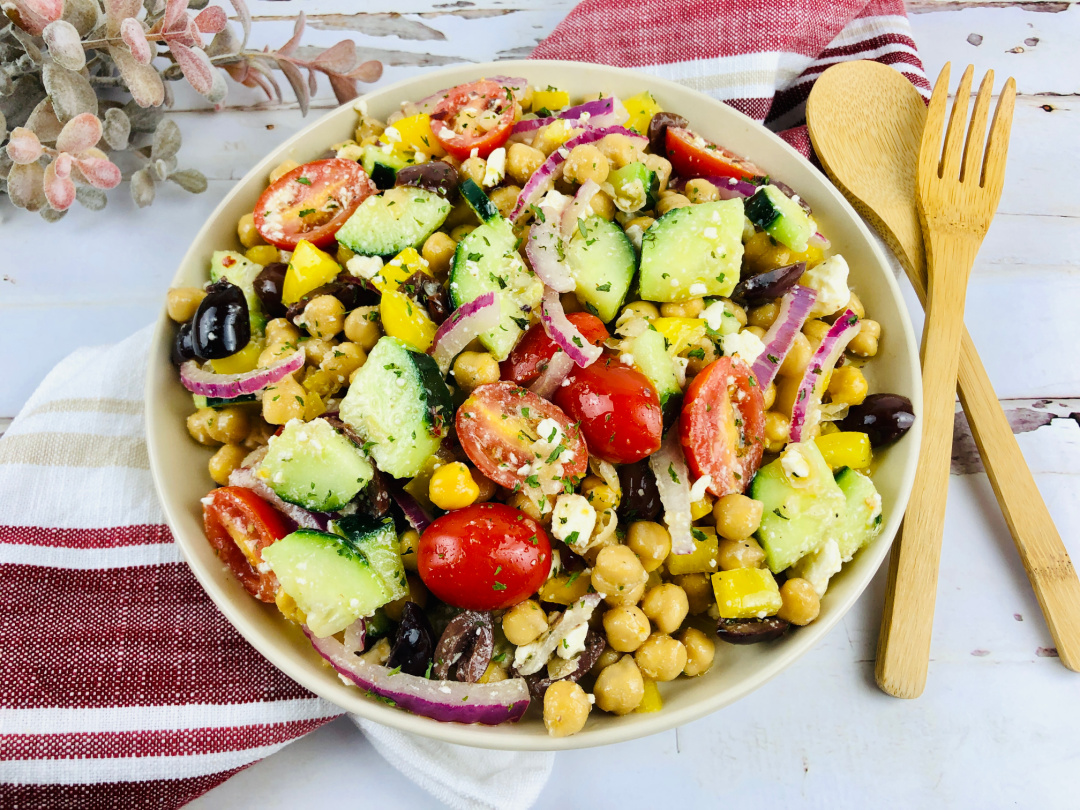
Easy Mediterranean Chickpea Salad Recipe for a Fresh and Flavorful Side Dish
If you’re looking for a quick and easy side dish that packs in fresh flavor and bright color, this Mediterranean Chickpea Salad checks all the boxes.
It’s a simple recipe made with pantry staples and fresh vegetables, making it a smart go-to for busy weeknights, warm-weather cookouts, or light lunches throughout the week.
This salad is ideal for anyone trying to eat a little lighter without sacrificing flavor.
Whether you’re cooking for your family, meal prepping lunches for the week, or need a quick side to bring to a potluck, this recipe is a solid choice.
The protein-rich chickpeas, crisp veggies, and zesty vinaigrette make it hearty enough to stand on its own but still work perfectly alongside grilled chicken, fish, or even burgers.
What Makes This a Popular Chickpea Salad Option
When folks are searching online for easy Mediterranean chickpea salad with feta or healthy summer chickpea salad, this one often comes up because it’s easy to pull together and full of ingredients people already have on hand.
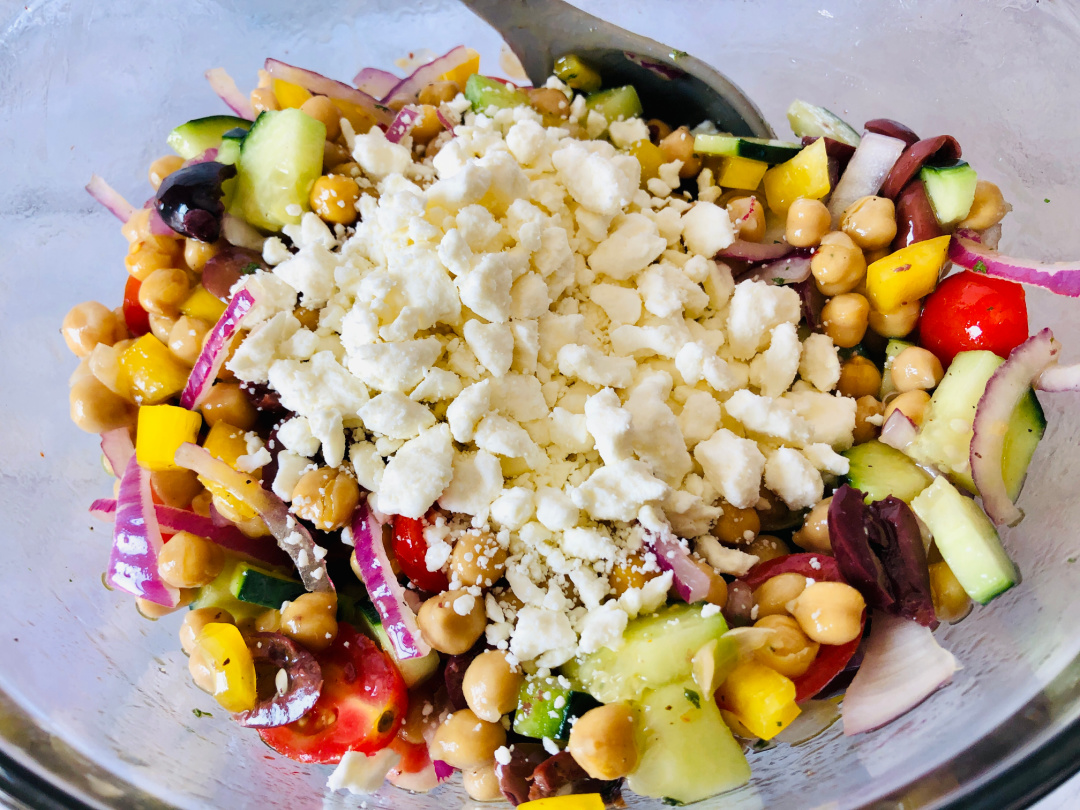
It’s gluten-free, vegetarian, and packed with texture—crunchy cucumber, juicy tomatoes, briny olives, and creamy feta.
When to Make This Mediterranean Salad
This recipe shines in the warmer months, especially when you need a cold chickpea salad for summer picnics or BBQs.
But it’s just as handy year-round as a make-ahead lunch or simple potluck dish. You can whip it up in under 15 minutes, and the flavors only get better as it sits.
Where to Serve Chickpea Salad (Creative Serving Ideas)
You can serve this salad straight from the bowl at a backyard get-together, or spoon it over a bed of leafy greens for a more filling meal.
Tuck a scoop into a pita for a quick sandwich, or serve it alongside grilled kabobs or roasted chicken.
It also works well as a topping for baked potatoes or in a grain bowl with quinoa or couscous.
Why This Is One of the Best Mediterranean Salads with Chickpeas
Searches for “quick Mediterranean chickpea salad with vinaigrette” or “high protein vegetarian salad recipe” are on the rise—and this one delivers.
Chickpeas provide fiber and plant-based protein, and the homemade red wine vinaigrette adds bold, fresh flavor without the need for bottled dressing.
It’s also budget-friendly and doesn’t require any special equipment.
How to Make It Ahead and Store It
This salad is a great make-ahead chickpea salad recipe for meal prep. Just mix everything except the feta and store in an airtight container in the fridge.
Add the cheese just before serving to keep it fresh and crumbly. It keeps well for 3–4 days, making it perfect for packing into lunchboxes or grabbing on the go.
Final Thoughts
When you need a fresh, healthy side that’s easy to make and full of flavor, this Mediterranean chickpea salad is hard to beat.
It’s fast, flexible, and filled with ingredients that are easy to find. Give it a spot in your regular rotation—it just might become your new favorite.
Mediterranean Chickpea Salad
Ingredients:
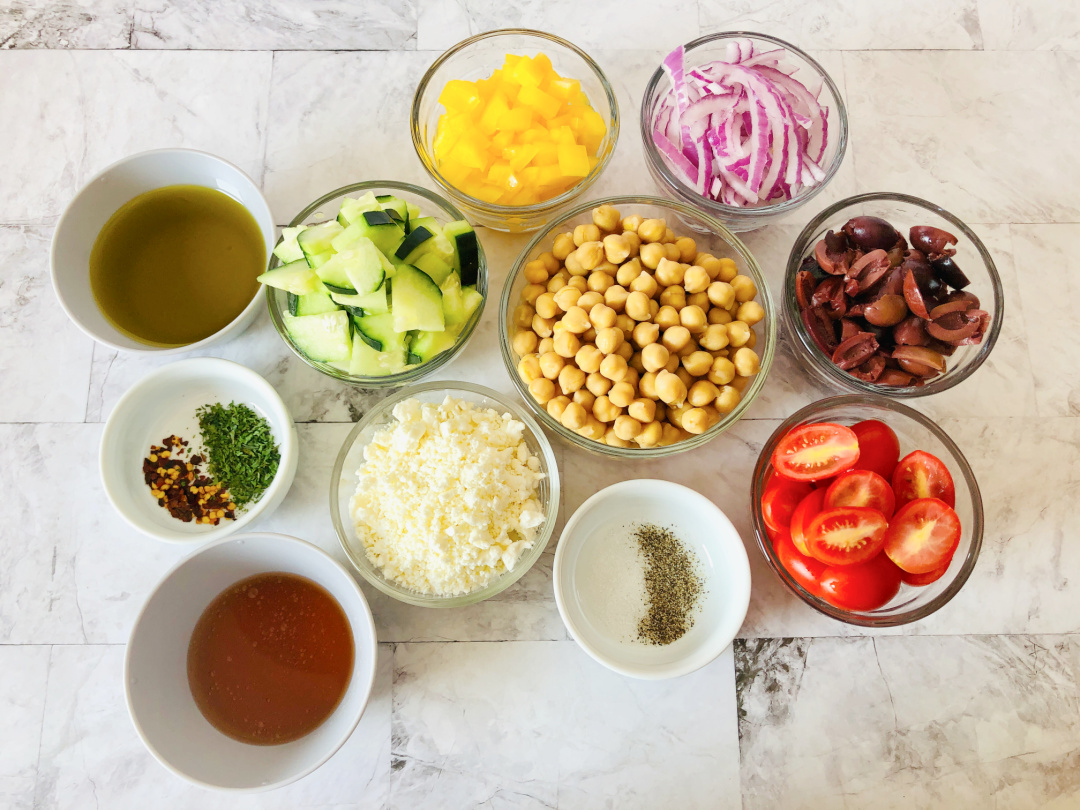
Salad:
2 cans chickpeas, drained & rinsed
1 cucumber, chopped
1 bell pepper, chopped
½ red onion, sliced thin
½ cup Kalamata olives, sliced
½ cup feta cheese
½ cup cherry tomatoes, halved
Vinaigrette:
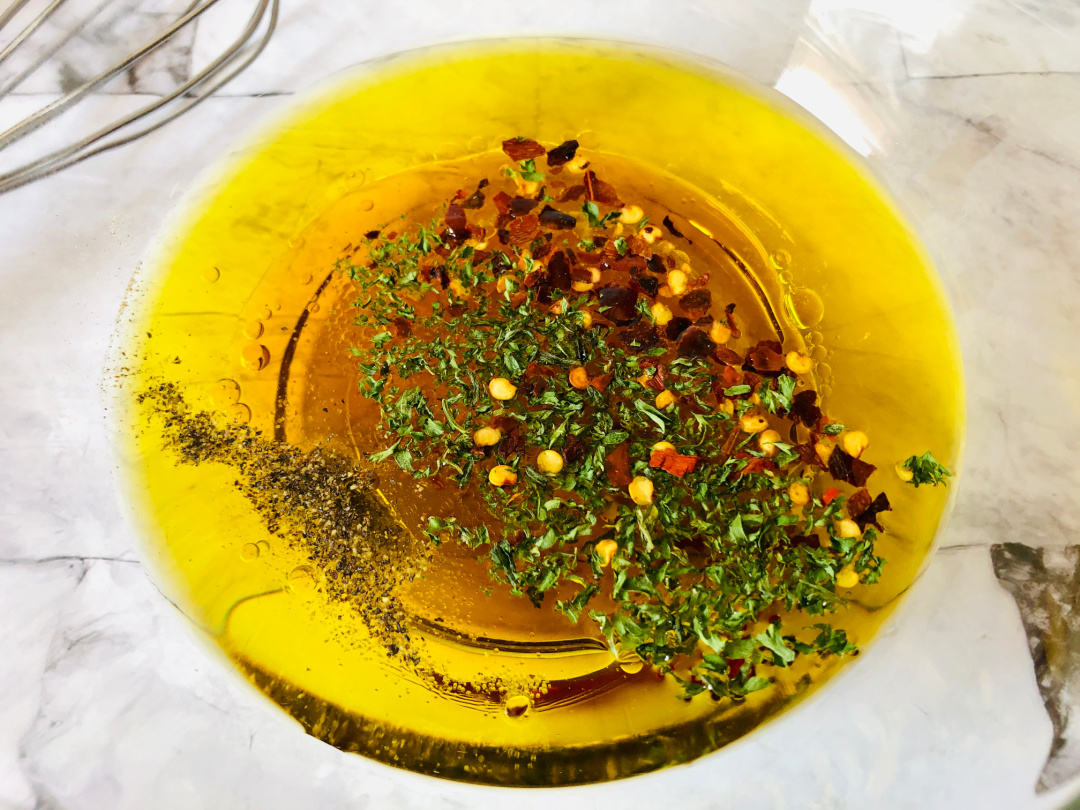
½ cup olive oil
¼ cup red wine vinegar
1 tablespoon parsley
¼ teaspoon red pepper flakes
Salt & pepper to taste
Directions:
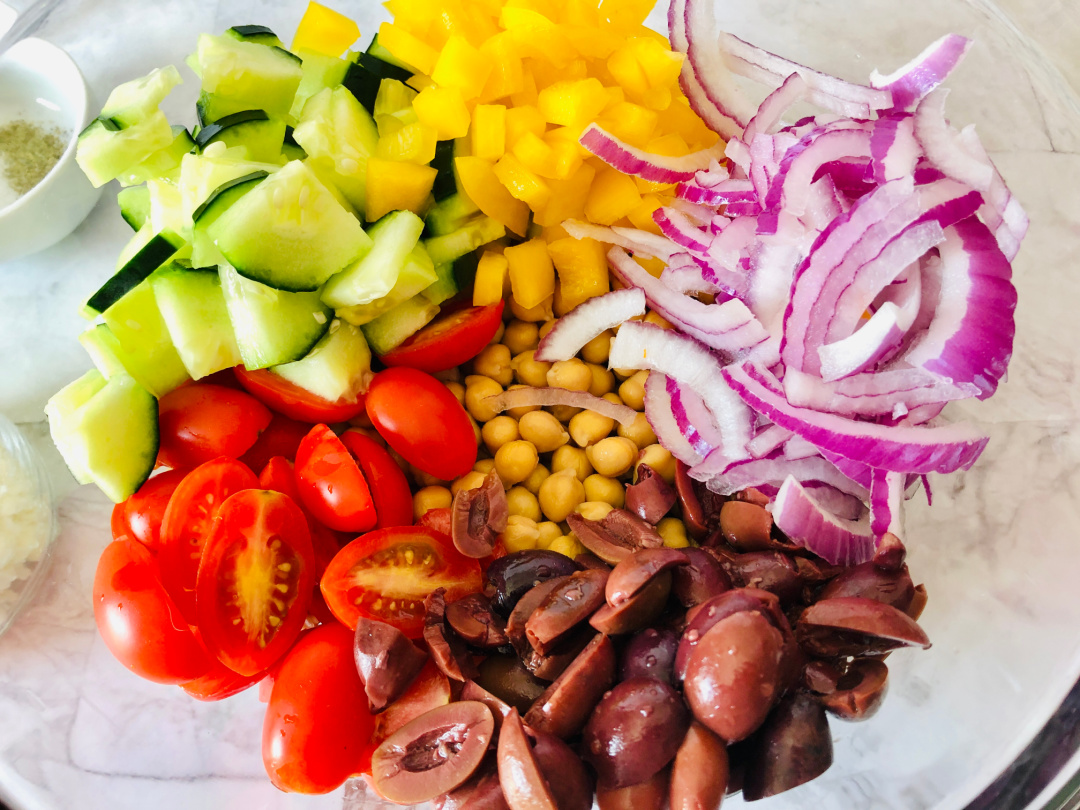
Salad:
Combine all ingredients in a large bowl, toss until well combined.
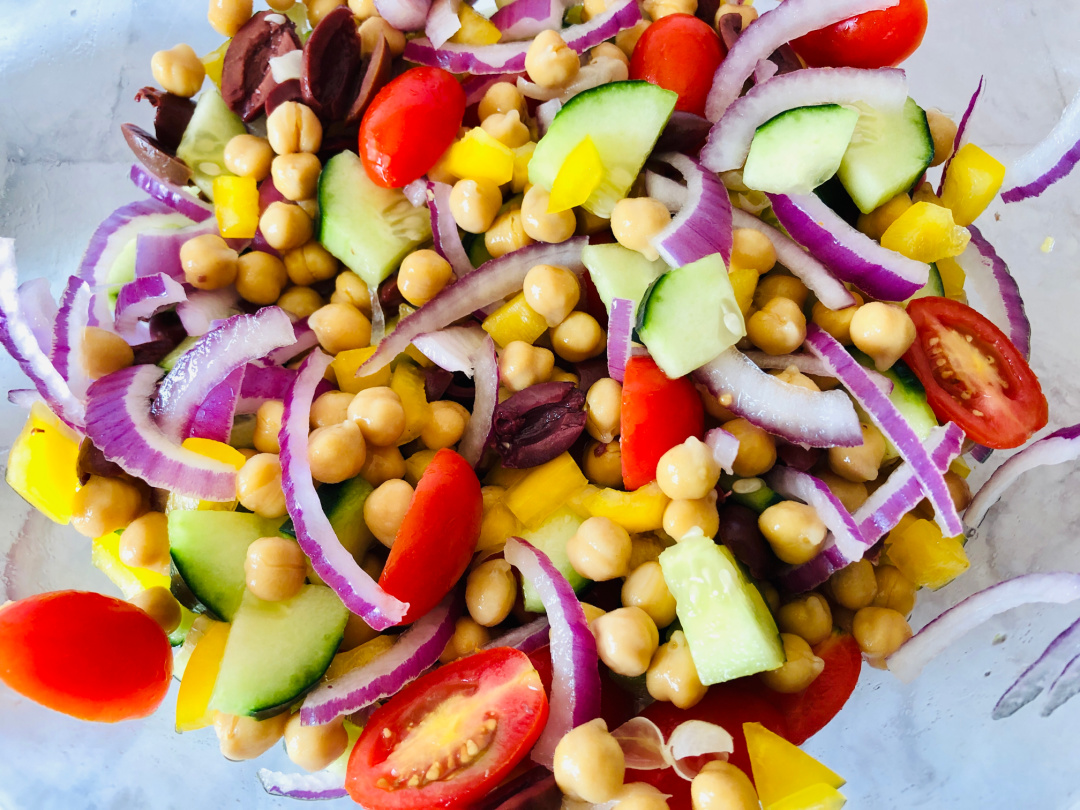
Dressing:
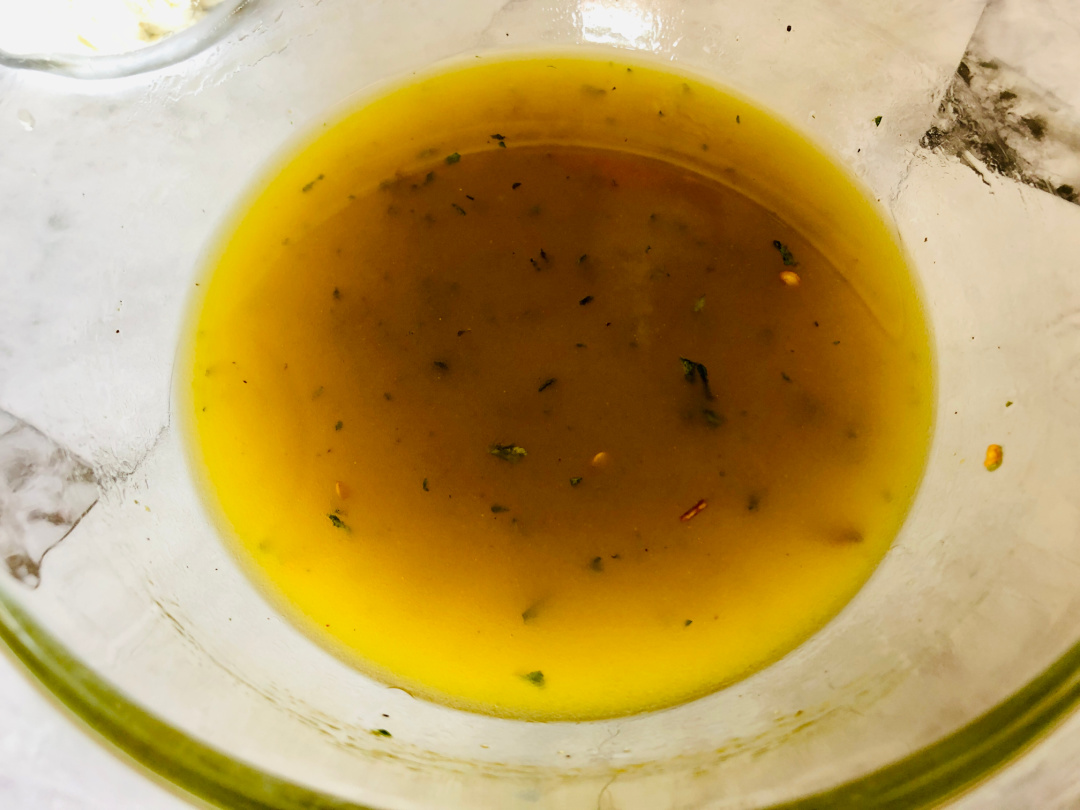
Whisk all ingredients in a bowl until well combined.
Pour the dressing into the salad and toss well. Serve and enjoy!
Frequently Asked Questions About Mediterranean Chickpea Salad
1. Can I make Mediterranean chickpea salad ahead of time? Yes, this is one of the best make-ahead chickpea salad recipes. You can prep it up to 3 days in advance. Just wait to add the feta cheese until right before serving so it stays fresh and doesn’t get mushy.
2. How long does chickpea salad last in the fridge? This salad will keep in an airtight container in the refrigerator for up to 4 days. It’s a great option for healthy meal prep lunches with chickpeas and veggies.
3. Are chickpeas good for a Mediterranean diet? Yes, chickpeas are a staple in the Mediterranean diet. They’re packed with plant-based protein, fiber, and essential nutrients, making them a healthy base for salads like this one. This recipe fits well into a balanced Mediterranean-style eating plan.
4. What can I serve with Mediterranean chickpea salad? This salad pairs well with grilled chicken, fish, lamb, or even burgers. It’s also delicious tucked inside pita bread or served on top of greens for a quick and easy Mediterranean chickpea salad bowl.
5. Can I use canned chickpeas for this salad? Absolutely. Using canned chickpeas is the easiest way to make this chickpea salad recipe fast. Just be sure to drain and rinse them well before using to remove extra sodium.
6. Can I make this chickpea salad without feta cheese? Yes, if you need a dairy-free or vegan version of this Mediterranean chickpea salad, simply leave out the feta or use a plant-based cheese alternative.
7. What kind of dressing is best for chickpea salad? A homemade red wine vinaigrette works best for this salad. It adds the right balance of tang and flavor without overpowering the other ingredients.
8. Can I add extra ingredients to this chickpea salad? Definitely. You can add chopped spinach, sun-dried tomatoes, artichoke hearts, avocado, or even cooked quinoa for a heartier salad. It’s an easy recipe to customize.
9. Is this a good salad for summer BBQs or potlucks? Yes, this cold chickpea salad is perfect for outdoor gatherings. It holds up well at room temperature and doesn’t get soggy like some leafy green salads.
10. Is this salad considered a healthy option? Yes, it’s a high protein vegetarian salad loaded with fiber, healthy fats, and fresh veggies. It’s a smart choice if you’re looking for a healthy Mediterranean diet recipe with chickpeas.
Mediterranean Chickpea Salad
Ingredients
Salad:
2 cans chickpeas, drained & rinsed
1 cucumber, chopped
1 bell pepper, chopped
½ red onion, sliced thin
½ cup kalamata olives, sliced
½ cup feta cheese
½ cup cherry tomatoes, halved
Vinaigrette:
½ cup olive oil
¼ cup red wine vinegar
1 tablespoon parsley
¼ teaspoon red pepper flakes
Salt & pepper to taste
Instructions
Salad:
Combine all ingredients in a large bowl, toss until well combined
Dressing:
Whisk all ingredients in a bowl until well combined, pour over tossed salad
Are you wondering, “What can I make with chicken livers?” Try this Chicken Livers Peri Peri recipe!
When you think that chicken is the most eaten meat in the world, you realize just how many chicken livers there must be! The days of finding a little plastic bag inside the chickens we buy tend to be a thing of the past, but when we did have them, how many of us utilized those little delicacies within the bag – the liver of the chicken?
All our supermarkets sell chicken livers, either fresh or frozen. These are so cheap, but they are ignored by so many people simply because they don’t really know how to use them.
However, chicken livers are an excellent meat product to include in your diet – apart from the fact that they are really, really inexpensive – they are low in fat and calories but high in protein, iron, and vitamins – especially vitamin A.
There are so many people who have never tried chicken livers, some because they just can’t imagine eating them and some because they just don’t know how to use them; but they really are very easy to use and make a really quick meal – either as a starter or a main course.
They are perfectly quickly fried and lovely with bacon – just wash and drain the livers, season well and fry in a hot frying pan (skillet) in oil (or preferably bacon fat) for a few minutes until all the pinkness is gone – how easy is that! What is very important to remember when cooking chicken livers is that they WILL taste dry and bland if you cook them too long, serve them when they are still lovely and moist inside.
It is as a starter or appetizer where chicken livers really come into their own; they make an excellent, quick and easy pate, they are delicious cooked wrapped in bacon, they make a perfect mousse – the list is virtually endless.
If you are looking for a REALLY tasty and oh-so-cheap appetizer recipe that is both low fat and delicious, do try this excellent little recipe – you won’t be disappointed!
Chicken Livers Peri Peri
Serves 4 as a starter or appetizer
Ingredients
    300g chicken liver
    1 onion finely chopped
    4 cloves garlic, crushed
    2 red or green chilies, de-seeded and chopped finely (or ½ teaspoon of dried chilies.)
    1 tomato, chopped
    1 teaspoon of peri peri powder (or cayenne)
    1 teaspoon Worcestershire sauce
    1 tablespoon of tomato puree (paste)
    100ml chicken stock
    Salt and freshly ground black pepper to taste.
    Low-fat spray
Method
1. Spray a large frying pan (skillet) with low-fat spray, add livers, salt & pepper to taste.
2. Sauté until chicken livers are cooked but do NOT overcook; they need to be a little pink in the middle as they will be re-cooked later, remove from pan.
3. Using the same pan and juices, fry the garlic, chilies, and onion until soft, add the tomatoes and fry for a couple of more minutes.
4. Add the rest of the ingredients and simmer for about 5 minutes; if the sauce is too thick, add a little more stock.
5. Check to taste the sauce and add more chilies if you prefer it hot.
6. Return the chicken livers to the sauce and let it simmer for one or two minutes or until livers are fully warmed through.
7. Serve immediately with salad.
I do hope that I have persuaded you to try this inexpensive delicacy; I am sure that you will be converted once you’ve tried it.