A Southern Spin: Shrimp Deviled Eggs
When it comes to classic southern recipes, nothing compares to the beloved deviled egg.
These delectable treats have graced our holiday tables, picnics, and gatherings for generations.
While the traditional deviled eggs have their special place, every now and then, we all crave a little twist to the tried and true.
This brings us to the delightful fusion of the egg recipe and succulent shrimp – the Shrimp Deviled Eggs.
If you’re looking to impress at your next party, this is the perfect recipe to have up your sleeve.
Why Shrimp?
Now, some of you might ask, “Why shrimp?”. The addition of these small, succulent shrimp brings a delicious spin to the classic egg recipe.
The shrimp add a touch of the sea, reminiscent of the salty Gulf breezes in New Orleans, where Creole shrimp dishes reign supreme.
Using raw shrimp, which we sauté just until they’re kissed with pink in a touch of olive oil, ensures that we’re locking in all the fresh flavors.
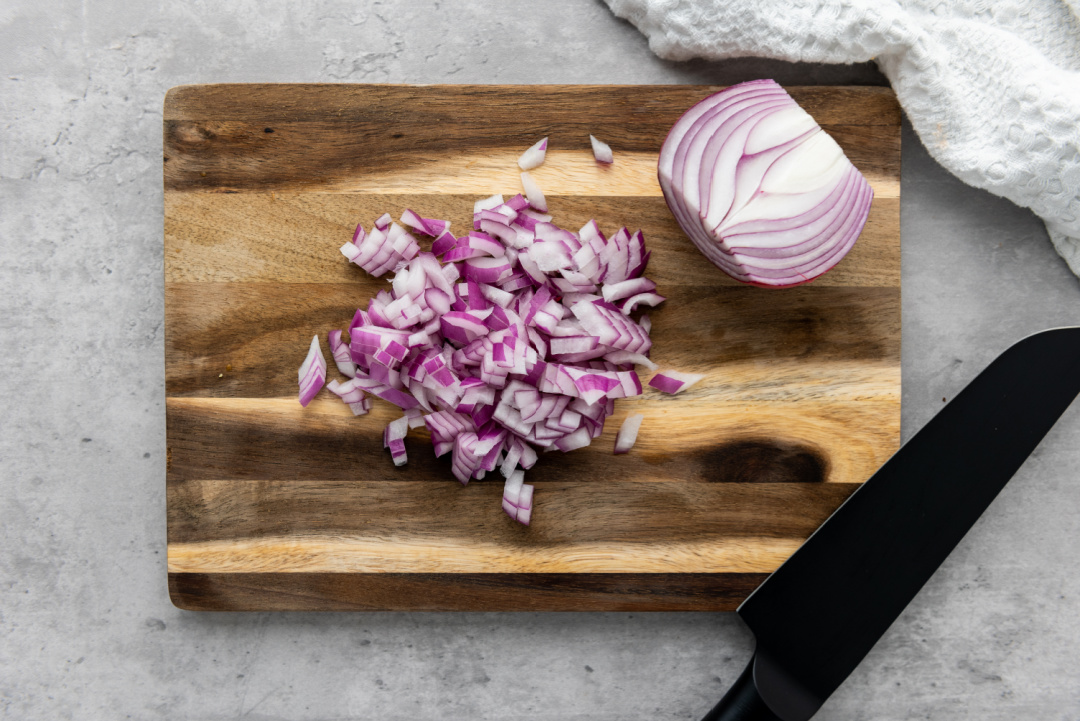
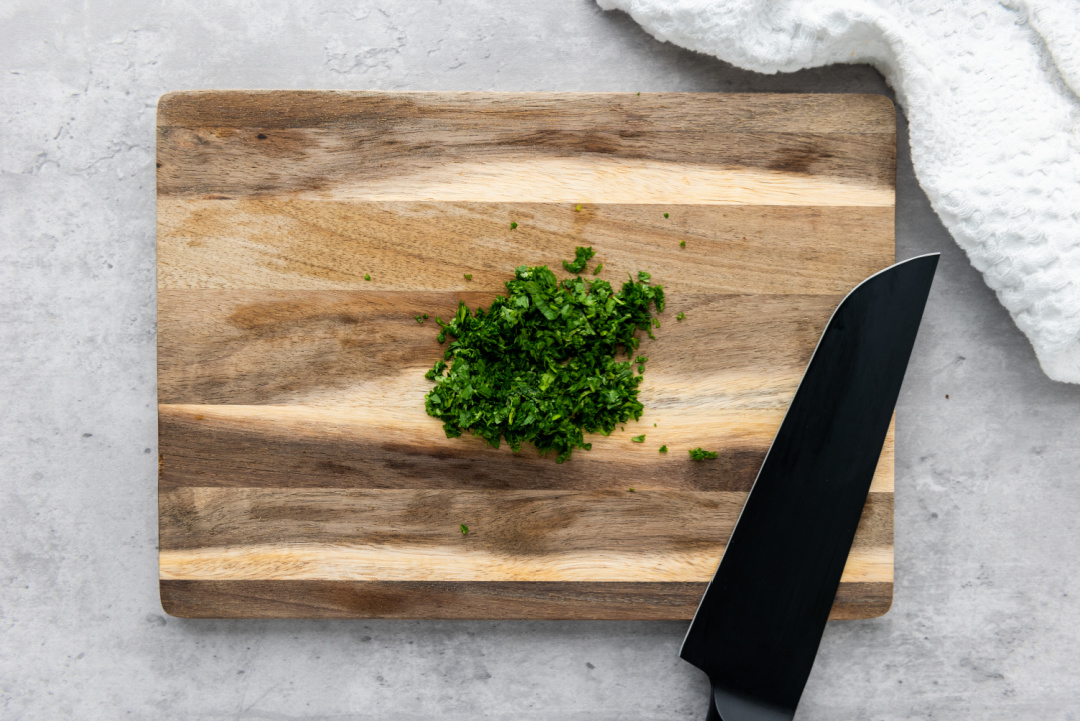
The addition of Dijon mustard gives a hint of tang, while the sprinkle of fresh parsley or perhaps some fresh dill adds a pop of color and an herby freshness.
If you’re a fan of Old Bay Seasoning, you’ll appreciate the subtle touch of seafood seasoning in this recipe.
It pairs perfectly with the shrimp, giving a nod to the classic Old Bay shrimp dishes we all know and love.
The Perfect Hard-Boiled Eggs
Achieving the perfect hard-boiled eggs is essential for this dish.
The old fashioned way to boil eggs is to place eggs in a single layer in a medium saucepan.
Cover them with cold water, ensuring there’s about an inch or two of water above the eggs.
However, for the tech-savvy chefs out there, an instant pot might be your tool of choice.
Once boiled, immediately transfer the eggs into a bowl of ice water.
This ice bath stops the cooking process and ensures easy peeling under cold running water.
The Art of Assembly
After halving the large eggs and removing the yolks, the fun part begins.
It’s essential to use a medium bowl to combine the mashed egg yolks, mayo, seasonings, and of course, our star ingredient, the shrimp.
While some prefer to use a small spoon or even their trusty piping bag to place the egg mixture into the white halves, others might just opt for the simplicity of a small spoon.
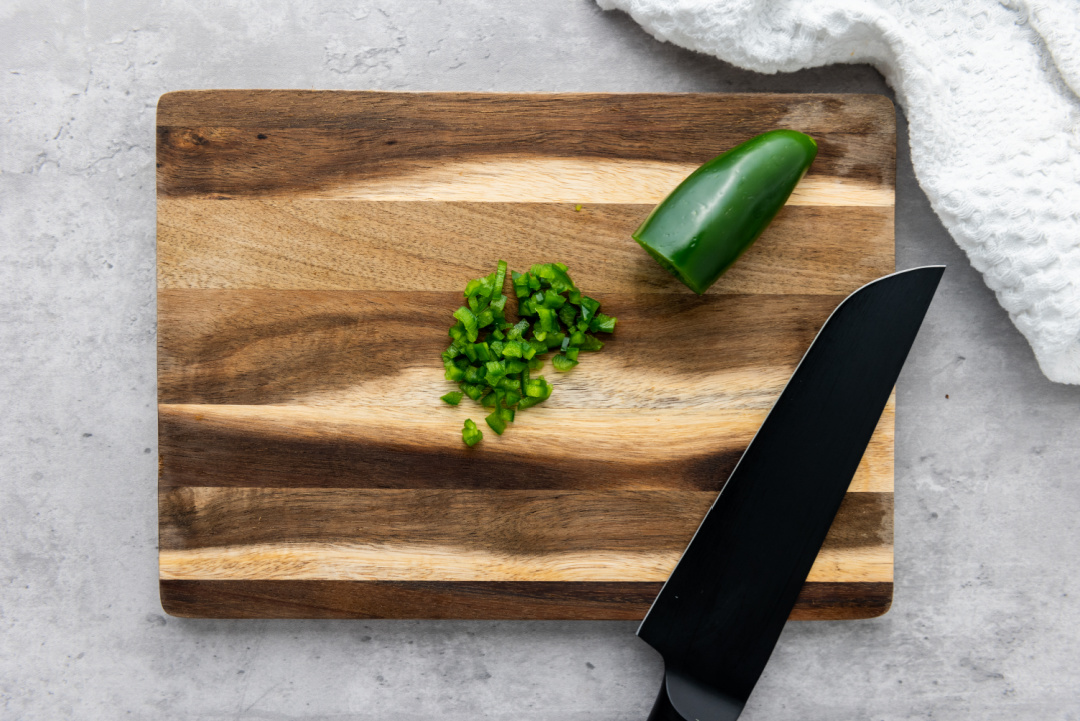
For those looking to incorporate a bit more flair into their presentation, a dramatic garnish like green onions or even a tiny drop of hot sauce or pepper sauce could elevate the dish.
The spicy kick contrasts the creaminess of the base, offering a burst of flavor with each bite.
Serve in Style
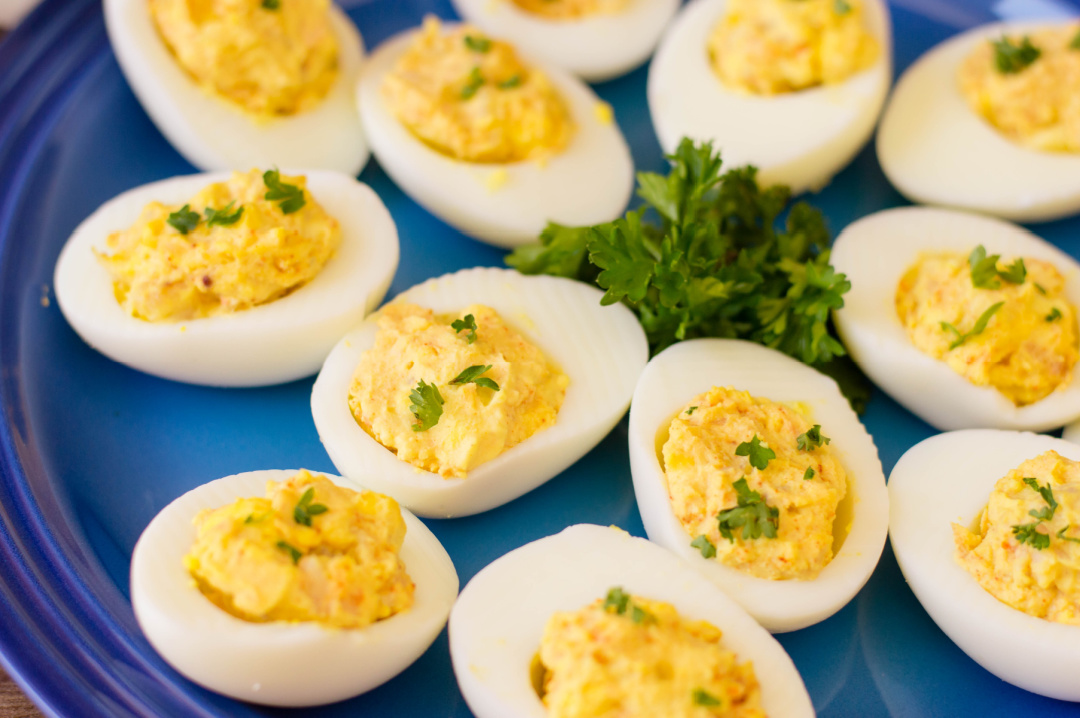
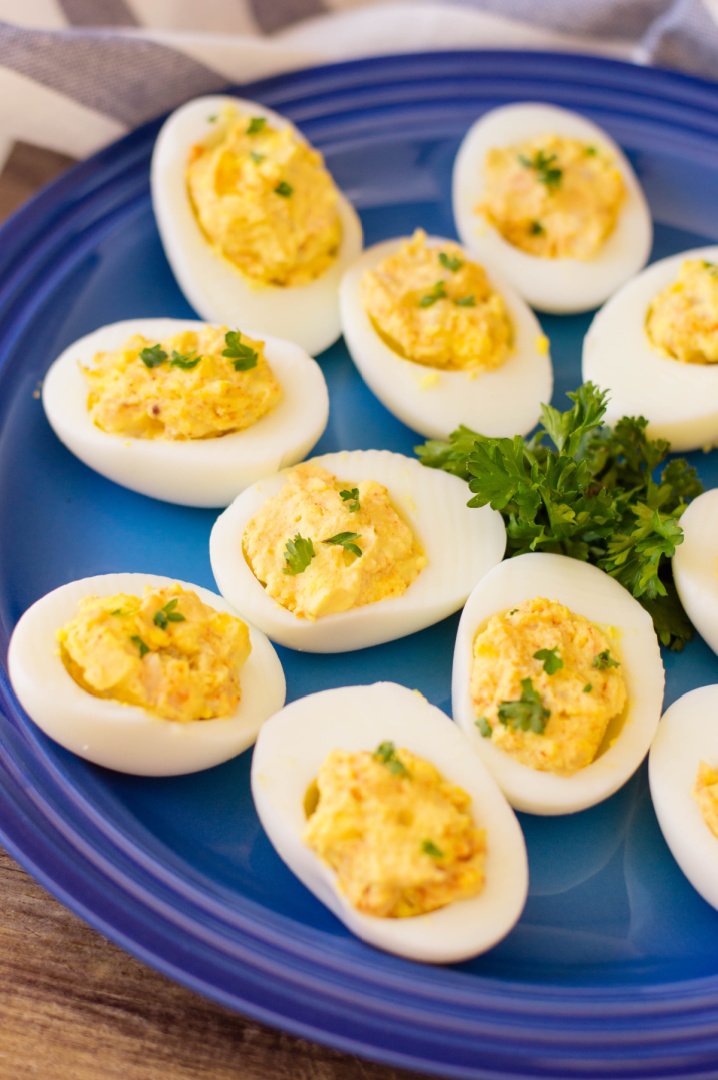
With the filling mixture ready, spoon the yolk mixture onto the egg halves and place them artistically on a serving platter.
While they are a show-stopper served immediately, you can also store them in an airtight container and serve them later, ensuring they remain at room temperature.
Bonus Tips & Variations
While this easy recipe is perfect as it is, here are a few quick ideas for those who love to experiment:
- Substitute mayo with Greek yogurt for a lighter version.
- Feeling fiery? Add a sprinkle of Cajun seasoning for those spicy Cajun shrimp deviled eggs vibes.
- If you’re looking for a more diverse spread for your Easter brunch or special occasion, consider serving this alongside Italian recipes or even Mexican recipes for a truly global feast.
This Shrimp Deviled Eggs recipe is more than just a side dish; it’s a conversation starter, a flavorful journey, and the perfect appetizer to begin any gathering.
So, the next time you’re considering making the traditional deviled eggs or egg salad, remember this delicious spin with shrimp.
It might just become your new favorite!
For those eager to try out this exciting fusion of flavors, make sure to check out the printable recipe card at the bottom of this post!
You’ll find everything you need to recreate this dish to perfection.
Shrimp Deviled Eggs
Ingredients:
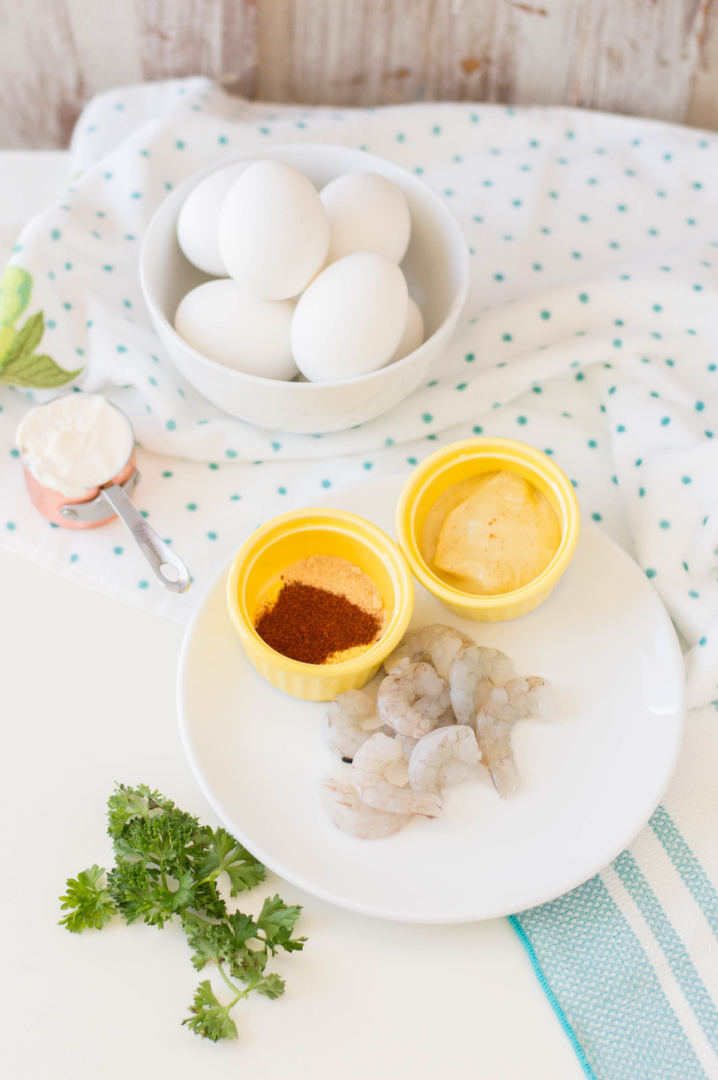
- 6 large or XL egg(s), hard-boiled and peeled
- 12 deveined and peeled shrimp
- 3 tbsp. mayonnaise
- 1 tbsp. Dijon mustard
- ½ tsp. seafood seasoning
- ¼ tsp. paprika
- ¼ tsp. salt
- 1 tbsp, fresh parsley, chopped (optional)
Directions:
Halve the peeled eggs lengthwise and remove yolks.
Saute your shrimp in a tiny bit of olive oil until pink and allow to cool.
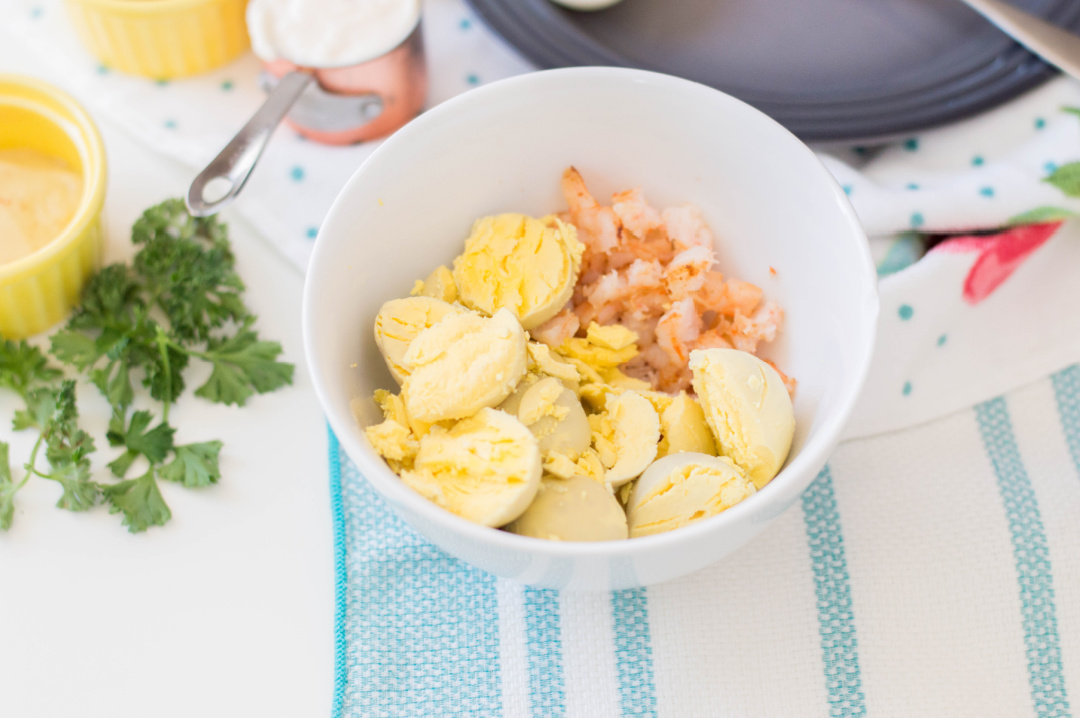
Chop shrimp and mix with egg yolks, mayonnaise, mustard, and seasonings in a medium bowl stirring until well blended.
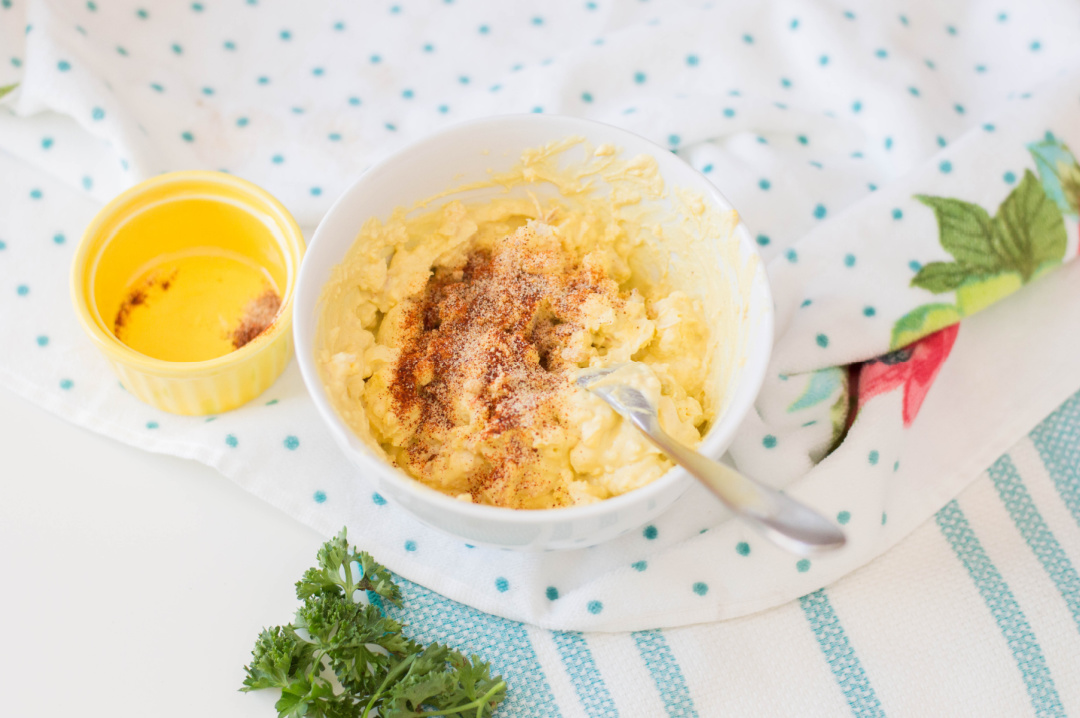
Spoon the shrimp mixture into the egg white halves.
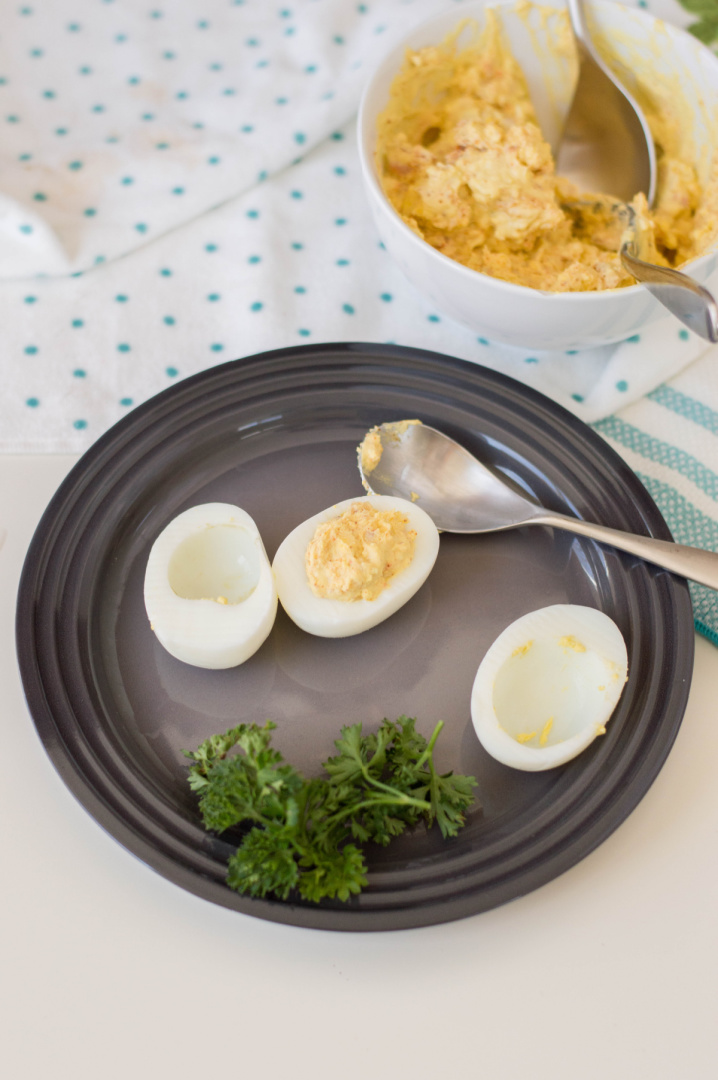
Sprinkle with the parsley if desired.
Place the eggs on a serving plate and serve at once or cover and refrigerate for up to two hours before serving.
Shrimp Deviled Eggs
Ingredients
- 6 large or XL egg(s), hard-boiled and peeled
- 12 deveined and peeled shrimp
- 3 tbsp. mayonnaise
- 1 tbsp. Dijon mustard
- ½ tsp. Seafood seasoning
- ¼ tsp. paprika
- ¼ tsp. salt
- 1 tbsp, fresh parsley, chopped (optional)
Instructions
Halve the peeled eggs lengthwise and remove yolks.
Saute your shrimp in a tiny bit of olive oil until pink and allow to cool.
Chop shrimp and mix with egg yolks, mayonnaise, mustard, and seasonings in a medium bowl stirring until well blended.
Spoon the shrimp mixture into the egg white halves.
Sprinkle with the parsley if desired.
Place the eggs on a serving plate and serve at once or cover and refrigerate for up to two hours before serving.
Frequently Asked Questions about Shrimp Deviled Eggs
Can I use small shrimp or salad shrimp instead of medium-sized shrimp?
Small shrimp or salad shrimp can work perfectly in this recipe. If you’re using particularly small shrimp, you might not need to chop them as much.
I don’t have seafood seasoning; can I use Old Bay seasoning or Creole seasoning instead?
Both Old Bay and Creole seasoning are excellent substitutes for seafood seasoning. They will impart a slightly different, but equally delicious, flavor profile.
How long can I store these Shrimp Deviled Eggs in the refrigerator?
You can store them in an airtight container in the fridge for up to 24 hours. However, they’re best consumed the same day for optimal freshness.
Is there a vegan alternative to this dish?
While the main ingredients are eggs and shrimp, you could experiment with tofu as a base for the filling and vegan mayo, and perhaps add finely chopped seaweed for a touch of seafood flavor.
Could I add other spices, like garlic powder or lemon juice, for an extra kick?
Garlic powder or a squeeze of lemon juice can elevate the flavors. Personalize it to your taste preference.
Do I have to use Dijon mustard? Can I use traditional mustard instead?
While Dijon mustard offers a distinct taste, traditional mustard can also work well in this recipe.
I’m not too good at boiling eggs the old-fashioned way. Could I use an instant pot?
Many people swear by the instant pot for achieving perfect hard-boiled eggs. Just follow the manufacturer’s instructions for best results.
Can these be made a day ahead of my next party or gathering?
While you can make them a day in advance, for the freshest taste and presentation, it’s recommended to make them the day of your event. If you must prepare in advance, consider making the filling a day before and assembling a few hours before serving.
Is there any substitute for mayonnaise if I want a healthier option?
Greek yogurt is a fantastic substitute for mayo. It provides a creamy texture while being a bit lighter in terms of calories and total fat.
Can I add hot sauce or pepper sauce to the egg mixture for some heat?
A dash of hot sauce or pepper sauce can add a lovely spicy kick to the deviled eggs. Adjust to your preference!
Remember, cooking is all about experimenting and making a dish your own.
Feel free to get creative and adapt the recipe to suit your personal tastes and preferences.
Enjoy your culinary journey!