-
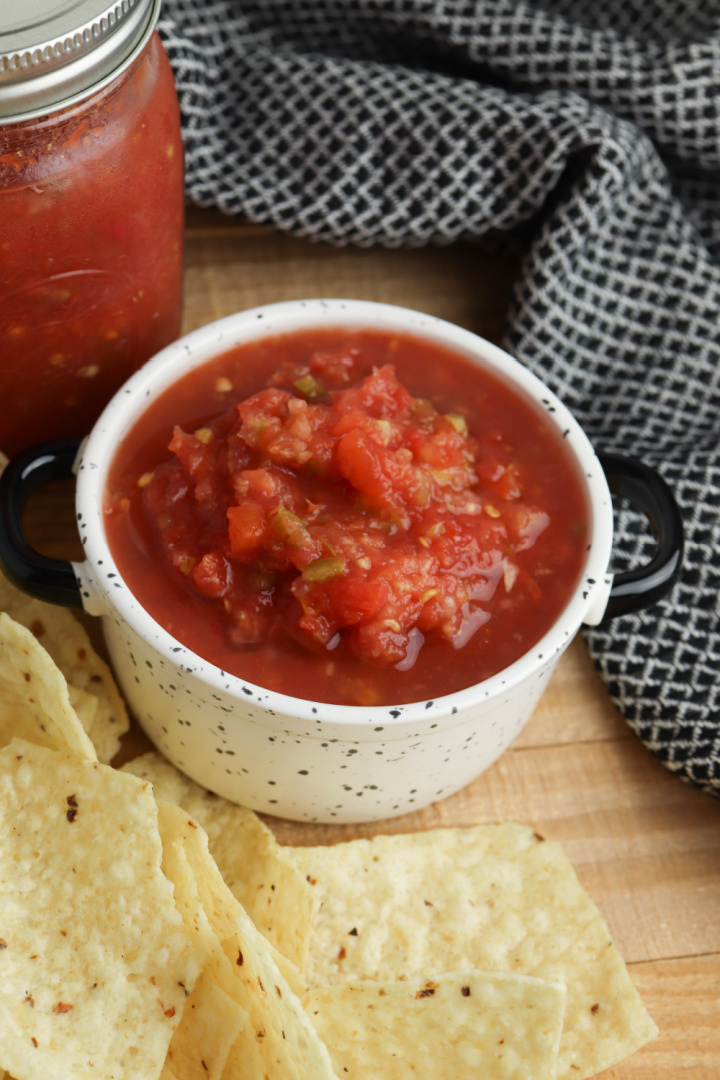
Rotel Salsa
Welcome to another exciting recipe from our southern kitchen! Today, we’re diving into a classic that’s sure to spice up your meal times – Rotel Salsa. This easy homemade salsa is not just a dip, it’s a celebration of fresh flavors, perfectly capturing the essence of Mexican recipes. Whether it’s game day, a family gathering,…
-
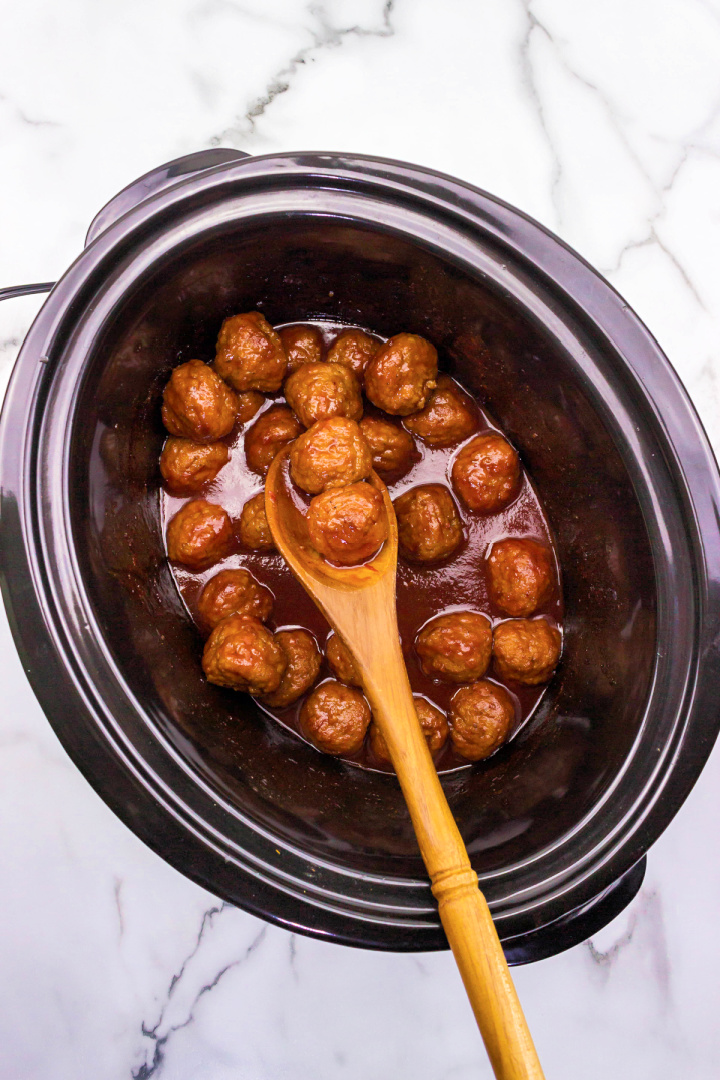
Slow Cooker Meatballs
The Southern Charm of Slow Cooker Meatballs Meatballs, though ubiquitous and beloved across many cuisines worldwide, take on an exceptional charm in Southern kitchens. In the heart of the South, where tradition, flavor, and hospitality reign supreme, we turn to dishes that evoke nostalgia, comfort, and a sense of community. Today, we’re diving deep into…
-
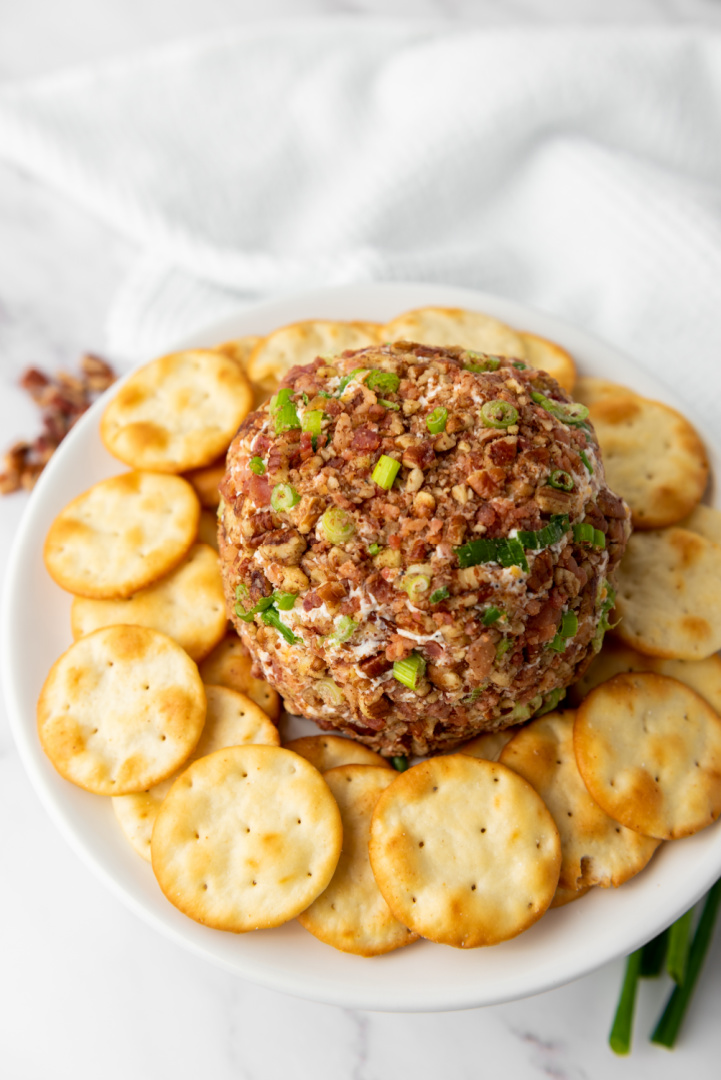
Bacon Pecan Cheeseball
Cheeseballs, those quintessential party appetizers, have been gracing our gatherings for decades. They are the epitome of simplicity and flavor, offering a tantalizing combination of cheese, nuts, fruits, and a variety of seasonings. Today, we’re exploring a particular variety: the Bacon Pecan Cheeseball. An unassuming delight that’s sure to add a different dimension to your…
-
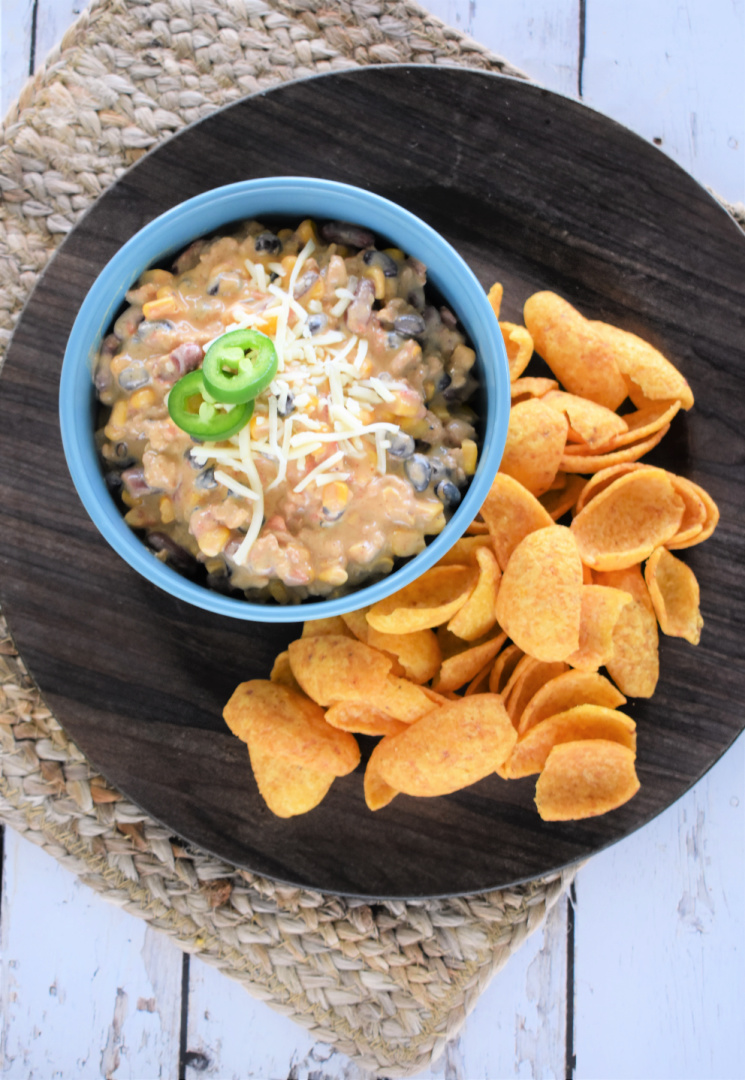
Slow Cooker Chili Cheese Dip
Are you looking for an easy way to make a hearty, crowd-pleasing appetizer? Look no further than this delicious Slow Cooker Chili Cheese Dip. Are you ready to score big at your next party, especially during the football season or the special big game day? Look no further than this Slow Cooker Chili Cheese Dip,…
-
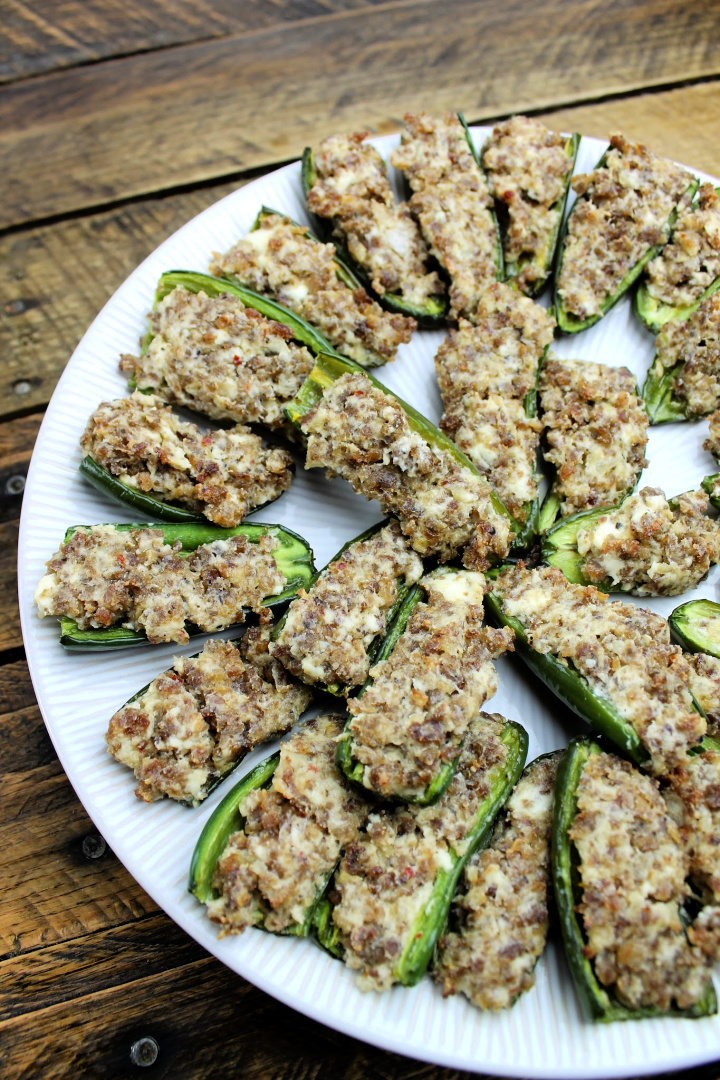
Jalapeno Poppers with Sausage
Spice up your game day with this Jalapeño Poppers recipe! Are you ready to add a delicious twist to your appetizer game? Look no further than this tantalizing Jalapeño Poppers recipe. It’s a classic appetizer with a flavor that’s sure to be your new game-day favorite. At the heart of this recipe are the jalapeño…