Pumpkin Cinnamon Rolls: A Southern Twist on a Fall Favorite
When cooler weather rolls in and the leaves start to change, it’s hard not to crave a warm, homemade treat straight from the oven.
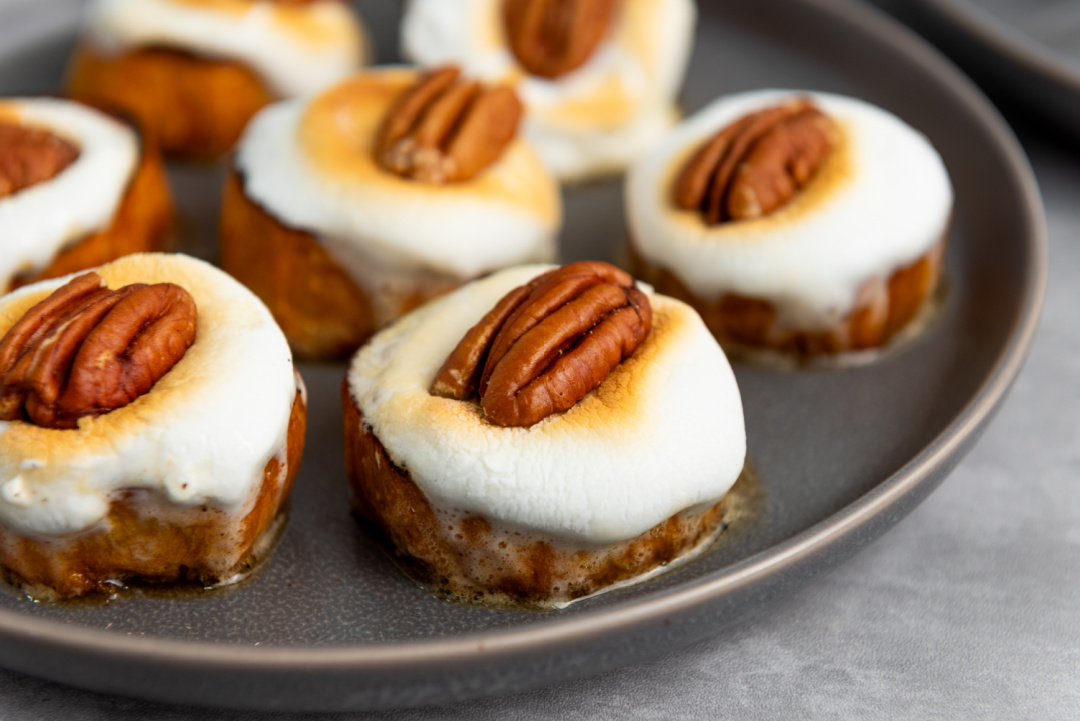
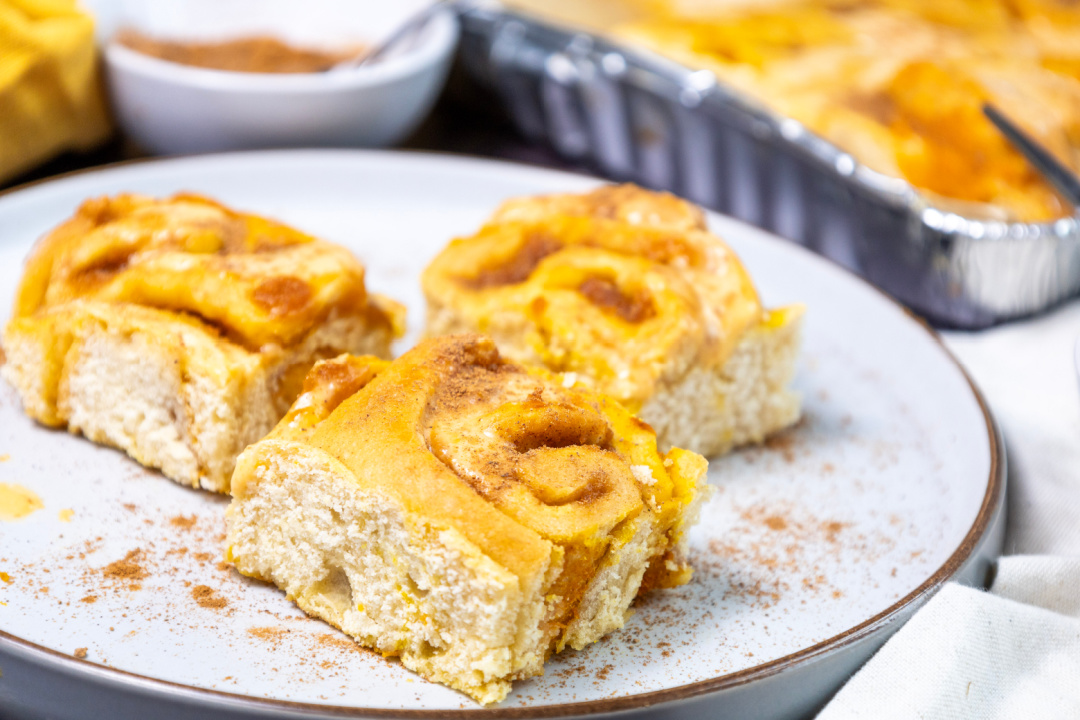
These Pumpkin Cinnamon Rolls are just the kind of recipe that brings folks to the kitchen.
They’re soft, spiced just right, and filled with the cozy flavors we look forward to every fall.
Whether you’re serving them up at a holiday brunch or just want a quick homemade breakfast on the weekend, this is a recipe worth keeping on hand.
You may also like:
- Pumpkin Pancakes
- Pumpkin Spice Syrup
- Honey Bun Cake from Scratch
- Apple Fritter Loaf Cake
- Strawberry Rolls
Perfect for Fall Mornings and Holiday Gatherings
This easy pumpkin cinnamon roll recipe is a favorite for busy fall mornings, Thanksgiving breakfast, or even a Saturday brunch with family.
The addition of pumpkin puree in both the dough and frosting gives these rolls a richer flavor and makes them feel like a seasonal treat, without being complicated to make.
You don’t have to wait for a holiday to enjoy them—these are simple enough to whip up on a weekday morning if you’ve got some time and a warm cup of coffee waiting.
Why These Easy Pumpkin Cinnamon Rolls Stand Out
What makes these rolls stand out is how simple they are. Using self-rising flour cuts down on ingredients, and the dough comes together without a lot of fuss.
You’ll still get that soft, pillowy texture folks expect from homemade cinnamon rolls, but with the added flavor of pumpkin and warm spices like cinnamon and nutmeg.
It’s a great way to use up extra canned pumpkin you might have left over from another recipe.
How to Serve Pumpkin Cinnamon Rolls Beyond Breakfast
While these are perfect fresh out of the oven for breakfast or brunch, you can also get creative with how you serve them.
Try making a pan to share at a church potluck or office party. Wrap a few up in a box with parchment and twine for a thoughtful fall treat for a neighbor or friend.
You can even bake and freeze them ahead of time, then reheat in the oven when you’re ready to serve.
They also make a great dessert option—warm them up and top with a scoop of vanilla ice cream or drizzle a little extra cream cheese frosting on top before serving.
Easy Pumpkin Recipes for Beginners and Busy Cooks
If you’re looking for an easy fall breakfast idea or beginner-friendly pumpkin dessert recipe, these rolls are a great place to start.
No need for fancy mixers or specialty ingredients. Just a handful of pantry staples, a bit of time to let the dough rise, and a warm oven.
When and Where to Make These Pumpkin Cinnamon Rolls
These rolls are ideal for any fall or winter occasion, from Halloween breakfast spreads to Christmas morning.
You can make them in your own kitchen without any special equipment, and they’ll make the whole house smell like fall. The scent alone is enough to get everyone to the table.
Whether you’re baking for your family or hosting out-of-town guests, these pumpkin cinnamon rolls are a great way to start the day—or wrap up a cozy evening.
They’re simple, seasonal, and full of southern comfort, just like a good recipe should be.
Pumpkin Cinnamon Rolls with Frosting
- Prep time: 30 minutes
- Resting time: 30-40 minutes
- Servings: 18 small rolls
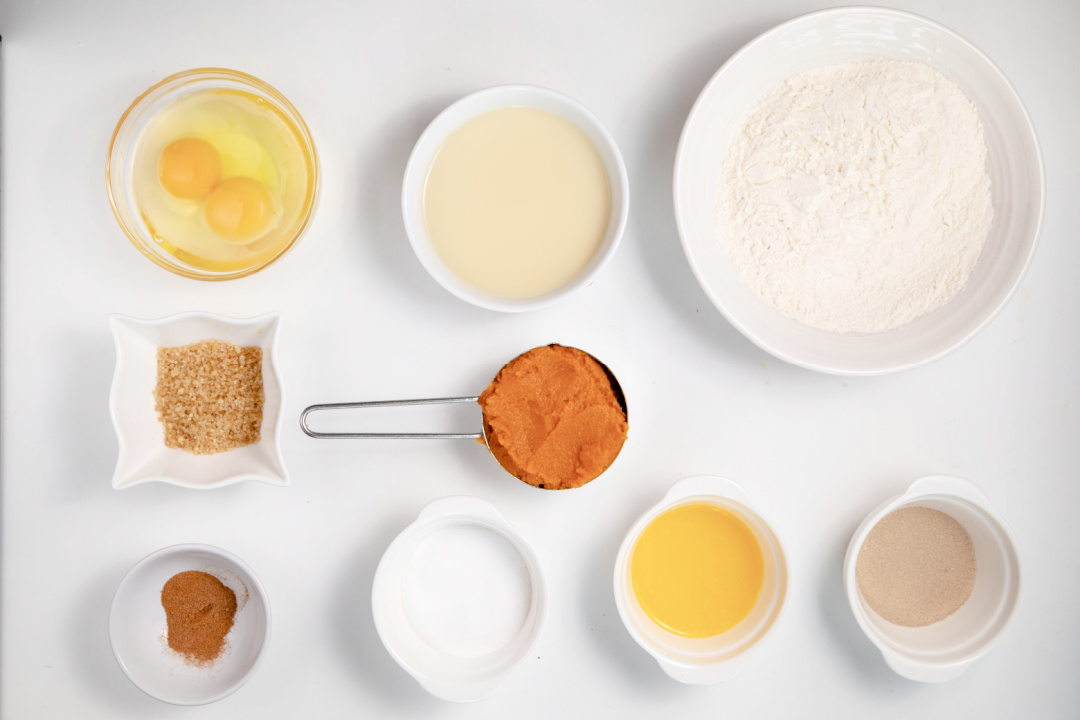
Ingredients:
For the rolls:
- 1 cup milk
- 1tbs dry yeast
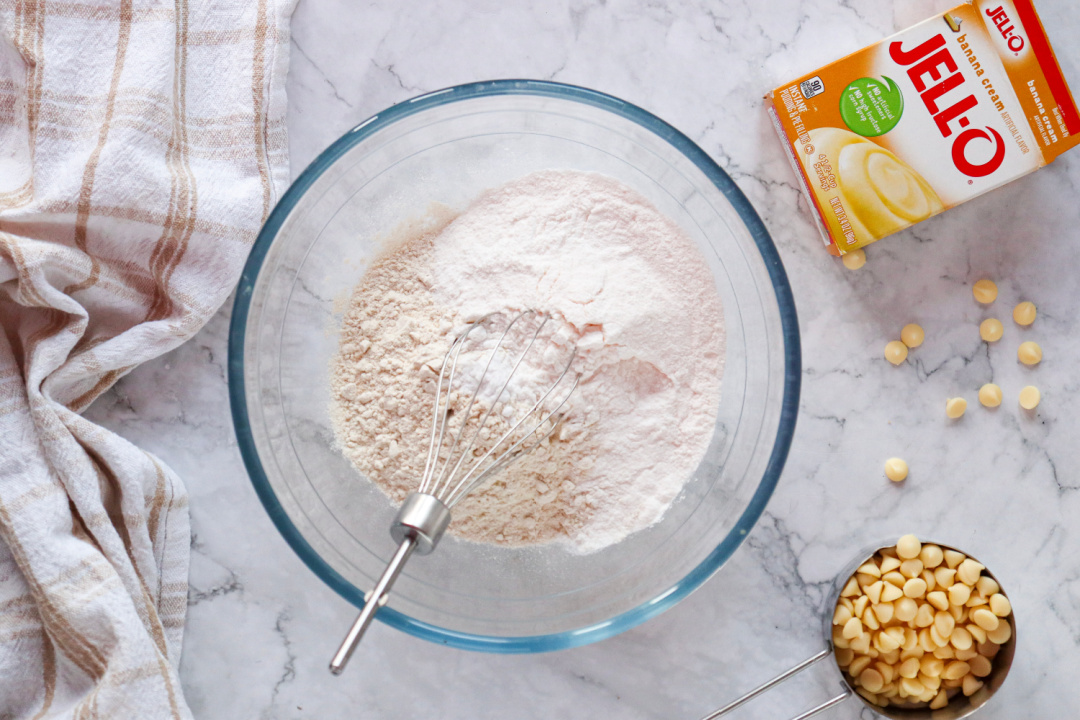
- 2 cups self-rising flour
- 1 tsp Cinnamon
- 1 tsp Nutmeg
- 2 eggs
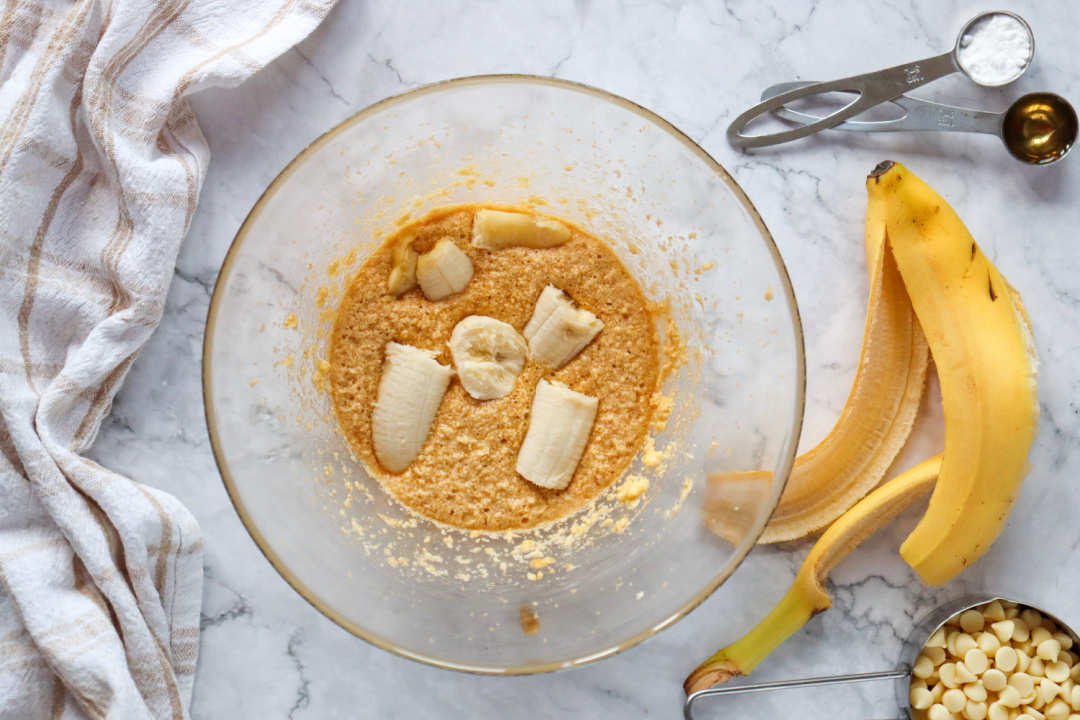
- ½ cup Pumpkin puree
- 2 tbsp brown sugar
- 3 tbsp granulated sugar
- 1 stick melted butter
Frosting ingredients:
- 4 oz cream cheese ( half pack of 8oz Philadelphia cheese )
- ¼ cup powdered sugar
- ¼ cup pumpkin puree
- 2 tbsp milk

Directions:
To make the rolls:
Preheat oven to 320F.
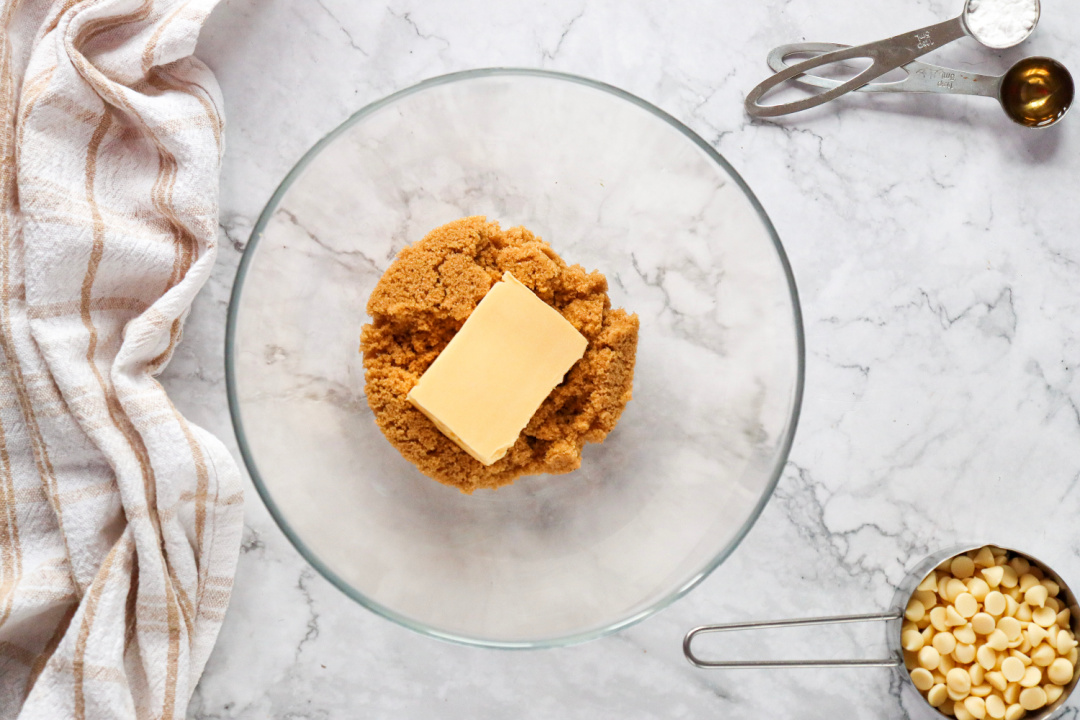
Warm up milk (don’t make it to hot just lukewarm) mix it with dry yeast and granulated sugar until dissolved.
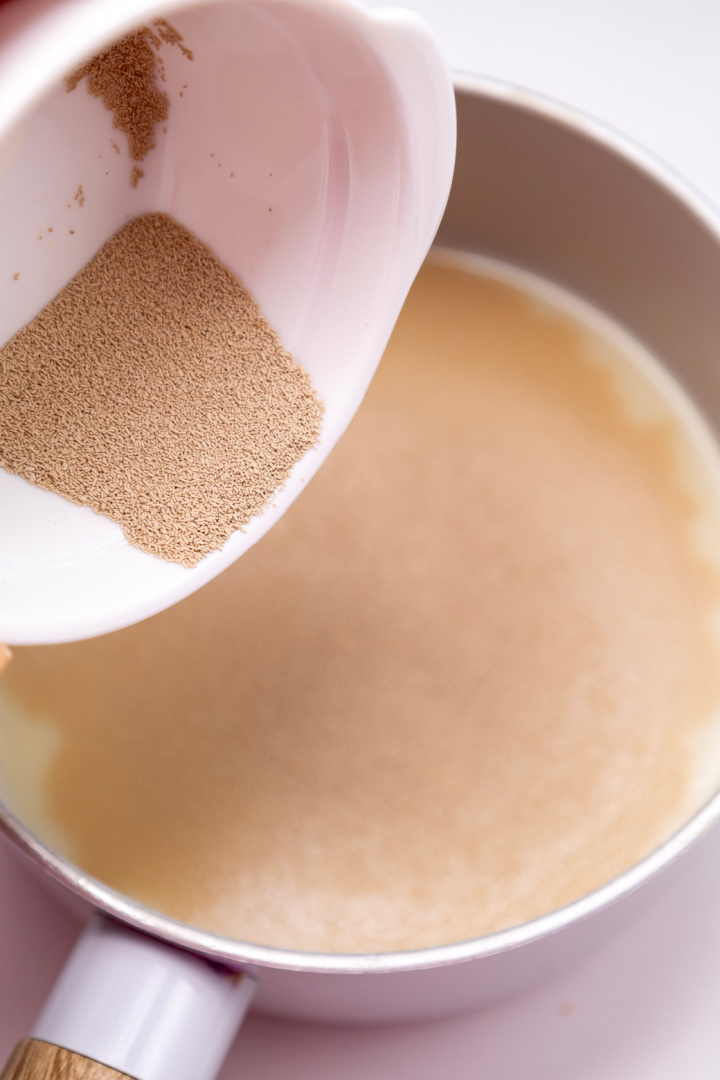

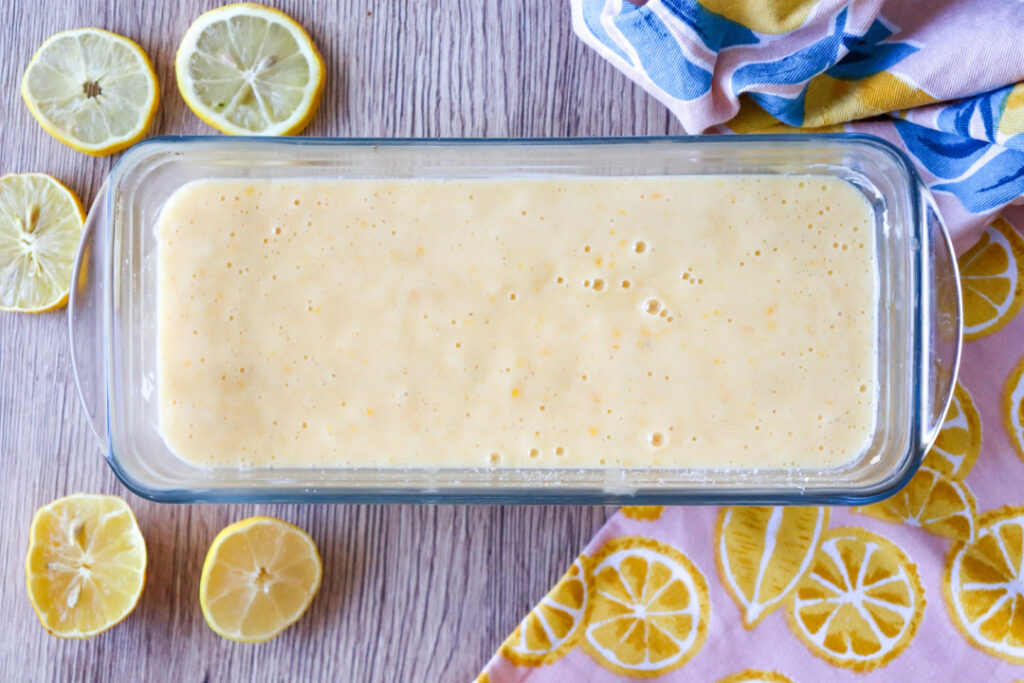
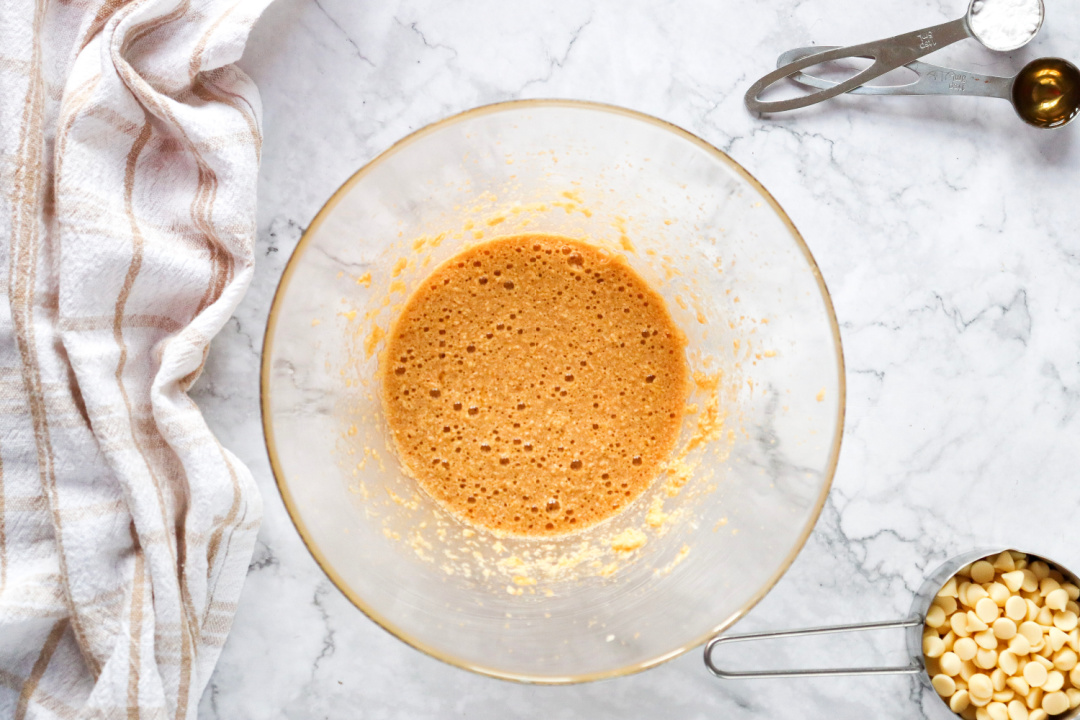
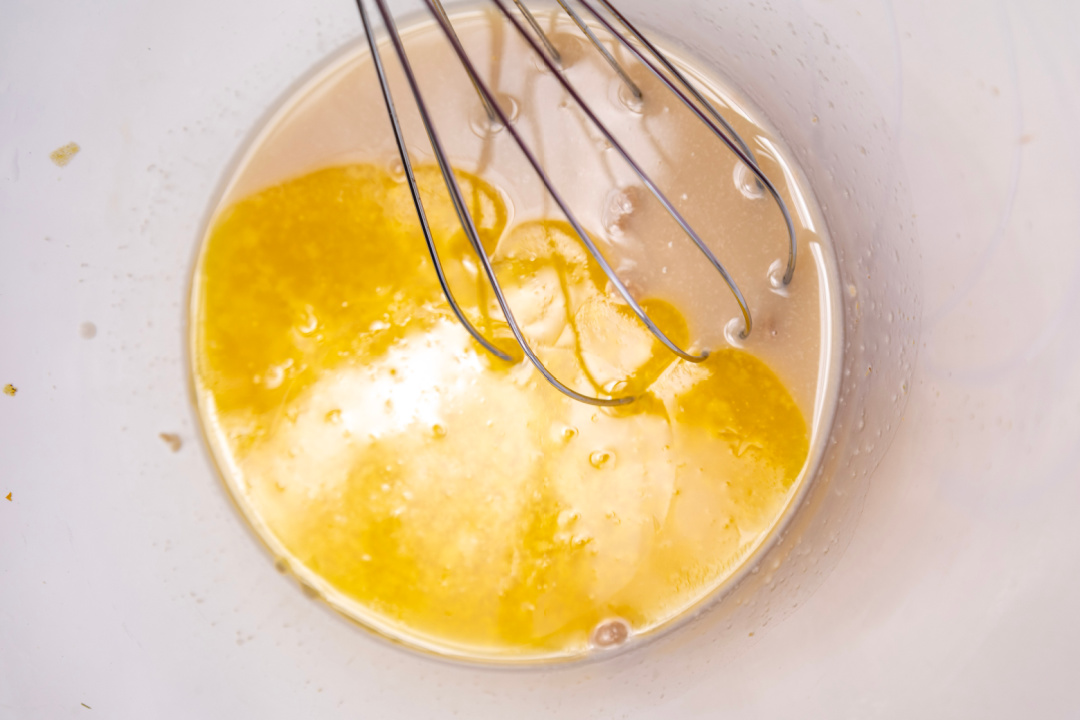
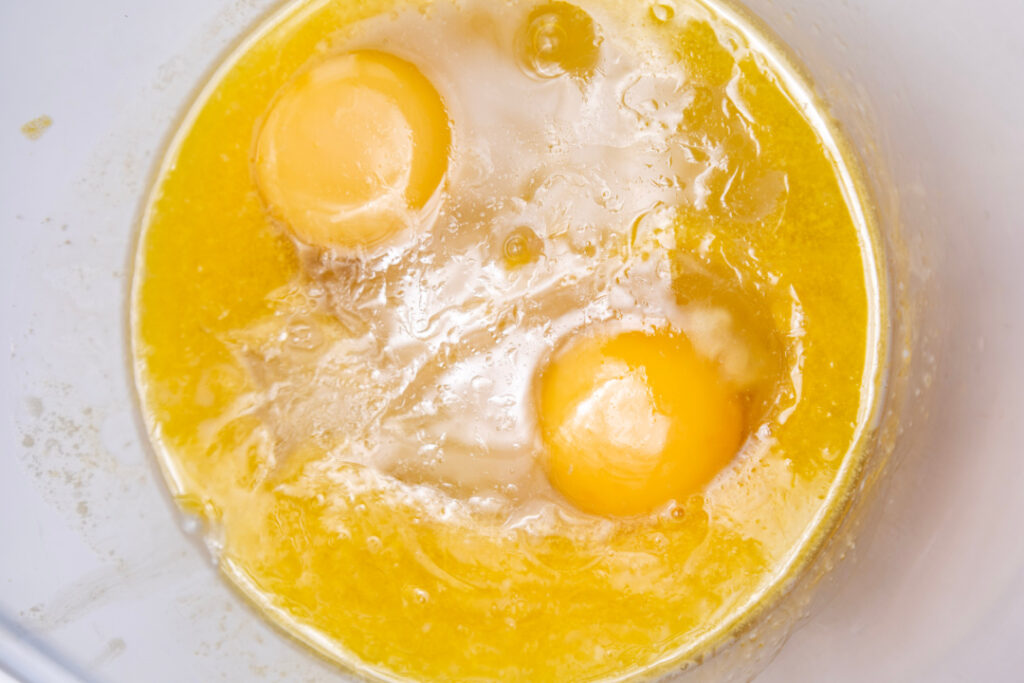
Leave it in a warm place to proof for about 10 minutes. Add melted butter and eggs, stir gently with a whisk until smooth.

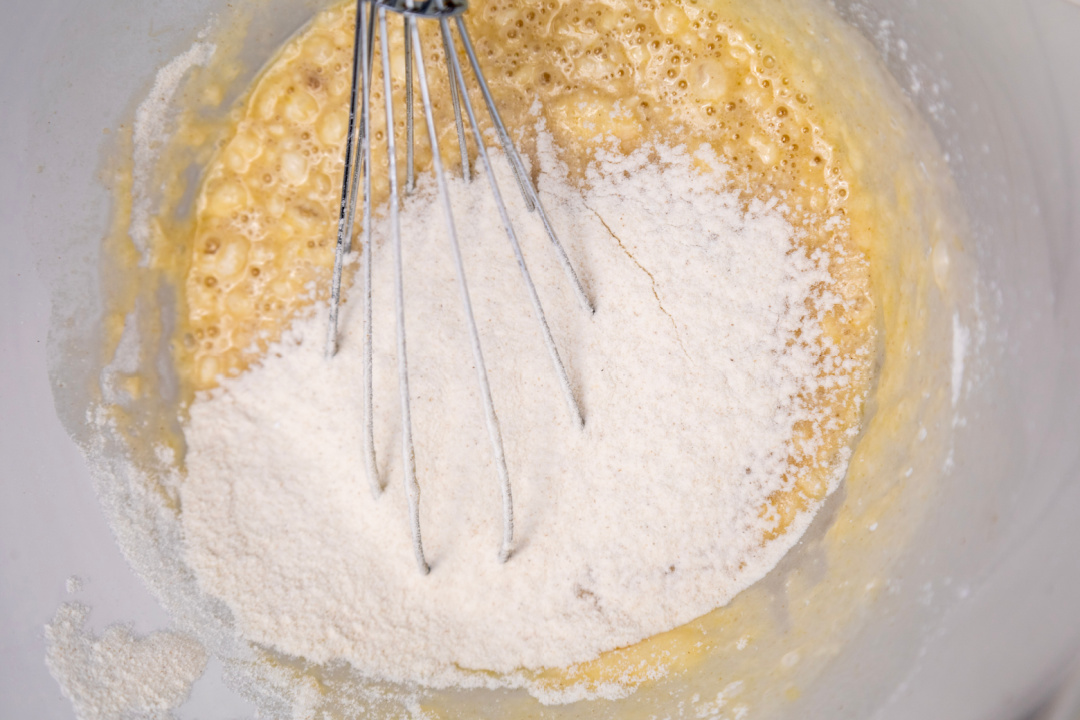
Add gradually flour to the batter, knead it and try to form a dough. Dust the table with flour and kneed the dough for about 2-3 minutes.
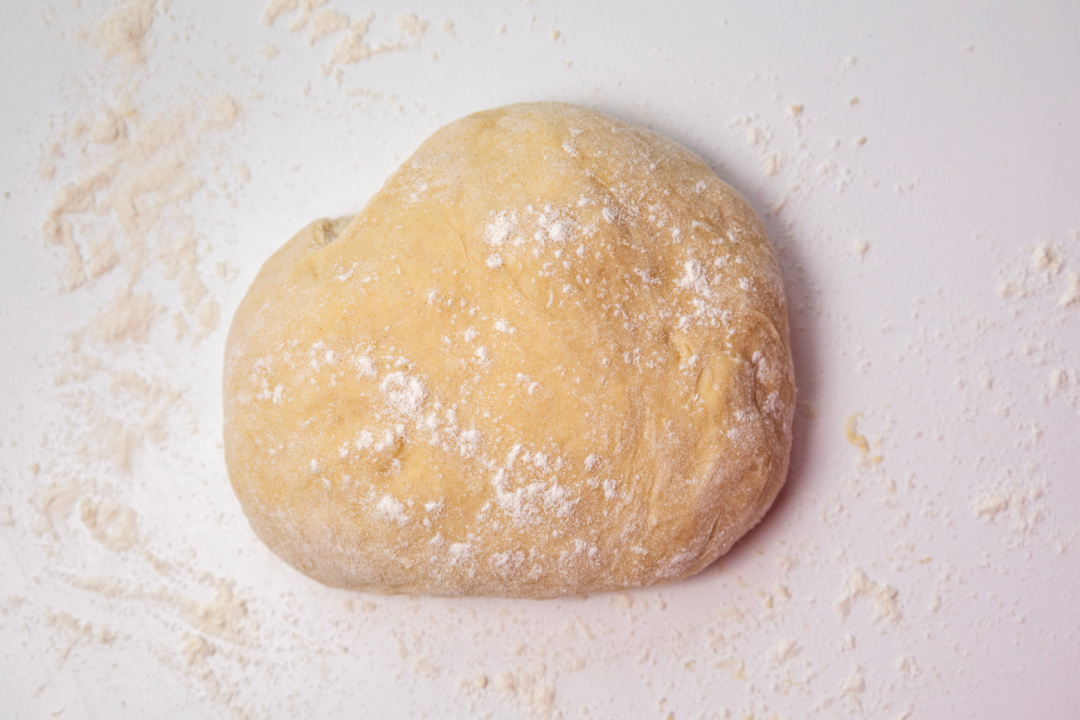
Put it back in the bowl and leave it raise in a warm place for at least 30 minutes.
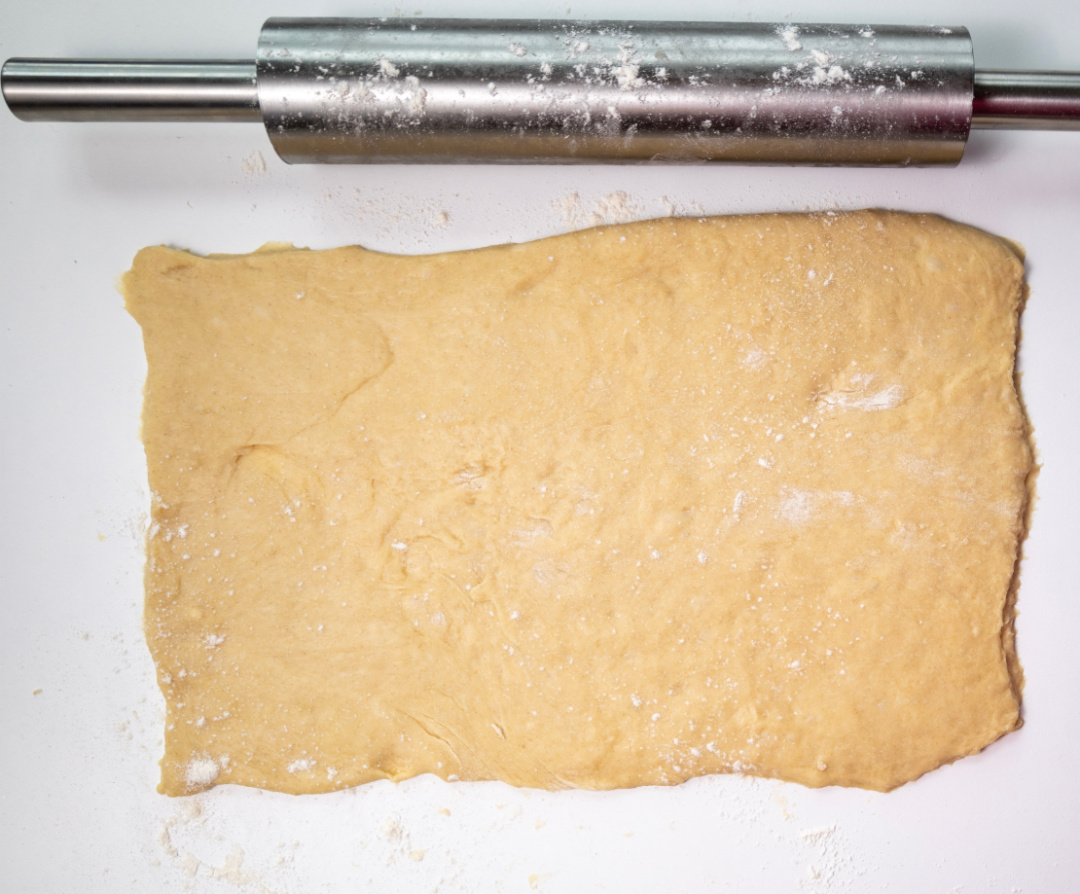
When dough is ready roll it out with a rolling pin making a rectangular flat shape.
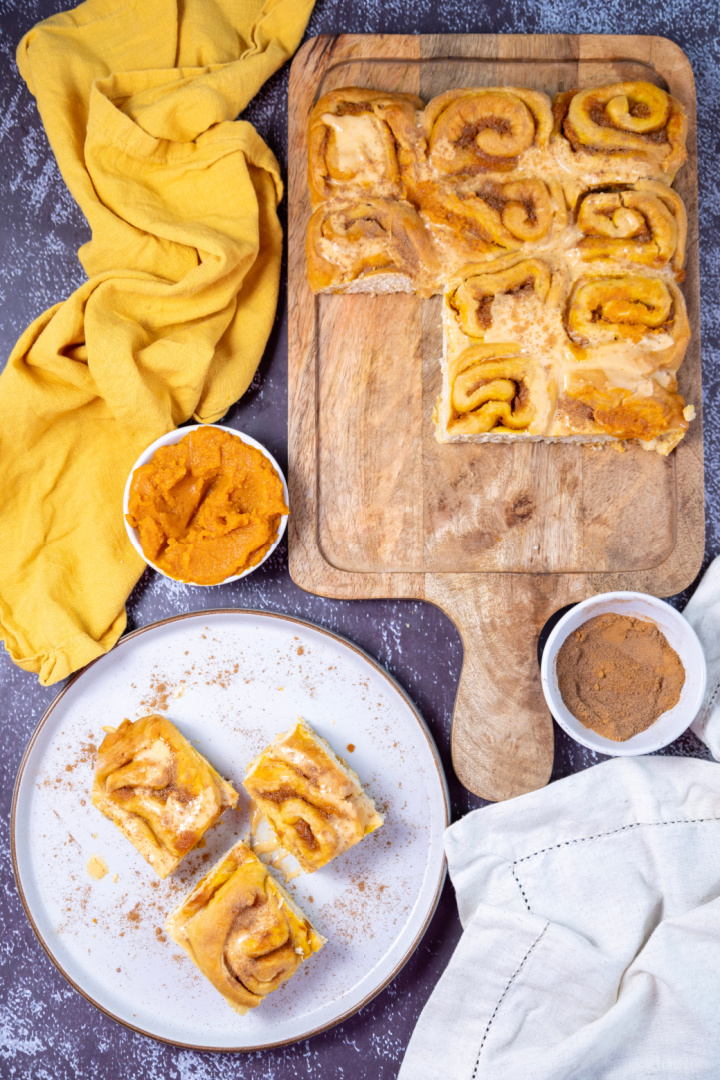
Spread pumpkin puree evenly onto it.
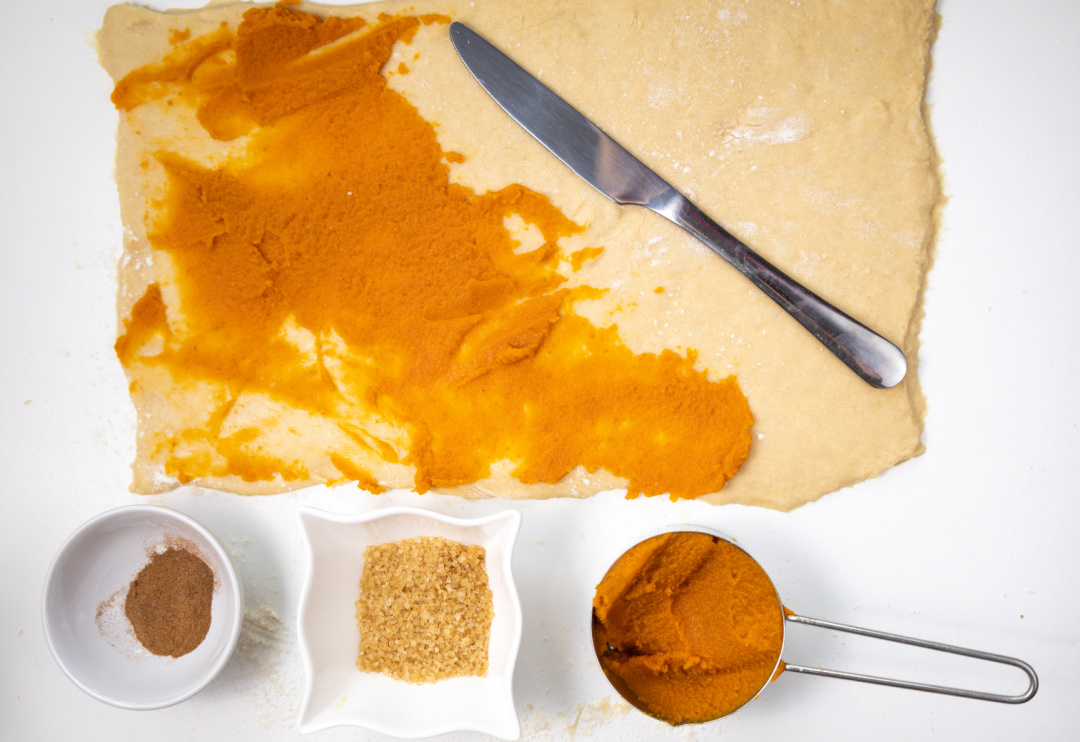
Mix cane sugar, cinnamon, and nutmeg in a small bowl.

Sprinkle it over the rolled dough.


Roll the dough to form a log.
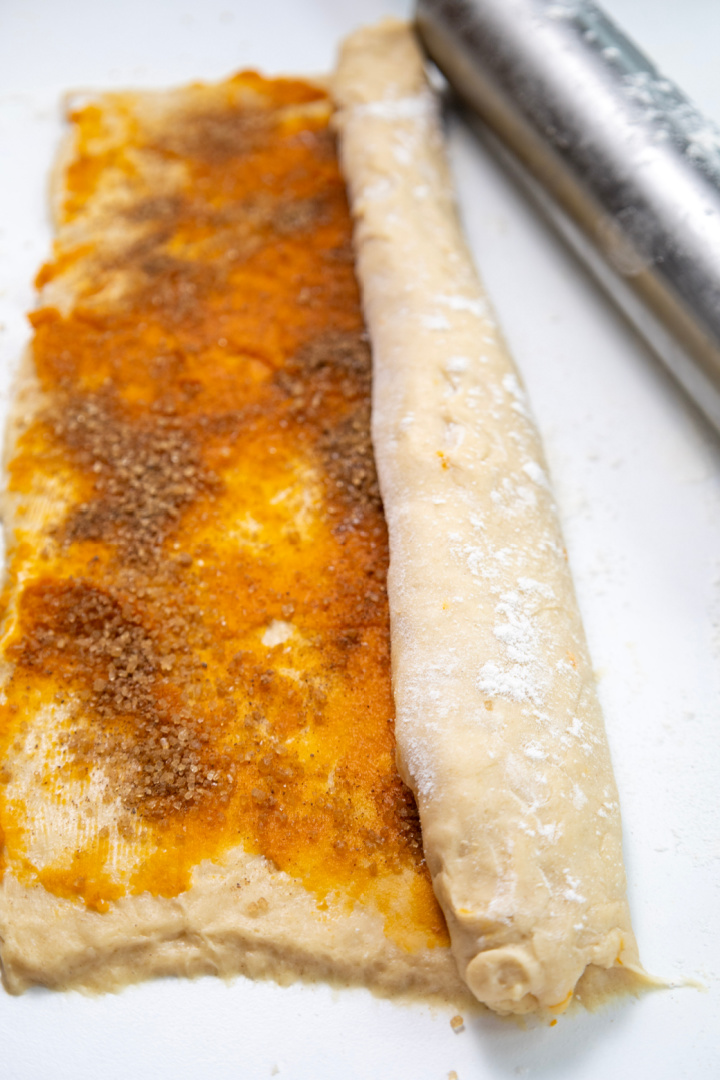
Cut it into a 1 inch thick rolls.

Line a parchment paper onto a 13x 9 inch pan and place the cut rolls onto it.

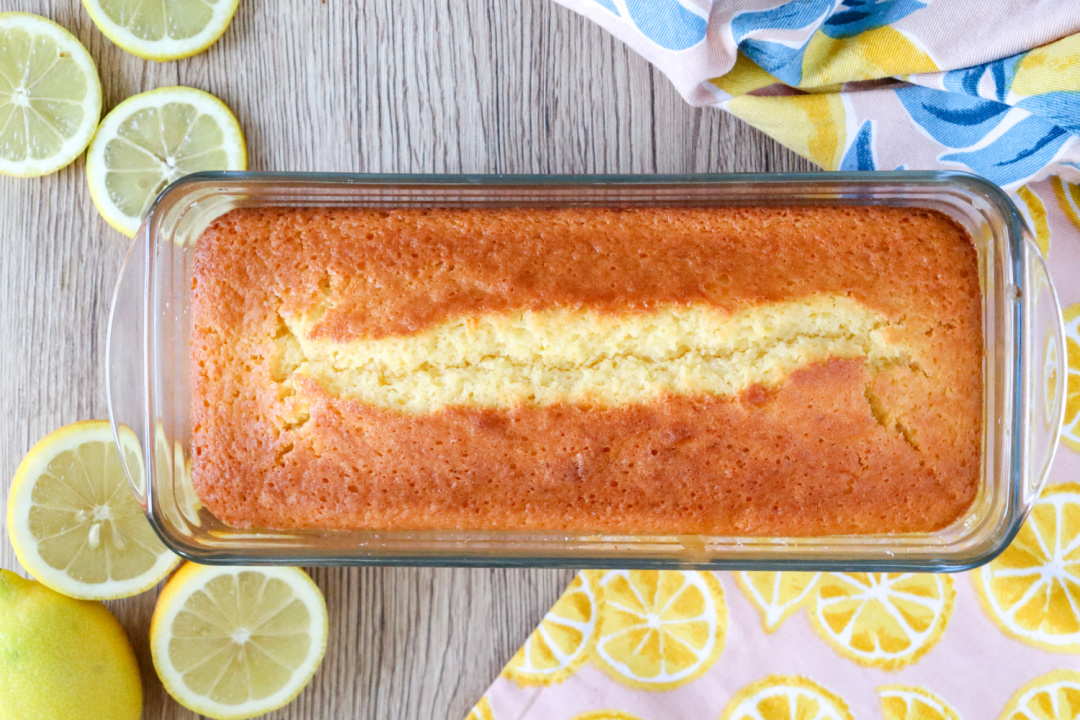
Bake for about 20 minutes or until golden brown.
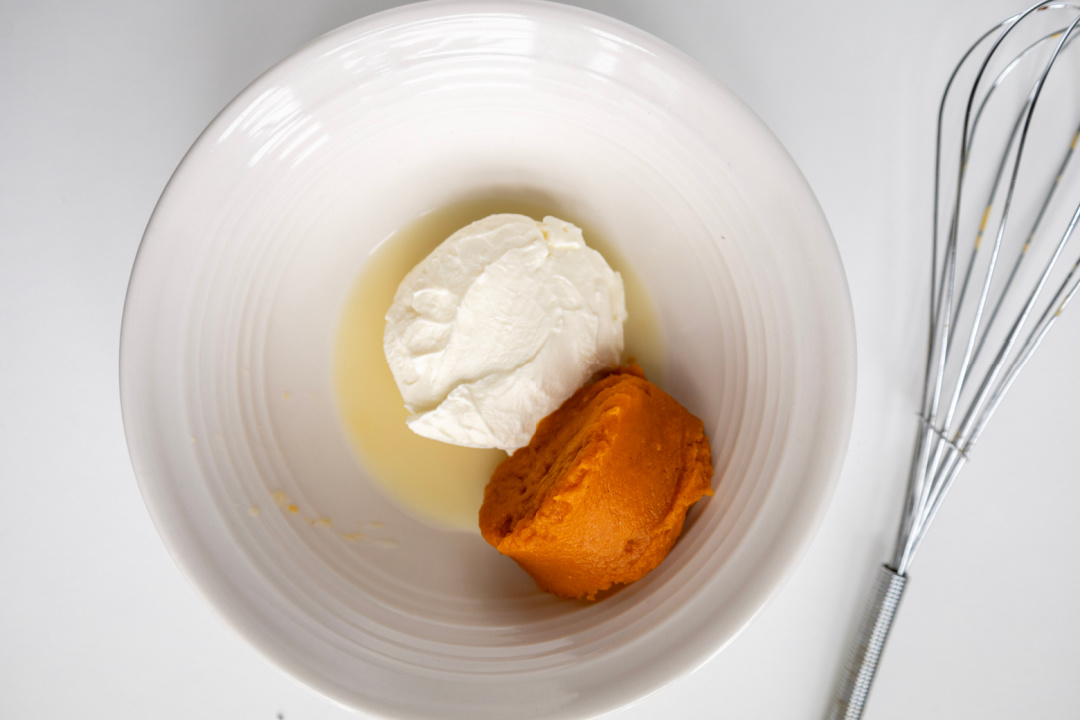
To make frosting:
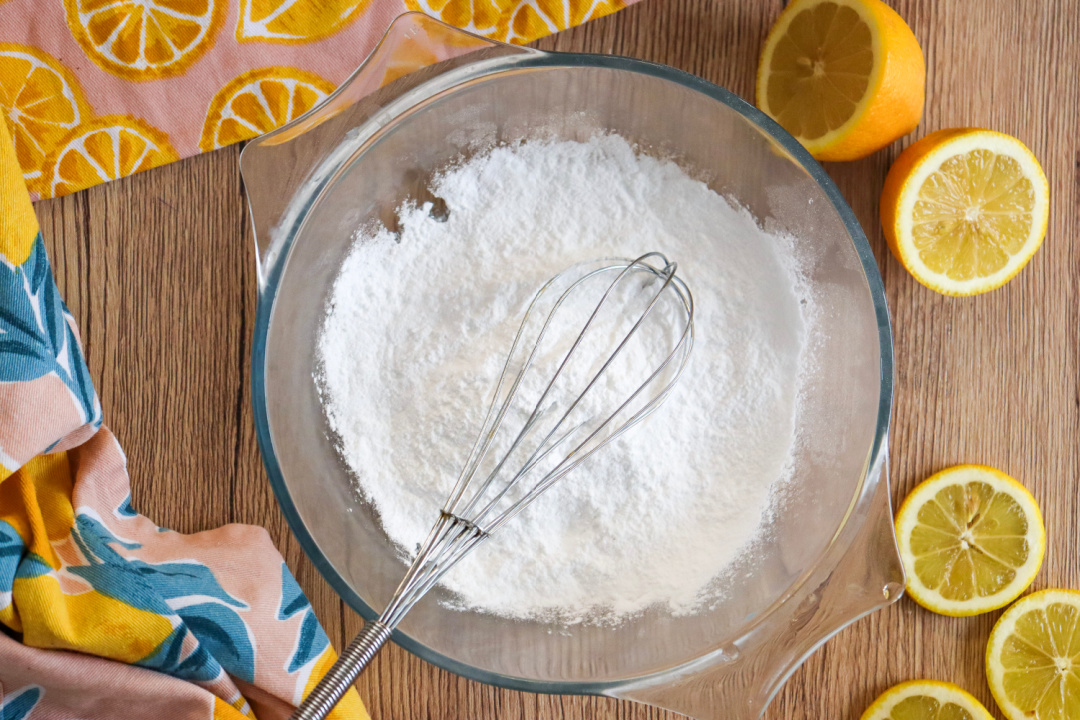
In a small bowl whisk cream cheese, powdered sugar, and pumpkin puree, add powdered sugar and continue mixing until smooth.
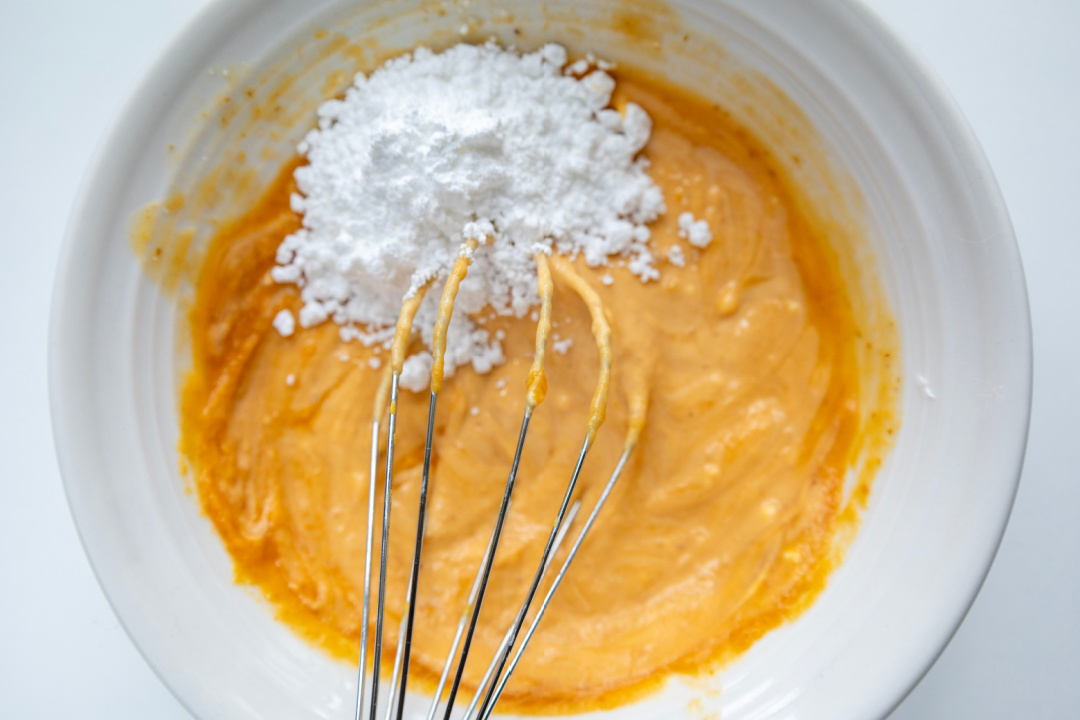

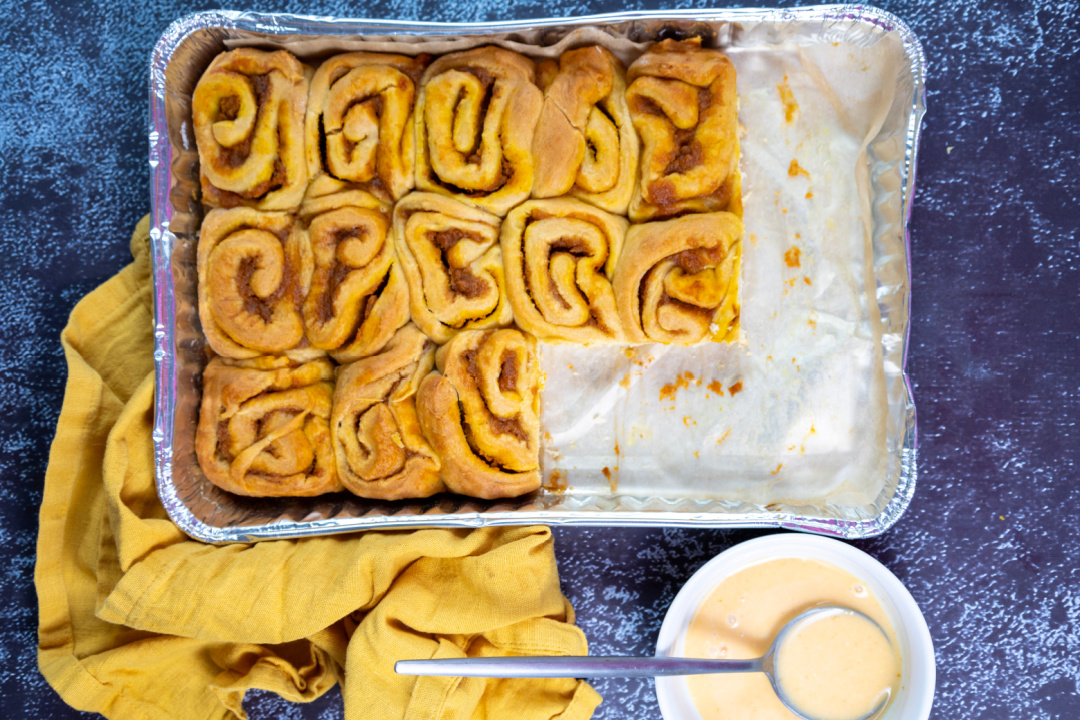
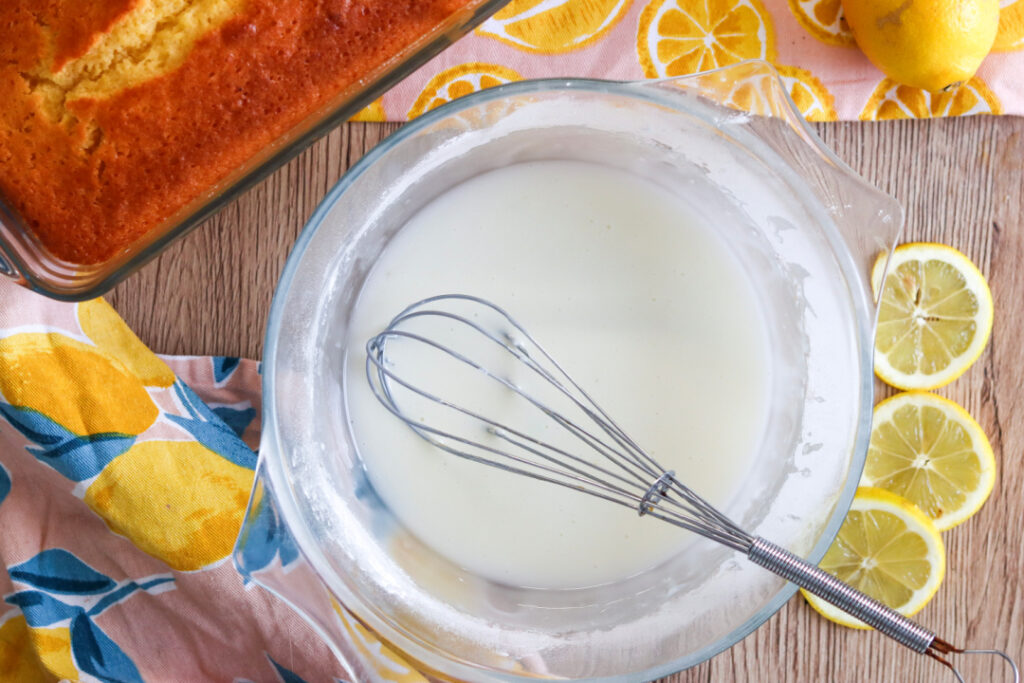
If consistency is too thick 1 tbsp of water can be added. Pour the mixture evenly onto a freshly baked roll.

Leave it to set for 5-10 minutes.
Serve with a pinch of cinnamon on top!
To make your pumpkin cinnamon rolls a little more moist, here are a few easy tips:
- Don’t overbake – The biggest reason cinnamon rolls turn out dry is baking them too long. Start checking around the 18-minute mark and pull them when they’re just lightly golden on top.
- Use whole milk – If you’re using a lower-fat milk, consider switching to whole milk. The extra fat adds moisture and richness to the dough.
- Add a touch more pumpkin puree – You can increase the pumpkin puree in the dough by 1–2 tablespoons. Just don’t add too much or it may affect the dough structure.
- Brush rolls with butter before and after baking – Brushing melted butter over the rolls before baking helps lock in moisture. After baking, brushing again gives them a soft, bakery-style finish.
- Cover with foil while baking – If you notice the tops browning too quickly, loosely cover the pan with foil for the last 5–7 minutes to prevent them from drying out.
- Use a pan with higher sides – A deeper baking dish helps keep steam in while baking, which can result in softer, moister rolls.
- Frost while warm – Spread the cream cheese frosting on while the rolls are still slightly warm so it melts into the rolls and adds extra moisture.
Frequently Asked Questions About Pumpkin Cinnamon Rolls
Can I make pumpkin cinnamon rolls ahead of time?
Yes, you can prepare the rolls the night before, cover the pan tightly, and place them in the fridge. In the morning, let them sit at room temperature for about 30 minutes before baking. This is a great make-ahead breakfast idea for holidays like Thanksgiving or Christmas.
How do I store leftover pumpkin cinnamon rolls?
Store leftover rolls in an airtight container at room temperature for up to 2 days, or in the refrigerator for up to 4 days. Reheat in the microwave for 10–15 seconds or in the oven at 300°F for about 5–7 minutes.
Can I freeze homemade pumpkin cinnamon rolls?
Yes, you can freeze them after baking. Let them cool completely, then wrap each roll individually in plastic wrap and place in a freezer-safe bag. Thaw overnight in the fridge and warm up in the oven before serving. Freezer-friendly pumpkin desserts are great for meal prepping.
Do I need self-rising flour for this pumpkin cinnamon roll recipe?
This recipe uses self-rising flour to keep things easy and beginner-friendly. If you don’t have any on hand, you can make your own using all-purpose flour, baking powder, and salt.
What kind of pumpkin puree should I use in pumpkin breakfast recipes?
Use plain canned pumpkin puree, not pumpkin pie filling. Pumpkin pie filling has added sugar and spices, which can affect the flavor and texture of the dough and frosting.
Can I use different spices in this fall cinnamon roll recipe?
Yes, you can adjust the spices to your liking. While cinnamon and nutmeg give the rolls that classic fall flavor, adding a little ground ginger or cloves can give them more depth if you like a spicier roll.
What makes these pumpkin cinnamon rolls soft and fluffy?
The warm milk and yeast help the dough rise properly, while the eggs and pumpkin puree add moisture. Kneading the dough just enough and allowing it to rise in a warm place are key steps to getting that soft, fluffy texture.
Is this pumpkin cinnamon roll recipe good for beginners?
Absolutely. It’s an easy homemade cinnamon roll recipe with pumpkin that doesn’t require any fancy tools. It’s a great fall baking recipe for beginners or anyone looking for simple comfort food ideas.
Can I make these pumpkin rolls without cream cheese frosting?
Yes, if you prefer a glaze, you can mix powdered sugar with a little milk and vanilla extract for a quick icing. But the pumpkin cream cheese frosting gives these rolls a rich and seasonal flavor.
Are these rolls good for holiday brunch menus?
Yes, these are one of the best pumpkin recipes for Thanksgiving morning, fall brunch gatherings, or even Christmas breakfast. They’re easy to make ahead and serve warm with coffee, cider, or hot cocoa.
Pumpkin Cinnamon Rolls
Ingredients
- 1 cup milk
- 1 tbs dry yeast
- 2 cups self-rising flour
- 1 tsp Cinnamon
- 1 tsp Nutmeg
- 2 eggs
- ½ cup Pumpkin puree
- 2 tbsp brown sugar
- 3 tbsp granulated sugar
- 1 stick melted butter
- Frosting ingredients:
- 4 oz Cream cheese ( half pack of 8oz Philadelphia cheese )
- ¼ cup powdered sugar
- ¼ cup pumpkin puree
- 2 tbsp milk
Instructions
Preheat oven to 320F. Warm up milk (don’t make it to hot just lukewarm) mix it with dry
yeast and granulated sugar until dissolved. Leave it in a warm place to proof for about 10 minutes. Add melted butter and eggs, stir gently with a whisk until smooth.
Add gradually flour to the batter, knead it and try to form a dough. Dust the table with flour and kneed the dough for about 2-3 minutes. Put it back in the bowl and leave it raise in a warm place for at least 30 minutes.
When dough is ready roll it out with a rolling pin making a rectangular flat shape. Spread pumpkin puree evenly onto it.
Mix cane sugar, cinnamon, and nutmeg in a small bowl, sprinkle it over the rolled
dough. Roll the dough to form a log. Cut it into a 1inch thick rolls.
Line a parchment paper onto a 13x 9 inch pan and place the cut rolls onto it. Bake
for about 20 minutes or until golden brown.
To make frosting
In a small bowl whisk cream cheese, powdered sugar, and pumpkin puree, add
powdered sugar and continue mixing until smooth. If consistency is too thick 1
tbsp of water can be added. Pour the mixture evenly onto a freshly baked roll.
Leave it to set for 5-10 minutes. Serve with a pinch of cinnamon on top!