-
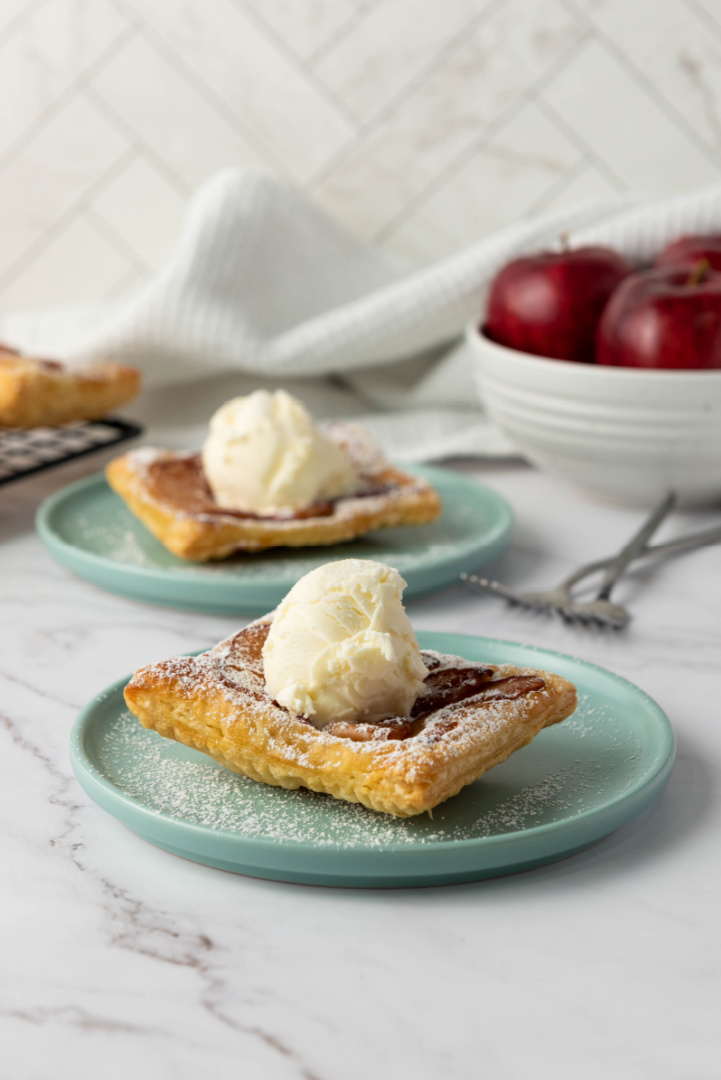
Upside Down Apple Tarts
There’s something about the warm, cozy flavors of apple and cinnamon that just feels like home. These Upside Down Apple Tarts bring together the best of southern comfort and a touch of elegance, making them perfect for any occasion. Whether you’re having a few friends over for coffee or just want to treat yourself after…
-
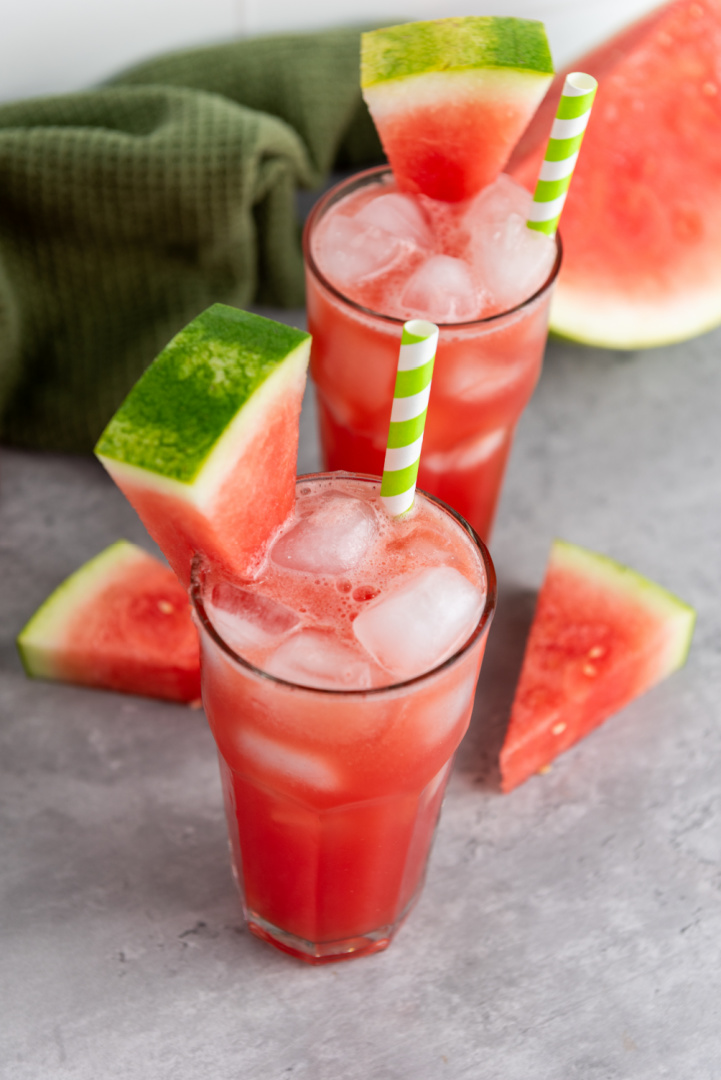
Watermelon Juice
Refreshing Homemade Watermelon Juice: Perfect for Summer Gatherings When the summer sun is blazing, there’s nothing more refreshing than a tall glass of homemade watermelon juice. This vibrant, hydrating beverage is a Southern staple, perfect for cooling off and staying hydrated during those hot summer days. Whether you’re hosting a family barbecue, enjoying a lazy…
-
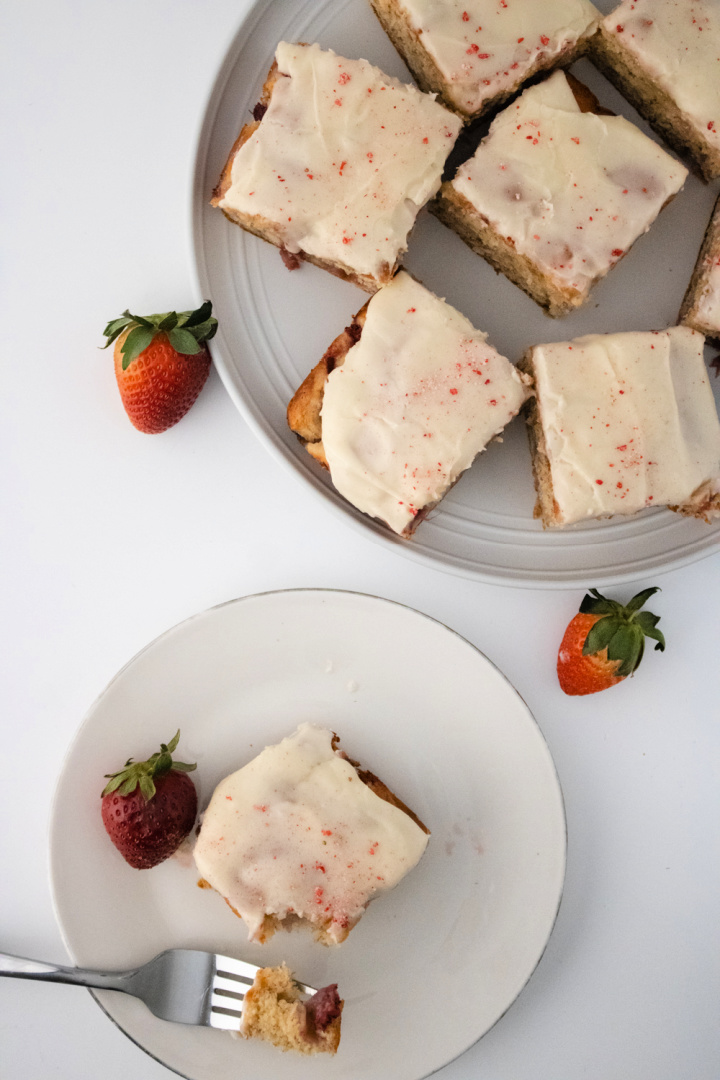
Strawberry Banana Cake
I’ve got a treat for you that perfectly blends the sweetness of strawberries with the creamy texture of bananas. This Strawberry Banana Cake is just what you need to add a touch of homemade goodness to any gathering or even just a quiet afternoon at home. Why Make Strawberry Banana Cake? There’s something truly special…
-
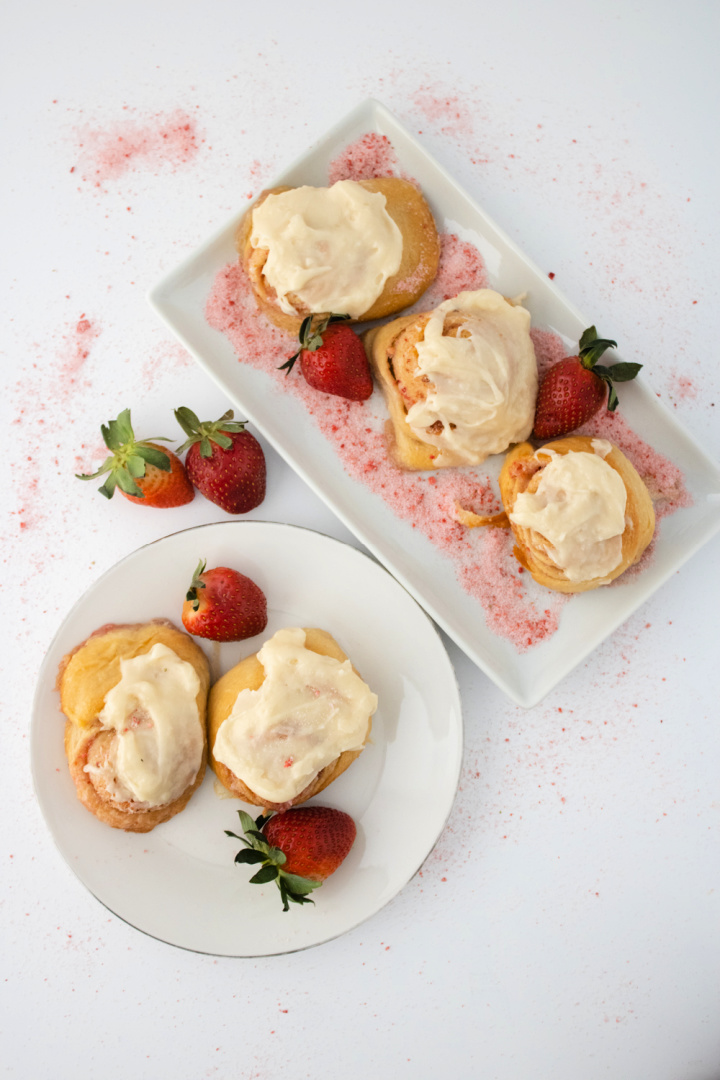
Strawberry Rolls
Are you on the hunt for a dessert that shouts Southern hospitality and charm? If so, you’ll want to try these Strawberry Rolls. As a proud Southern cook, I’m thrilled to share this mouthwatering treat that promises to be the perfect addition to your baking routine. Why Strawberry Rolls? Strawberry rolls are not just a…
-
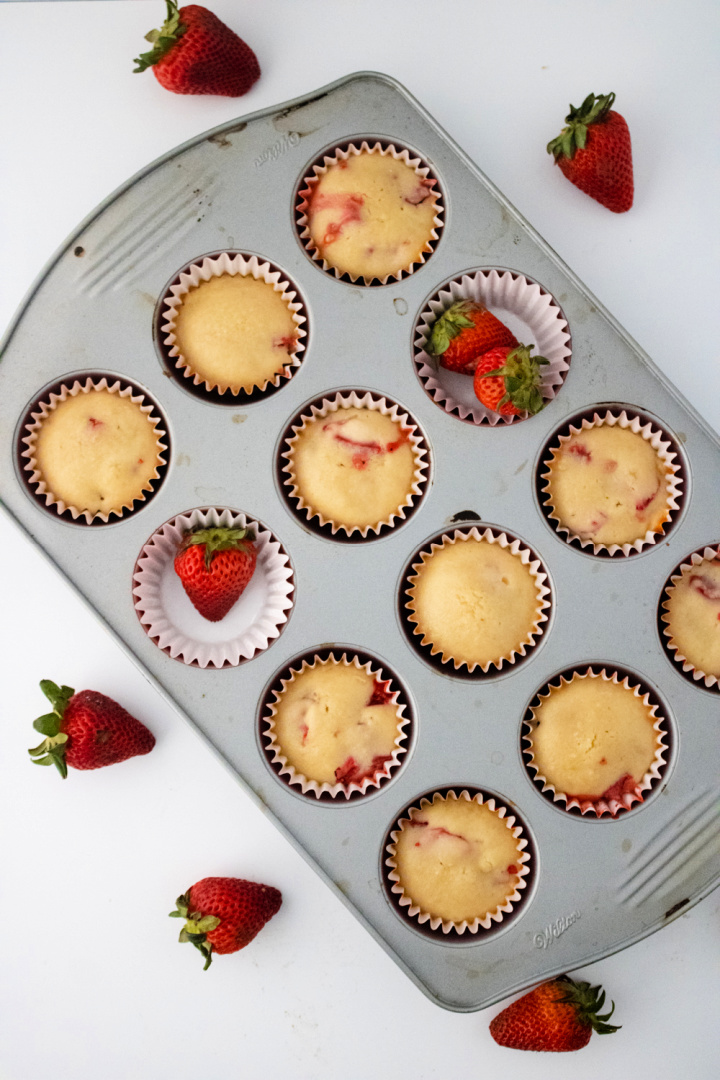
Strawberry Muffins
Southern Strawberry Muffins: A Sweet Taste of Home There’s something about the aroma of freshly baked strawberry muffins that brings a sense of warmth and comfort to any home. These treats are perfect for any occasion, and their sweet, fruity flavor makes them a hit with both kids and adults alike. If you’re looking for…