-
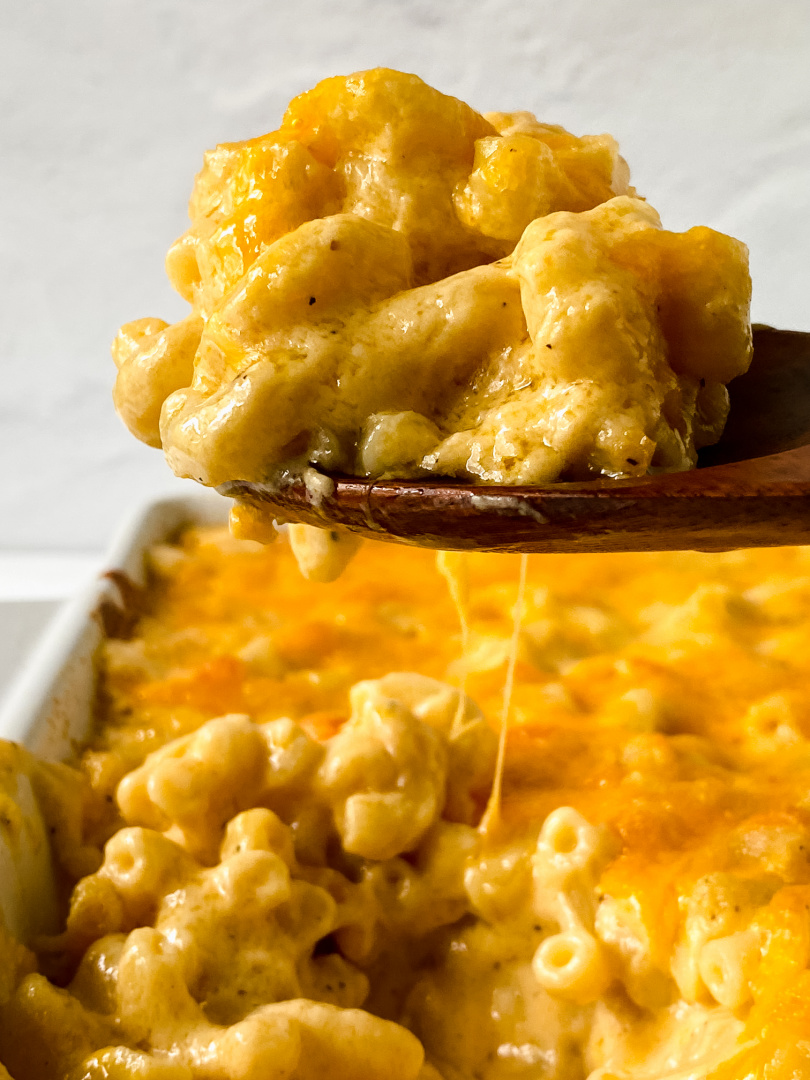
Southern Baked Mac and Cheese
If you’re looking for the ultimate comfort food, this Southern Baked Mac and Cheese is exactly what you need. Creamy, cheesy, and full of rich flavor, this mac and cheese combines whole milk, heavy cream, and plenty of melted cheese for a soul-satisfying side dish. Perfect for pairing with brisket, fried chicken, or your favorite…
-
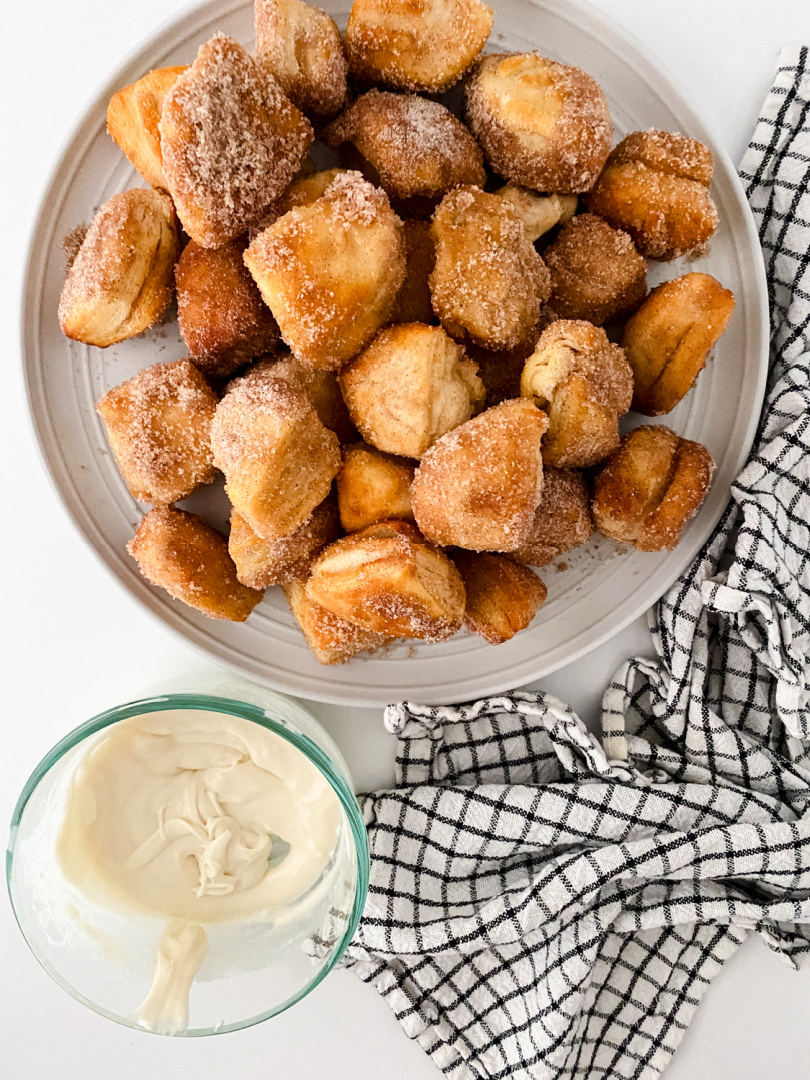
Air Fryer Cinnamon Sugar Bites
Air Fryer Cinnamon Sugar Bites: A Southern Treat I’m excited to share a quick and easy recipe that’s bound to become a favorite in your home: Air Fryer Cinnamon Sugar Bites. These little bites of heaven are perfect for any occasion, and best of all, they come together in just 15 minutes! You may also…
-
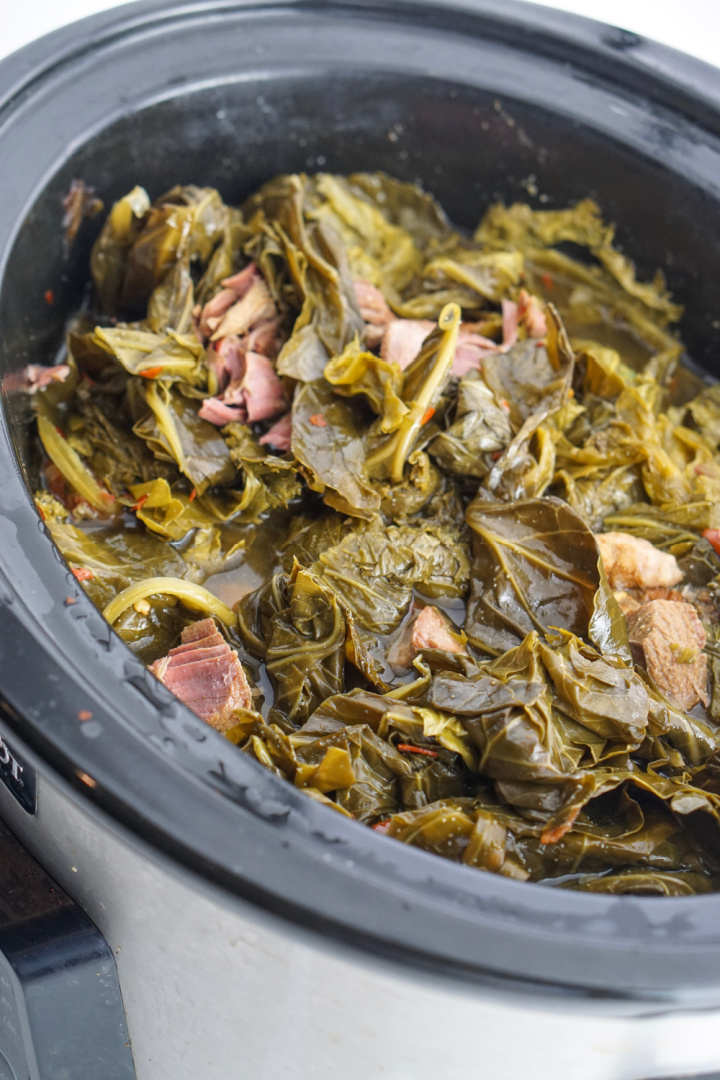
Slow Cooker Collard Greens (Southern Style)
Slow cooker collard greens are one of those Southern staples that never go out of style. When cooked low and slow, collard greens turn tender, flavorful, and rich in a way that stovetop methods just can’t match. This slow cooker version delivers deep, smoky flavor with minimal effort, making it perfect for busy weeknights, Sunday…
-
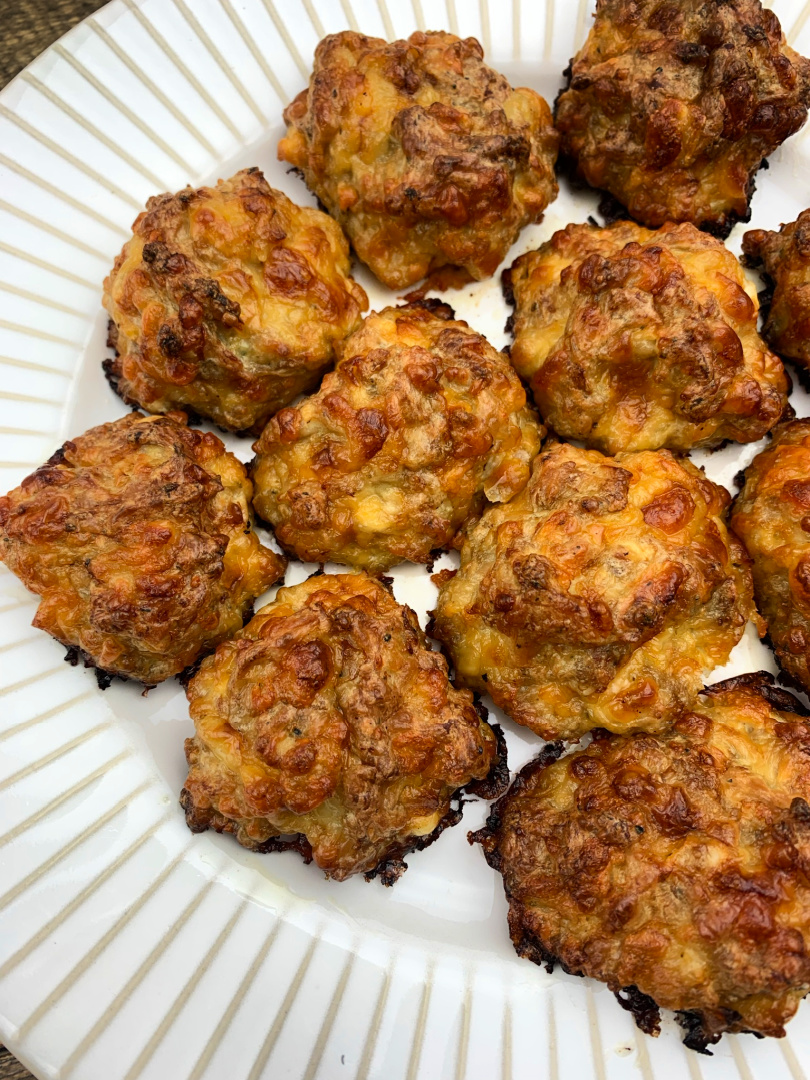
Low Carb Sausage Balls
Looking for a simple, low carb snack that’s perfect for busy mornings, game day parties, or meal prep? Low carb sausage balls are a go-to recipe that fits every occasion. Packed with protein, full of flavor, and naturally keto-friendly, these sausage balls are easy to make and even easier to enjoy. Whether you’re following a…
-
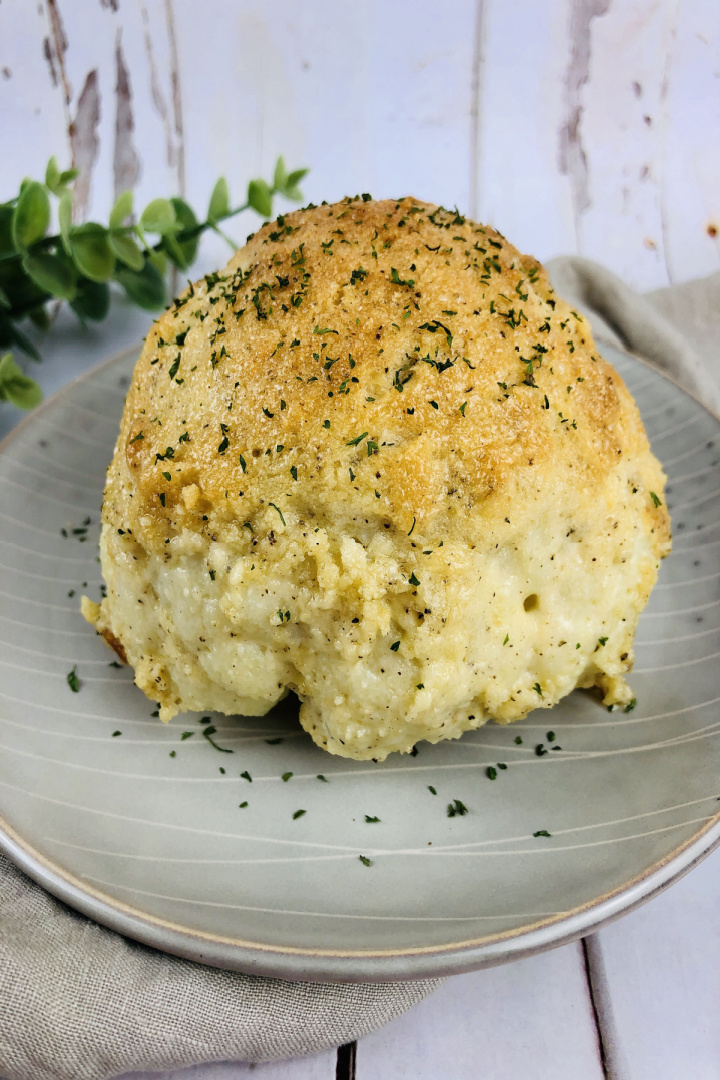
Cheesy Baked Cauliflower – A Southern Comfort Side Dish
Cauliflower might be a humble vegetable, but when baked with rich, cheesy flavors, it becomes the star of any southern meal. This cheesy baked cauliflower recipe takes this simple vegetable and turns it into a creamy, flavorful side dish that pairs beautifully with classic southern dinners. Whether you’re cooking for a busy weeknight or preparing…