In a world filled with a myriad of complex recipes and exotic ingredients, sometimes it’s the simplest dishes that truly stand out.
One such dish that has managed to cut through the noise of the culinary world is avocado toast.
It is humble yet versatile, nutritious, and notably easy to make. Today, we’ll explore why making it at home might be worth your while.
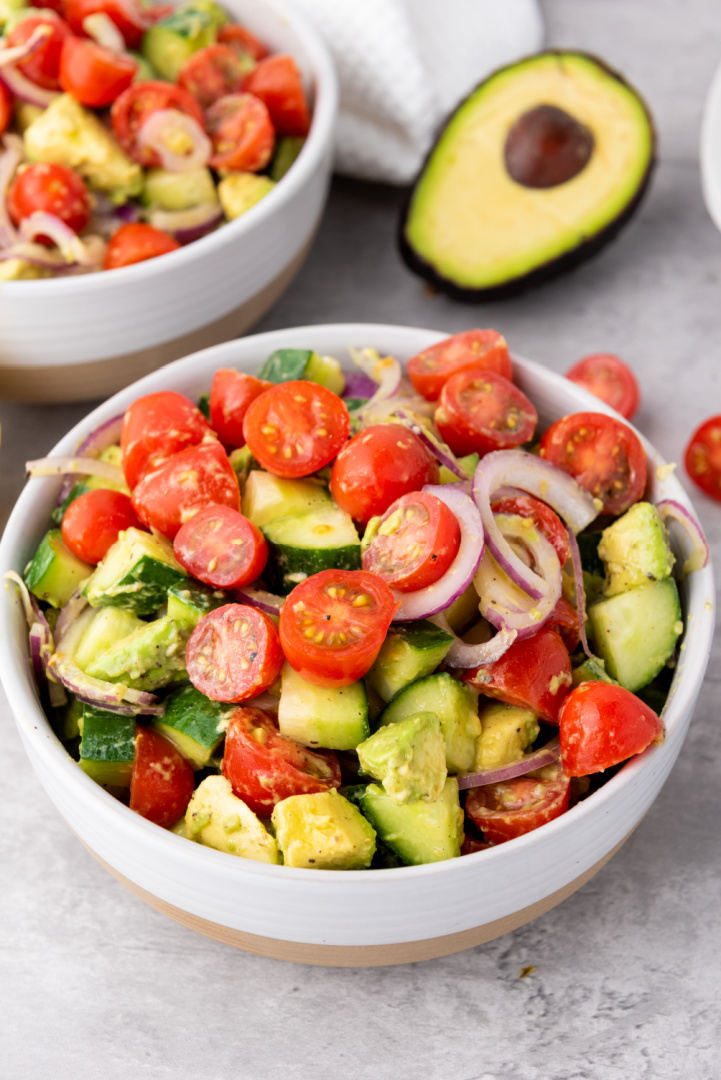
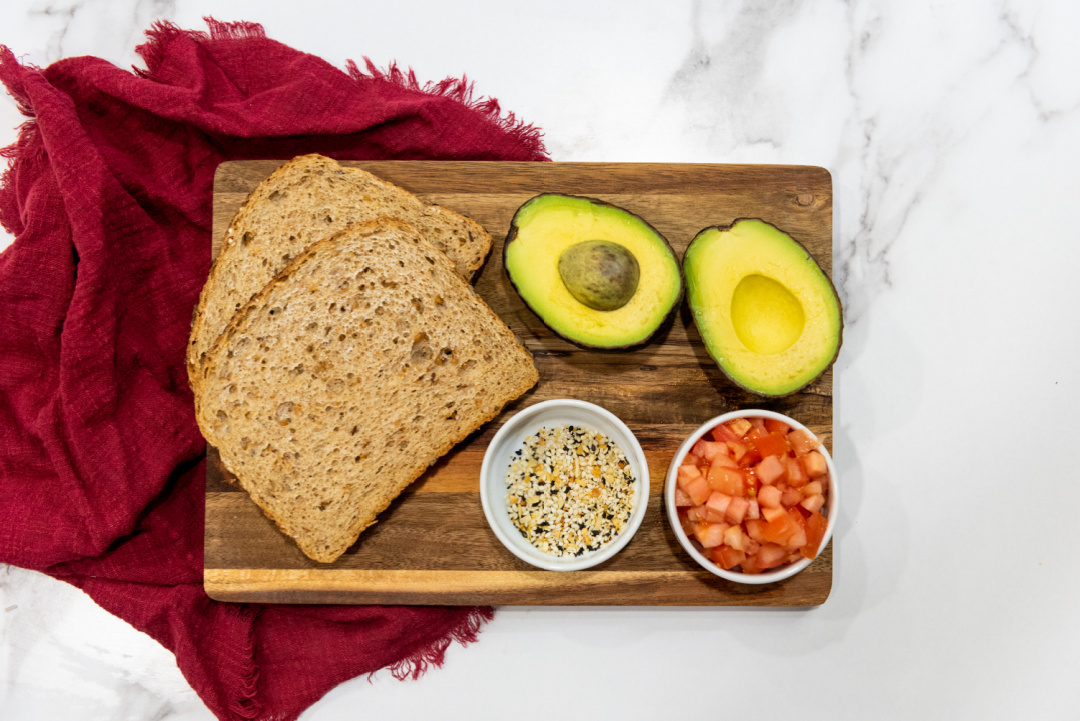
This avocado toast recipe consists of bread, avocado, tomato, ‘everything bagel’ seasoning, and a dash of salt and pepper.
These components, though individually ordinary, when combined, create a flavorful and nutritious meal.
Making this at home not only provides an opportunity for a homemade meal but also opens the door for creativity and personalization.
Avocado toast is a great avenue to explore customization in the kitchen. Though our ingredient list is simple, there’s ample room for experimentation.
The type of bread, for instance, can greatly alter your dish. Whole grain, sourdough, rye, or even gluten-free bread; the choice is yours to make.
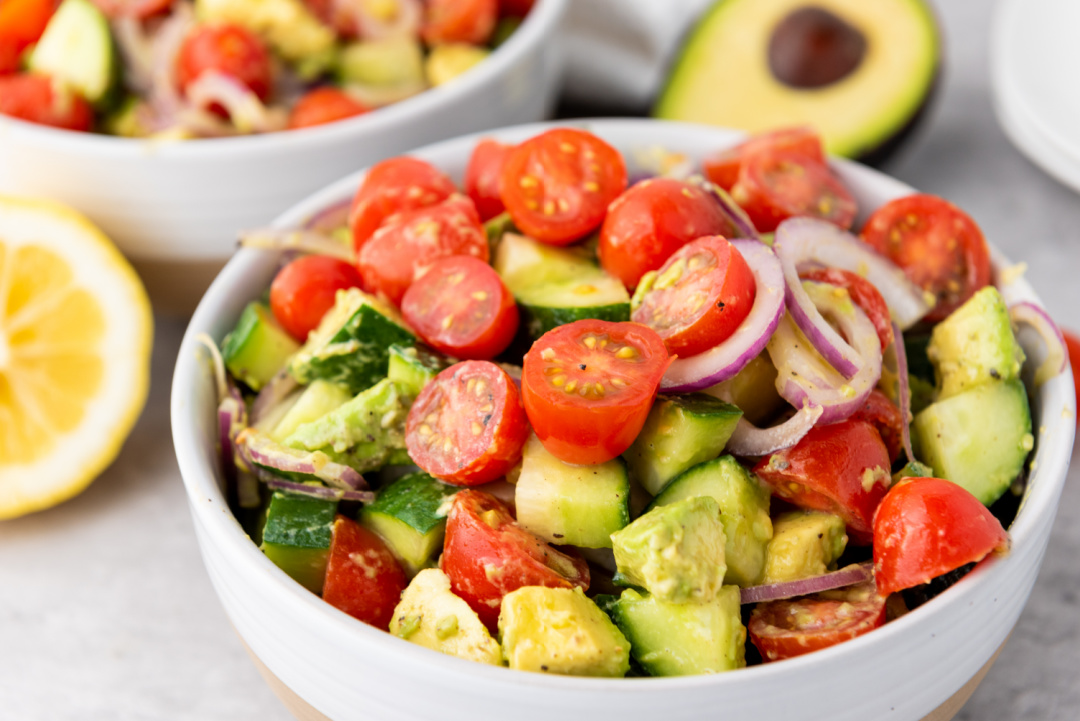
Then there’s the tomato: cherry, heirloom, Roma – each will lend a distinct flavor profile to your dish.
The ‘everything bagel’ seasoning too, while providing a fantastic burst of flavor as is, can be adjusted to personal preference.
A little extra garlic, less onion, perhaps a touch more salt – the possibilities are virtually limitless.
Preparing avocado toast at home is a fairly straightforward process. This simplicity provides a perfect opportunity to practice mindfulness.
As you slice your avocado or dice your tomato, take a moment to appreciate the natural produce in your hand, its colors, textures, and fragrances.
It is indeed these simple pleasures that often bring much-needed calm in our otherwise fast-paced lives.
Moreover, making avocado toast at home can be cost-effective. Avocados, though considered a luxury ingredient in some places, are generally quite affordable.
The other ingredients – bread, tomato, and seasonings – are pantry staples in most households.
Why pay a hefty price at a café when you can enjoy the same, if not better, taste at home, at a fraction of the cost?
Finally, it’s about the joy and satisfaction of making something with your own hands.
The act of preparing your own food from scratch, of knowing what exactly goes into your dish, is empowering.
With every slice of avocado placed on the toast, you’re in control of the quality and quantity of your ingredients.
In conclusion, the appeal of avocado toast lies not only in its taste but also in its simplicity and versatility.
While it might be easier to order it off a café menu, making it at home offers an opportunity to connect with our food on a deeper level.
So, next time you’re in the mood for a quick snack or a light meal, consider making your own avocado toast.
It’s nutritious, delicious, and a testament to the beauty of simplicity in the culinary world.
Avocado Toast
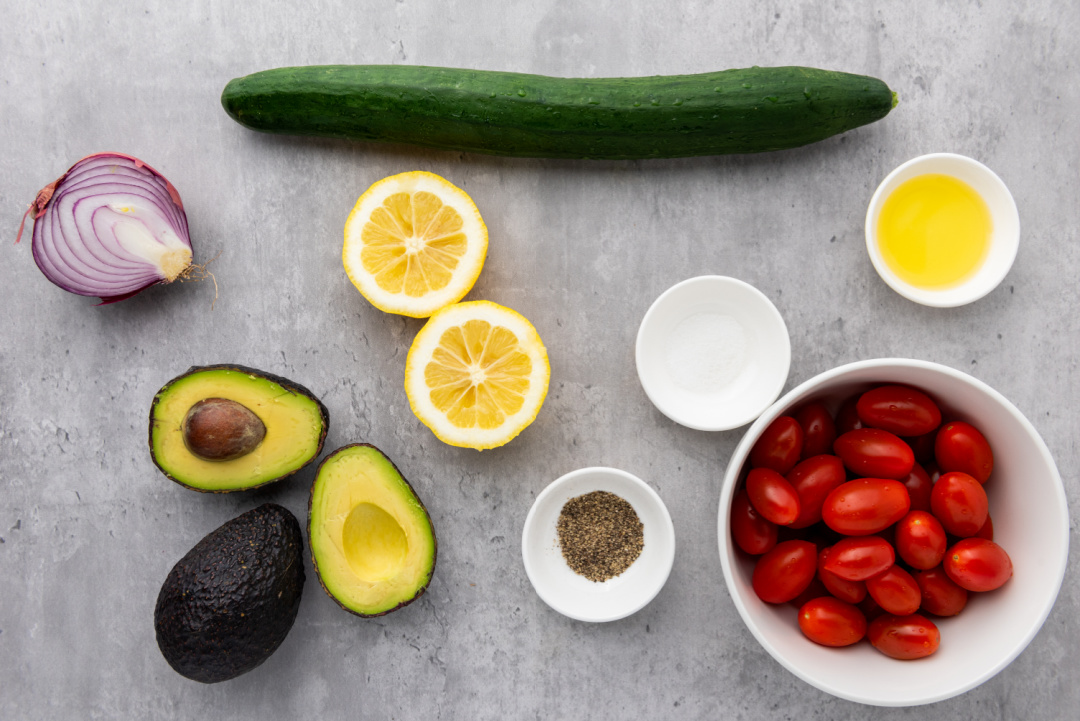
Ingredients:
- 2 slices of bread
- 1 ripe avocado, sliced
- ½ tomato, diced
- 1 tsp everything bagel seasoning
- Salt, to taste
- Pepper, to taste
Directions:
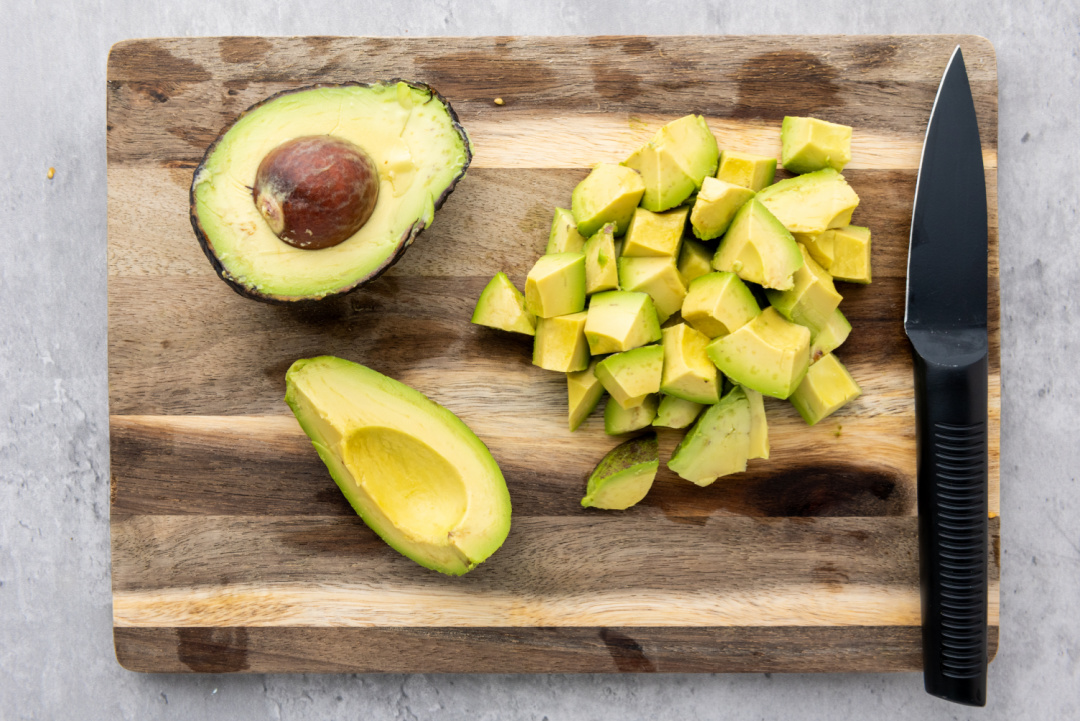
Start by cutting the avocado in half, removing the pit and the skin. Then, thinly slice the avocado.

Wash and dice your tomato.
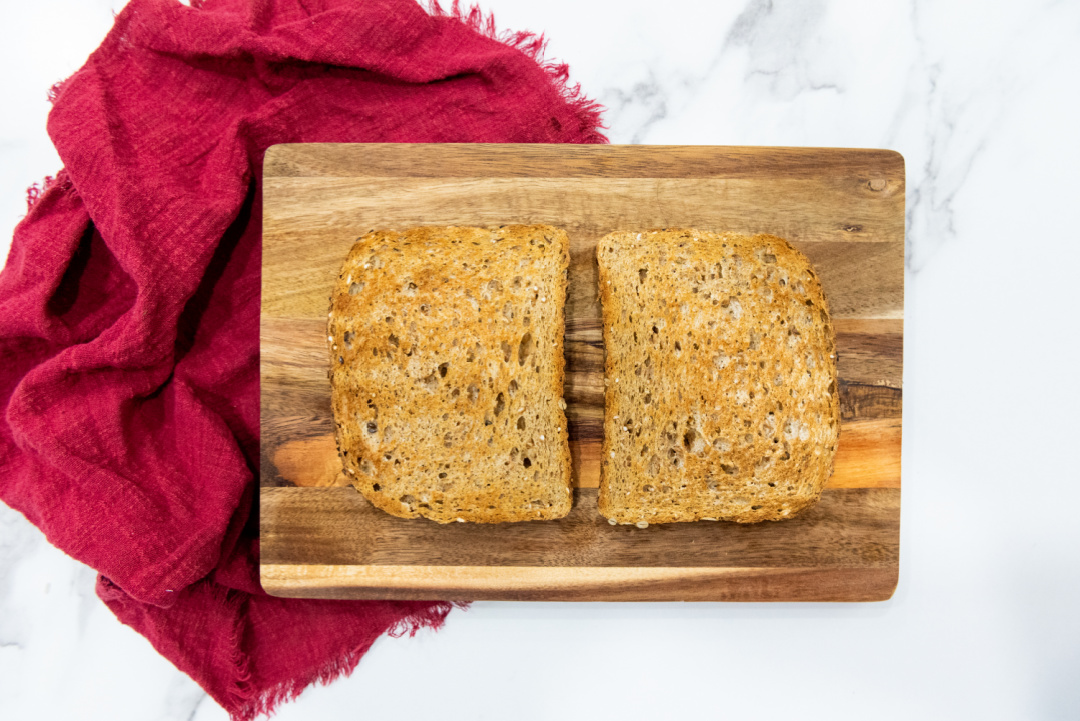
Toast your bread, until it has reached your desired crunchiness.
Place the sliced avocado on your toasted bread, then add the tomatoes and everything bagel seasoning.

Season with salt and pepper.

Serve and enjoy immediately.