The Comforting Allure of the Loaded Mashed Potato Casserole
Ah, the humble potato.
Throughout history, it has fed nations, comforted the soul, and, most importantly for Roscoe’s Recipes readers, has been the star of countless delightful dishes.
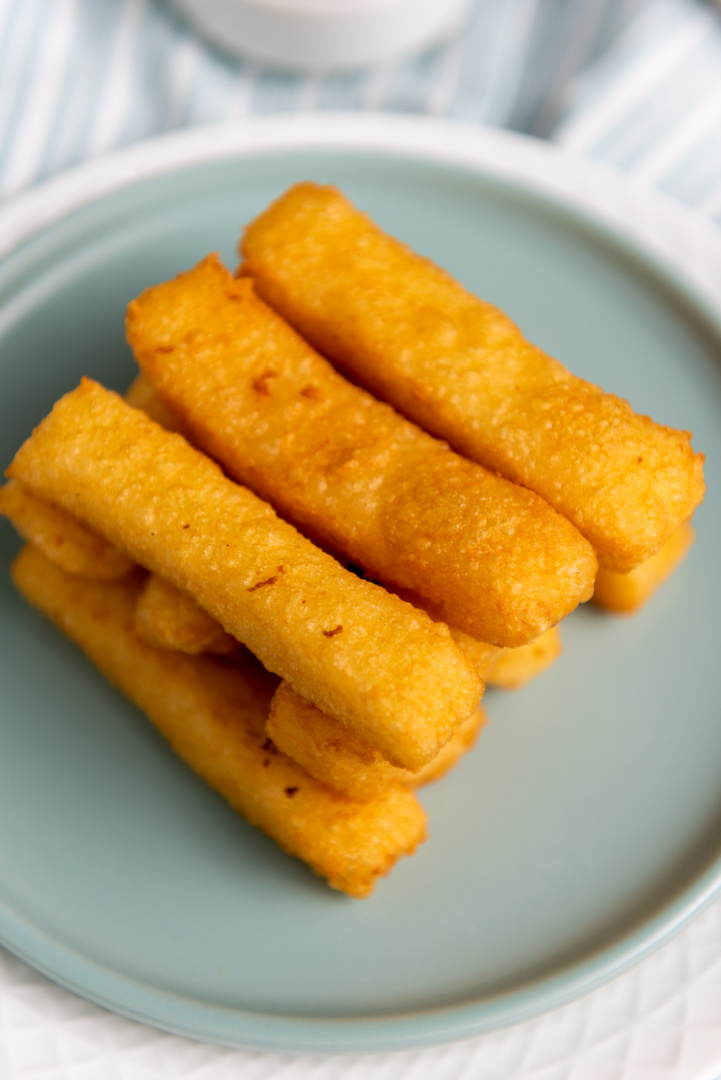
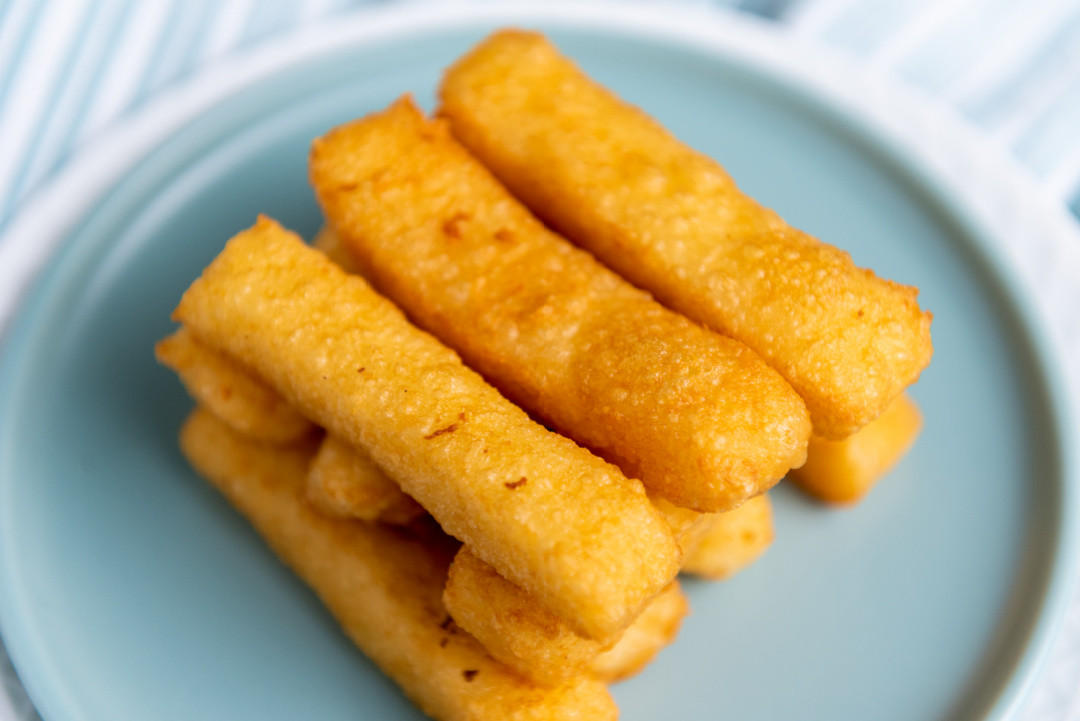
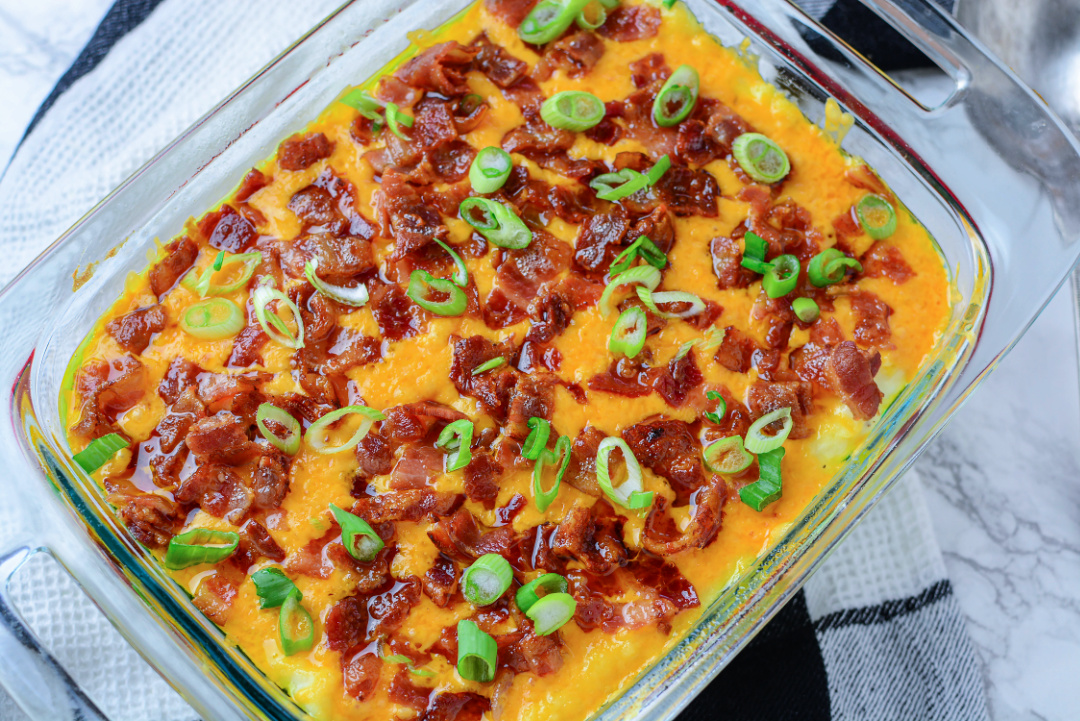
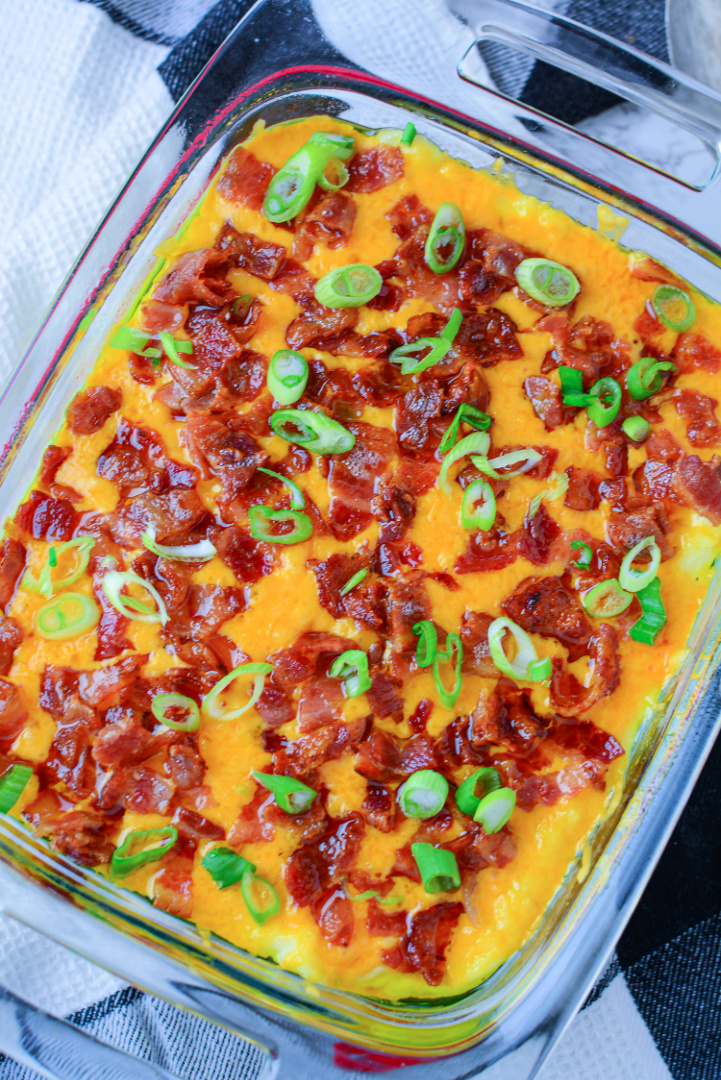
Today, we delve into a dish that is pure comfort on a plate: the Loaded Mashed Potato Casserole.
Mashed Potatoes, Elevated
You might ask, what makes a mashed potato “loaded”? It’s the combination of delicious, savory ingredients combined with the traditional creamy mashed potatoes that we all adore.
As is evident in the recipe, our version of this casserole doesn’t just stop at buttery, soft potatoes; it takes the dish a notch higher with crispy bacon, aromatic onions, and garlic, and the smooth, rich flavors of sour cream and cheddar cheese.
The Star Ingredients
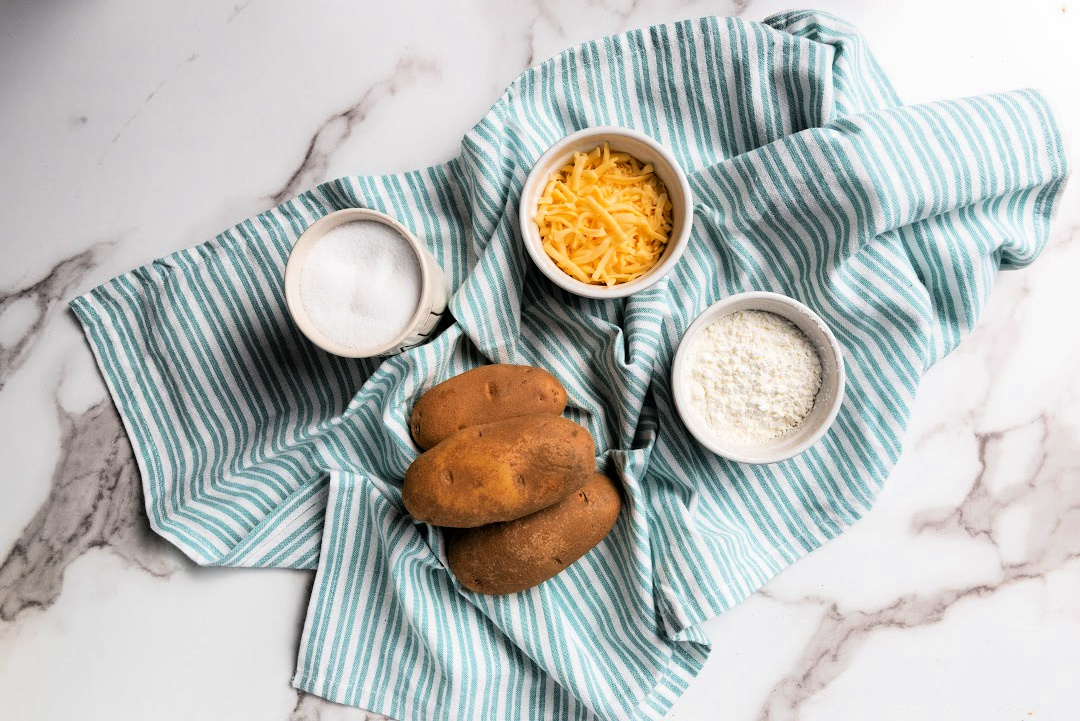
Every component in this casserole plays a crucial role:
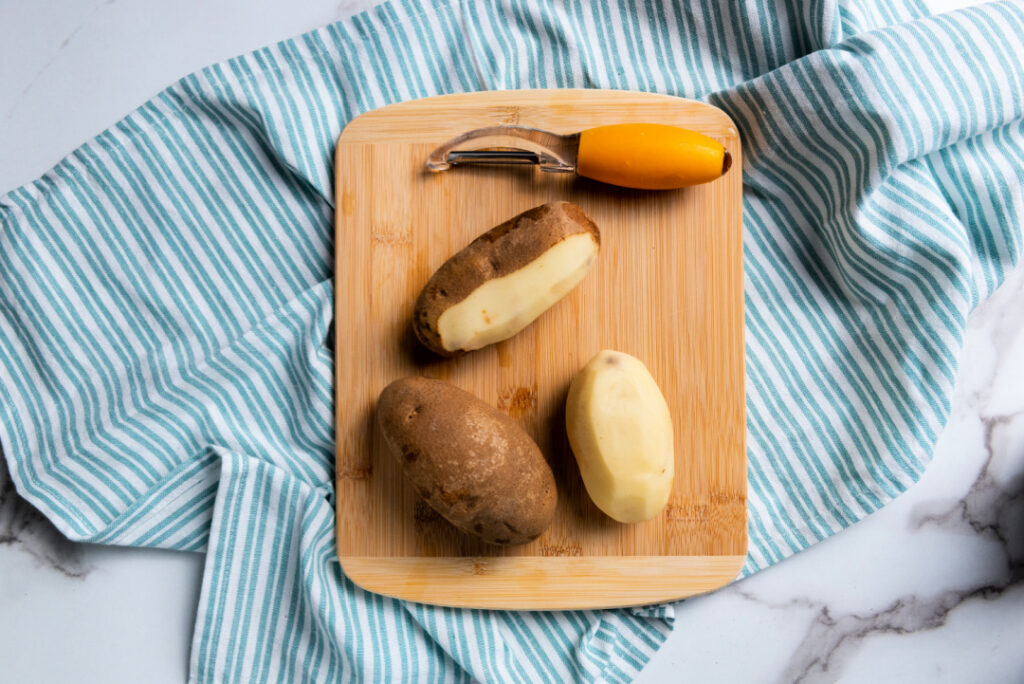
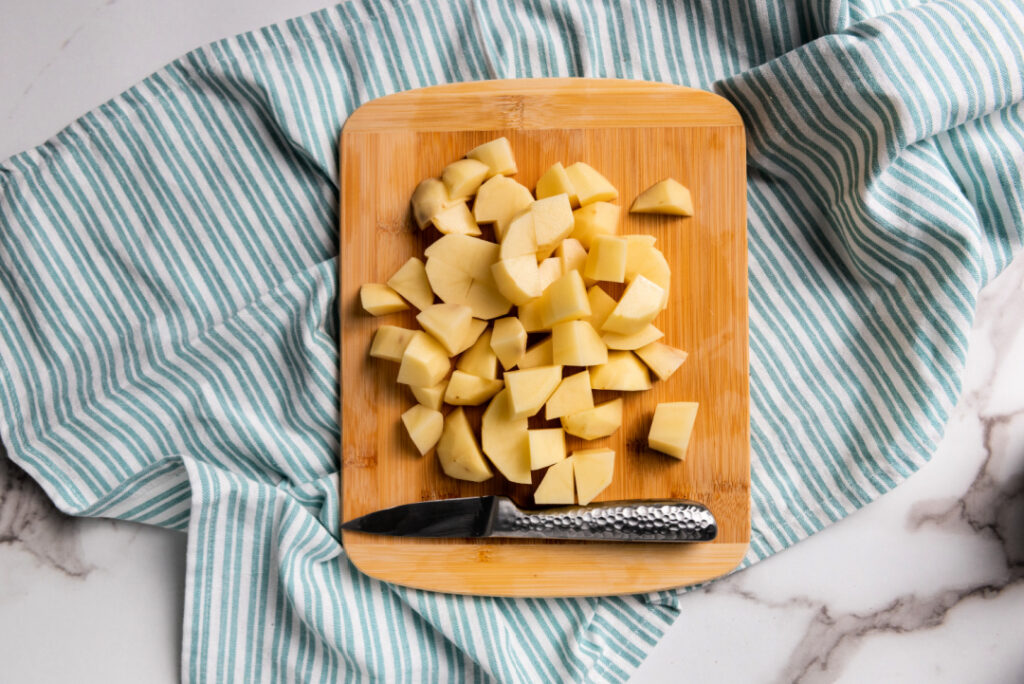
- Potatoes: The canvas of our dish. Selecting the right type, such as Russets, can make a big difference in achieving that creamy, smooth texture.
- Bacon: This ingredient provides a satisfying crunch and a hint of smokiness. Remember, half of this crispy delight gets mixed into the potatoes, and the other half serves as a tantalizing topping, making every bite worthwhile.
- Onions and Garlic: The sautéed onions and garlic introduce an element of sweetness and pungency, respectively. These flavors meld beautifully with the richness of the other ingredients, creating a perfect balance.
- Sour Cream: A touch tangy, this addition ensures that the mashed potatoes have an irresistible creamy texture and a unique flavor depth.
- Cheddar Cheese: Melty, gooey, and absolutely delightful, the cheese not only binds the casserole together but also adds a savory depth.
- Green Onions: The finishing touch! Their mild oniony flavor and bright green hue provide a beautiful contrast, both in taste and appearance.
Mastering the Art of Mashing
As any seasoned cook will tell you, the process of mashing potatoes is an art.
Over-mash, and you’ll have a gluey mess; under-mash, and you’ll find unexpected lumps.
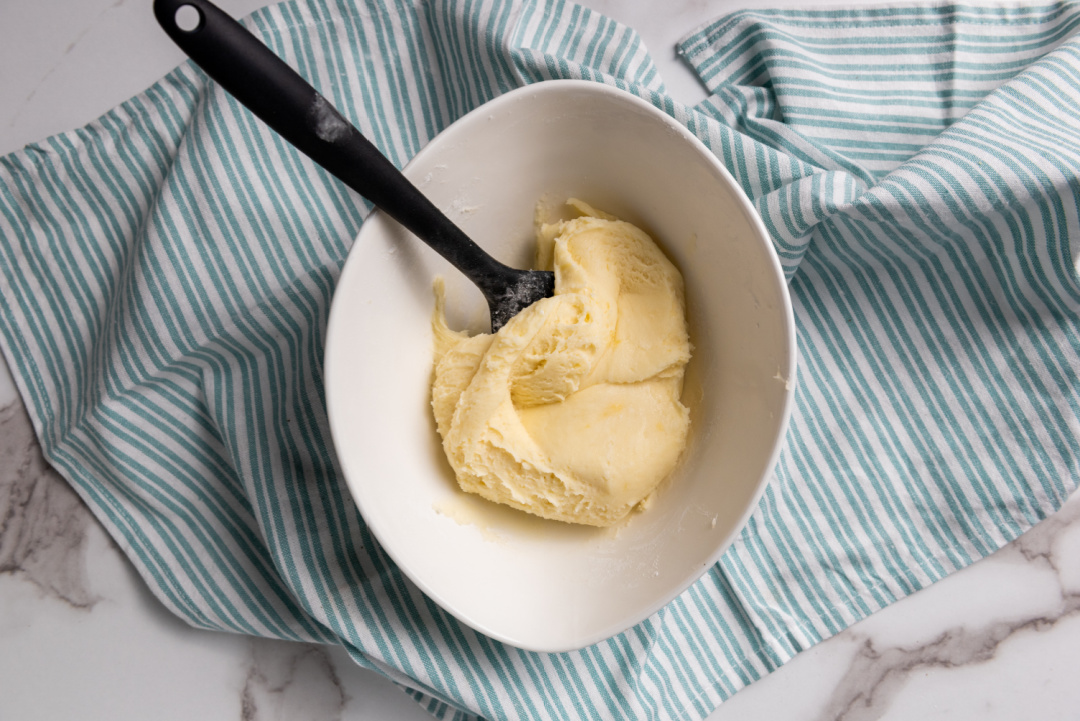
But when done just right, combined with butter and sour cream, you get a heavenly creamy texture that is hard to resist.
Layering is Key
When assembling your casserole, it’s crucial to layer the ingredients correctly.
The skillet mixture, when mixed with the mashed potatoes, creates a base bursting with flavor.
Layering the shredded cheese ensures it melts right into those potatoes, and the bacon on top crisps up in the oven, creating a perfect crunchy layer.
Versatility at its Best
One of the best things about the Loaded Mashed Potato Casserole is its adaptability.
While this recipe provides an excellent base, you can always get creative.
Consider adding roasted garlic for a mellow flavor, or mix in some diced jalapeños for a spicy kick.
The possibilities are endless!
In Conclusion
The Loaded Mashed Potato Casserole is not just a side dish; it’s a statement.
It embodies the essence of comfort food and brings together classic flavors in a delightful harmony.
Whether you’re hosting a dinner party, looking for the perfect side for your main course, or just in need of a comforting dish after a long day, this casserole is a reliable choice.
It’s dishes like these that remind us of the power of simple ingredients and traditional cooking techniques.
When combined with a touch of creativity and love, they can create dishes that resonate with many, invoking fond memories and shared moments.
Happy cooking!
Loaded Mashed Potato Casserole
Ingredients:
- 3 lbs. potatoes, peeled and cut into bite size pieces
- 8 oz bacon, cooked and crumbled
- 1 onion, medium, chopped
- 1 teaspoon garlic, minced
- ¼ cup butter
- 1 cup sour cream
- 4 oz. cheddar cheese, shredded
- ¼ cup green onion/scallions, sliced
- as desired, salt and pepper
- 1 tsp. oil for frying
Directions:
Begin by preheating the oven to 375˚F.
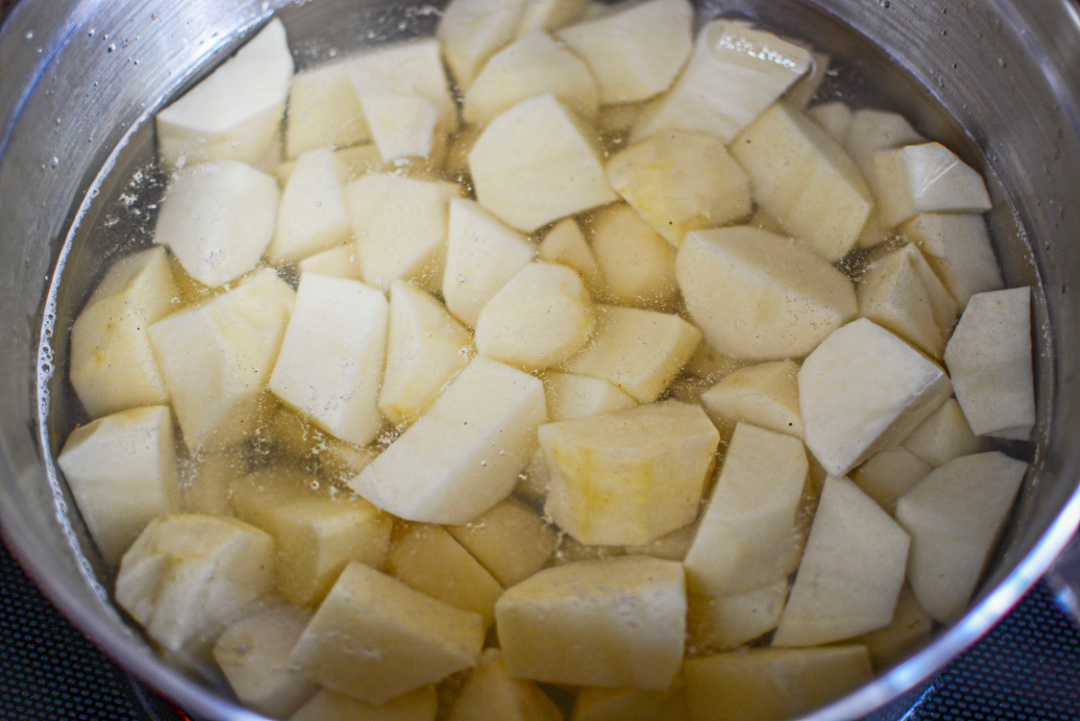
Boil the potatoes until a fork goes through the potatoes easily. Drain and transfer back into the pot.
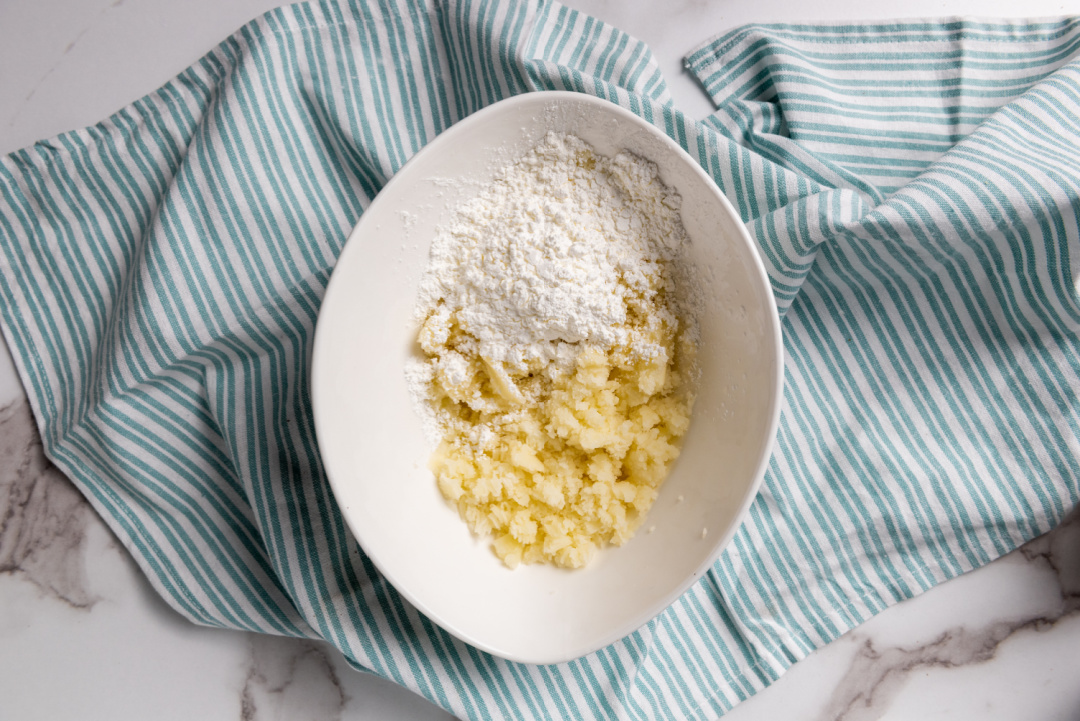
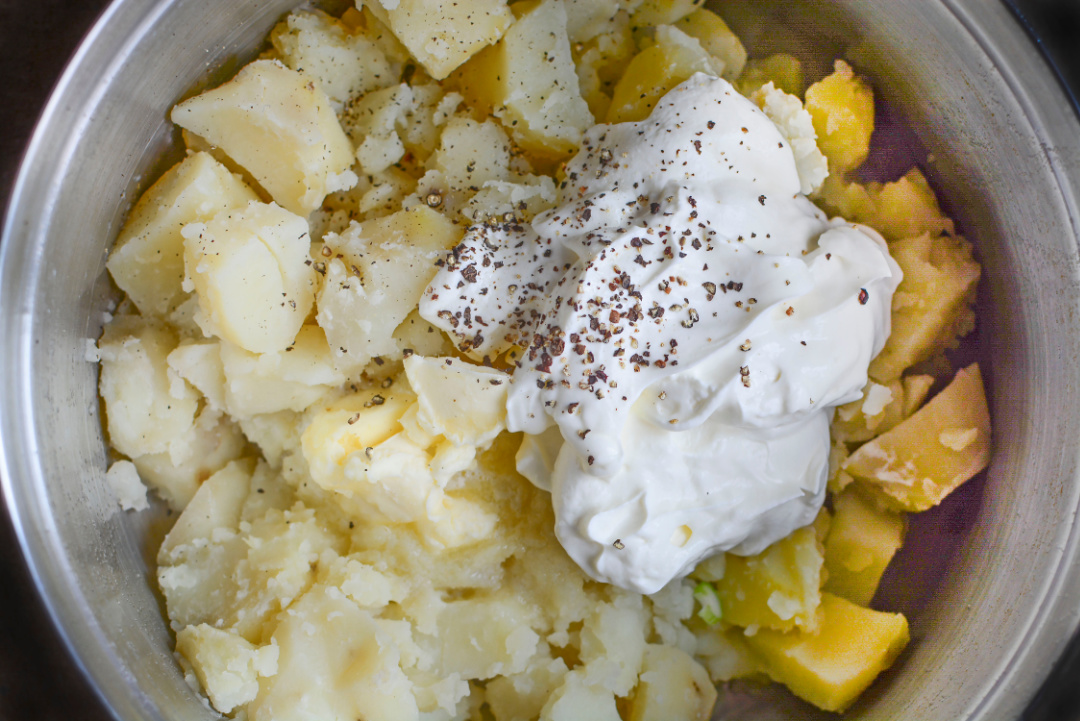
Add the ¼ cup butter and sour cream. Mash the potatoes.
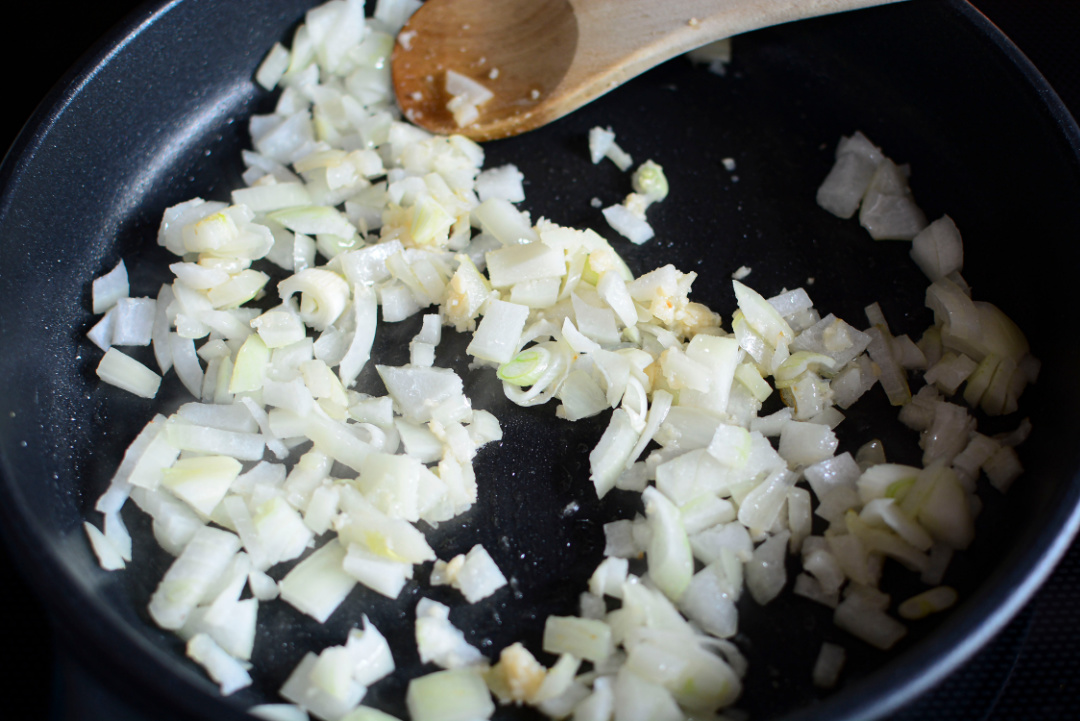
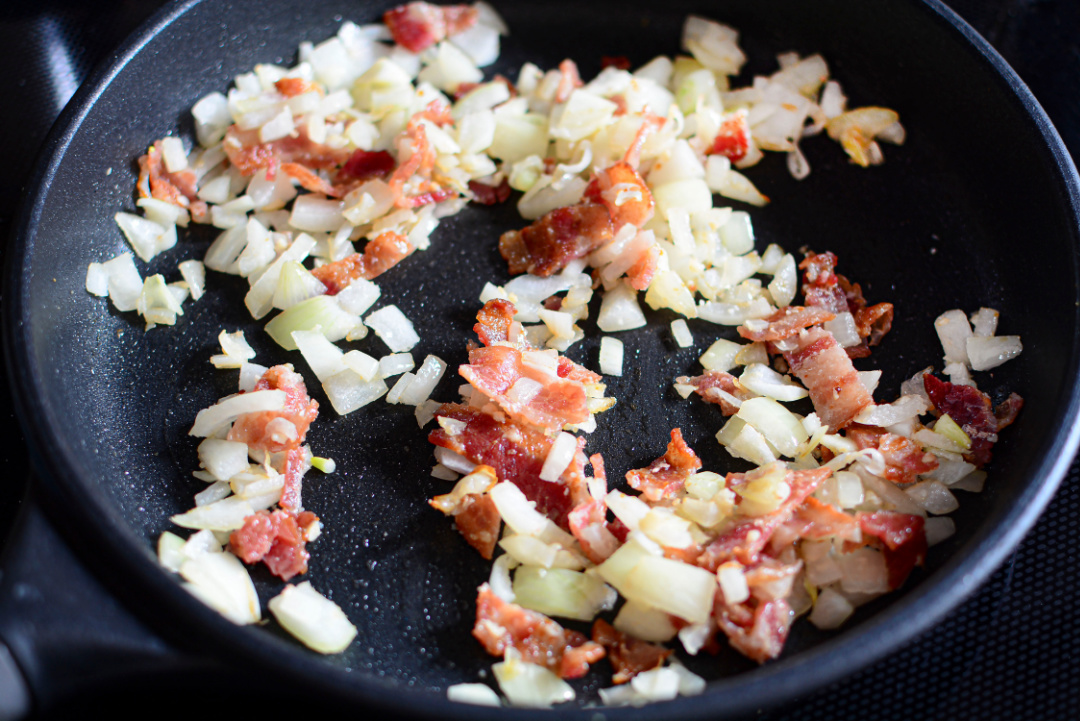
Add the oil for frying to a skillet, then and add the chopped onions and garlic. **Optional step, lightly salt the onions to help draw out the natural sugars to help with sautéing.
Add ½ of the bacon crumbles and heat through.
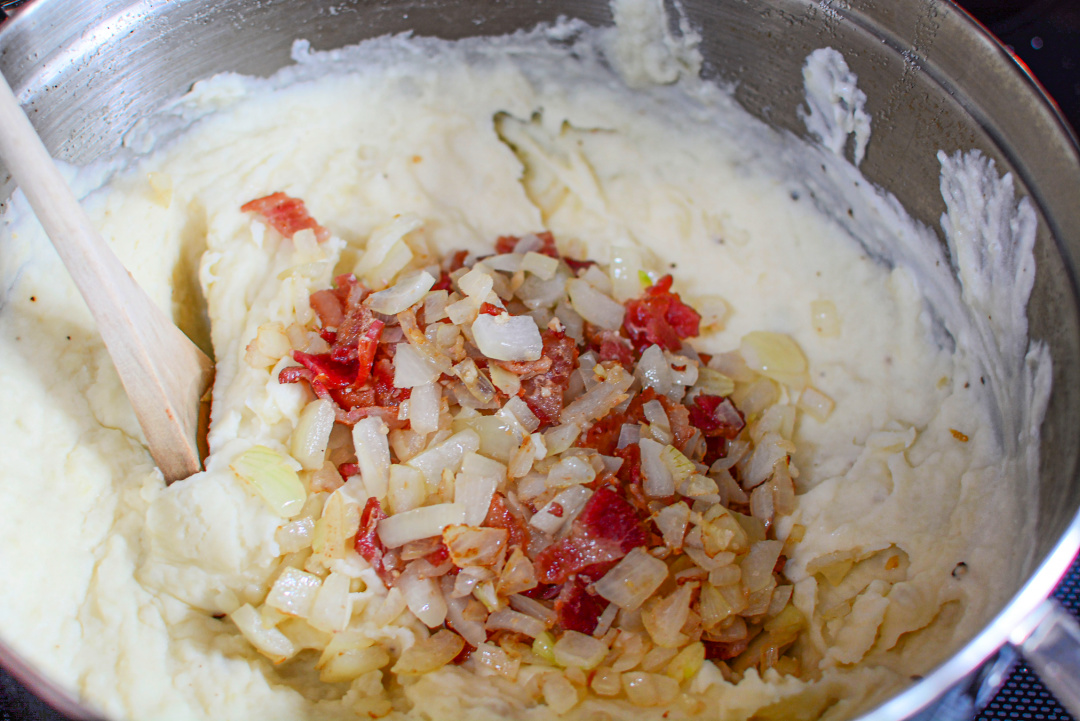
Add the skillet mixture to the mashed potatoes and mix all together.
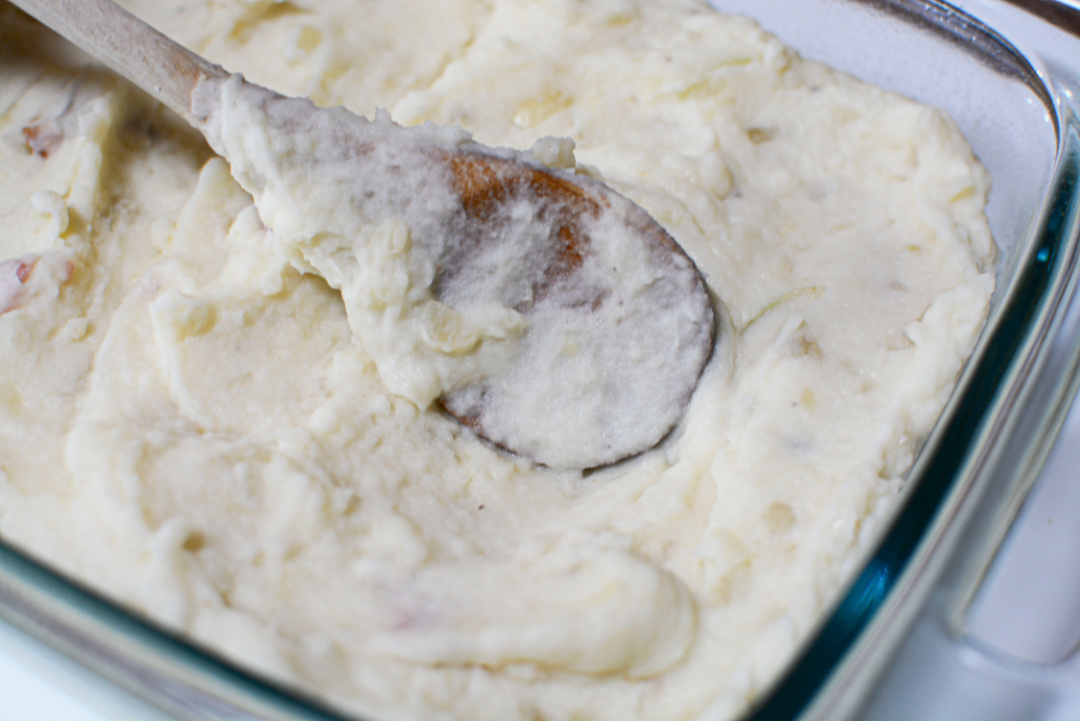
Transfer the potatoes to a lightly sprayed 9 x 7 baking dish.
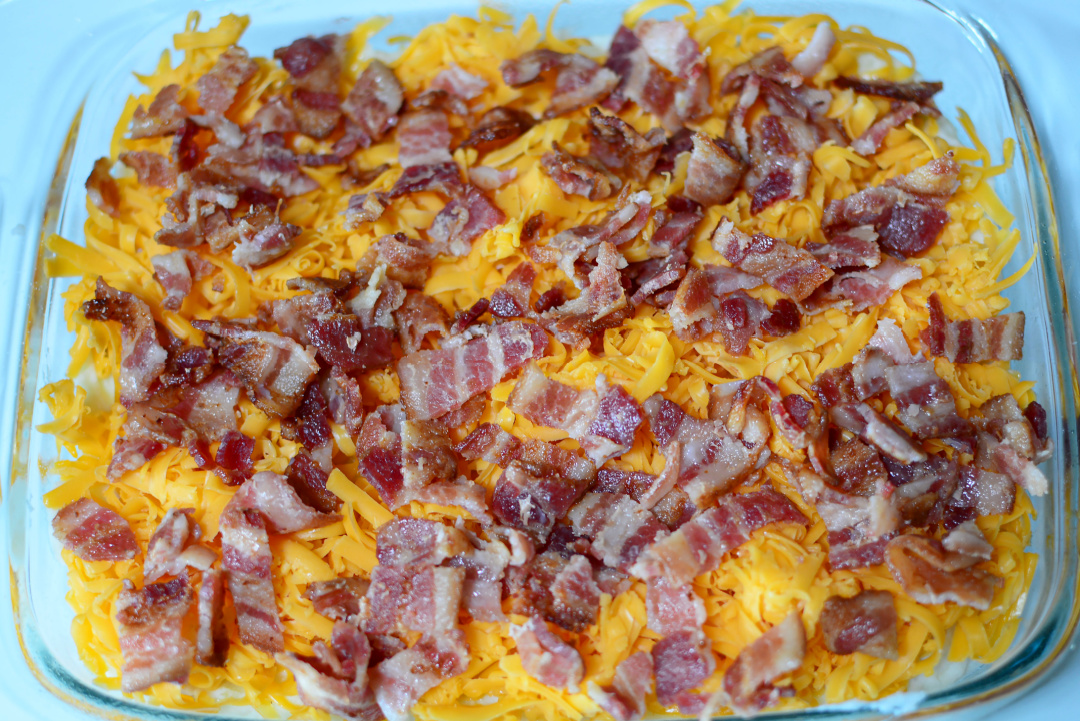
Cover the potatoes with the shredded cheese.
Sprinkle the remaining bacon crumbles over the top.
Bake in the oven for about 10 minutes or until the cheese is nicely melted and the bacon is crisped.
Remove from the oven and let sit for a couple minutes.
Garnish with the sliced green onions and enjoy.
Notes:
1. Russet Potatoes are nice to use because of the starch content that makes a creamy mashed potato dish.
2. To save calories, omit the ¼ cup of butter that’s added before mashing.
3. Alternative baking dish sizes can be 9 x 9, 8 x 8, and 9 x 13. Depending on the size of dish you use will depend on how deep/thick the mashed potato casserole will be.
Frequently Asked Questions: Loaded Mashed Potato Casserole
Can I use a different type of potato for this recipe?
While Russets are the preferred choice due to their texture, you can use other types like Yukon Gold. However, the consistency may vary slightly.
Can I prepare this casserole in advance?
You can prepare the mashed potato mixture a day in advance and refrigerate it. When you’re ready to serve, add the toppings and bake as instructed.
I’m vegetarian. Can I skip the bacon?
Omit the bacon for a vegetarian version. You might consider adding sautéed mushrooms or bell peppers for added flavor and texture.
What can I serve alongside this casserole?
This dish pairs well with roasted or grilled meats, green salads, and steamed vegetables. But it’s also hearty enough to stand on its own for a light meal.
Can I freeze the casserole?
After assembling, you can cover it tightly with foil and freeze. When you’re ready to eat, bake from frozen, adding about 15-20 minutes to the cooking time.
What if I don’t have sour cream on hand?
You can substitute with Greek yogurt for a similar tangy touch and creamy consistency.
Can I add other toppings or mix-ins?
This casserole is versatile. Consider roasted garlic, diced jalapeños, different cheeses, or even some diced ham or chicken for variations.
My casserole turned out too runny. What went wrong?
It’s essential to drain the potatoes well after boiling. Any excess water can make your casserole runny. Also, ensure you’re using the correct measurements for wet ingredients.
Is there a vegan version of this dish?
You can replace butter with vegan margarine, omit the bacon, use vegan cheese, and substitute the sour cream with a vegan alternative.
How long will leftovers last in the fridge?
Stored in an airtight container, the casserole should be good for 3-4 days in the refrigerator. Just ensure it’s cooled to room temperature before refrigerating.
We hope these answers help you perfect your Loaded Mashed Potato Casserole and adapt it to suit your taste and preferences.
Enjoy your cooking!
Loaded Mashed Potato Casserole
Ingredients
- 3 lbs potatoes, peeled and cut into bite size pieces
- 8 oz Bacon, cooked and crumbled
- 1 Onion, medium, chopped
- 1 teaspoon garlic, minced
- ¼ cup butter
- 1 cup Sour Cream
- 4 oz Cheddar cheese, shredded
- ¼ cup Green Onion/Scallions, sliced
- As desired, salt and pepper
- 1 tsp Oil for frying
Instructions
Begin by preheating the oven to 375˚F.
Boil the potatoes until a fork goes through the potatoes easily. Drain and
transfer back into the pot.
Add the ¼ cup butter and sour cream. Mash the potatoes.
Add the oil for frying to a skillet, then and add the chopped onions and
garlic. **Optional step, lightly salt the onions to help draw out the natural
sugars to help with sautéing.
Add ½ of the bacon crumbles and heat through. Add the skillet mixture to the
mashed potatoes and mix all together.
Transfer the potatoes to a lightly sprayed 9 x 7 baking dish.
Cover the potatoes with the shredded cheese.
Sprinkle the remaining bacon crumbles over the top.
Bake in the oven for about 10 minutes or until the cheese is nicely melted
and the bacon is crisped.
Remove from the oven and let sit for a couple minutes.
Garnish with the sliced green onions and enjoy.