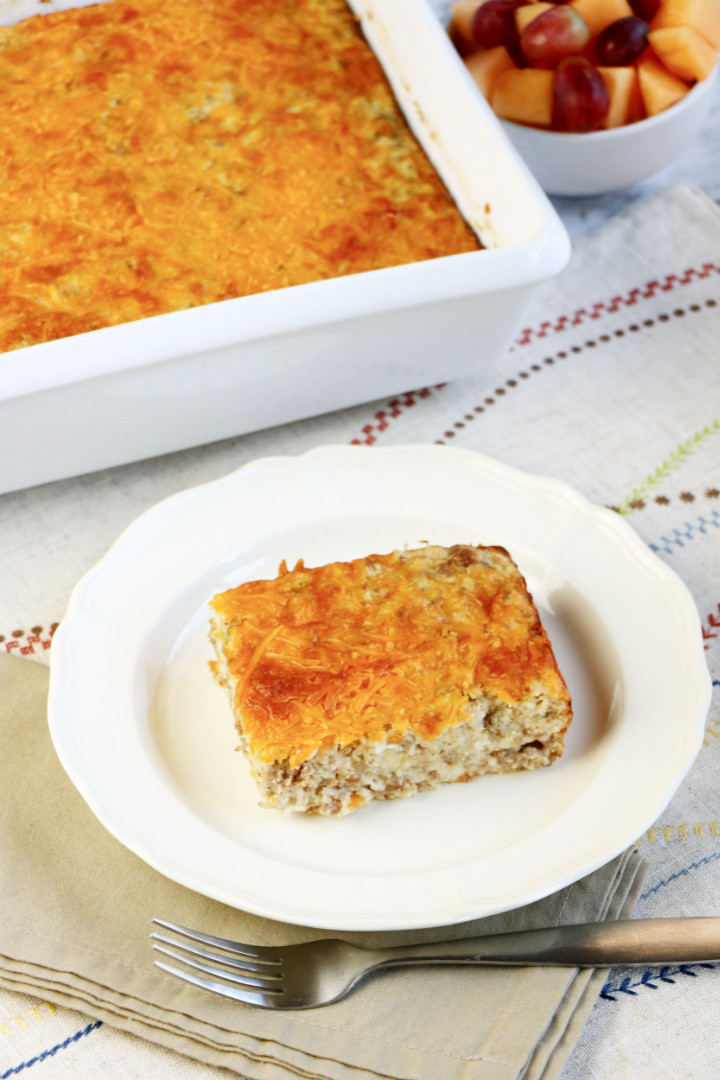
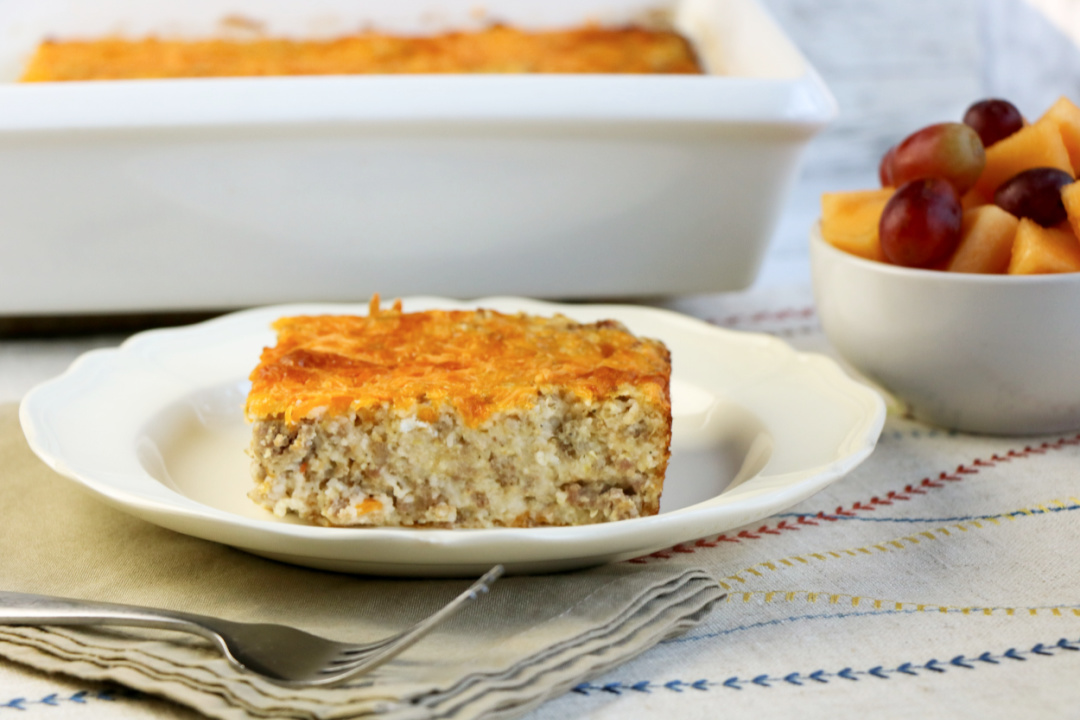
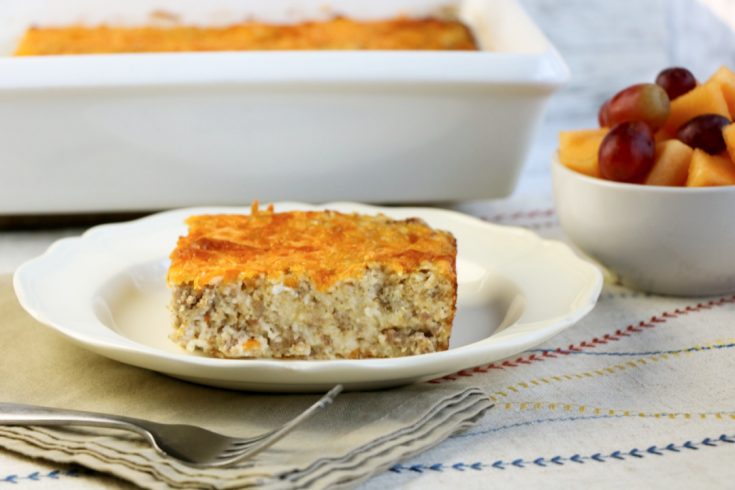
Serve this delicious sausage and cheddar French Bread Egg Casserole this week and pair it with milk and fresh fruit!

If you love French bread, then you’ll love this French bread breakfast casserole!
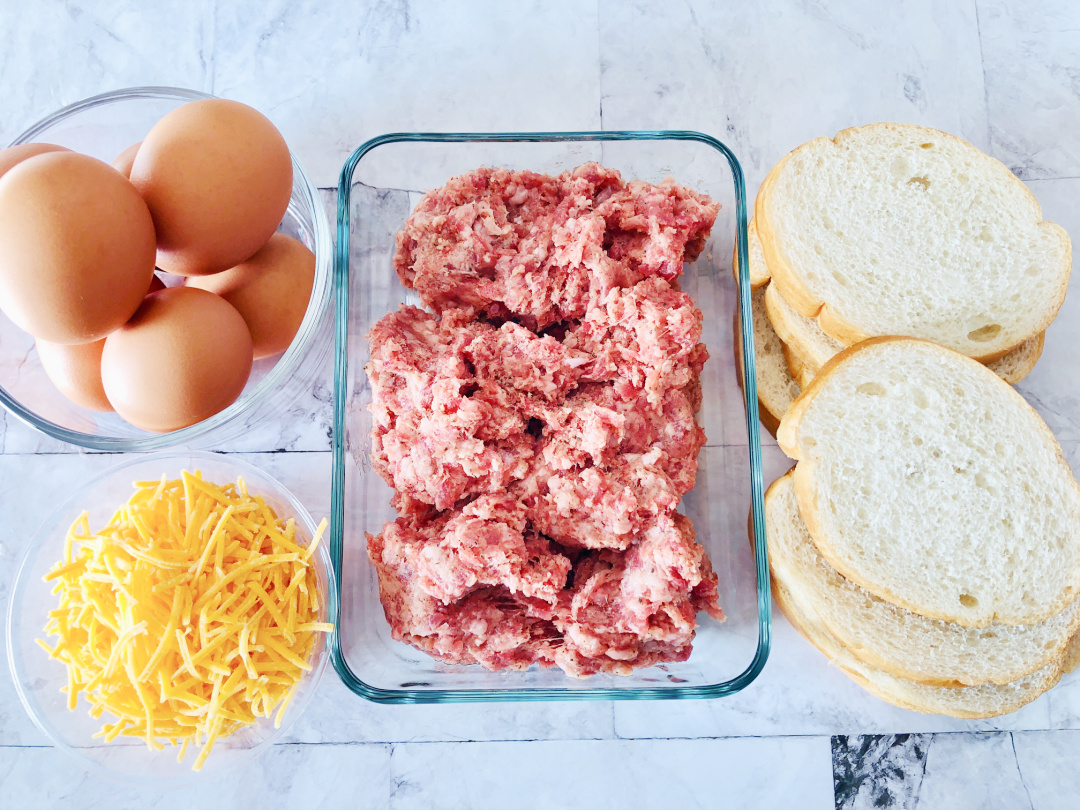
This breakfast casserole is made with French bread, eggs, breakfast sausage, cheese, and a few other basic ingredients!
It’s a quick and easy way to enjoy a delicious breakfast, and it’s packed with all the flavors of French bread.
Plus, it’s a great way to use up any leftover French bread you may have in your kitchen.
This casserole is perfect for breakfast or brunch, and it can easily be made ahead of time.
Simply assemble the casserole the night before, and bake it in the morning. You’ll have a hot and hearty breakfast that everyone will love.
Breakfast casseroles are a go to for our family when we have guests or to serve as an easy option before church on Sunday!
Casserole dishes are great because they serve several people and are easy to make. Many times there are leftovers to enjoy the next day.
Next time you’re looking for a quick and easy breakfast idea, give this French bread breakfast casserole a try. It’s sure to become a new family favorite.
How long can breakfast casserole be refrigerated before cooking?
Typically, breakfast casseroles can be refrigerated for up to 24 hours before cooking. This allows you to prepare the casserole in advance, making it a great option for busy mornings.
However, if you are using raw eggs in your casserole, it is best to cook it within 12 hours of preparation.
How do I store leftover French bread breakfast casserole?
You can store leftover French bread breakfast casserole in the fridge for up to four days.
Just make sure to wrap it tightly in foil or plastic wrap so it doesn’t dry out. Reheat in a 350 degree oven until warmed through.
Can you freeze leftover French bread casserole?
You can freeze leftover French bread breakfast casserole, but it may not be as good as when it’s fresh.
Freezing French bread can make it dry and crumbly, so it’s best to eat it within a few days of making it.
If you do freeze French bread breakfast casserole, be sure to wrap it tightly in foil or plastic wrap to prevent freezer burn.
What can you pair breakfast casserole with?
There are endless possibilities when it comes to pairing breakfast casserole with other dishes. Here are a few ideas to get you started:
Serve breakfast casserole with a side of fresh fruit for a balanced meal.
Pair it with a light green salad for a complete breakfast or brunch.
For a heartier option, pair breakfast casserole with roasted potatoes.
If you’re looking for something sweet to pair with your casserole, try serving it with a dollop of maple syrup or honey.
Yogurt makes a great pair for breakfast casserole , especially if the casserole is on the savory side.
Pair breakfast casserole with a cup of hot coffee, tea, or milk to start your day off right.
Sausage and Cheddar French Bread Breakfast Casserole
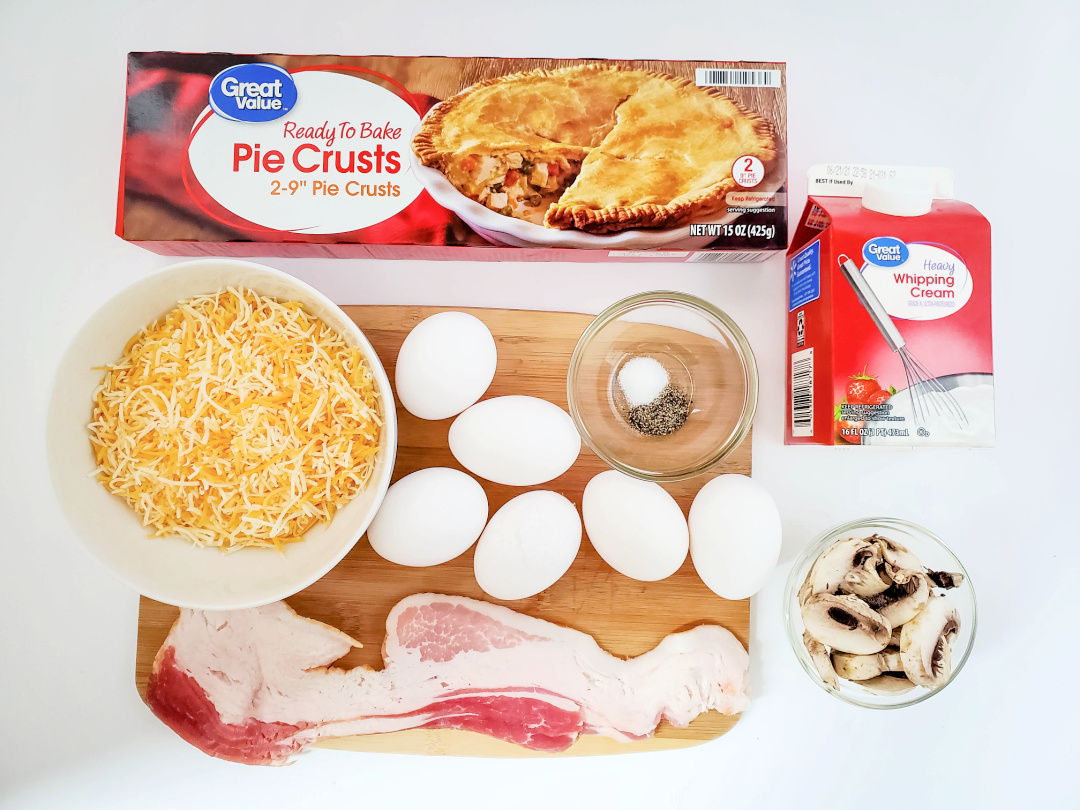
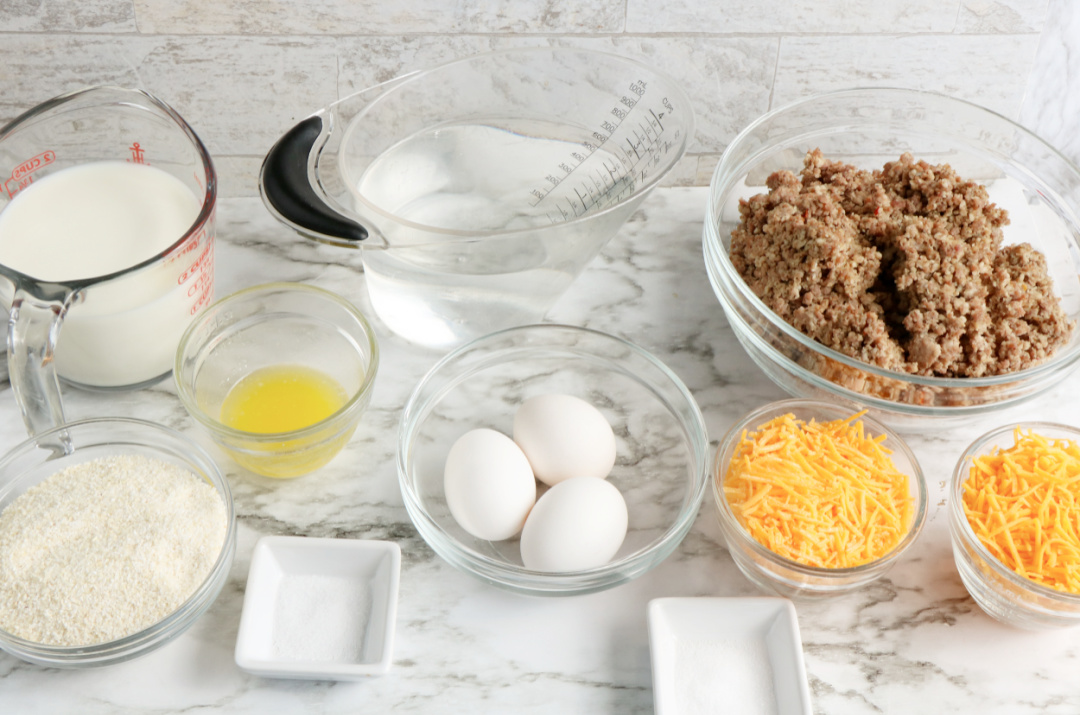
Ingredients:
- French bread, 18 slices
- 1 dozen eggs
- 1 lb. breakfast sausage
- ¼ cup milk
- 1 tablespoon dry minced onion
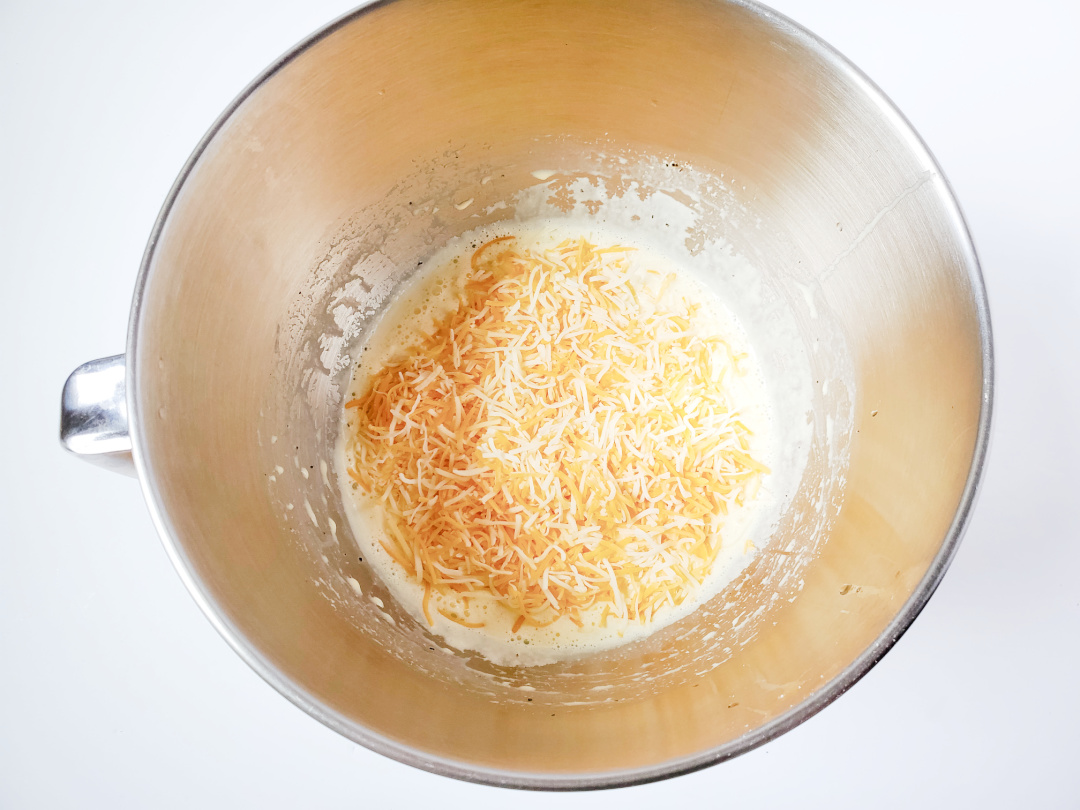
- 2 cups shredded cheddar cheese
Directions:
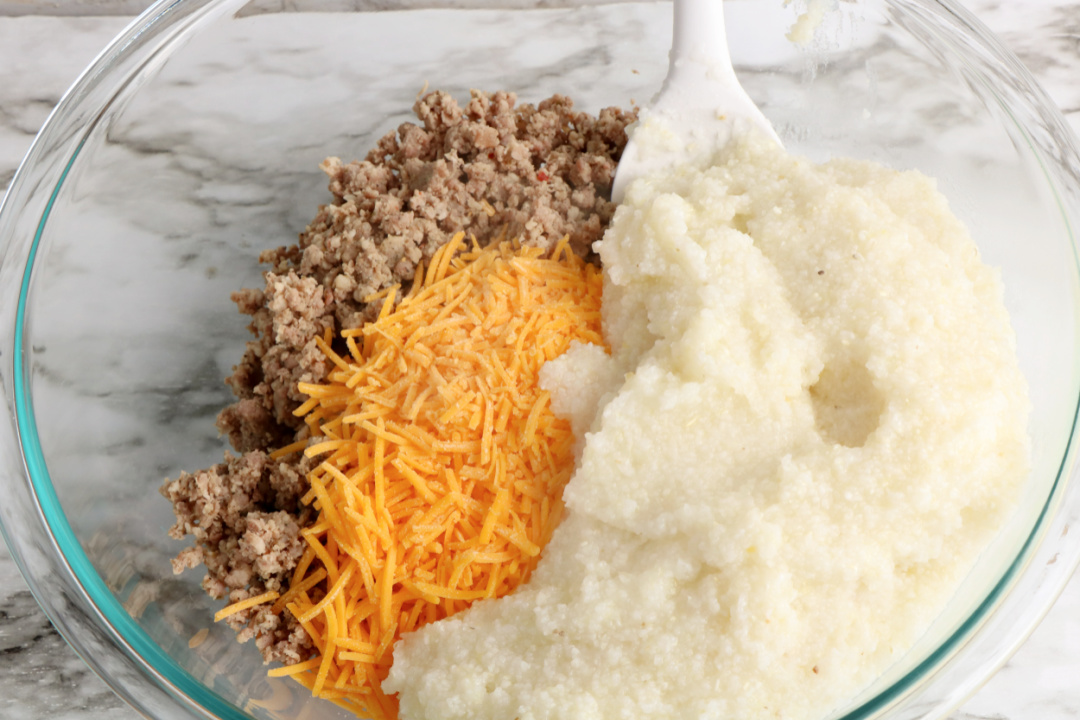
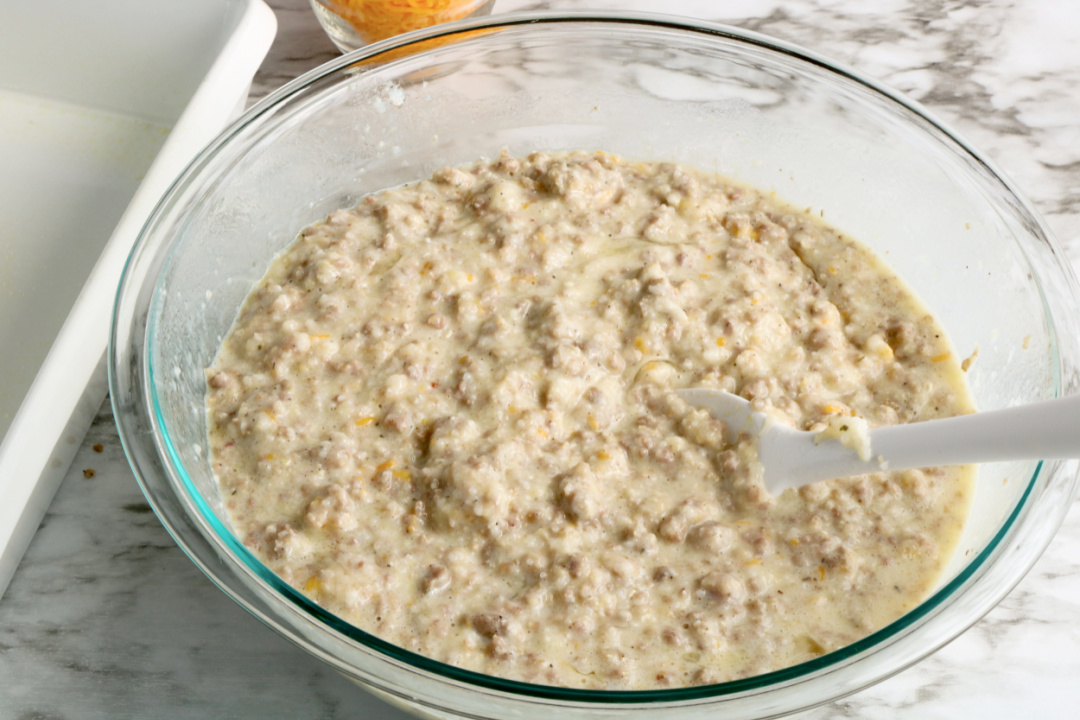
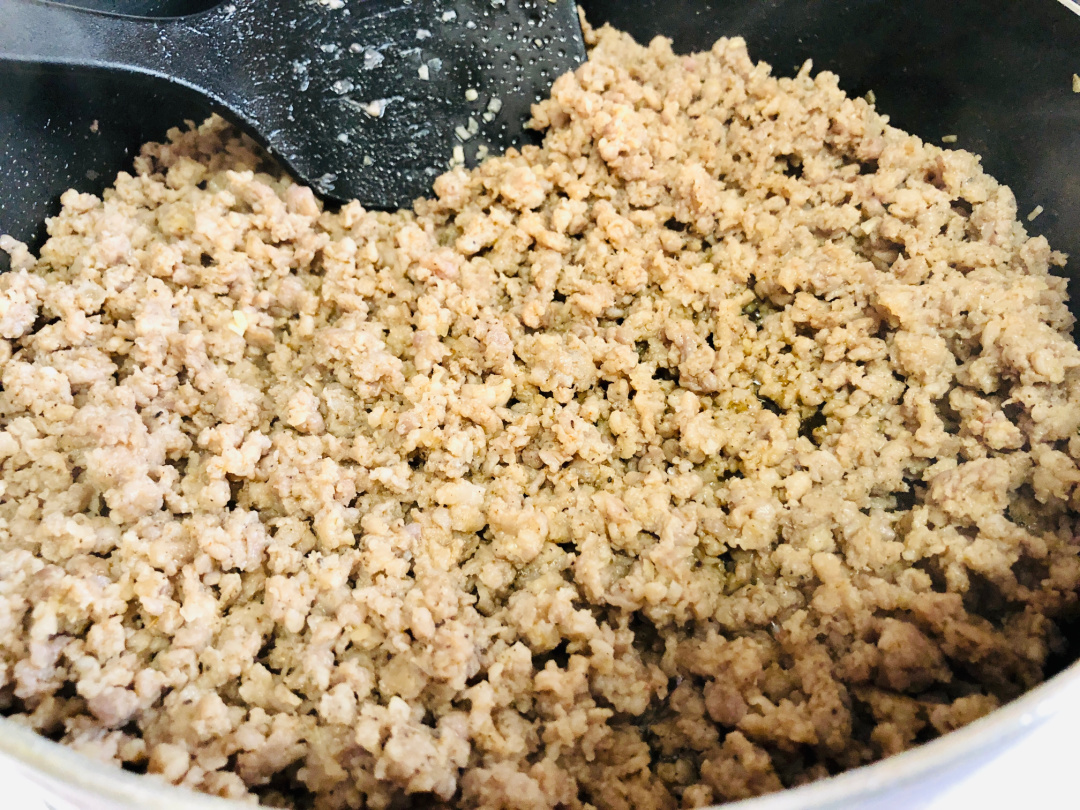
In a skillet, brown the sausage with the dry onion, drain if needed and let cool.
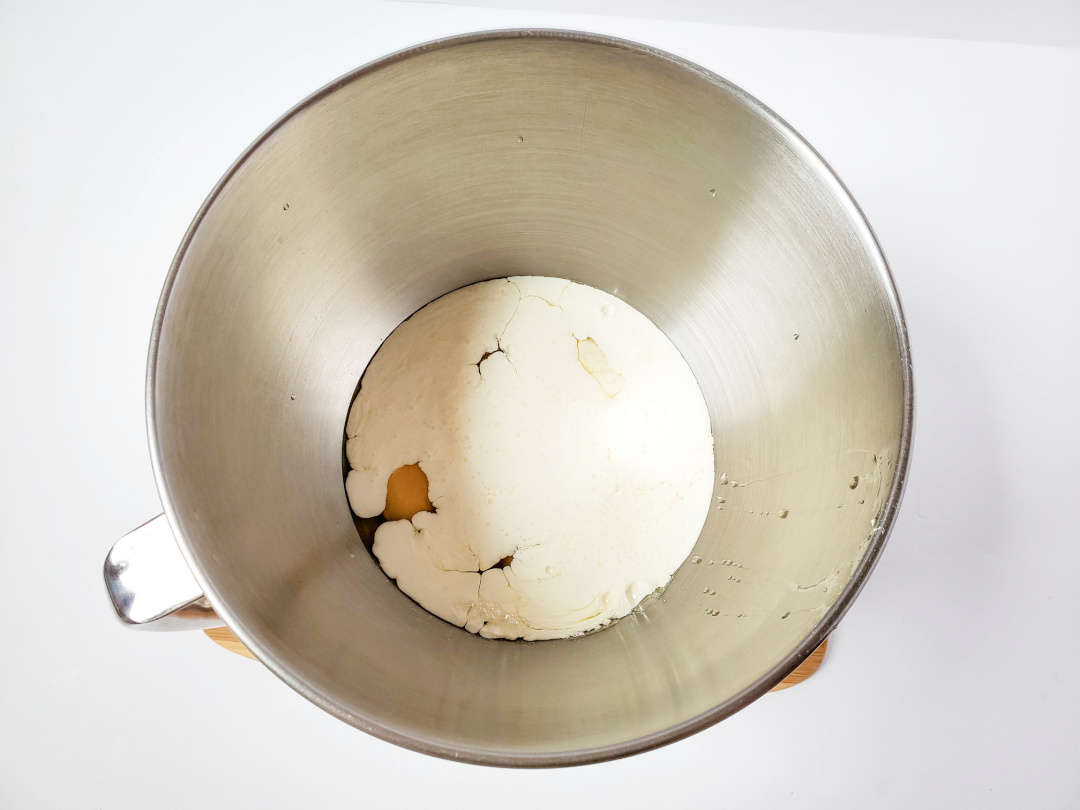
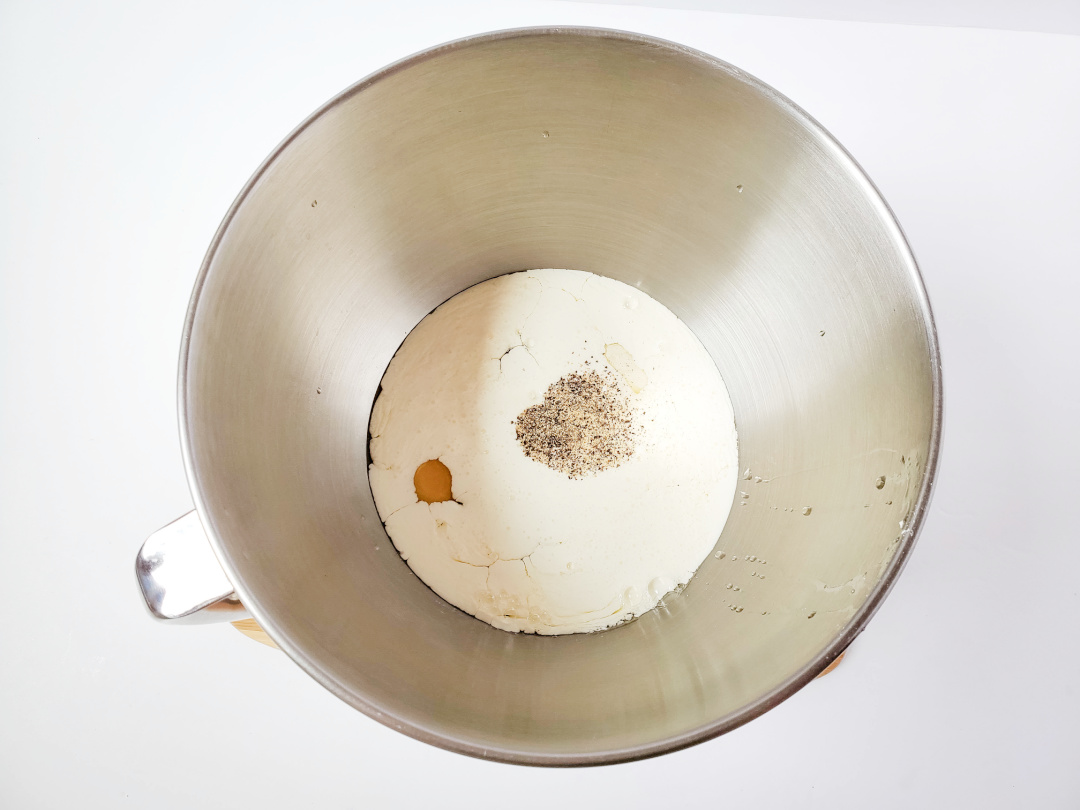
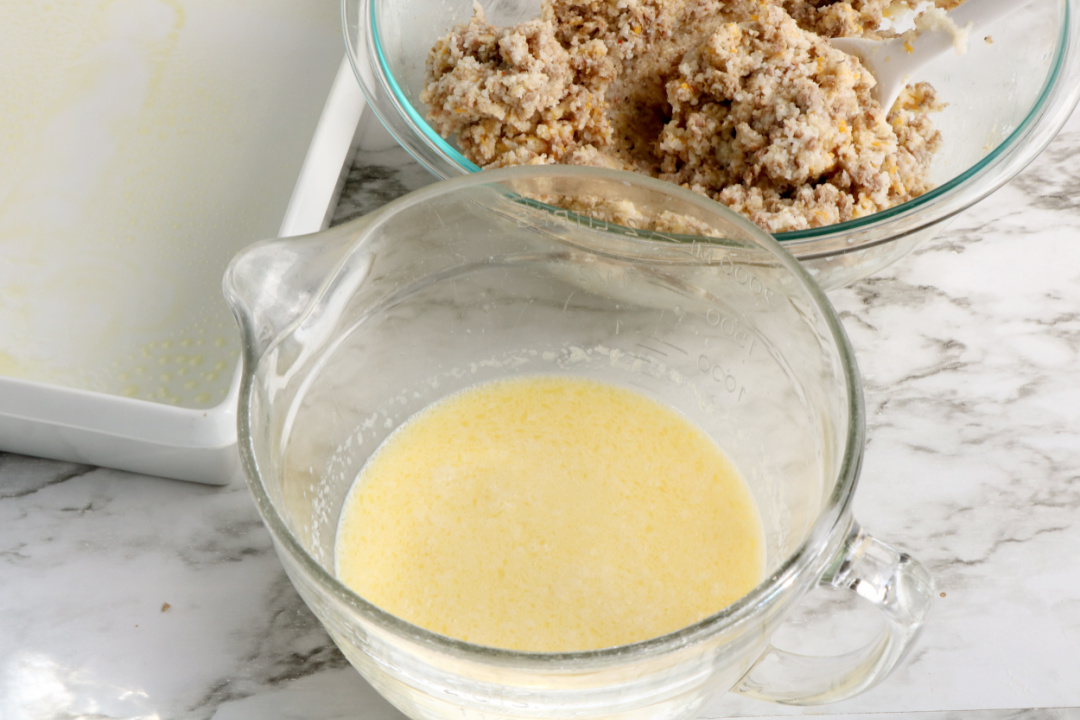
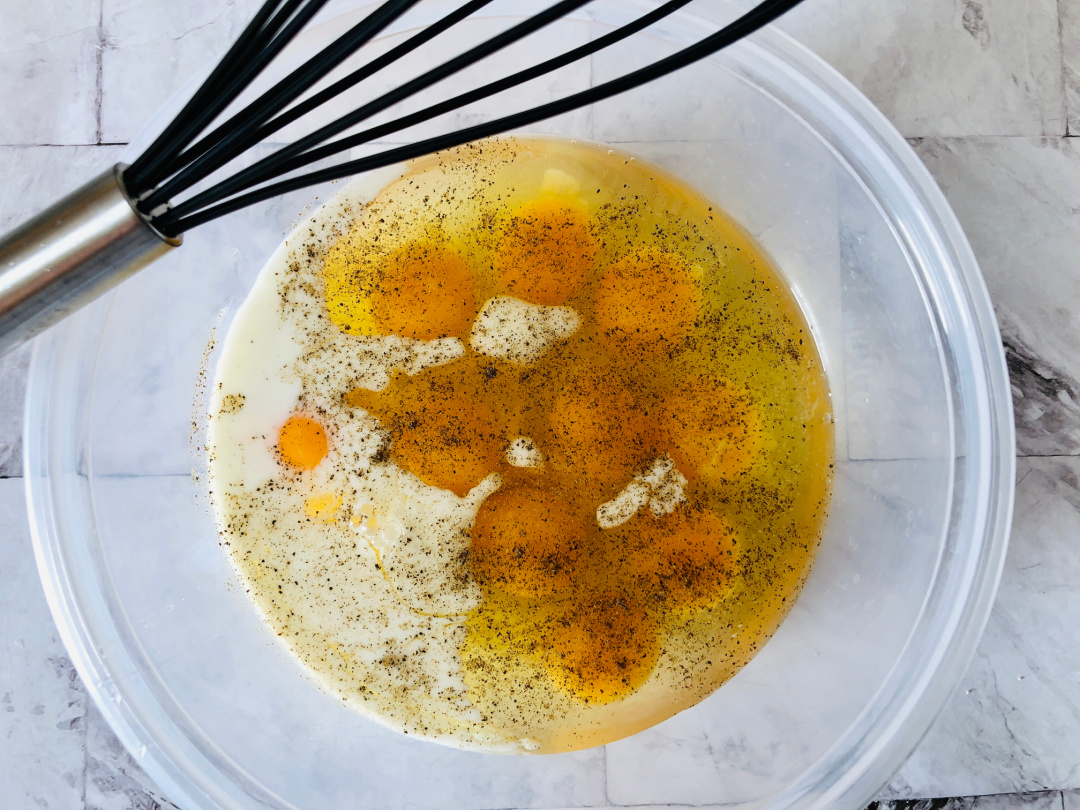
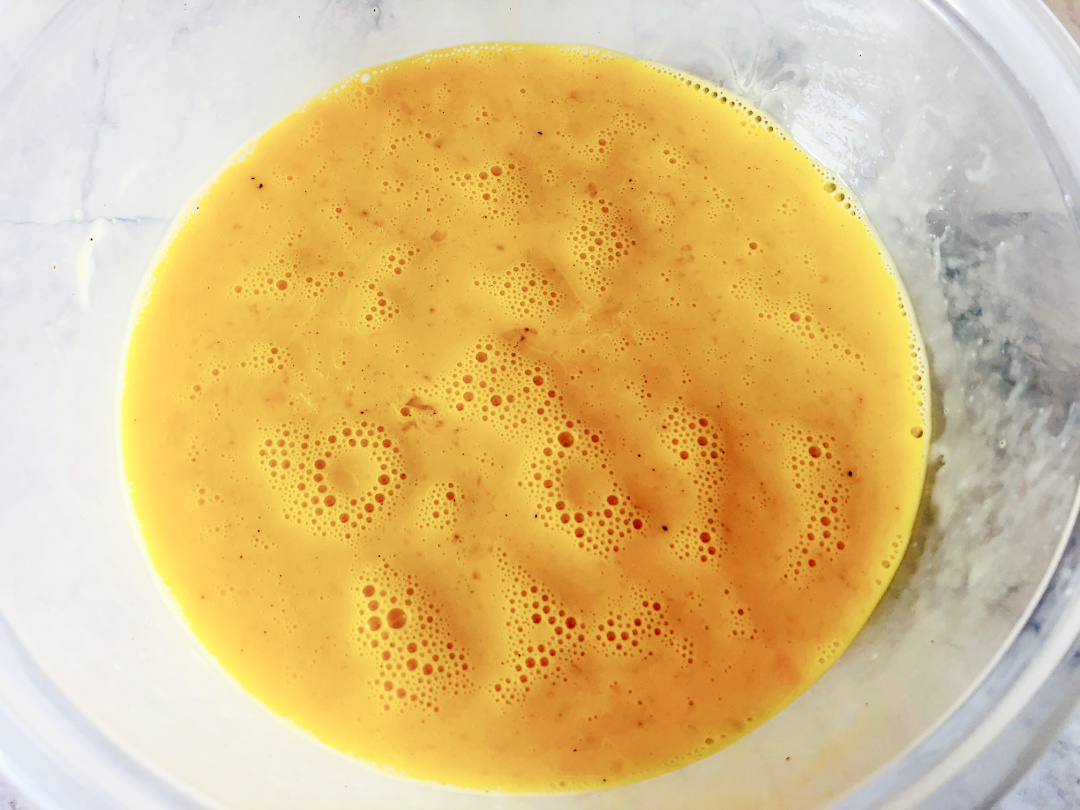
Whisk the eggs and milk together in a medium size bowl.
Coat a 13×9 baking dish with nonstick spray.
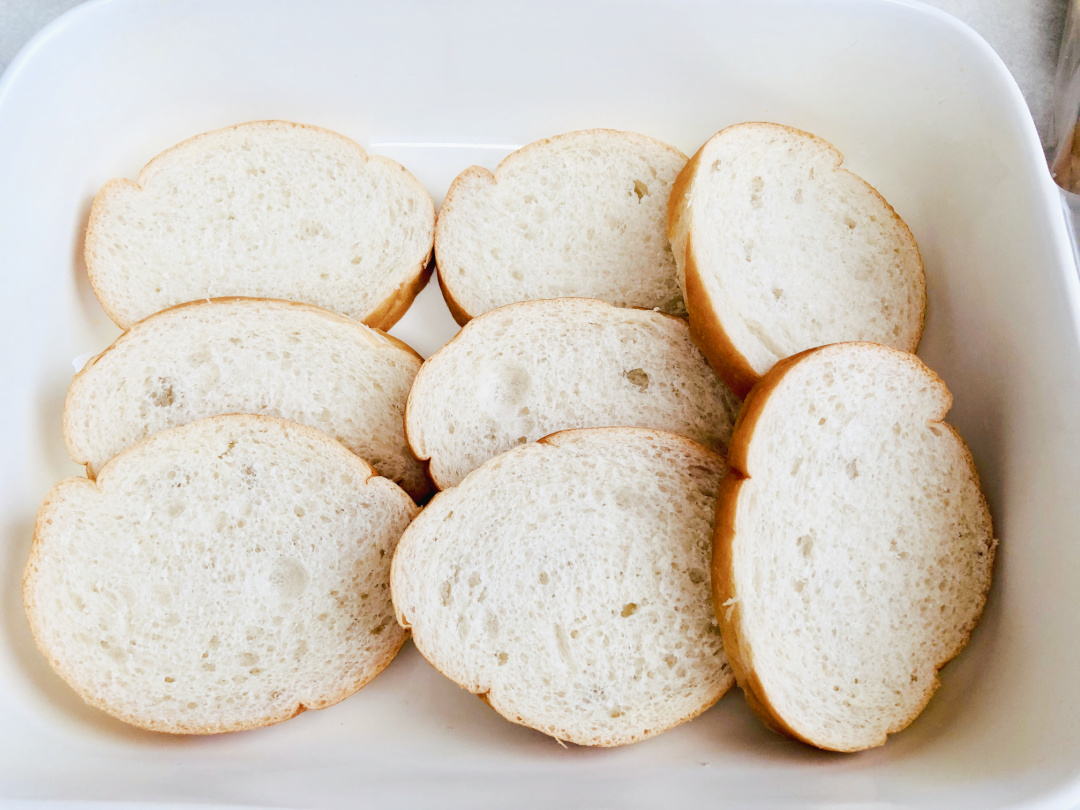
Layer 9 pieces of bread in the bottom of the dish.
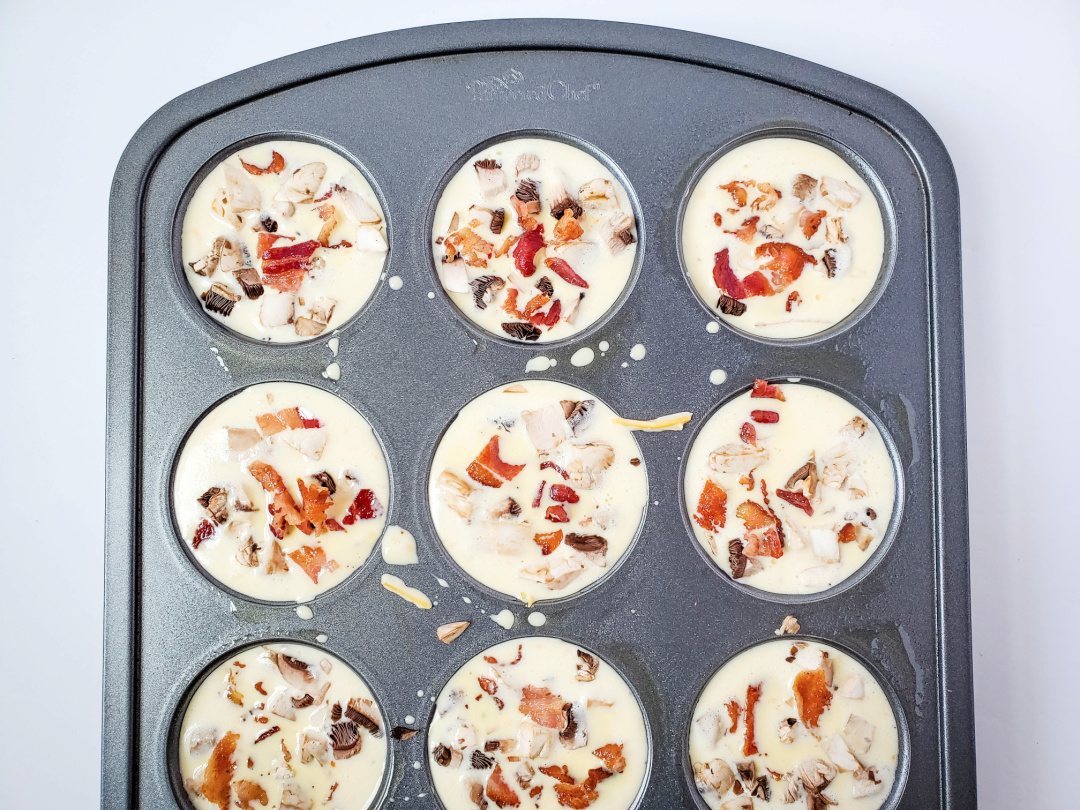
Add an even layer of cooked sausage over the bread.

Add a layer of cheese.

Pour on half of the whisked eggs.

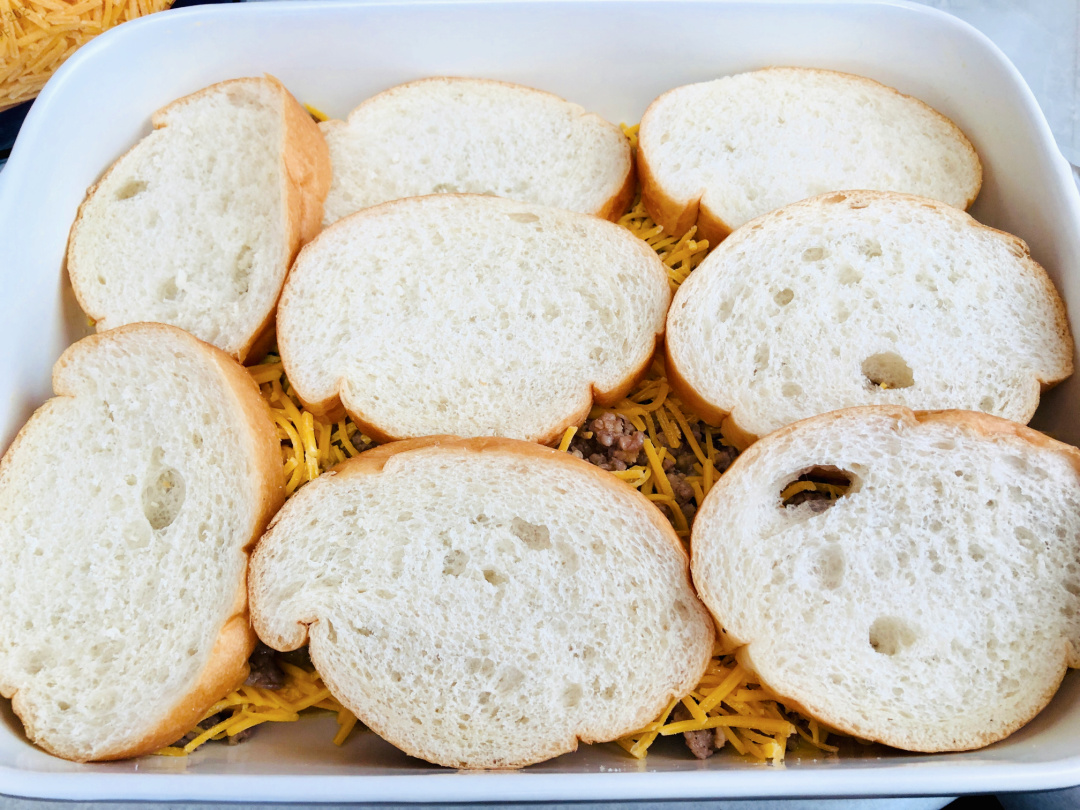
Repeat the bread, sausage, egg, and cheese layering one more time.
Cover the baking dish and place in refrigerator overnight.
Preheat oven to 375.
Bake until golden brown, about 30 minutes.
Serve & enjoy!

French Bread Breakfast Casserole

Ingredients
- French bread, 18 slices
- 1 dozen eggs
- 1 lb breakfast sausage
- ¼ cup milk
- 1 tablespoon dry minced onion
- 2 cups cheddar cheese, shredded
Instructions
In a skillet, brown the sausage with the dry onion, drain if needed and let cool.
Whisk all the eggs and milk together in a medium size bowl.
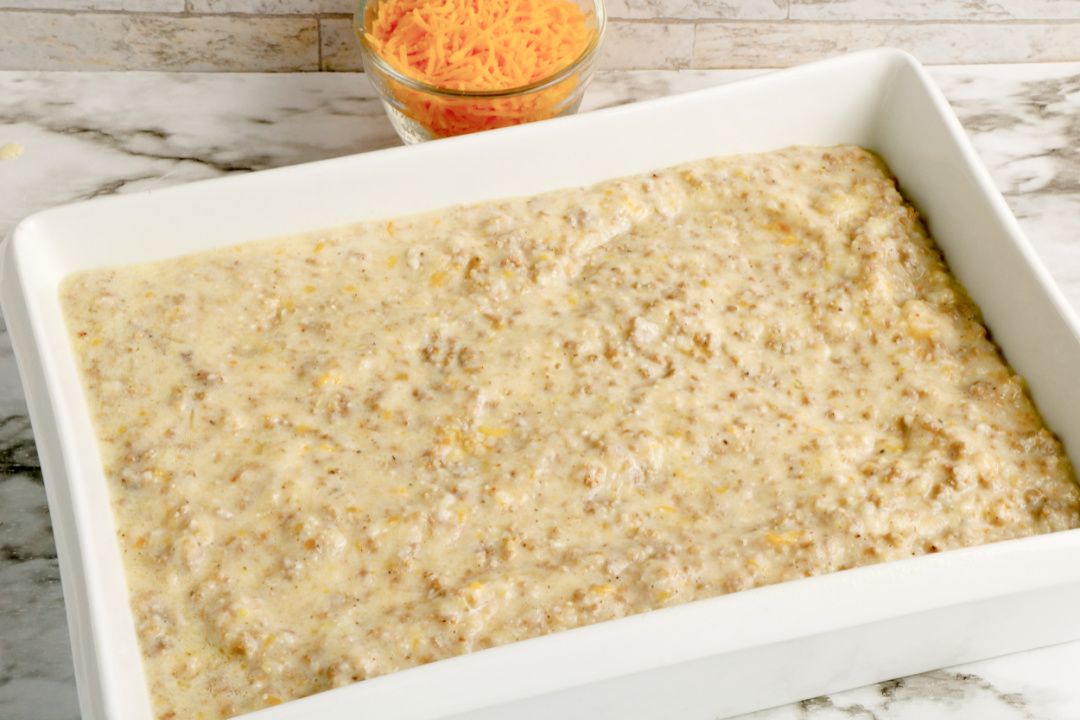
Coat a 13×9 baking dish with nonstick spray.
Layer 9 pieces of bread in the bottom of the dish.
Add an even layer of cooked sausage over the bread.
Add a layer of cheese (about one cup.)
Pour on half of the whisked eggs.
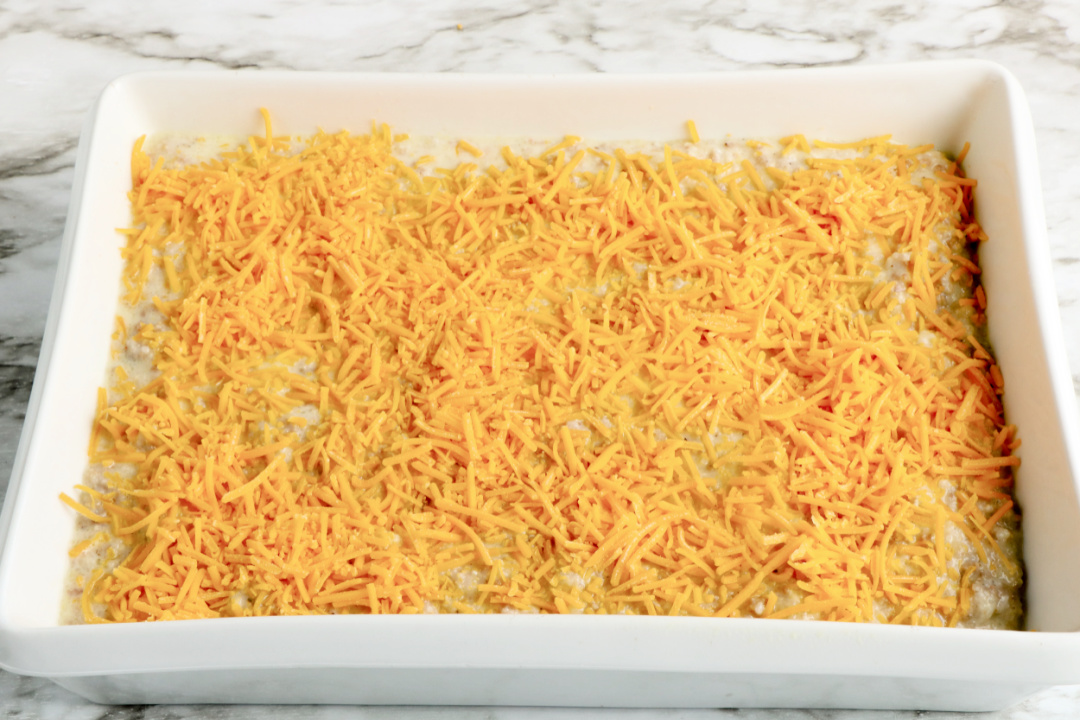
Repeat the bread, sausage, egg and cheese layering one more time.
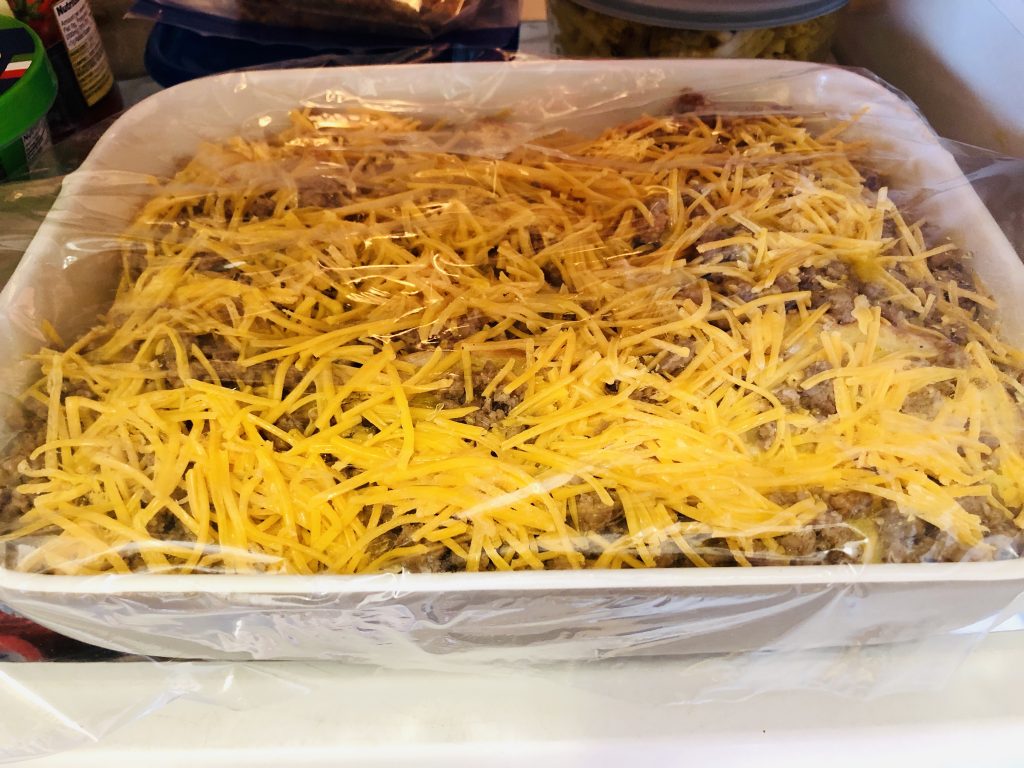
Top with cheese.
Cover the baking dish and place in refrigerator overnight.
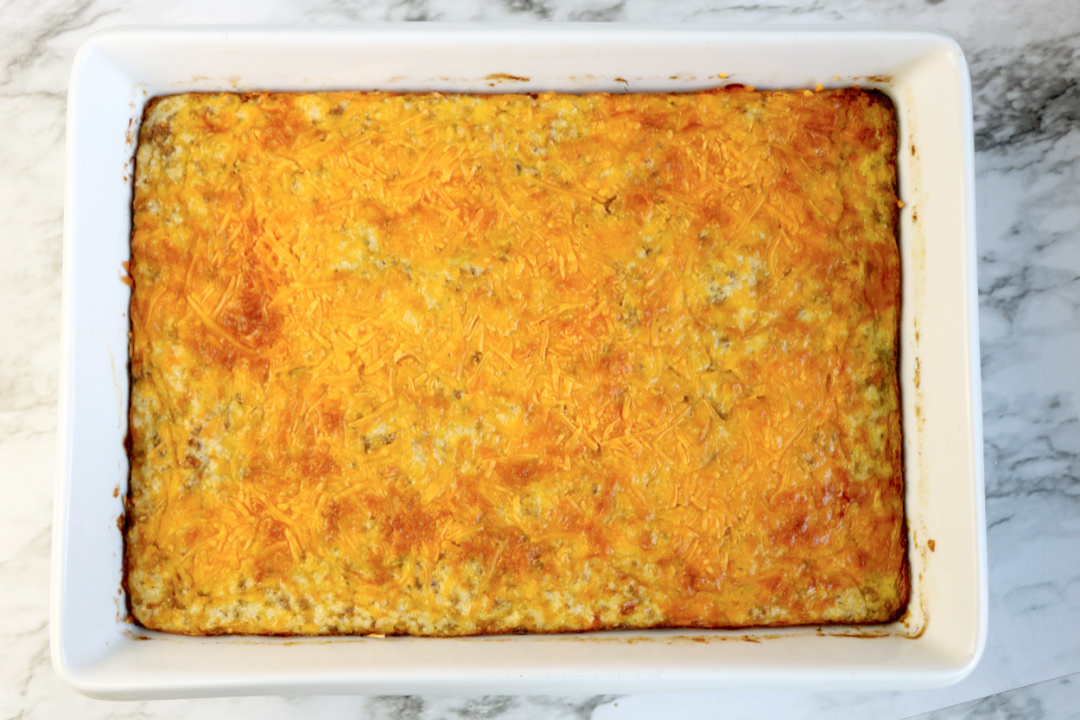
Preheat oven to 375
Bake until golden brown, about 30 minutes
Serve & enjoy!