-
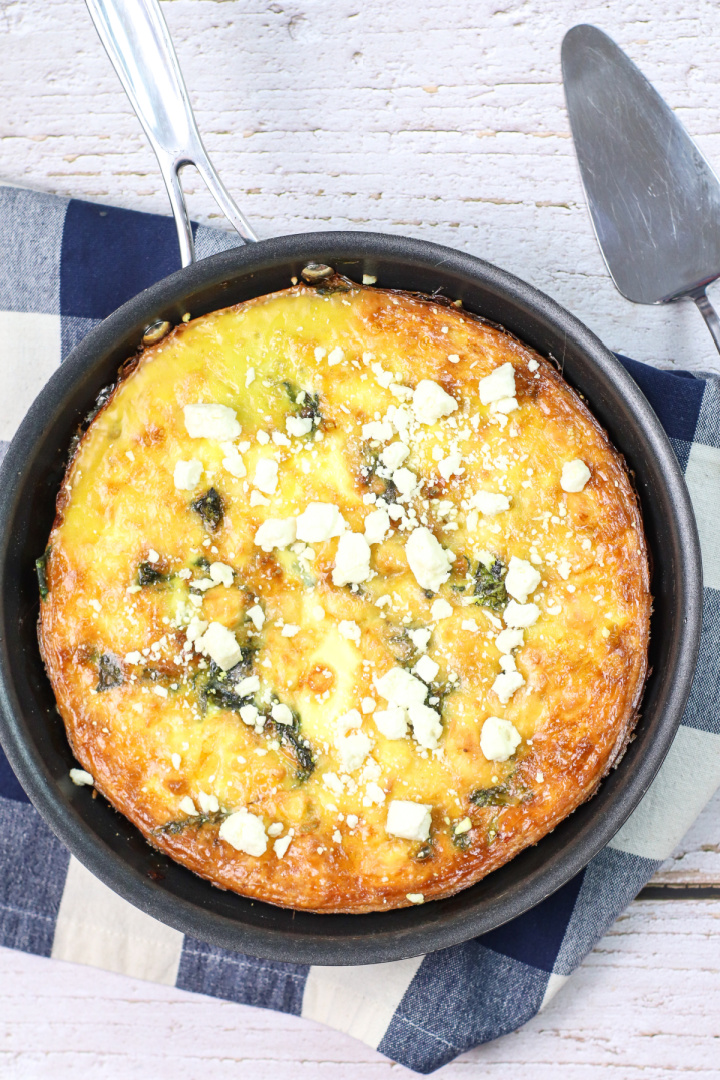
Vegetable Frittata
Creating a Vegetable Frittata is a wonderful journey into the world of simple yet delicious cooking. This easy frittata recipe is perfect for those who love a crustless quiche but crave something with a bit more substance. Let’s start with the heart of the frittata – the egg mixture. Beating eggs in a large bowl…
-
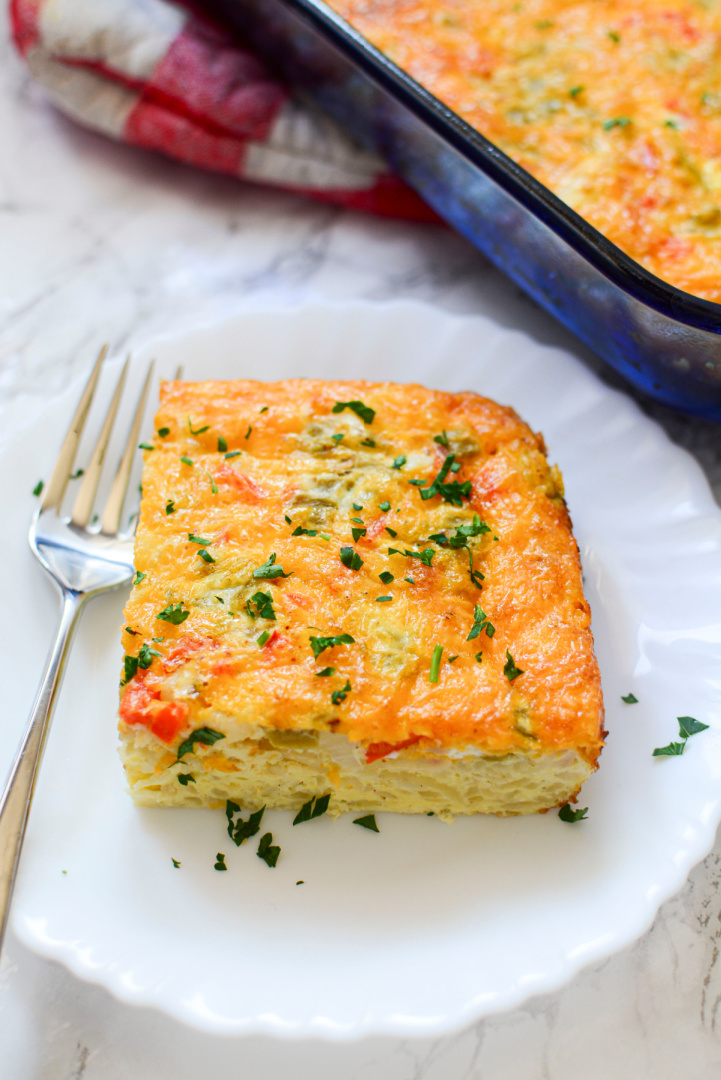
Fiesta Breakfast Casserole
A Morning Fiesta: The Story Behind the Breakfast Casserole Good morning! Today, we’re diving into the heart of a breakfast dish that promises to start your day on a festive note, even before the sun fully wakes up. Let’s talk about the Fiesta Breakfast Casserole. The first thing to appreciate about the Fiesta Breakfast Casserole…
-
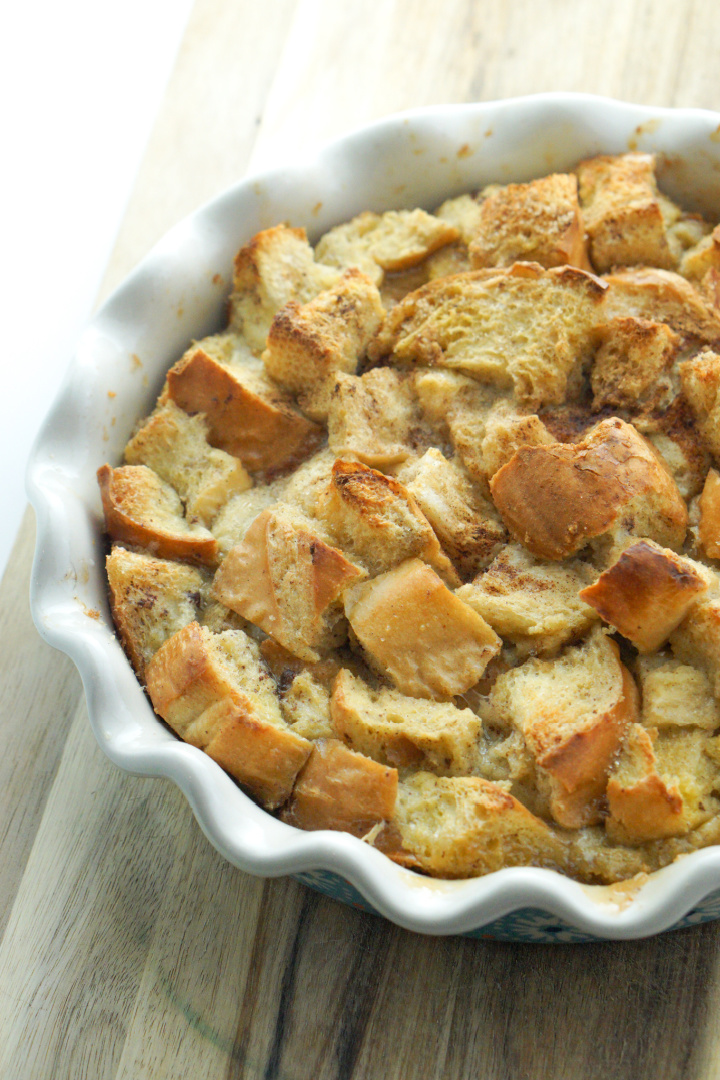
French Toast Casserole
Making French Toast Casserole is a great way to enjoy French toast in an easy-to-make, comforting dish. This casserole is perfect for breakfast or brunch and can be served hot or cold. If you’re looking for a way to make french toast without standing over the stove flipping individual slices, french toast casserole is your…
-
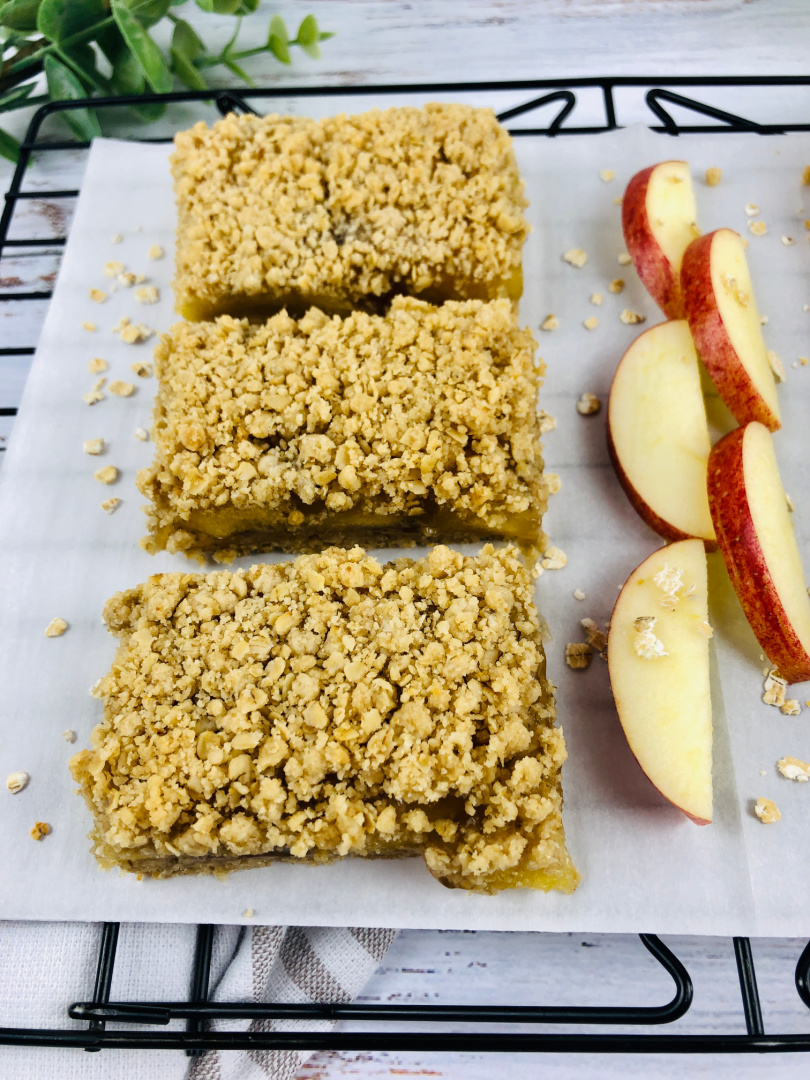
Apple Oatmeal Bars
These flavorful Apple Oatmeal Bars make a great southern breakfast or dessert option! Serve with coffee or milk. This apple oatmeal bars recipe is perfect to serve for your family or guests! Oatmeal bars are easy to make and require a few basic ingredients. The apple filling paired with the oatmeal and brown sugar make…
-
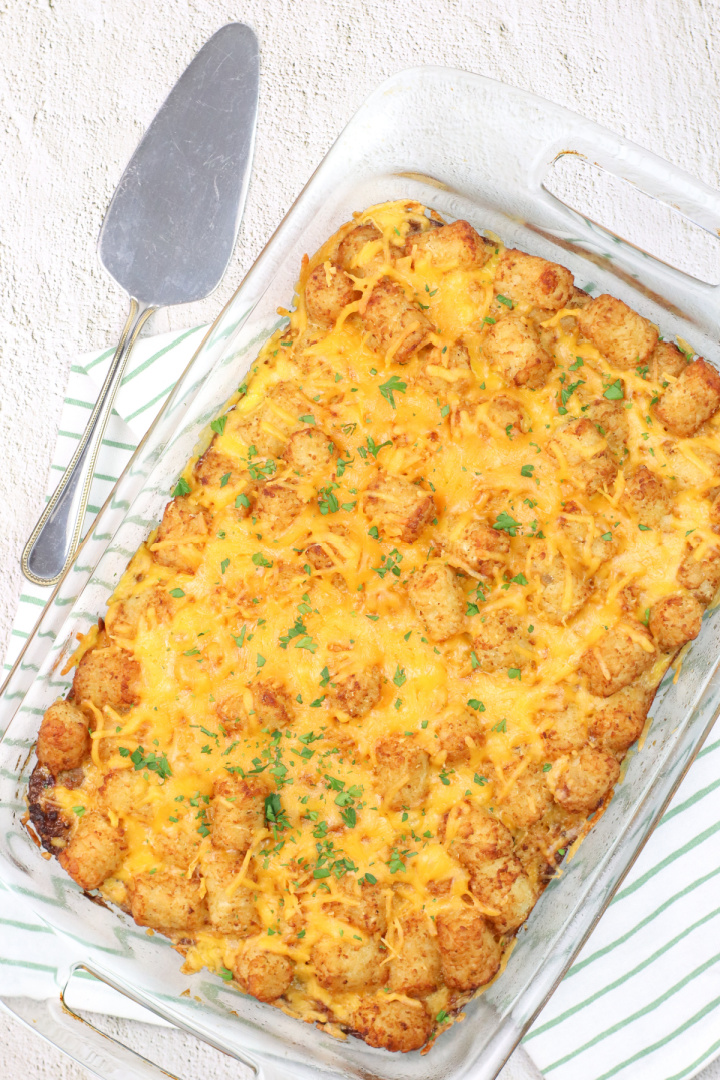
Tater Tot Breakfast Casserole
Do you want to make a tasty breakfast casserole to serve your guests? Try this Tater Tot Breakfast Casserole! The Heart of Southern Comfort: Tater Tot Breakfast Casserole In the South, we cherish recipes that bring the whole family together, especially those that are both delicious and easy to prepare. This Tater Tot Breakfast Casserole…