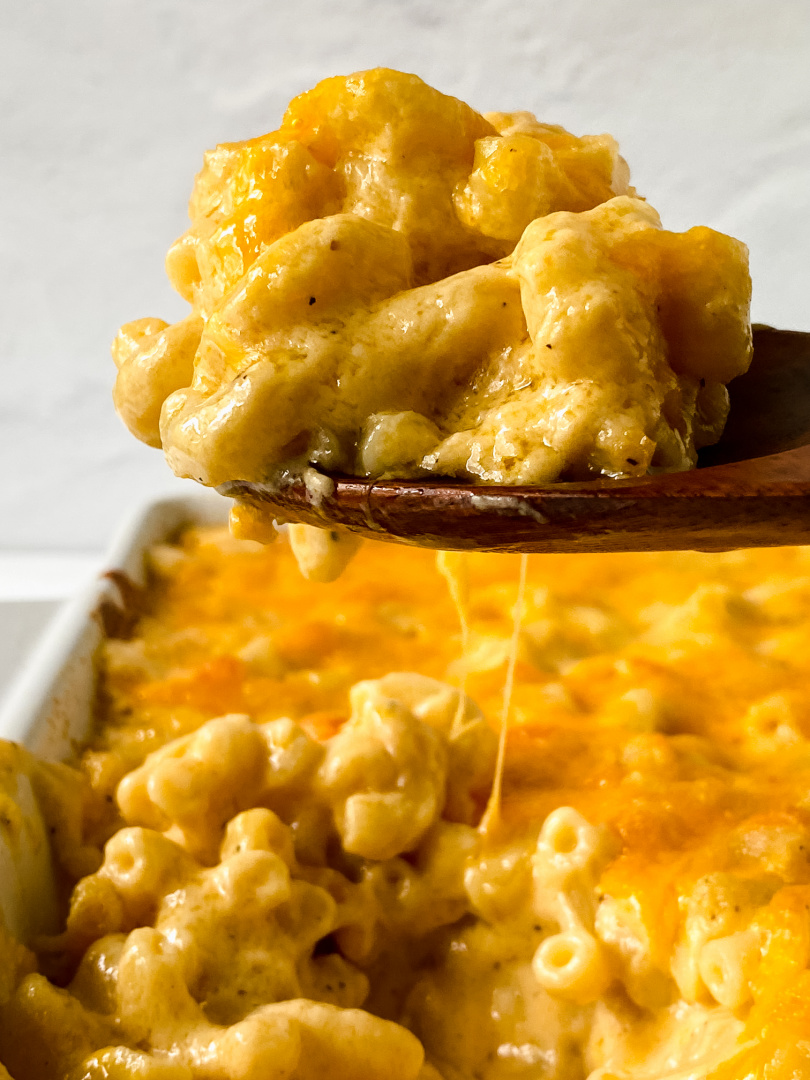
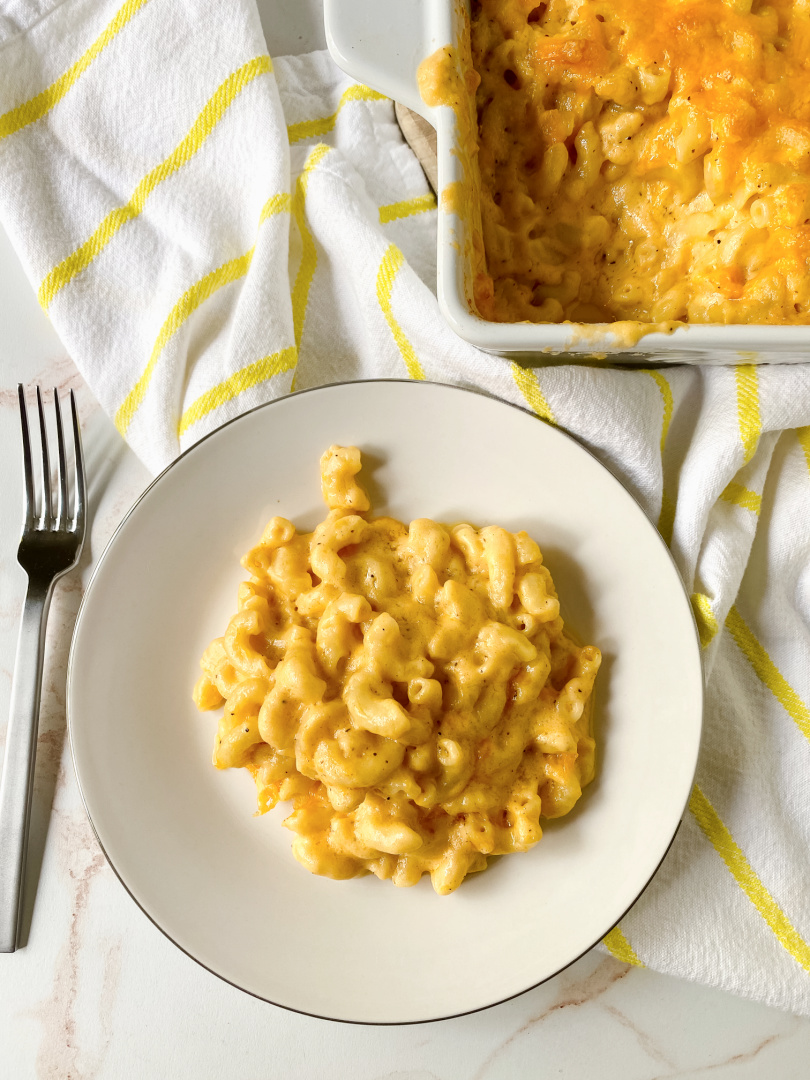
If you’re looking for the ultimate comfort food, this Southern Baked Mac and Cheese is exactly what you need.
Creamy, cheesy, and full of rich flavor, this mac and cheese combines whole milk, heavy cream, and plenty of melted cheese for a soul-satisfying side dish.
Perfect for pairing with brisket, fried chicken, or your favorite Southern meals, this baked macaroni and cheese is a classic recipe that will quickly become a family favorite.
You may also like:
- Creamy Mac and Cheese
- Baked Mac and Cheese with Ritz Crackers and Bacon Topping
- Instant Pot Mac and Cheese
Whether you’re making it for a holiday dinner, a weeknight meal, or a special occasion, this dish is easy to prepare and absolutely delicious.
Why This Southern Mac and Cheese Is So Delicious
What makes this Southern Baked Mac and Cheese stand out from the rest?
It’s all in the creamy combination of whole milk and heavy cream blended with cheese for that rich, indulgent texture.
Unlike stovetop mac and cheese that can be overly soft, baking it gives the top a golden, slightly crispy layer that makes every bite irresistible.
This recipe is perfect for those who love classic soul food flavors without spending hours in the kitchen.
The cheese melts beautifully, the pasta stays tender, and the creaminess keeps every forkful comforting and flavorful.
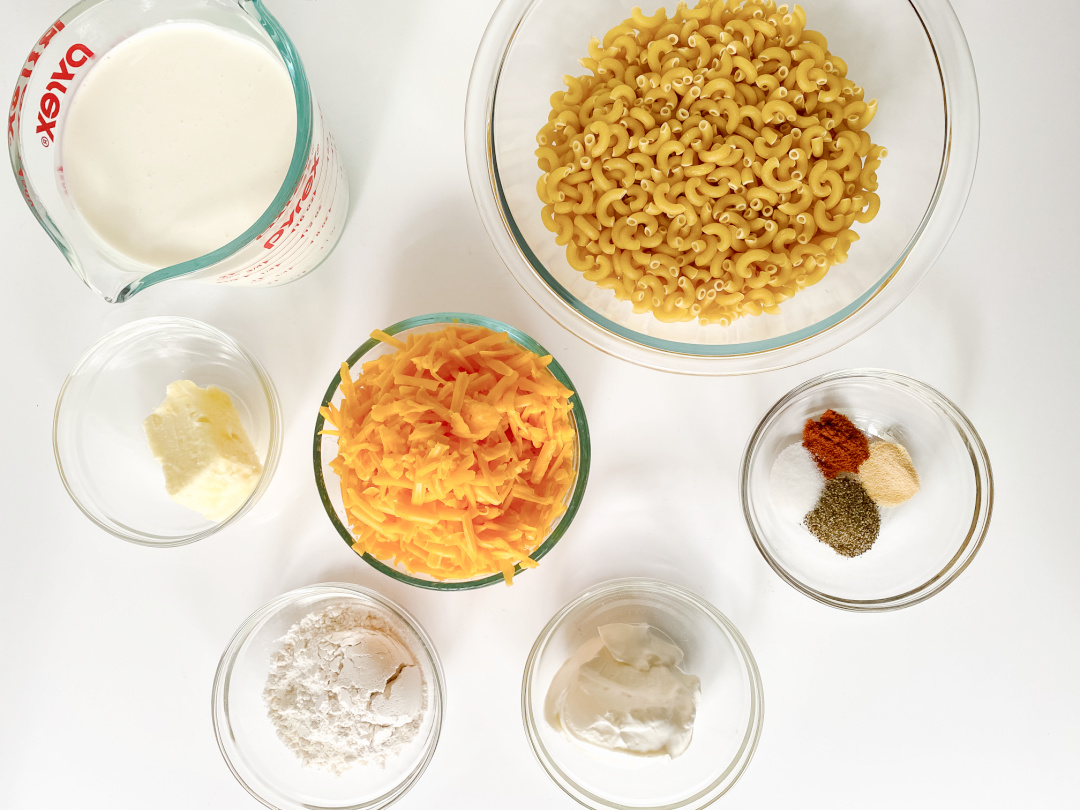
Ingredients That Make It Creamy and Rich
The key to the perfect Southern Baked Mac and Cheese is using high-quality ingredients that enhance flavor and texture:
- Whole milk & heavy cream: These provide richness and create a smooth, creamy base for the cheese sauce.
- Cheese blend: A mix of sharp cheddar, mozzarella, or your favorite melty cheeses gives depth and gooeyness.
- Butter & seasoning: A little butter and salt/pepper can elevate the flavor even further.
Tip: Don’t skip the heavy cream—it’s what makes this mac and cheese stand out as a Southern favorite.
Storage and Freezing Tips for Mac and Cheese
How to Store Leftovers
If you have leftovers, store mac and cheese in an airtight container in the fridge for up to three days. Reheat in the microwave or oven until warmed through. To maintain creaminess, add a splash of milk while reheating.
How to Freeze Mac and Cheese
Mac and cheese freezes beautifully for future meals. Simply place it in a freezer-safe container, freeze for up to six months, and thaw overnight in the fridge before reheating.
Pro Tip: For best results, cover the container tightly with foil or plastic wrap to prevent freezer burn.
What to Serve with Southern Mac and Cheese
One of the best things about this dish is its versatility. Mac and cheese pairs with almost any meat or hearty main course:
- Brisket: A classic Southern pairing.
- Grilled chicken or sausages: The creamy mac balances the smoky flavors.
- Chili: Combine with a bowl of spicy chili for ultimate comfort food.
- Steak: Rich and indulgent, perfect alongside a juicy cut.
And yes—mac and cheese even pairs well with a cold beer for casual meals!
Tips for the Best Baked Mac and Cheese
- Cheese Choices: Sharp cheddar provides tang, while mozzarella adds gooey stretch. Don’t be afraid to mix cheeses for flavor and texture.
- Avoid Dry Mac and Cheese: Be careful not to overbake. Add extra cream or milk when reheating if needed.
- Optional Toppings: Panko breadcrumbs or a sprinkle of paprika can add flavor and crunch.
- Make Ahead: You can assemble the mac and cheese the day before, refrigerate, and bake just before serving.
Frequently Asked Questions
Can you reheat mac and cheese without drying it out?
Yes! Add a splash of milk or cream and cover with foil before reheating in the oven. This keeps it creamy and prevents drying.
How long does baked mac and cheese last in the fridge?
Stored in an airtight container, it lasts up to three days. Always reheat thoroughly before serving.
Is it better to bake mac and cheese or cook stovetop?
Baking creates a golden, slightly crispy top and melds flavors beautifully. Stovetop is quicker but won’t give you the same texture.
Can mac and cheese be frozen?
Absolutely! Freeze in a safe container for up to six months. Thaw overnight in the fridge before reheating.
Try this recipe now!
This Southern Baked Mac and Cheese is more than just a side dish—it’s comfort food at its finest. Perfect for pairing with meats, chili, or even enjoying on its own, it’s creamy, cheesy, and full of flavor.
Whether you’re a seasoned cook or a beginner, this recipe is simple to make, hard to resist, and sure to be a hit at your table.
Pin this recipe for later or share it with friends who love soul food classics. You’ll love how rich, cheesy, and satisfying it is!
Southern Baked Mac and Cheese
Ingredients:
1/2 lb of elbow macaroni
1 cup heavy cream
1 cup whole milk
1/2 stick of butter
1/4 cup of all purpose flour
1 1/2 cups of sharp cheddar cheese
1 cups of mild cheddar cheese
1/2 tsp of salt
1/2 tsp of pepper
1/2 tsp smoked paprika
1/4 tsp garlic powder
1/4 cup sour cream
Directions:
Preheat oven to 375F.
Boil macaroni noodles in about 5-6 cups of water until Al Dente.
Strain macaroni and set aside.
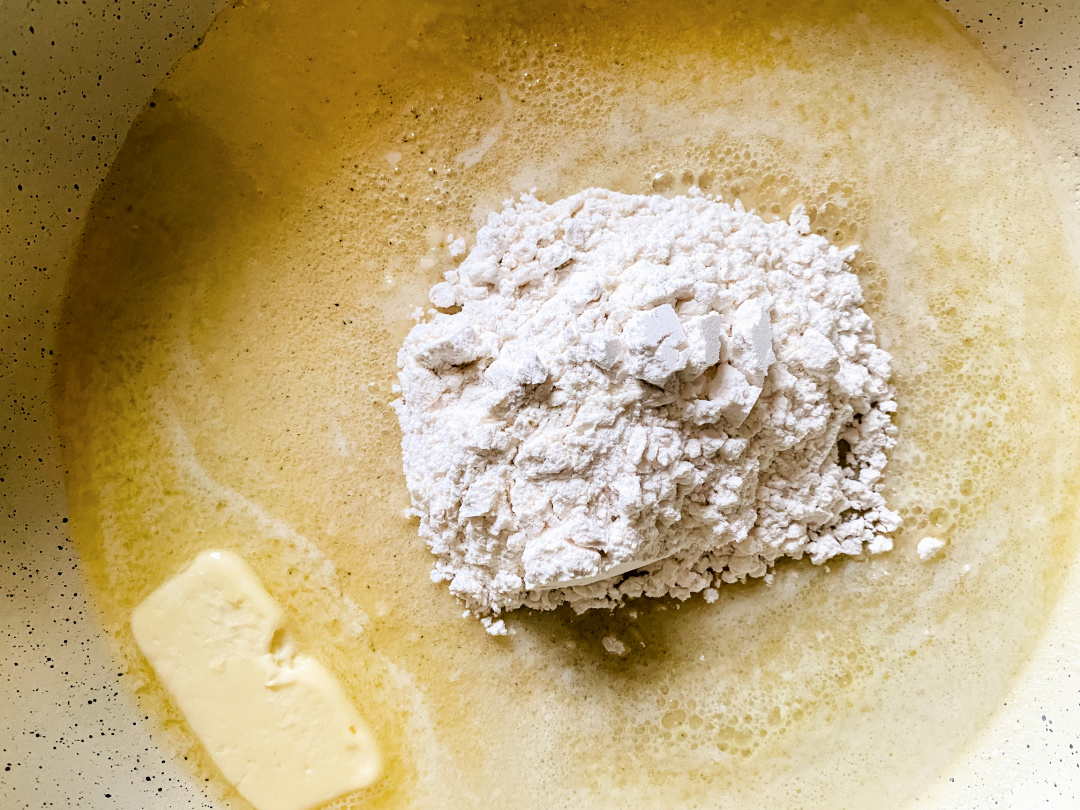
Melt the butter.
Whisk flour into the butter and cook for about 1 min.
Add in half and half and heavy cream and continue to stir periodically while on medium high heat. When this comes to a boil, it will thicken.
Fold in cheese, salt, pepper, garlic powder, paprika and sour cream.
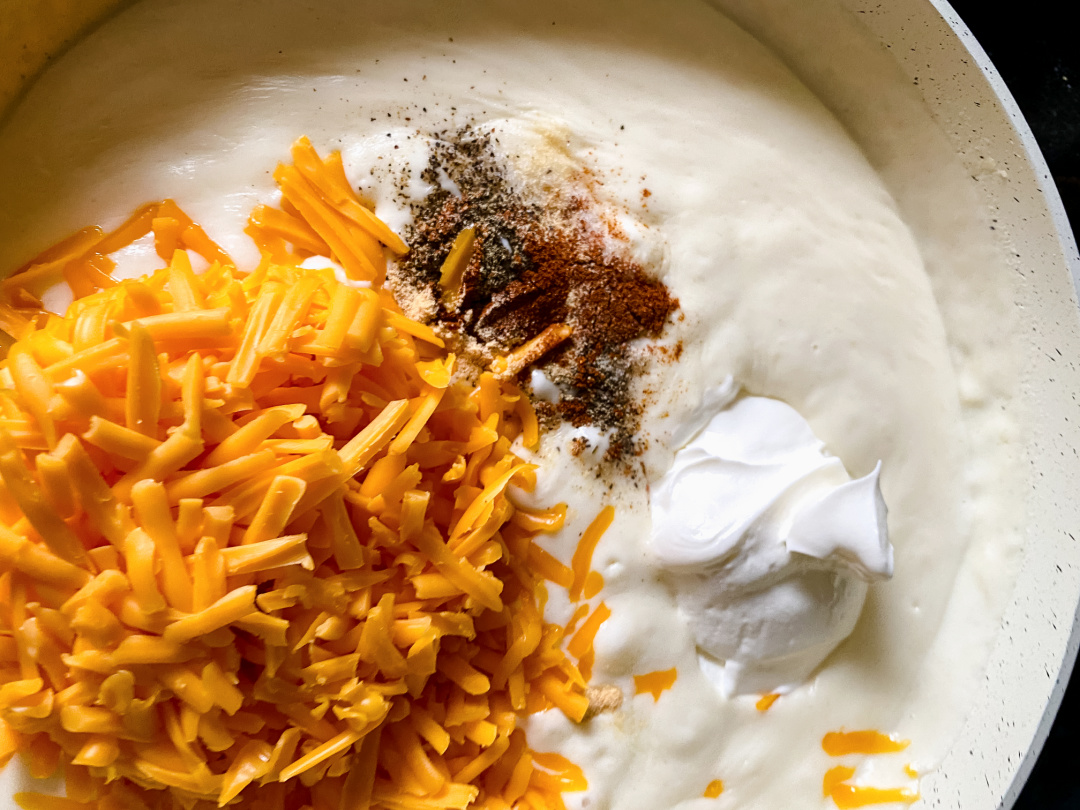
Reduce the heat to low and allow the cheese to melt down into a sauce for about 3 minutes.
Add in the cooked pasta and mix completely.
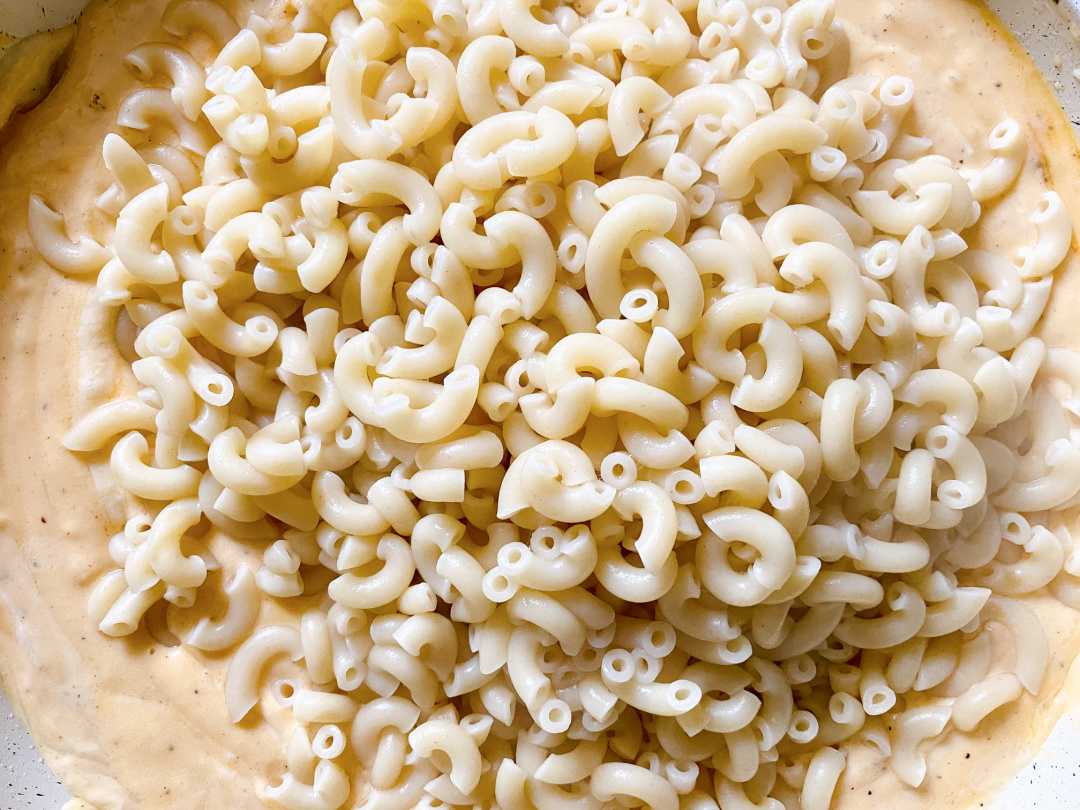
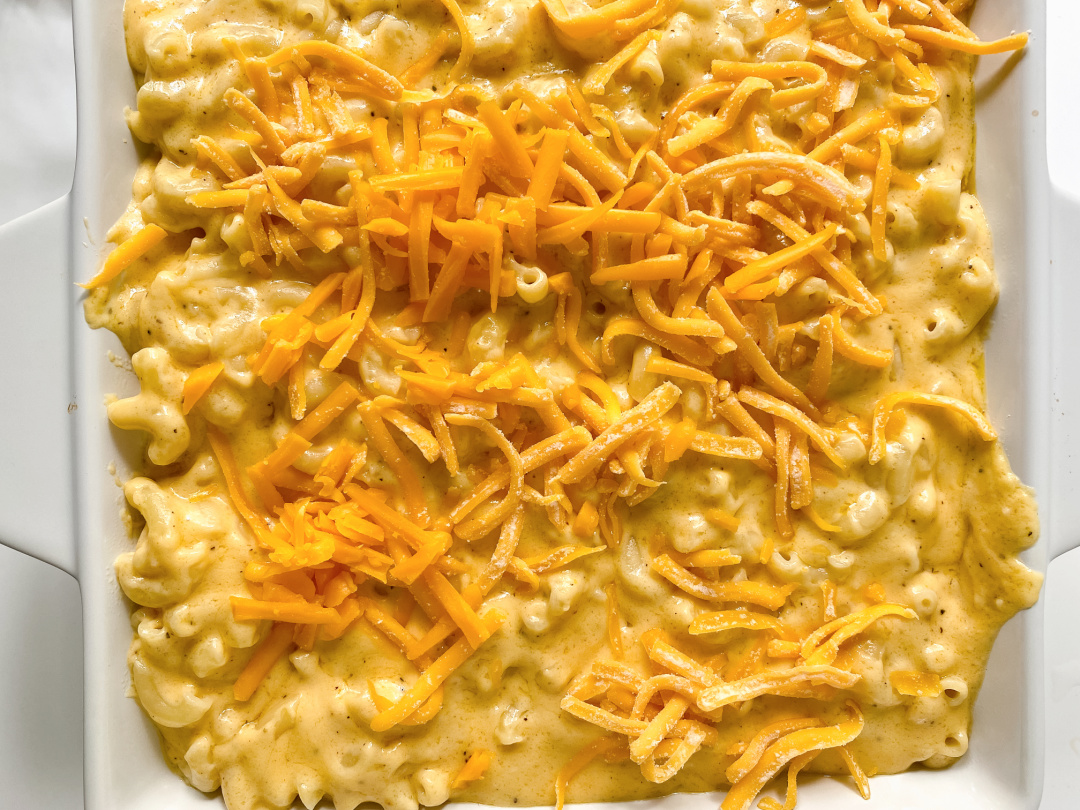
Pour mixture into baking dish and top with more shredded cheese.
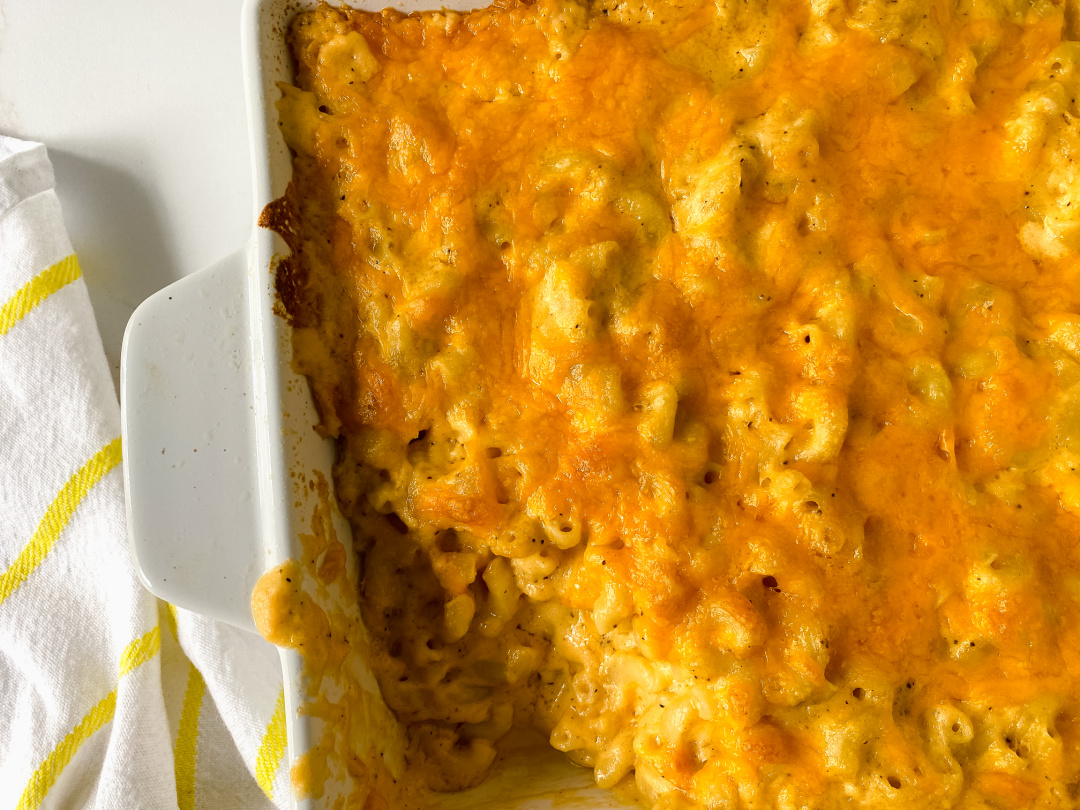
Bake about 20 mins until golden brown and bubbly.
Notes:
This is a rich and creamy baked Mac n cheese traditionally cooked in “soul food.” It is not meant to have low fat substitute, full fat products are strongly encouraged.
Salting the water cuts down on the amount of salt needed for the recipe itself.
*You could use 2 cups half n half vs. one cup milk and 1 cup heavy cream.
Southern Baked Mac and Cheese

Ingredients
- 1/2 lb of elbow macaroni
- 1 cup heavy cream
- 1 cup whole milk
- 1/2 stick of butter
- 1/4 cup of all purpose flour
- 1 1/2 cups of sharp cheddar
- 1 cups of mild cheddar
- 1/2 tsp of salt
- 1/2 tsp of pepper
- 1/2 tsp smoked paprika
- 1/4 tsp garlic powder
- 1/4 cup sour cream
Instructions
Preheat oven to 375F.
Boil macaroni noodles in about 5-6 cups of water until Al Dente.
Strain macaroni and set aside.
Melt the butter.
Whisk flour into the butter and cook for about 1 min.
Add in half and half and heavy cream and continue to stir periodically while on medium high heat.
When this comes to a boil, it will thicken.
Fold in cheese, salt, pepper, garlic powder, paprika and sour cream.
Reduce the heat to low and allow the cheese to melt down into a sauce for about 3 minutes.
Add in the cooked pasta and mix completely.
Pour mixture into baking dish and top with more shredded cheese.
Bake about 20 mins until golden brown and bubbly.
Notes:
This is a rich and creamy baked mac and cheese traditionally cooked in “soul food.”
It is not meant to have low fat substitute, full fat products are strongly encouraged.
Salting the water cuts down on the amount of salt needed for the recipe itself.
*You could use 2 cups half n half vs. one cup milk and 1 cup heavy cream