-
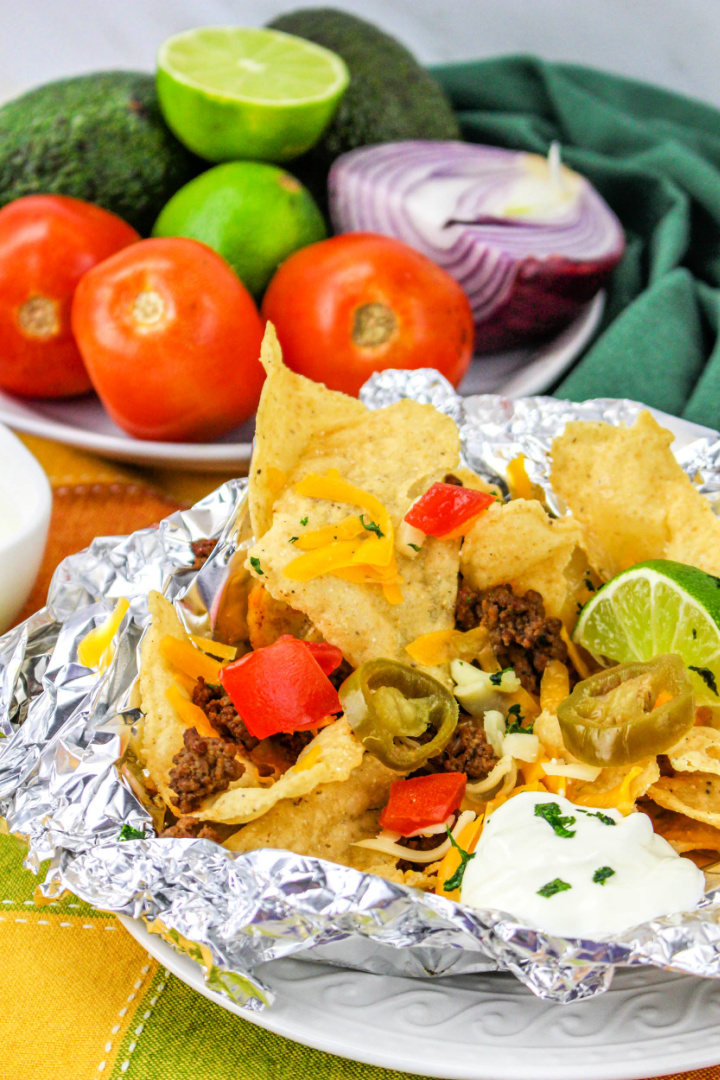
Beef Nacho Foil Packets
Fire up the grill, (or preheat your oven) gather the ingredients, and let’s get cooking! If you’re looking for an easy yet delicious meal option for your next cookout or camping trip with friends, look no further than these budget-friendly Beef Nacho Foil Packets. Perfectly seasoned ground beef is wrapped in individual foil packets and…
-
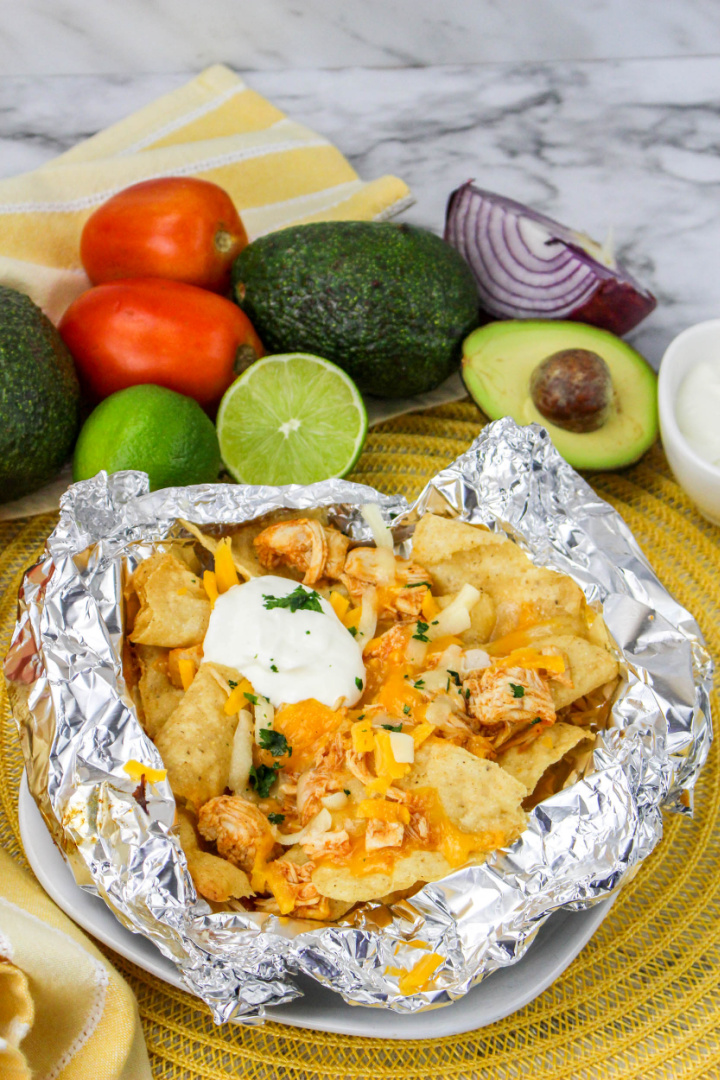
Chicken Nacho Foil Packets
Tired of your typical weeknight dinner? Spice it up with Chicken Nacho Foil Packets – the perfect, easy meal for anyone that’s hungry! Easy Chicken Nacho Foil Packets – A Simple Southern Recipe with Big Flavor If you’re looking for a no-fuss dinner that’s packed with flavor and easy cleanup, these Chicken Nacho Foil Packets…
-
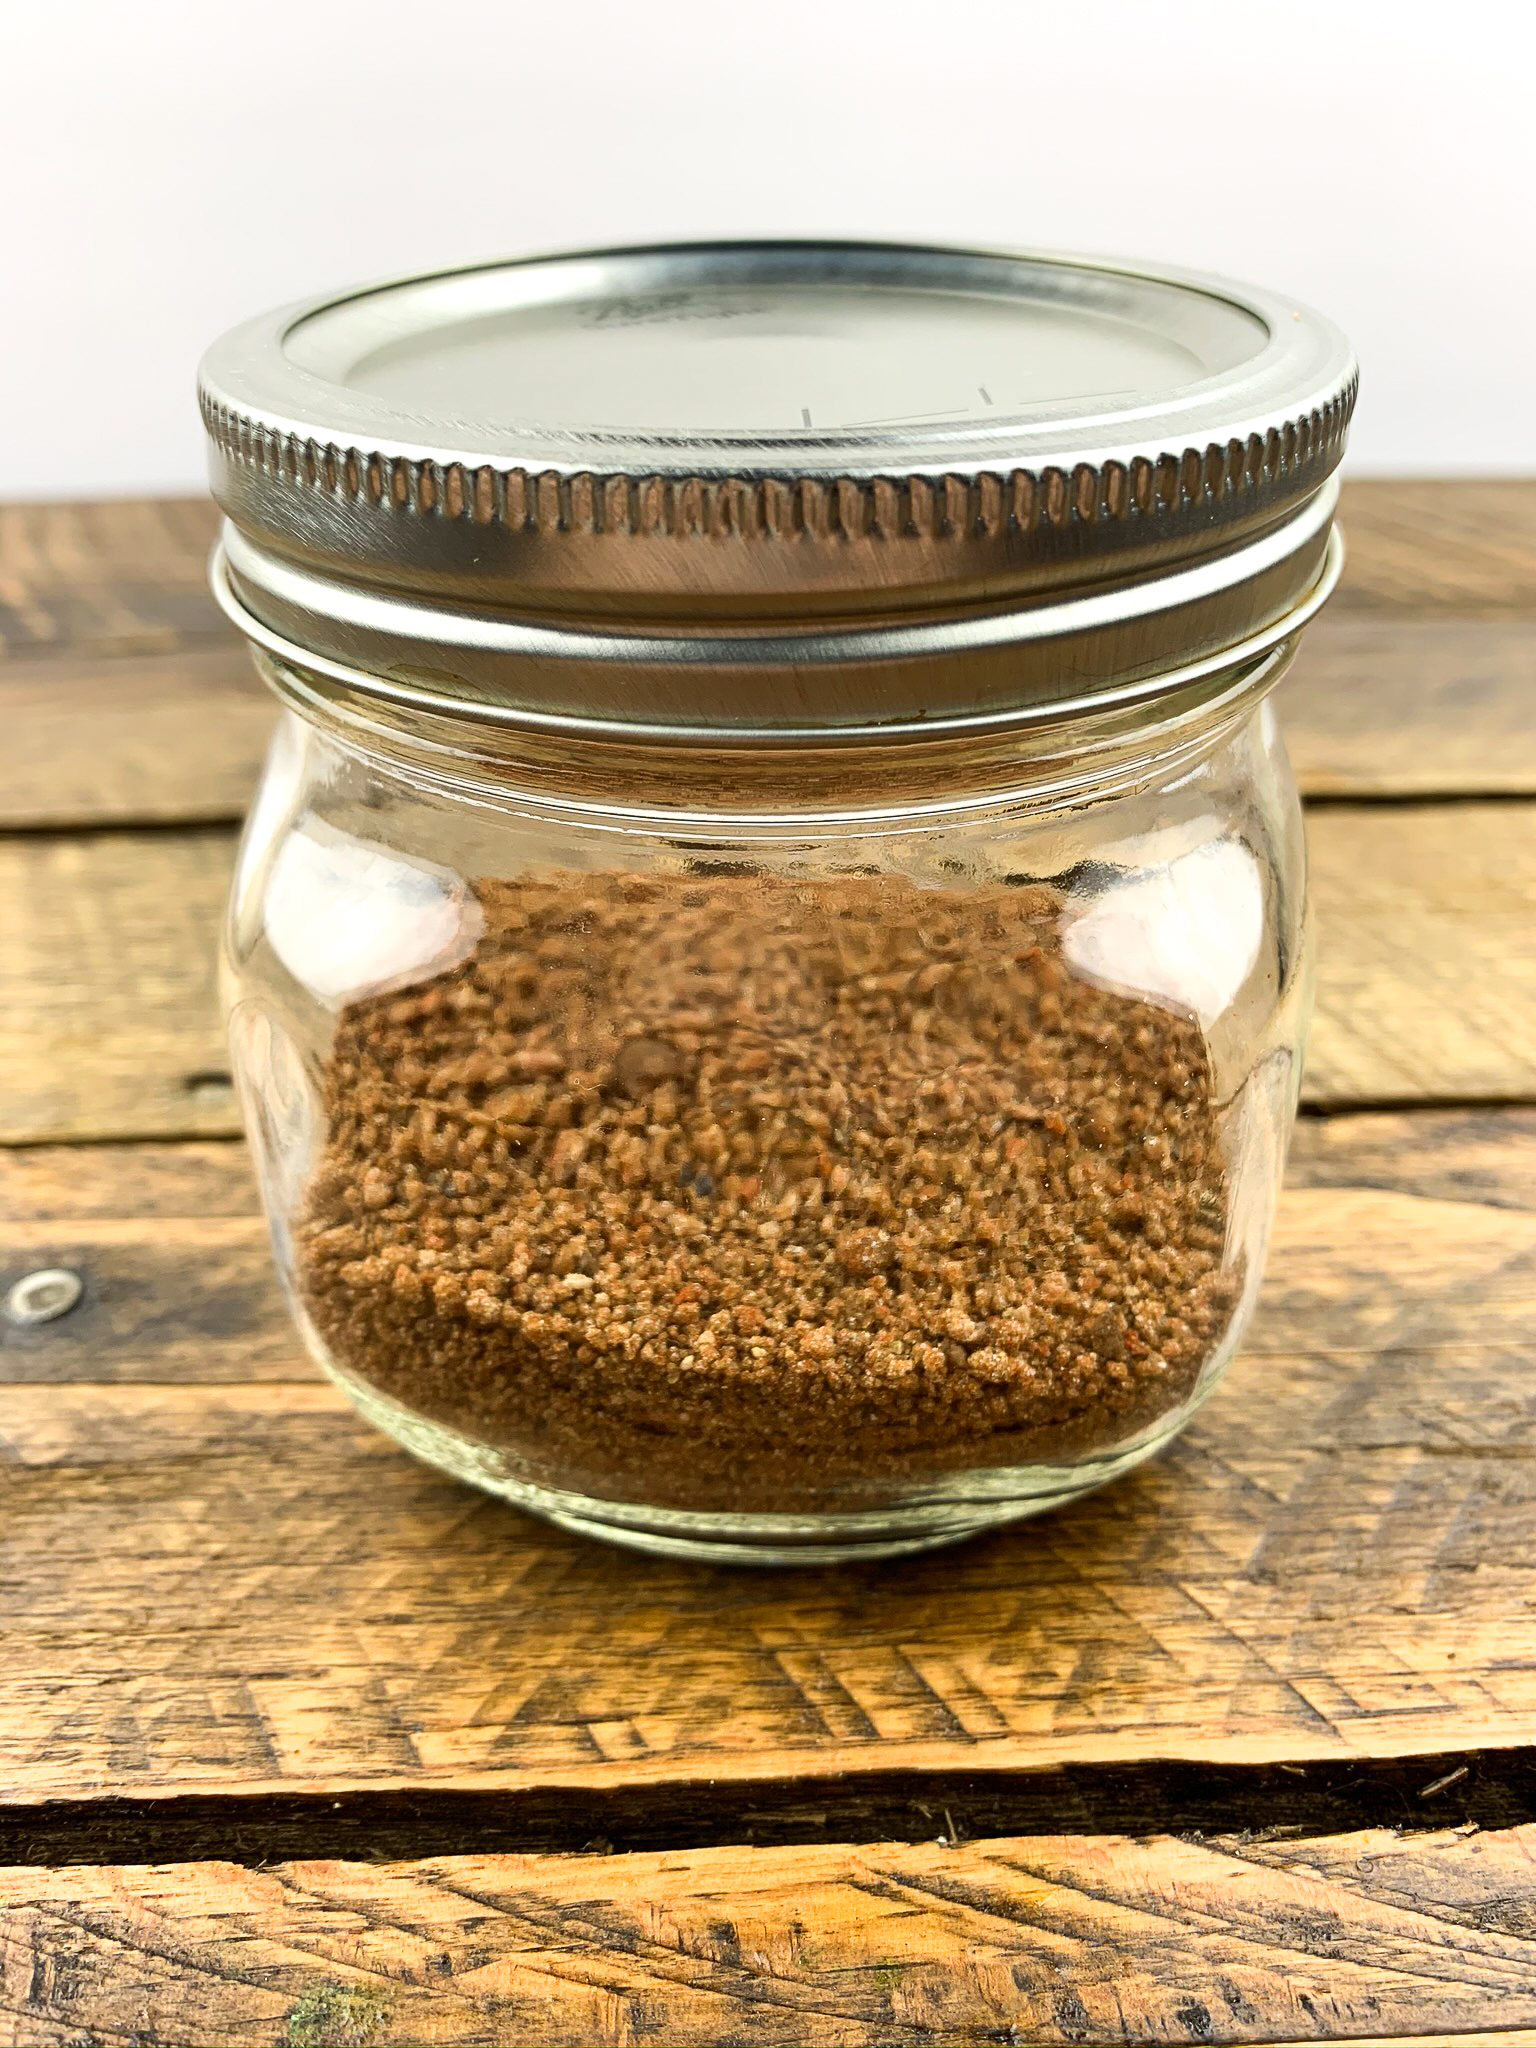
Rib Rub
The secret to good ribs is the rib rub! Learn how to make this simple rib rub for your rack of ribs. There are lots of different ways to enjoy ribs. Most folks prefer them smoked low and slow in a barbecue pit, but there’s no wrong way to to enjoy them! Ribs can also…
-
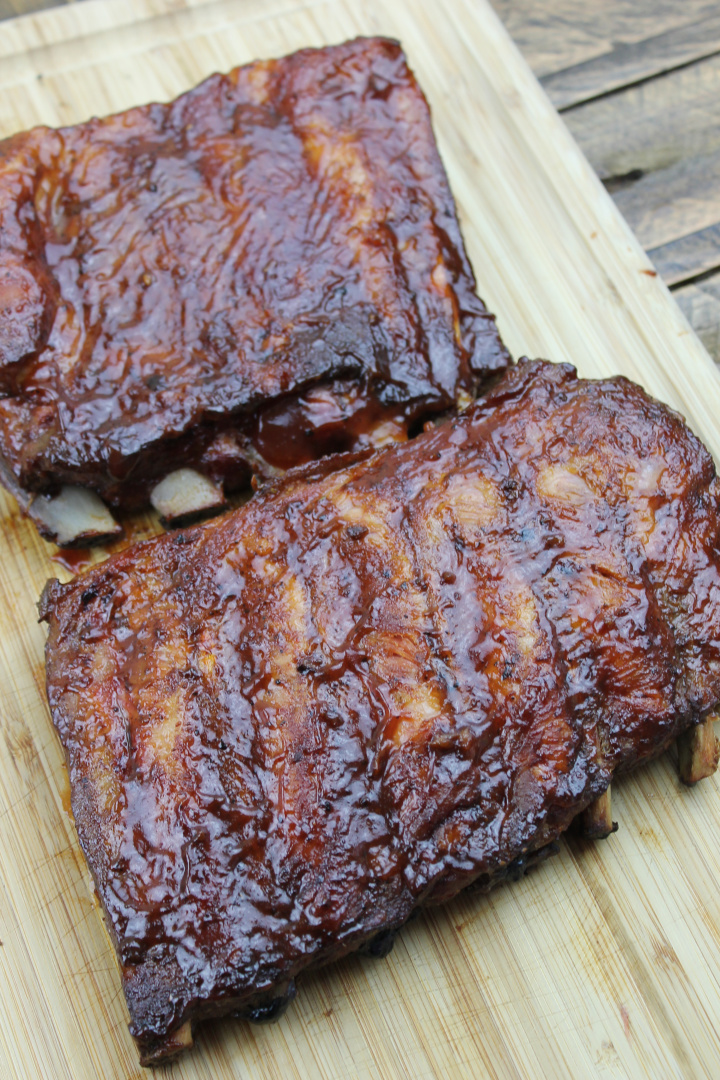
Smoked Ribs
These smoked ribs are perfectly sweetened with barbecue sauce to provide a flavor that will have you going back for more! I’ve mentioned in several of my recipes that I love barbecue. I love barbecue side dishes like beans, cornbread, potato salad, and cole slaw. I also love making barbecue. Make no mistake, barbecue takes…
-
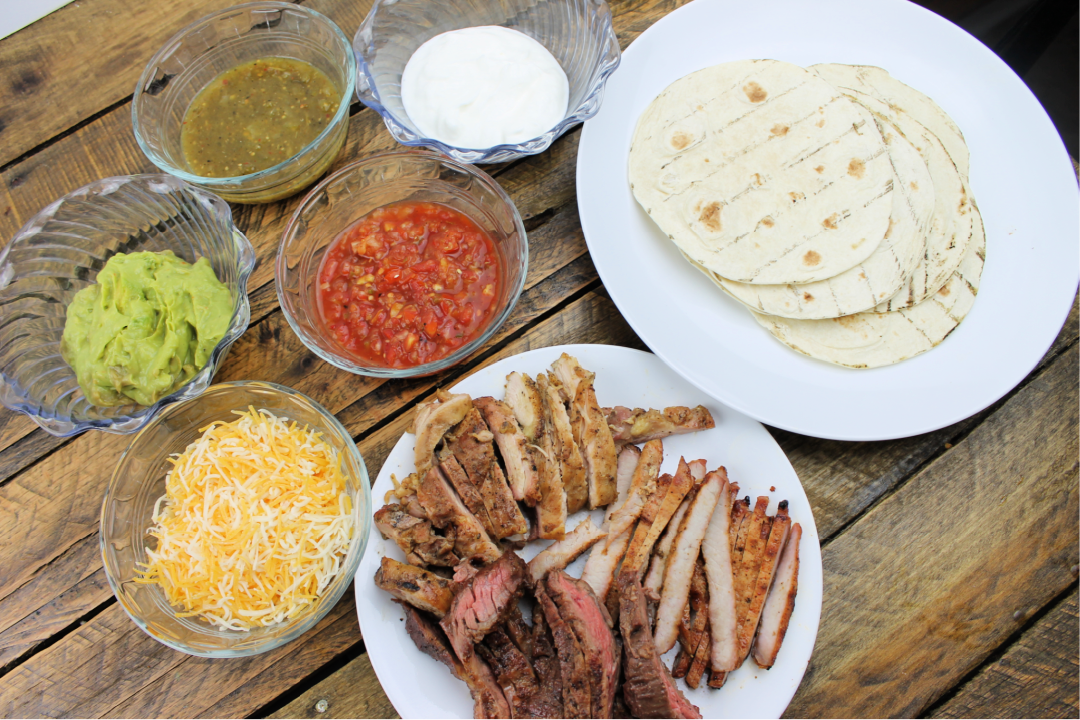
Chicken, Pork, and Beef Fajitas
Enjoy these Chicken, Pork, and Beef Fajitas fresh off of the grill this summer! Create a fajita bar and serve your favorite sides to go with these tasty fajitas! Sometimes as a man, I just want to fire up the grill and cook some delicious meats. Nothing fancy, just protein, fire, spices, and of course…