-
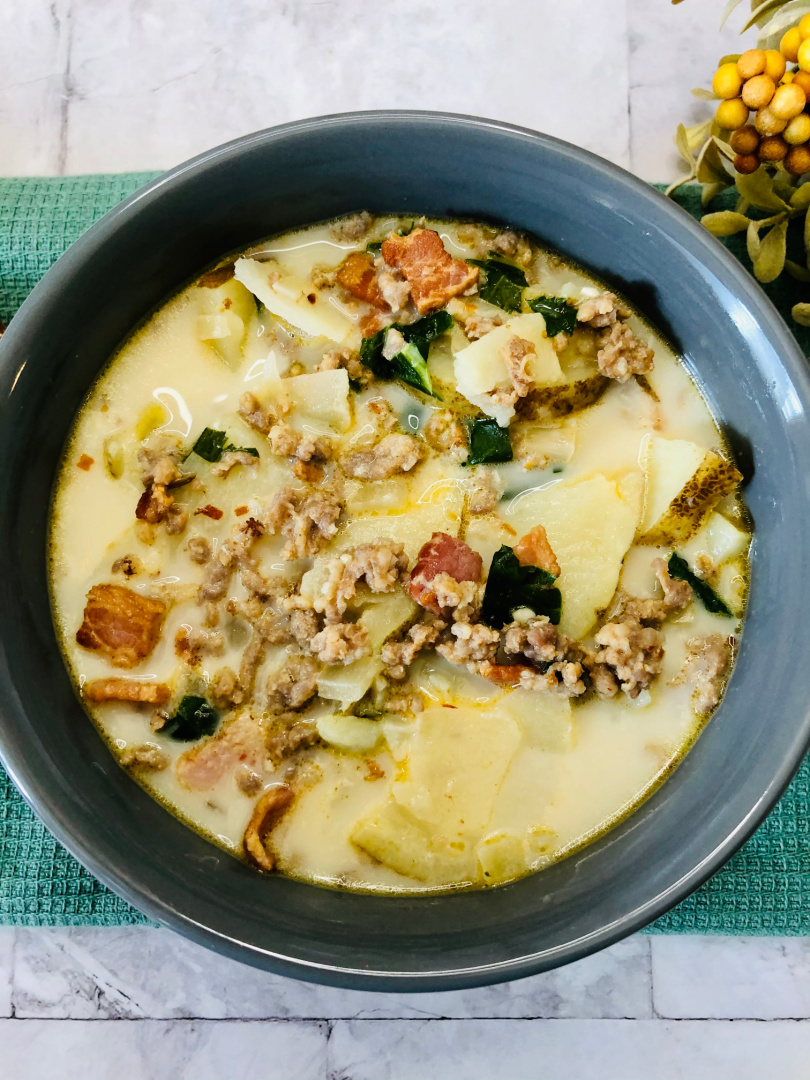
Zuppa Toscana
This Zuppa Toscana soup recipe includes a ton of flavor! Pair this with your favorite bread recipe this week. Every now and then, I crave a good bowl of soup. Not just any soup though. I like to put a lot of tasty ingredients in my recipe for a hearty soup. This Zuppa Toscana soup…
-
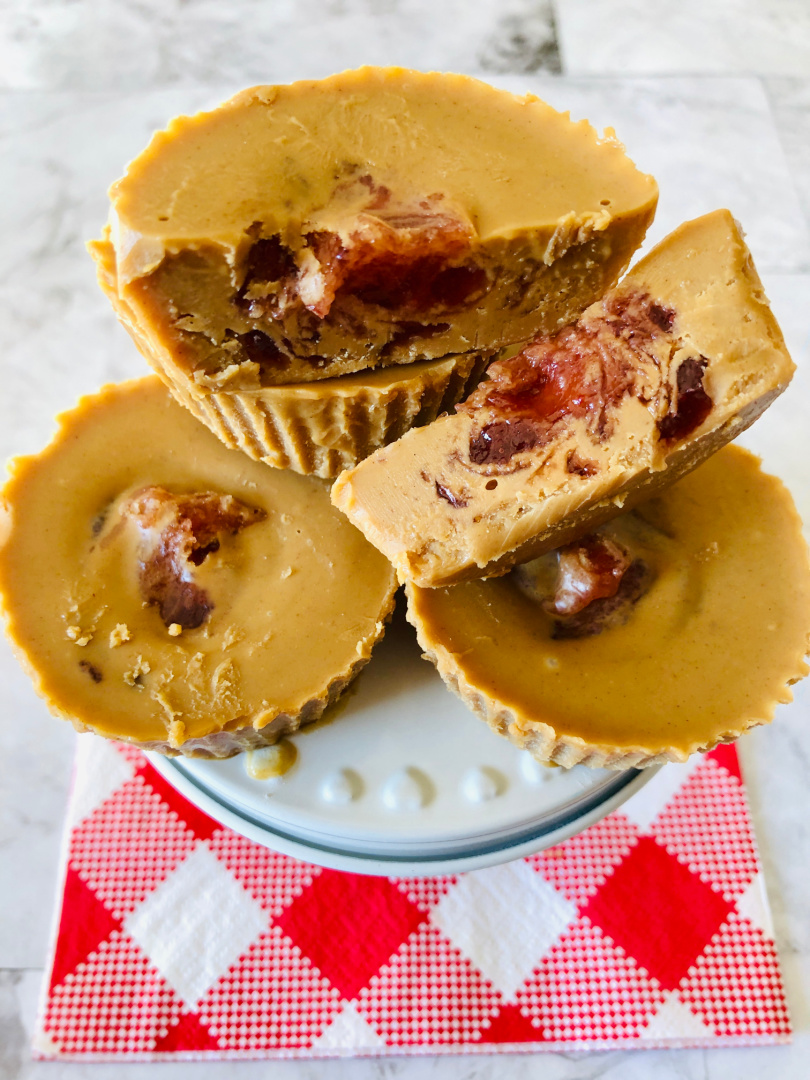
Peanut Butter and Jelly Cups
Kids and adults will enjoy these Peanut Butter and Jelly Cups! Serve these as a dessert or snack option and see how long they last! Peanut butter and jelly is the perfect combination. My kids LOVE peanut butter and jelly. When I need a quick and easy dessert to make for the kids to enjoy,…
-
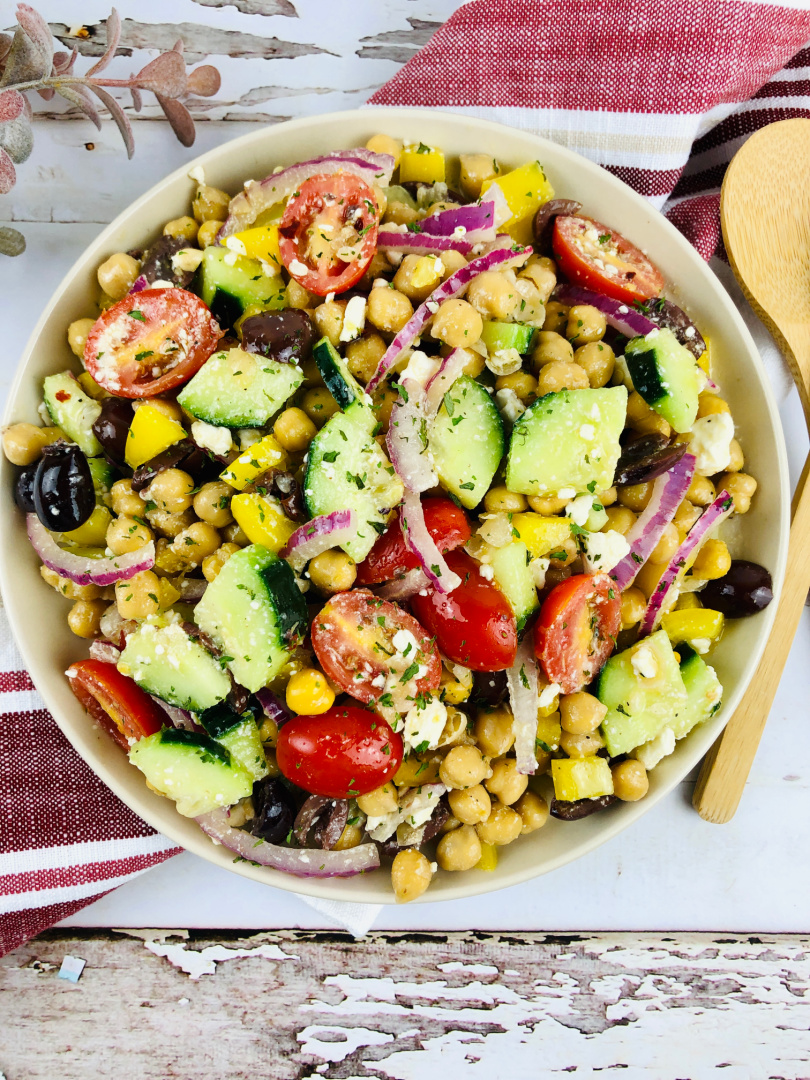
Mediterranean Chickpea Salad
Easy Mediterranean Chickpea Salad Recipe for a Fresh and Flavorful Side Dish If you’re looking for a quick and easy side dish that packs in fresh flavor and bright color, this Mediterranean Chickpea Salad checks all the boxes. It’s a simple recipe made with pantry staples and fresh vegetables, making it a smart go-to for…
-
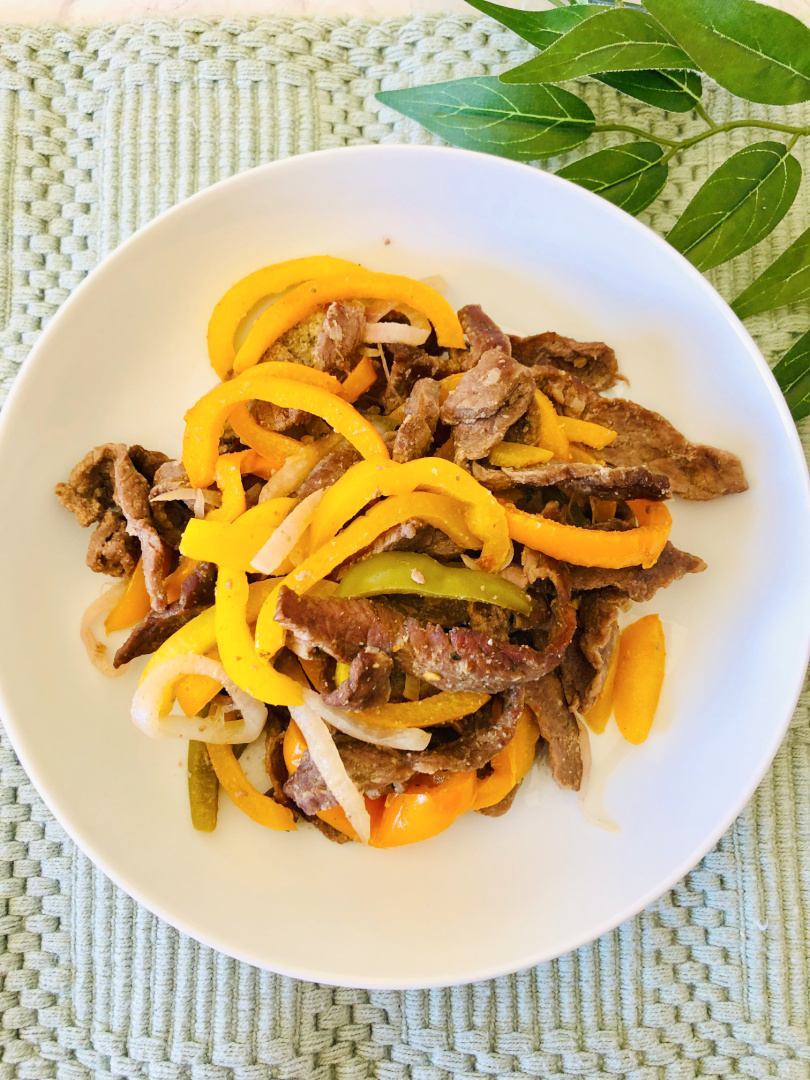
Sheet Pan Chili Lime Beef Fajitas
Serve these easy to make and delicious Sheet Pan Chili Lime Beef Fajitas for dinner tonight! Do you want a night off from cooking the grill? Fajitas are the perfect dinnertime solution for the family any day of the week. I prefer to cook fajitas on the weekend on the grill, but there are times…
-
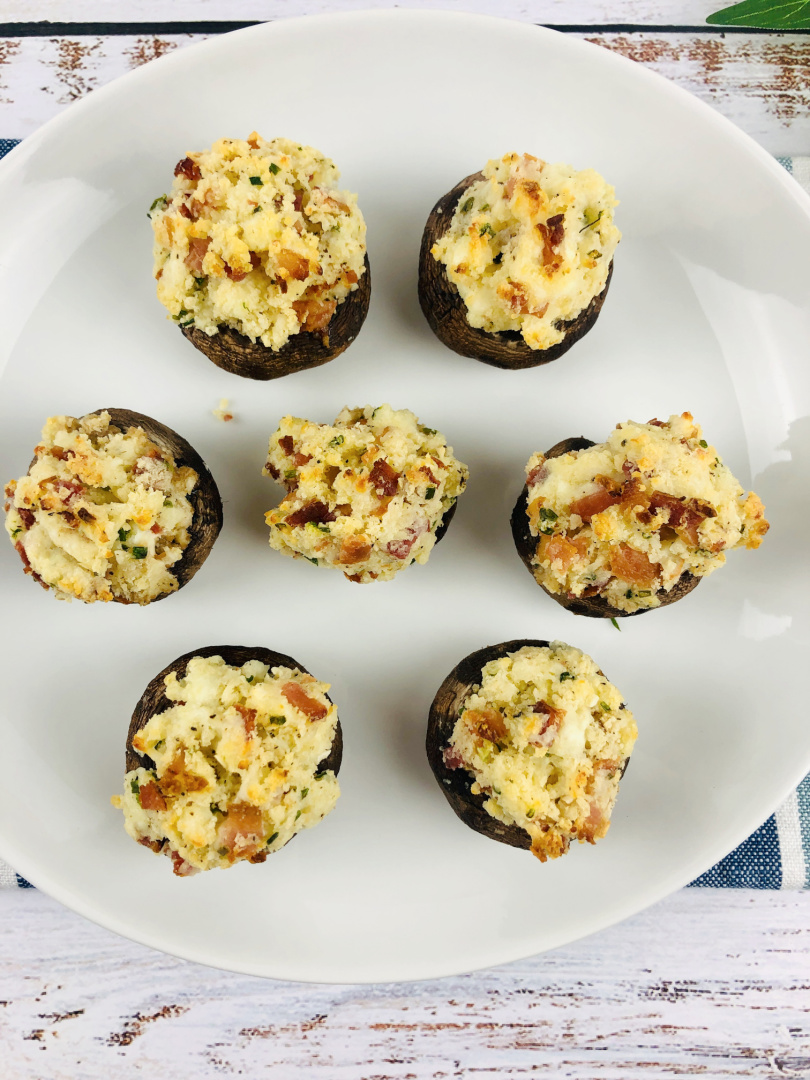
Bacon and Cheese Stuffed Mushrooms
Easy Bacon and Cheese Stuffed Mushrooms for Entertaining or Everyday Snacking If you’re looking for a quick appetizer that’s full of flavor and easy to make, these stuffed mushrooms are a solid go-to. With a creamy, cheesy filling and crisp bites of bacon, they bring together a savory combo that works for just about any…