-
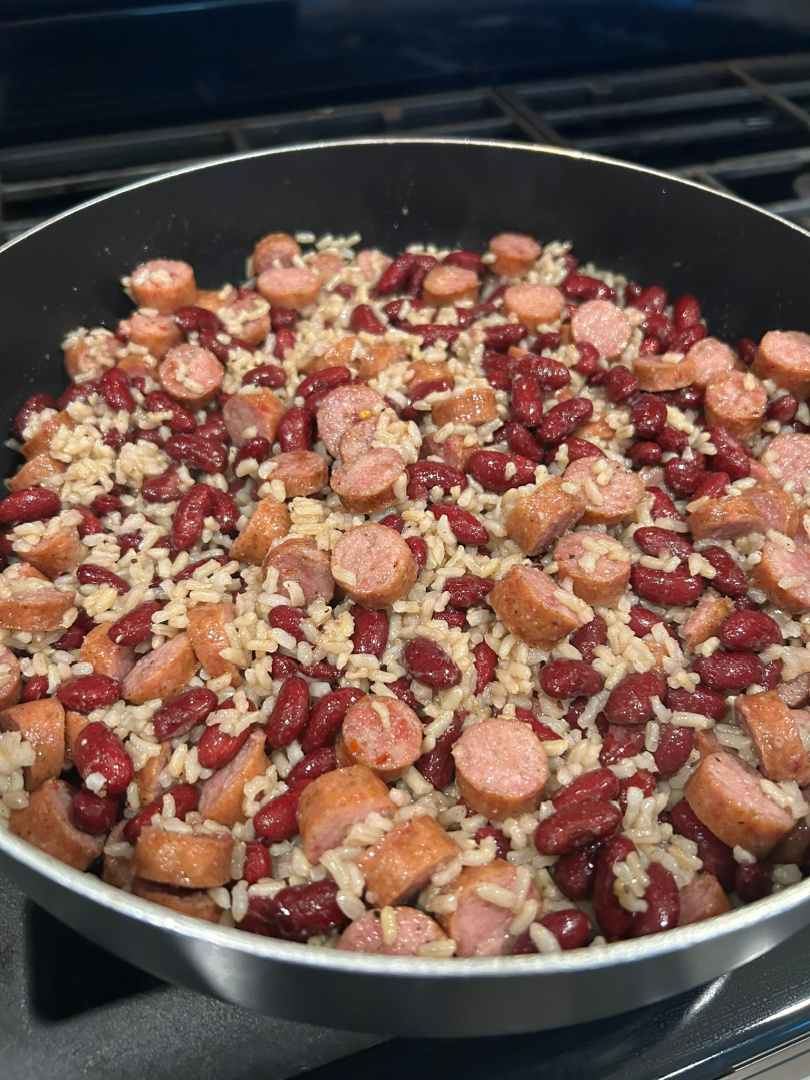
Red Beans and Rice with Sausage
Easy Red Beans and Rice with Sausage – A Southern Staple for Busy Families If you’re looking for an easy weeknight dinner that’s hearty, budget-friendly, and full of Southern flavor, this Red Beans and Rice with Sausage recipe is one to keep in regular rotation. In our house, we make this just about every single…
-
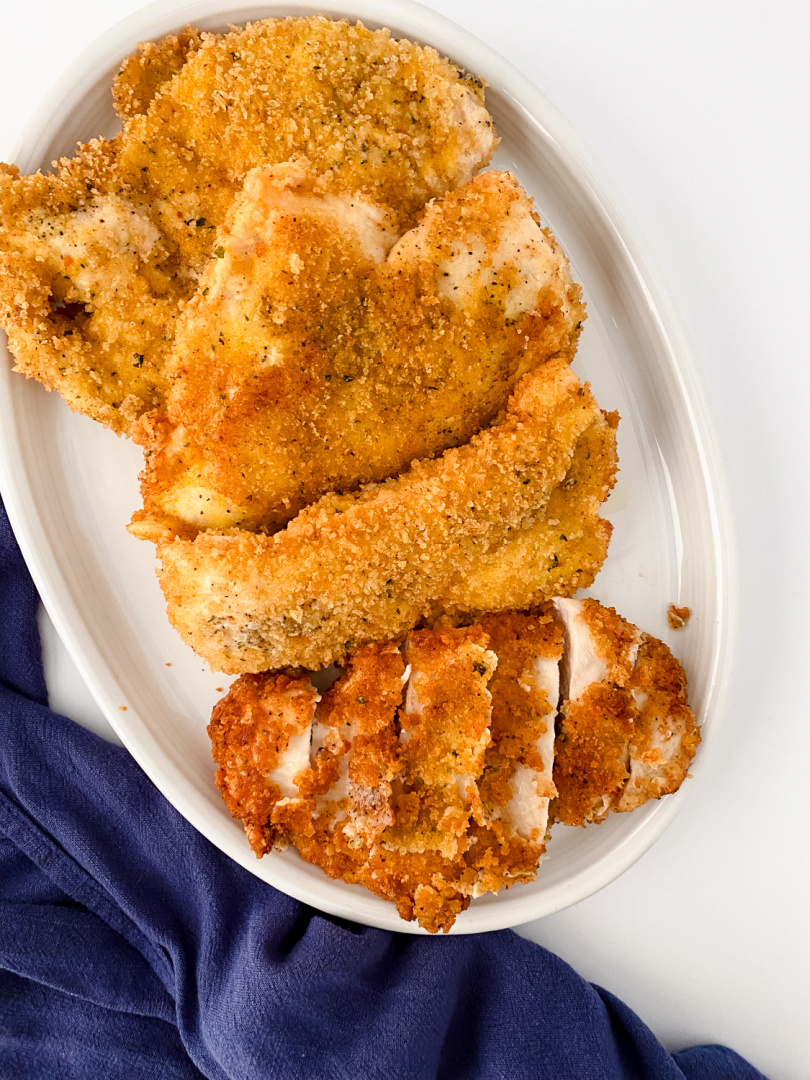
Chicken Katsu (Japanese Style Fried Chicken)
Crispy Chicken Katsu Recipe: A Southern Take on a Japanese Favorite If you’ve been looking for a way to shake up your usual chicken dinner, this Chicken Katsu recipe is just the thing. Crispy, golden, and full of flavor, it’s a simple dish that brings a little international flair right to your Southern kitchen. Whether…
-
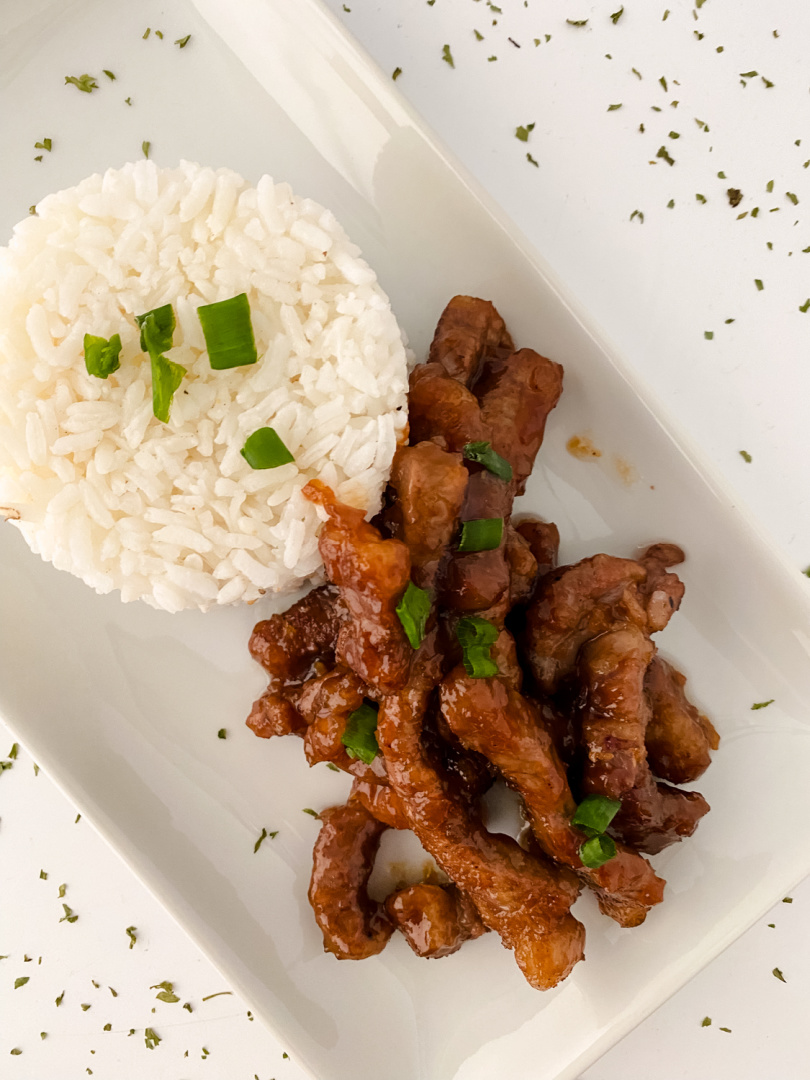
Mongolian Beef
Mongolian Beef Equipment Prep: 7-10 mins Cook time: 10 mins Total: 20 mins Yield: 3-4 servings Ingredients: Instructions: Slice the steak into strips. Season meat with salt and pepper. Add in the cornstarch and toss meat to fully coat. Place 2 tsp of oil in a pan over medium high heat. Once heated, add in…
-
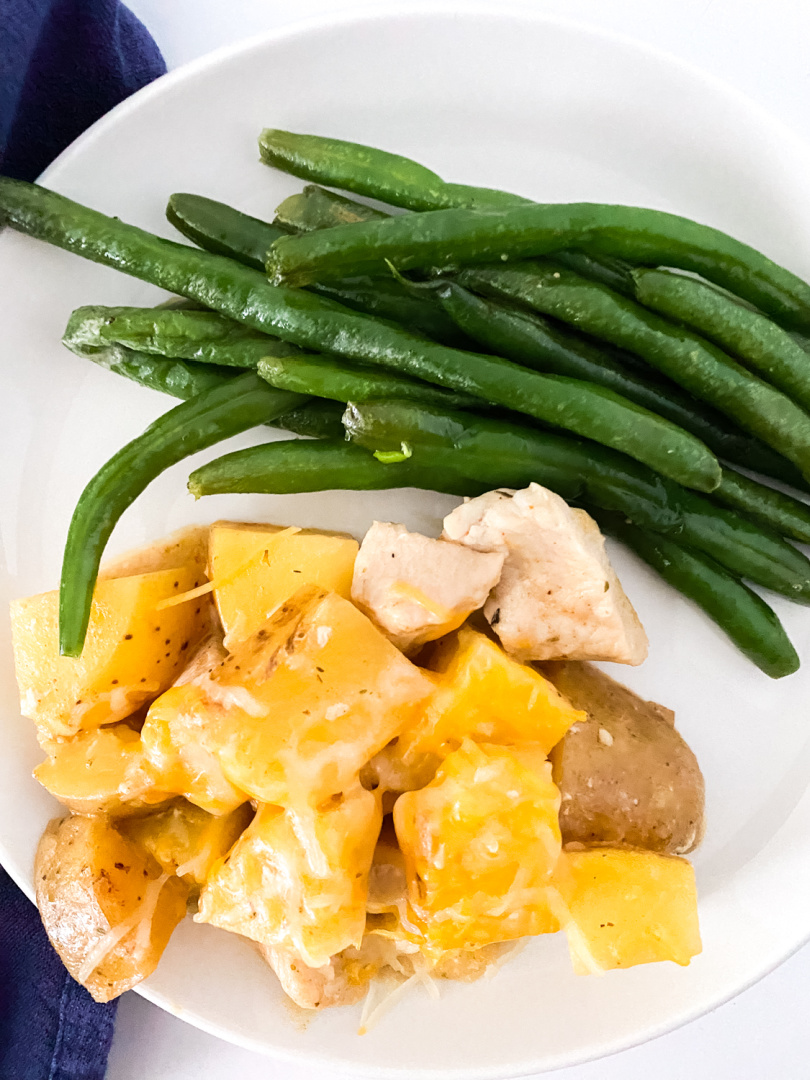
Slow Cooker Cheesy Garlic Parmesan Chicken and Potatoes
You may also like: Slow Cooker Cheesy Garlic Parmesan Chicken and Potatoes Equipment Prep time: 5 min Cook time: 2.5 hours on high Total: 2.5-3 hours Yield: 4-5 servings Ingredients: Instructions: Spray the inside of your crockpot with nonstick, olive oil, or a liner. Wash the potatoes then cube and add to the slow cooker.…
-
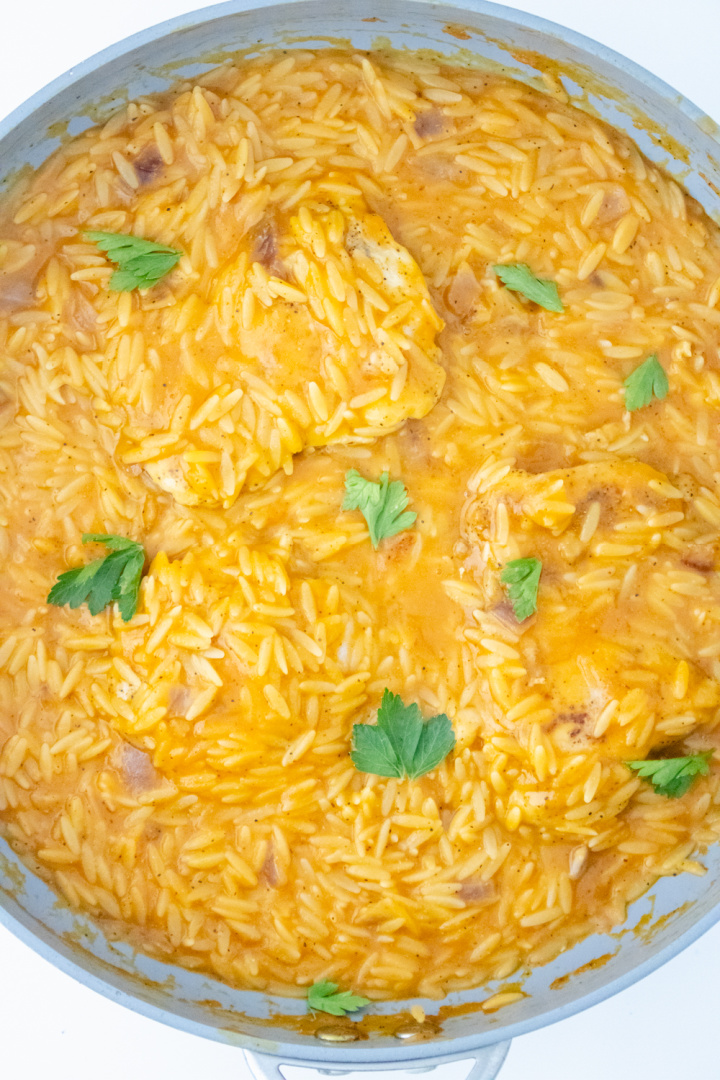
Pumpkin Orzo Pasta with Pan Seared Chicken
Pumpkin Orzo Pasta with Pan Seared Chicken Equipment: Yield: 3-4 servings Prep: 5 min Cook: 20 min Total: 25 min Ingredients: Instructions: Add half of the seasoning to the chicken, reserve the rest for later. In a large skillet, heat 2-3 tbsp olive oil and sear the chicken for about 2-3 minutes on each side…