Are you a chocolate dessert lover always on the lookout for your next satisfying sweet indulgence?
If yes, then you must try a Chocolate Chess Pie – an all-time favorite dessert that is both rich and decadent!
The pie is a Southern favorite, originating in the American South, with its origins dating back to the 1700s.
In this blog post, we’ll dive into what a Chocolate Chess Pie is, how to make it, and most importantly, when and how to serve it.
Trust us, by the end of this post, we’re sure you’ll be convinced to try this heavenly dessert!
Homemade Chewy Chocolate Brownies
What is a Chocolate Chess Pie?
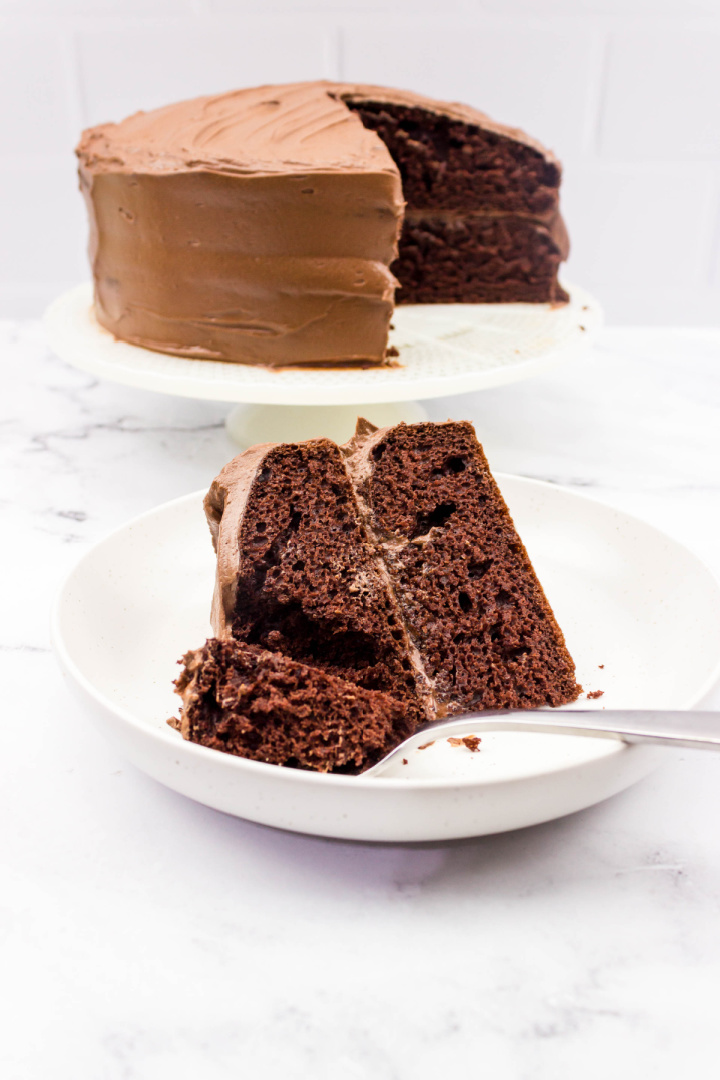
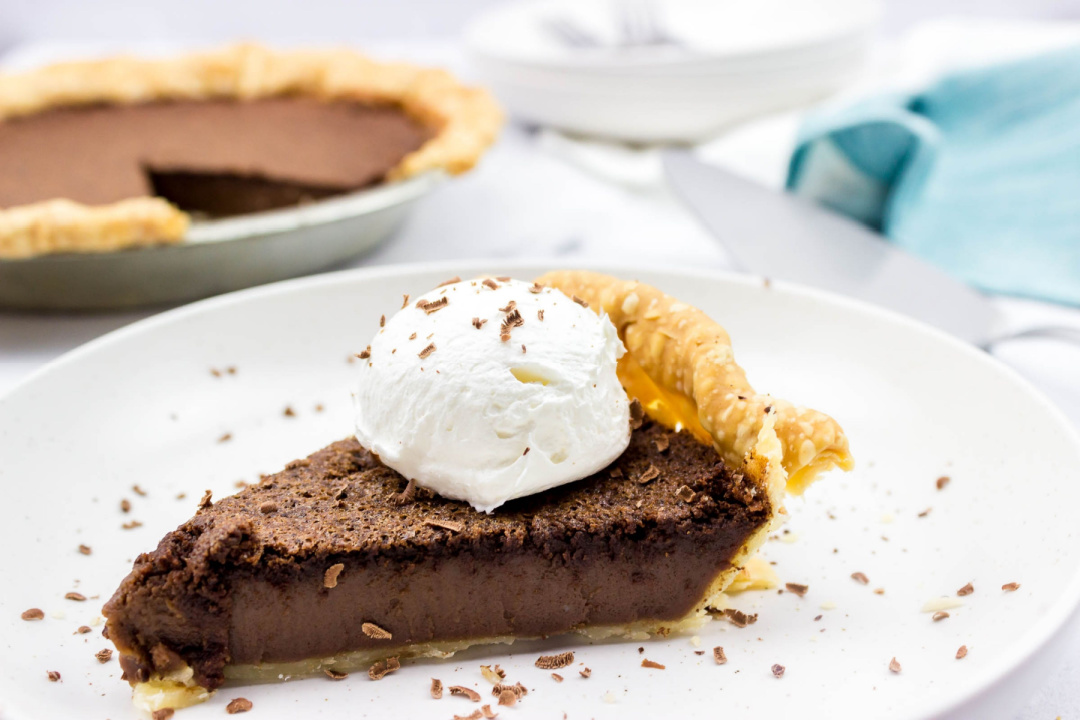
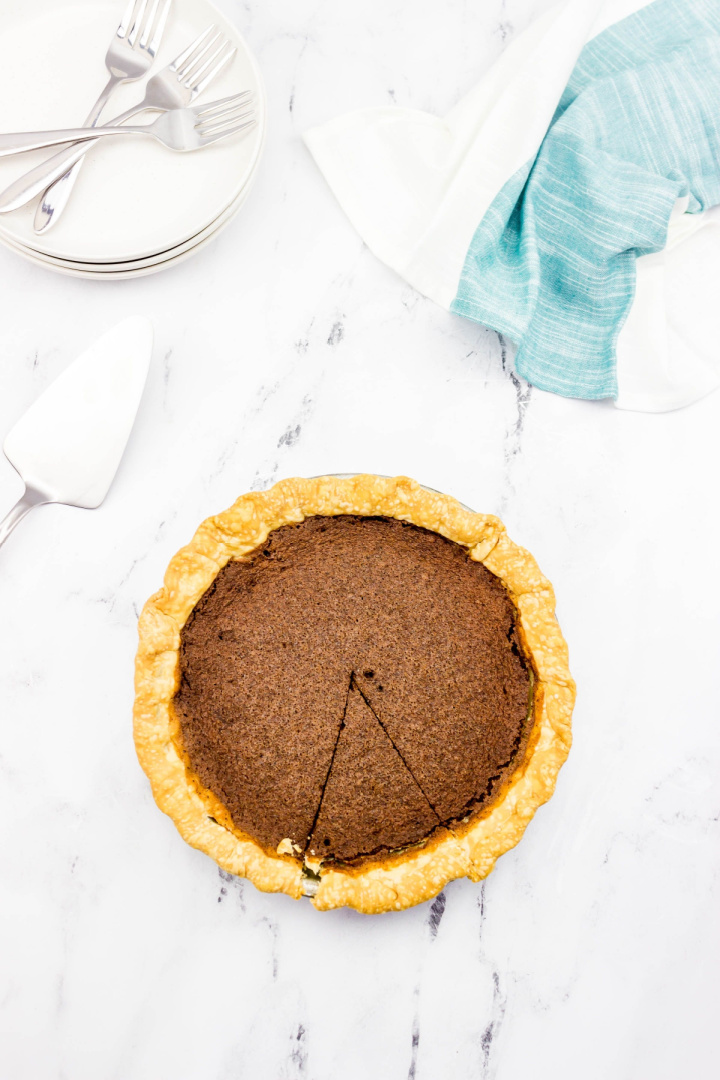
A Chocolate Chess Pie is a custard-like pie made with a rich and chocolatey filling that is baked in a pie crust.
The filling usually consists of butter, sugar, eggs, cocoa powder, and evaporated milk.
What makes its texture distinct is that it is thick and gooey but not chewy, located somewhere between a cake and a brownie in texture.
When to Serve Chocolate Chess Pie
Any occasion or time is the right time for Chocolate Chess pie!
It’s a dessert that can be served year-round, whether it’s a simple weekend family dinner, a party, or a special family event.
It’s perfect for all seasons—summer, fall, winter, and spring.
This dessert is excellent for a holiday meal, birthday parties, and any other significant event. It’s versatile and goes well with various meals.
What to Serve with Chocolate Chess Pie
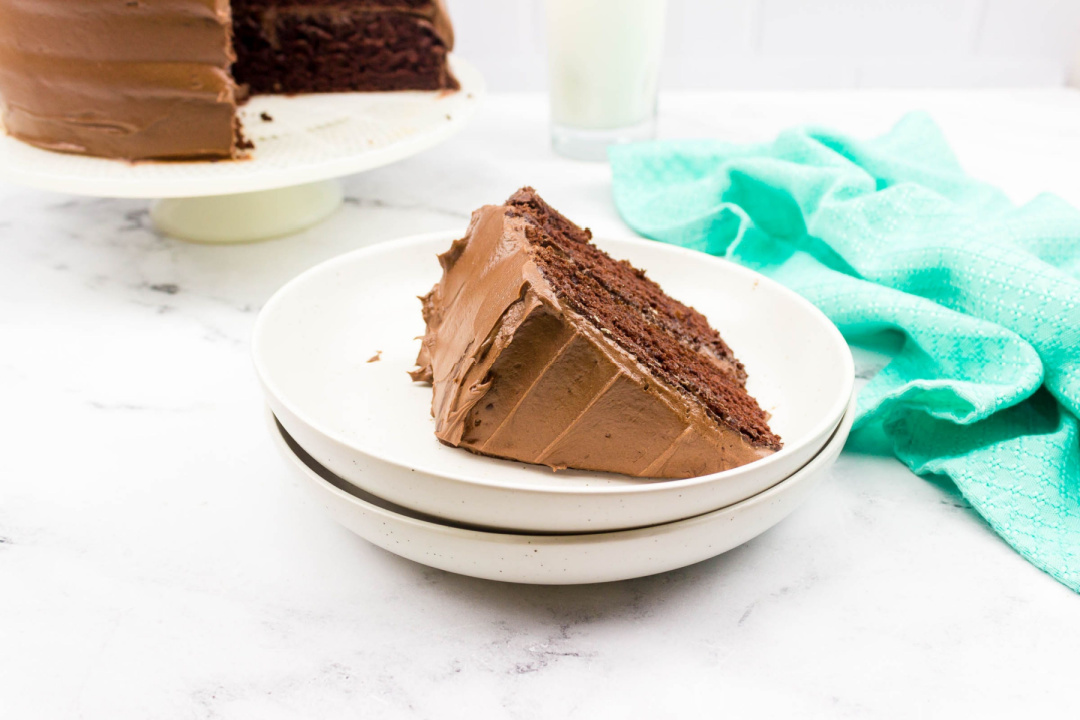
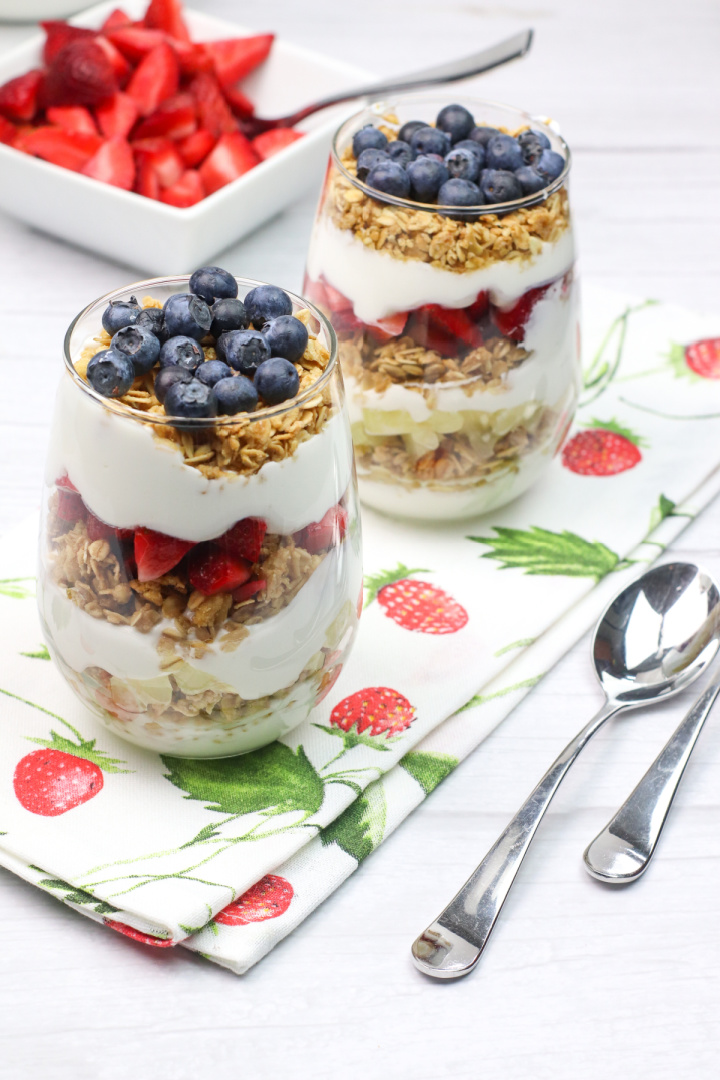
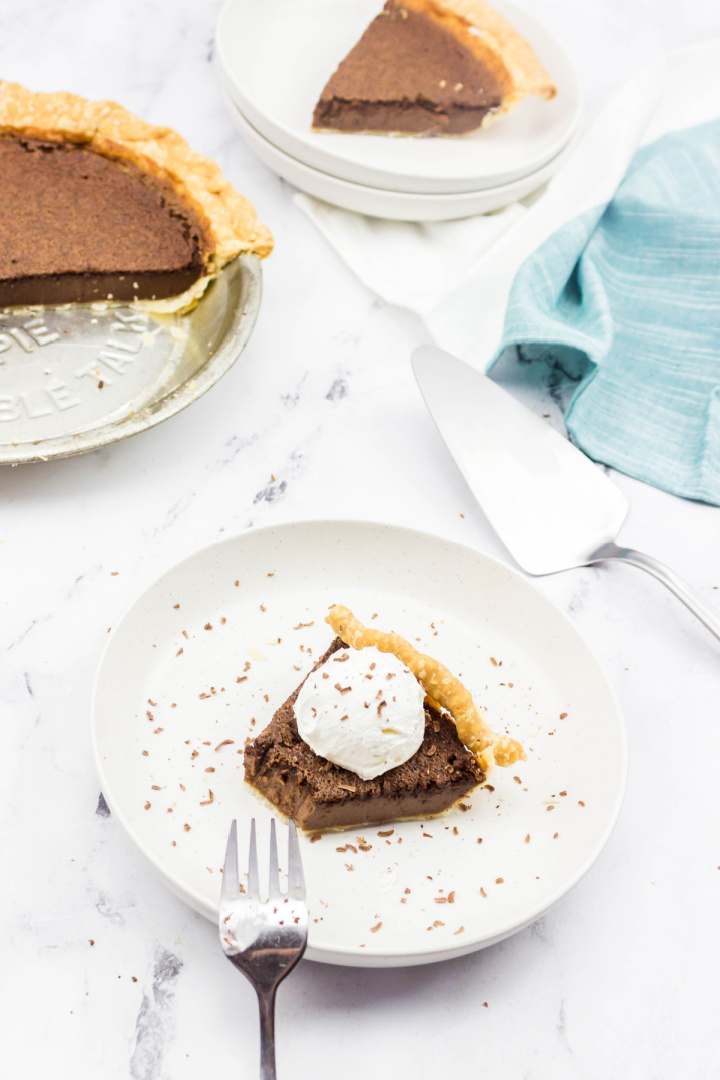
Traditionally, Chocolate Chess Pies are served with whipped cream, but you can add further toppings if you like.
You could add a scoop of vanilla ice cream, fresh strawberries, raspberries, or even a drizzle of caramel or chocolate sauce to further enhance the flavors.
It’s all based on personal preference.
In conclusion, Chocolate Chess Pie is a versatile and delicious dessert that you need to try! Its rich and decadent filling and unique texture is sure to leave you satisfied.
It’s a dessert that can be easily made, and there’s always something you can add or place on top to suit everyone’s taste buds.
So, what are you waiting for?
Grab a pie crust, some ingredients, heat that oven and make a Chocolate Chess Pie today!
Chocolate Chess Pie
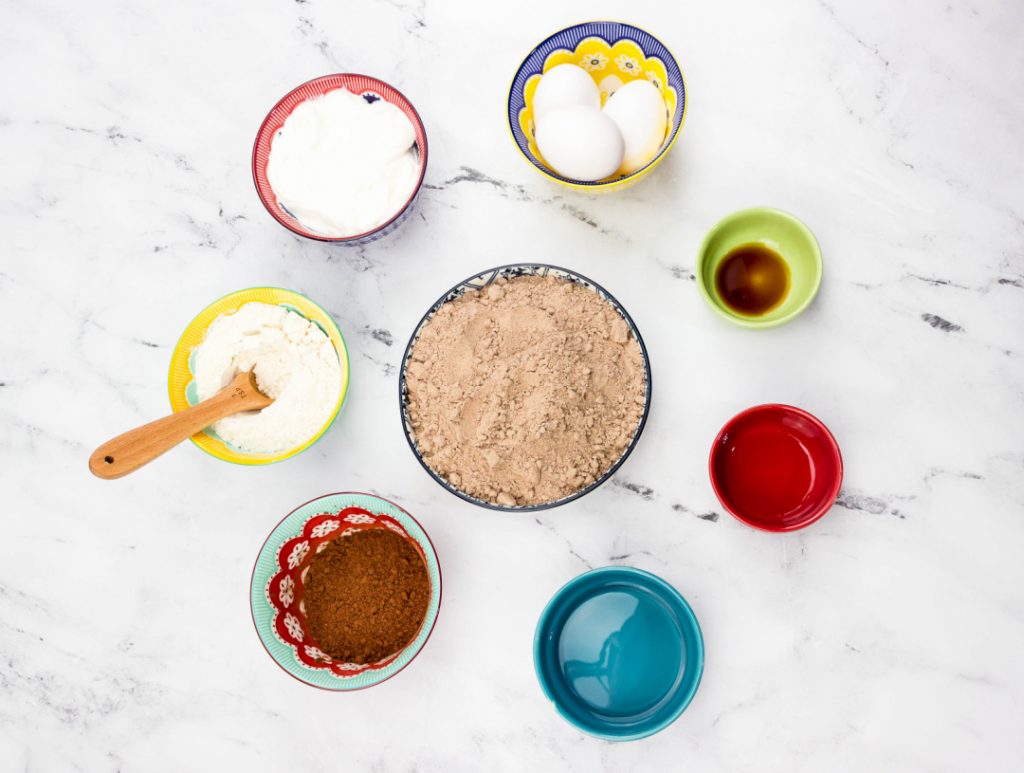
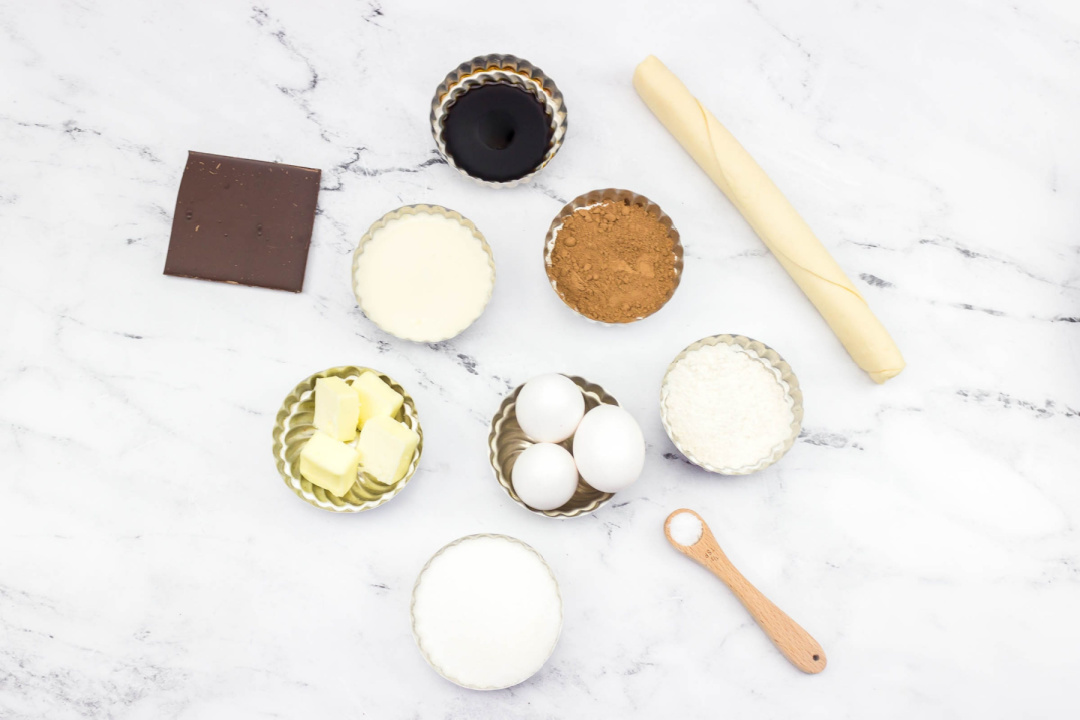
Ingredients:
- store-bought pie crust (1)
- ¼ cup natural cocoa powder
- ¾ cup white granulated sugar
- ¼ all–purpose flour
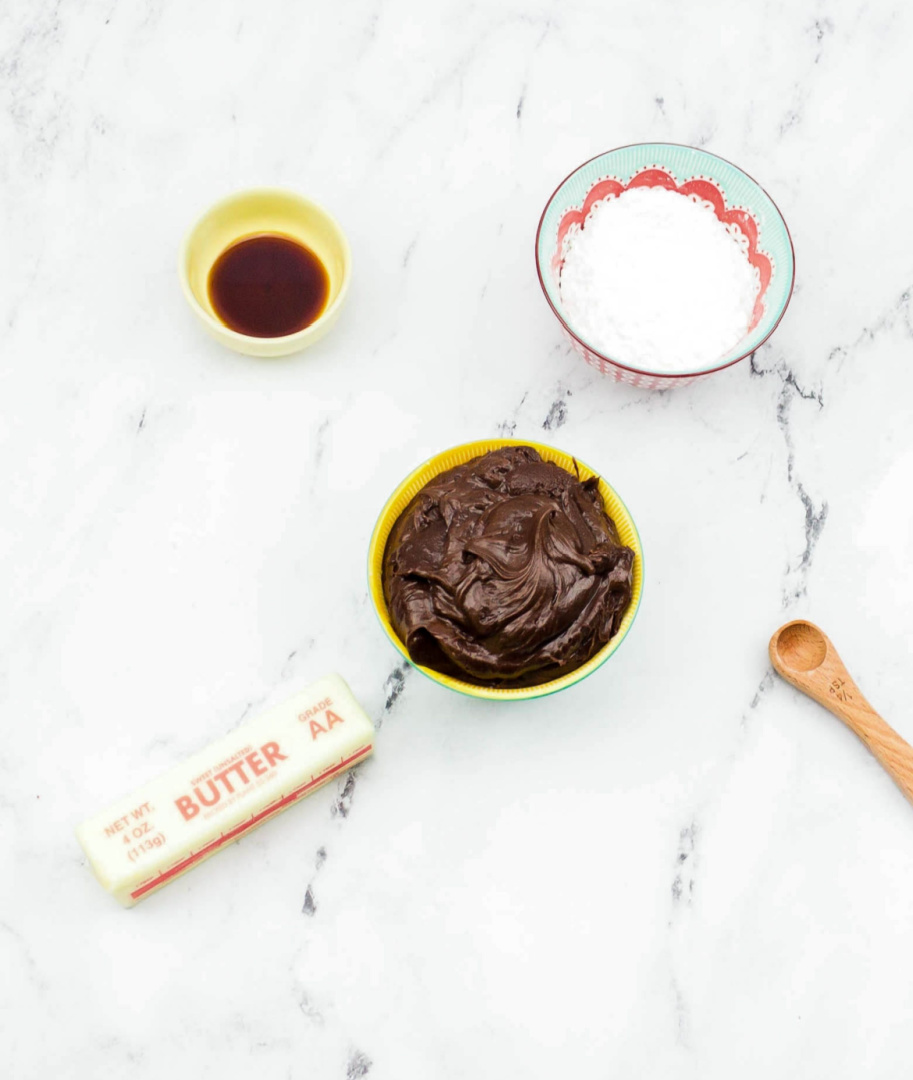
- 4 tablespoons unsalted butter, melted
- 1 teaspoon pure vanilla extract
- 3 large eggs (slightly beaten – do not overbeat)
- 1 (5 oz.) can evaporated milk
- 1/8 teaspoon kosher salt
- chocolate bar to shave grated chocolate on top (optional)
- whipped cream or vanilla ice cream for garnish (optional)
Directions:
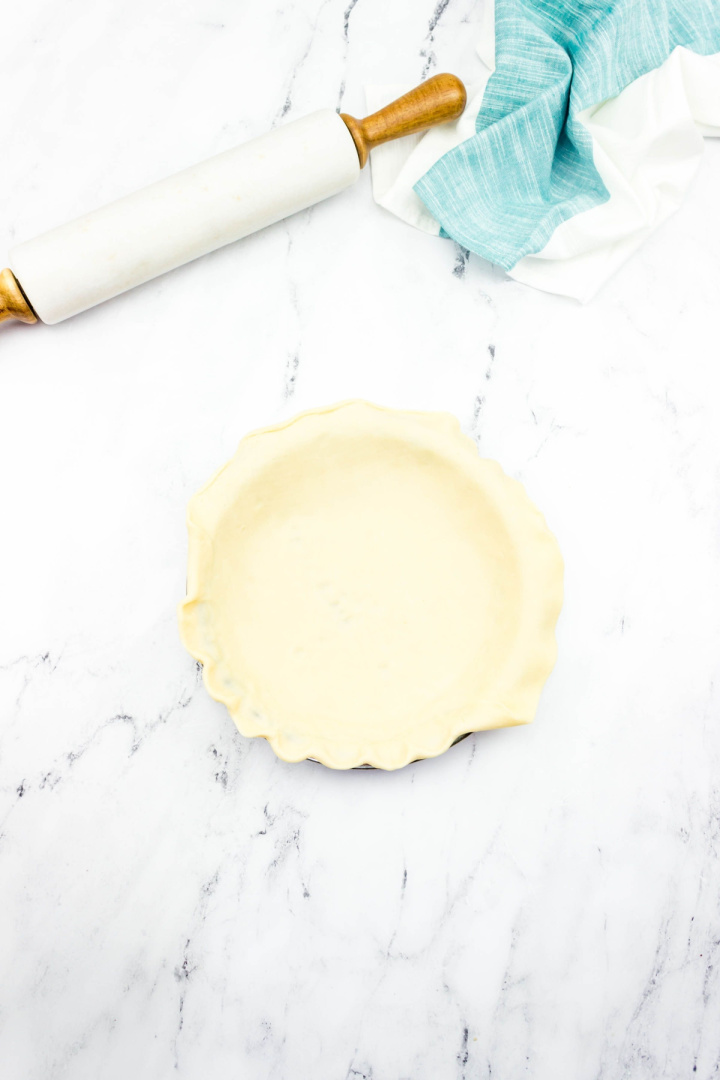
Prepare your pie crust. If you are going to par bake the crust, go ahead and do that now and then set aside.
If you pre-baked your pie crust, once that’s done, lower the oven temp to 325 degrees. If you didn’t, preheat the oven to 325 degrees.
Place the butter in a microwave safe bowl and melt it and set it aside.
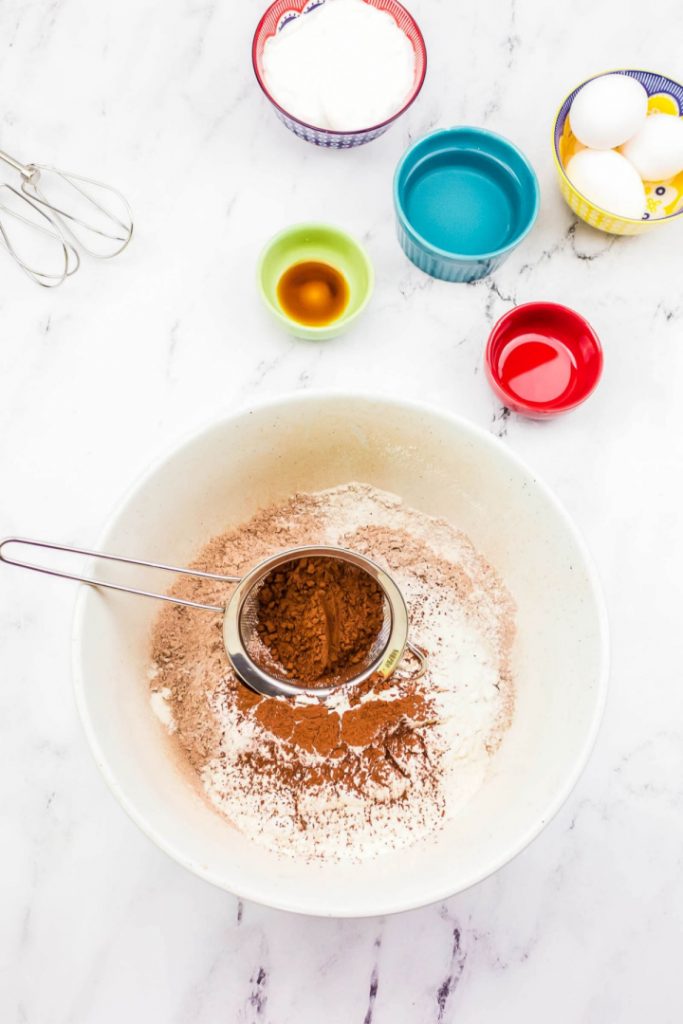
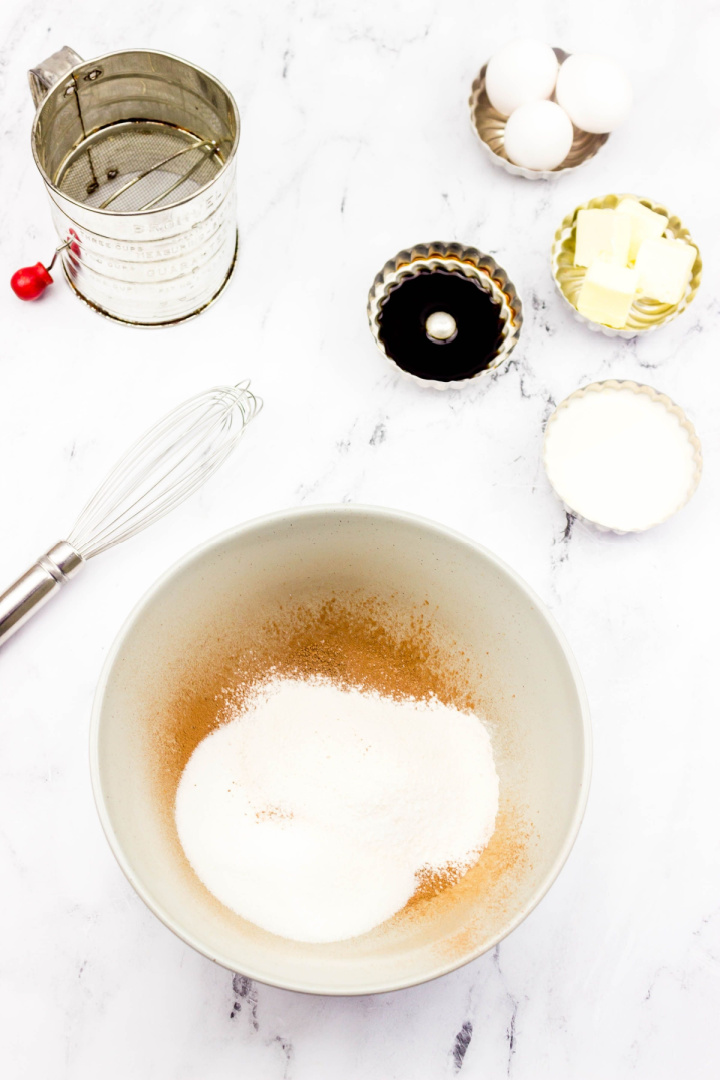
In a medium-sized bowl, whisk together the sifted cocoa powder, white sugar, and flour.
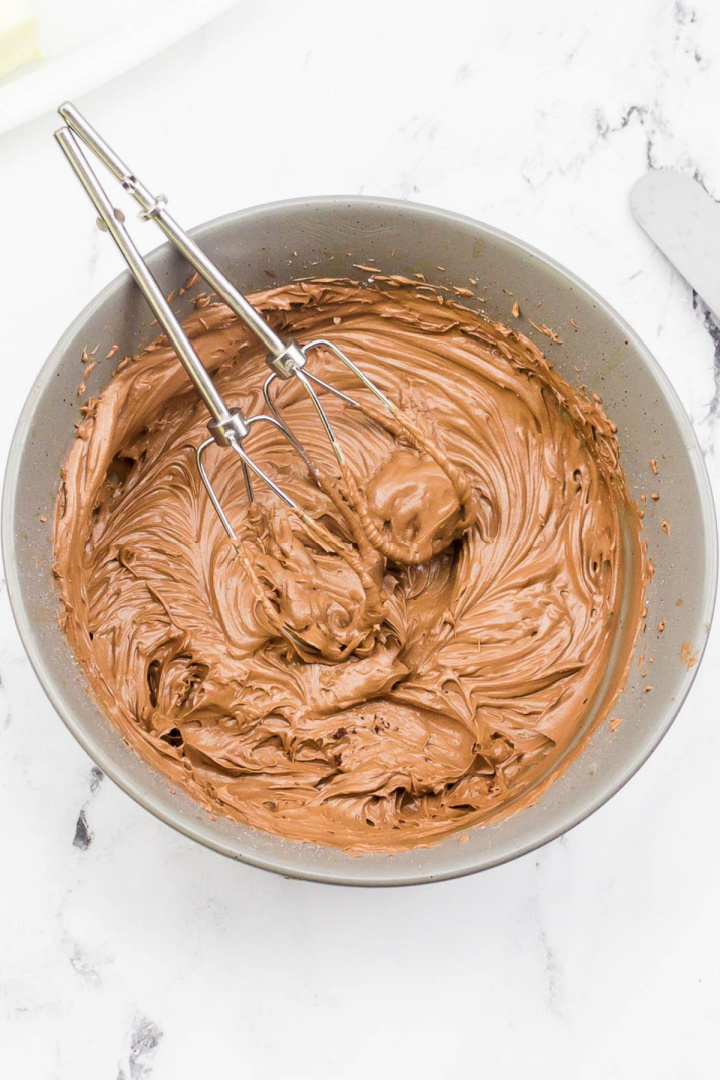
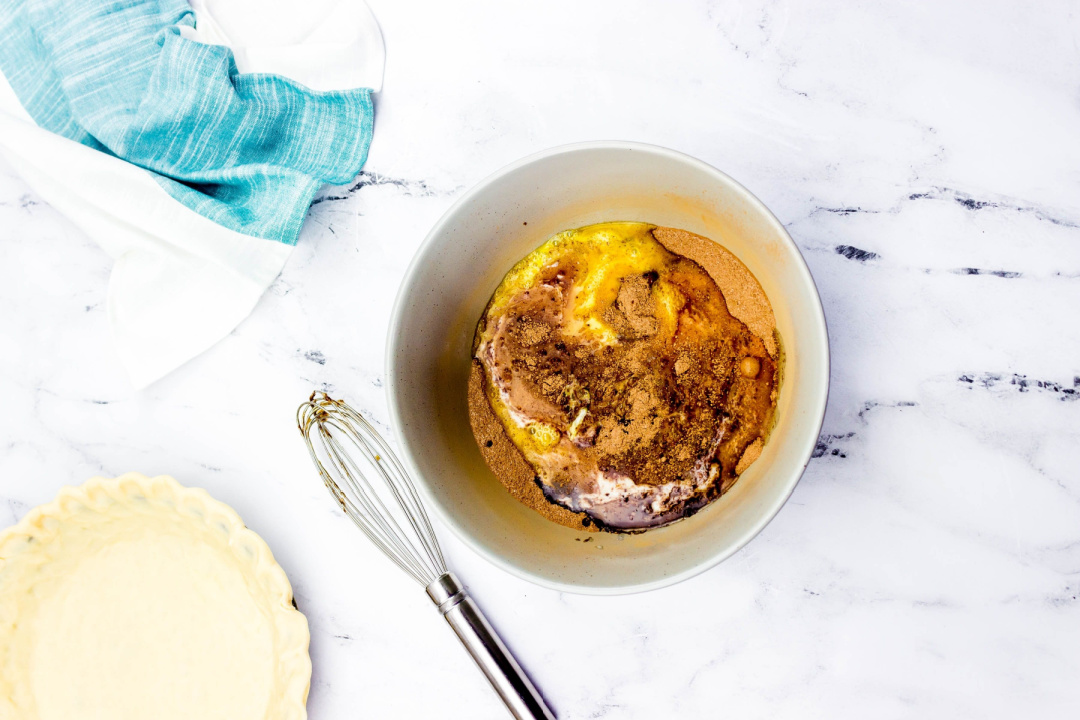
Next, add in the egg, the unsalted butter, evaporated milk, and vanilla and stir together until all of the ingredients are thoroughly incorporated.
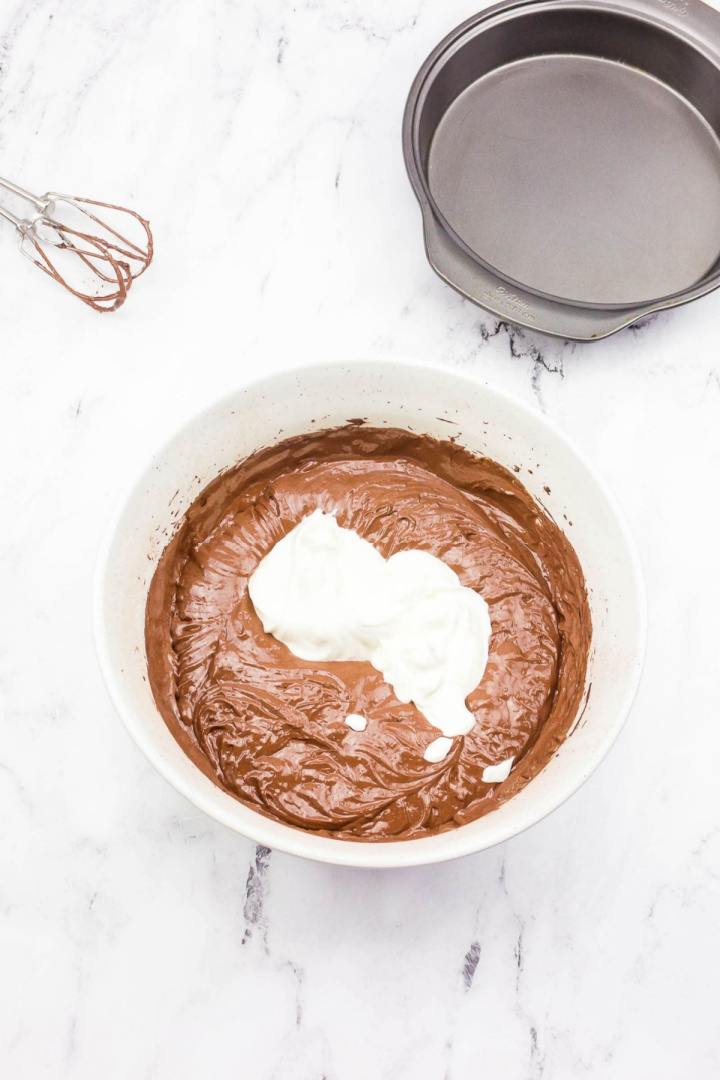
Pour the chocolate mixture into the pie crust. Only fill the crust about 2/3rds full. Be careful not to overfill.
Bake for 50 minutes, then with a cake tester or toothpick, check to see if the pie is set in the middle. If the tester comes out clean and the pie is not jiggly in the middle, it is done. If there is still a lot of the mixture on the tester and there is still a lot of jiggle to the pie, continue baking at 10 minute increments until it’s done.
Once the pie is done, turn off the oven, and let the pie remain in the oven to cool down. By doing this you are allowing the pie to cool down at the same time the oven is. You can pull it out of the oven to let it cool, but the top of the pie may crack.
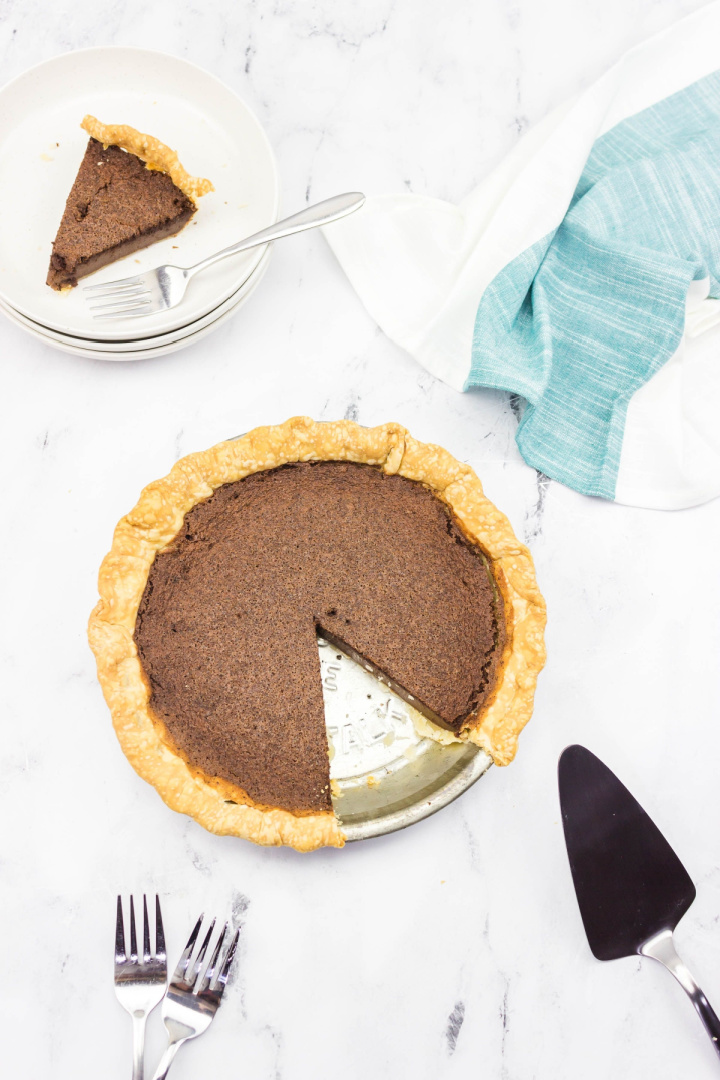
Once it’s cooled, slice, serve and top with vanilla ice cream and grate chocolate on top.
Recipe Tips:
I used store-bought pie crust for this recipe. You can use your favorite homemade recipe too, it’s totally up to you.
I did not par bake the crust. If you choose to do that, there are specific instructions on the pie crust package on how to do that.
This type of pie is kind of a cross between a brownie and a custard. The top has a brownie texture, and the inside is smooth and almost has a custard-like texture.
Once the pie has fully cooked, turn off the oven and let the pie cool down inside the oven, as the oven cools down with the door cracked open. That way the pie isn’t exposed to the sudden cool down of your kitchen. That will help the top of the pie not crack.
Do NOT use Dutch processed cocoa powder for this recipe. Dutched cocoa powder is cocoa that has been treated with a form of an alkaline agent so it’s not so bitter. Regular natural cocoa hasn’t been treated this way so it will have a more bitter taste to it. Since you are adding sugar to this recipe, you will need the bitterness from the regular cocoa powder, so the pie isn’t too sweet.
A word of caution. Be very careful with the evaporated milk. You only need to use 5 oz. Most cans are 12 oz. If you use the whole can, you will use way too much, and your pie may not set up.
When measuring out your flour, make sure to use the scoop with a spoon and level with a knife method. If you just scoop out the flour with your measuring cup, your measurement will not be correct.
Since you will be adding salt to this recipe, you will need to use unsalted butter. Do not use salted butter when making this recipe.
Make sure to use either kosher or sea salt. Do not use regular table salt. Table salt is strictly for seasoning food at the table after it has already been properly seasoned during the baking/cooking process.
Metal pans normally work the best for pie crusts.
Sift the cocoa powder and flour. That way you break down any large clumps and it helps aerate the dry ingredients.
If you notice that the edges of the pie crust are starting to get too brown, cover them with foil or with a pie crust protector so that the pie can continue to bake with the crust getting burnt.