Easy Lemon Drizzle Loaf Cake Recipe: A Southern Favorite for Any Occasion
If there’s one thing that never fails to please around here, it’s a simple lemon loaf cake.
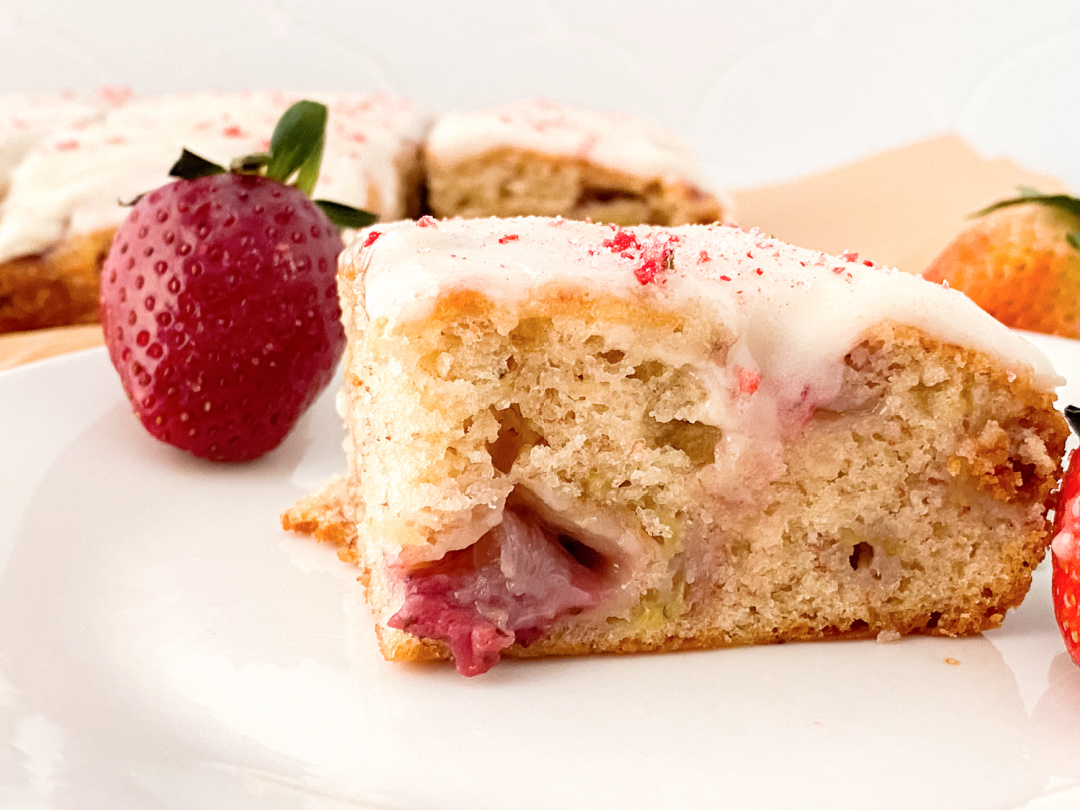
There’s something about the bright citrus flavor mixed with a soft, moist texture that makes this one a crowd favorite.
Whether you’re looking for a quick dessert for Sunday supper or need something easy to bring to a potluck, this lemon loaf cake fits the bill.
You may also like:
- Lemon Blueberry Bundt Cake
- Frozen Lemonade Pie
- Slow Cooker Blueberry Lemon Dump Cake
- Strawberry Lemon Parfait
- Homemade Lemonade
- Strawberry Lemonade
Who Is This Lemon Loaf Cake For?
This easy lemon drizzle loaf cake recipe is for anyone who wants to whip up something sweet without spending hours in the kitchen.
Whether you’re a beginner baker or just need something fast and foolproof, this recipe delivers.
It’s perfect for busy folks who still want to bring a homemade touch to the table.
What Makes This Lemon Loaf Stand Out?
We’re not trying to reinvent the wheel here—just take something classic and make it as easy as it should be.
Using a boxed lemon loaf cake mix with a little fresh lemon juice gives you the flavor of something made from scratch, but with the convenience of a shortcut.
That tangy drizzle on top? It pulls the whole thing together without making things complicated.
When to Make This Lemon Drizzle Loaf Cake
This lemon loaf is a year-round kind of dessert, but it really shines in the spring and summer when lighter, citrusy treats feel just right.
That said, I’ve served it in the cooler months alongside a hot cup of coffee and had no complaints.
It also makes a great addition to holiday brunch spreads, church gatherings, baby showers, or just a lazy Saturday afternoon.
Where Does It Belong on the Table?
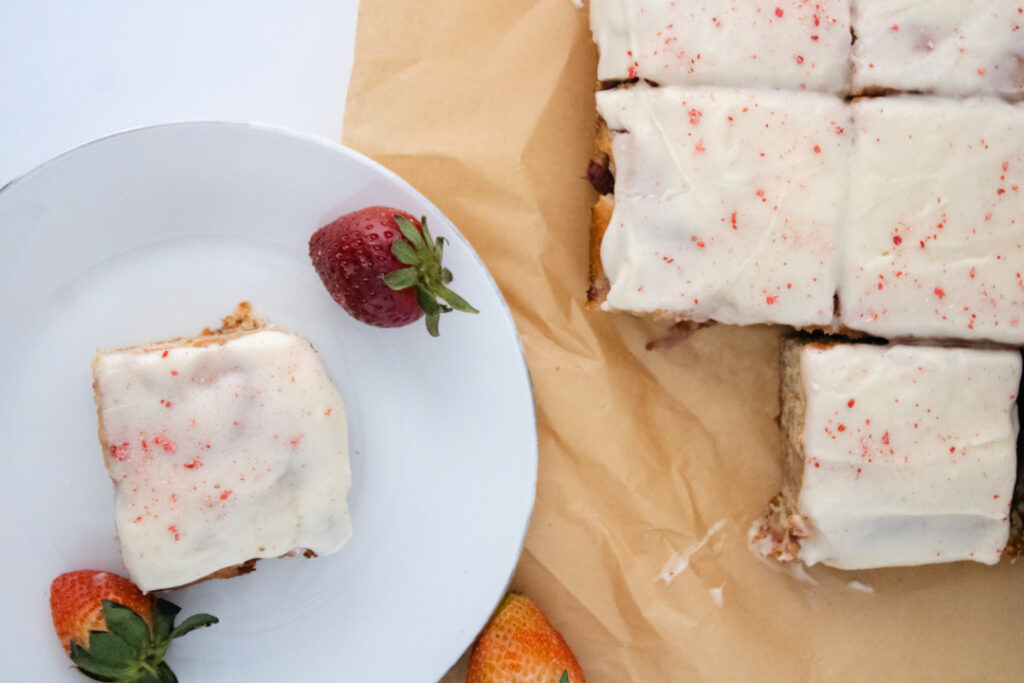
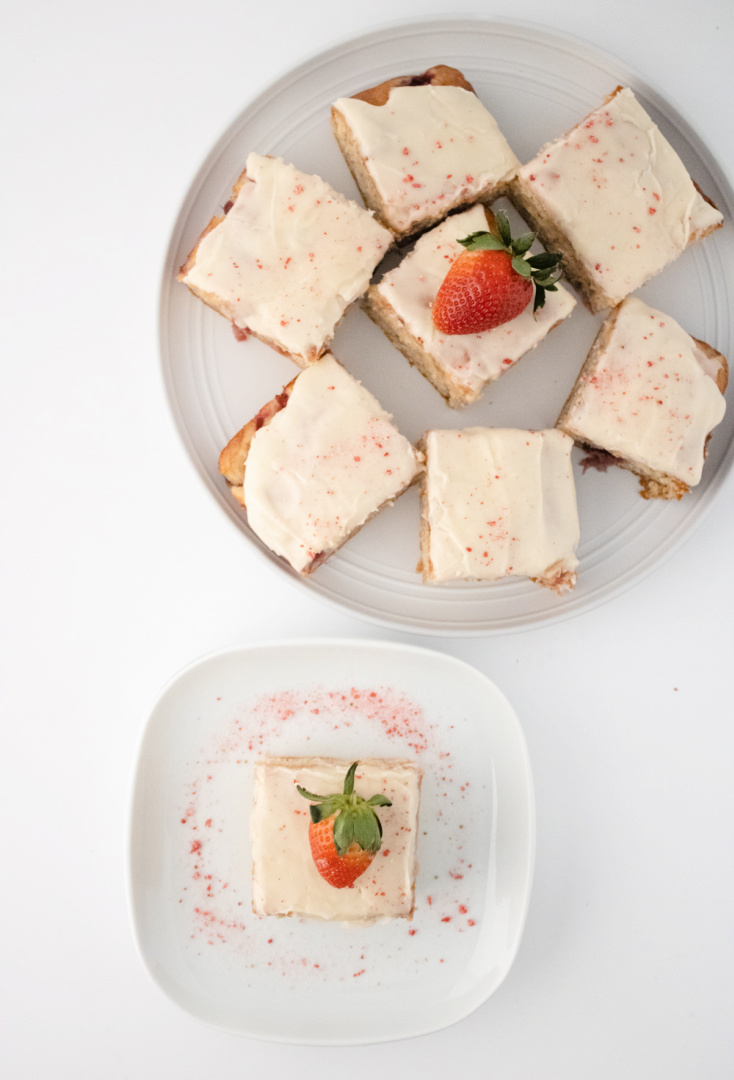
You can serve this lemon loaf cake just about anywhere. Slice it up for a quick dessert after dinner or cut it into small squares for a casual finger food-style treat at a get-together.
It also makes a great addition to a breakfast or brunch buffet—pair it with fresh berries and a dollop of whipped cream if you’re feeling a little fancy.
Why You’ll Keep Coming Back to This Recipe
The biggest reason to keep this one in your back pocket is how quick and dependable it is.
There’s no guesswork, no special equipment beyond a loaf pan, and no long list of ingredients.
It’s one of those recipes that looks like you went the extra mile—even when you didn’t.
That drizzle adds just enough of a finishing touch to make it feel homemade without extra effort.
How to Serve It Up
- Classic Style: Just slice and serve. It’s soft, moist, and full of lemon flavor all on its own.
- With Fruit: Add fresh blueberries or strawberries on the side for a pop of color and sweetness.
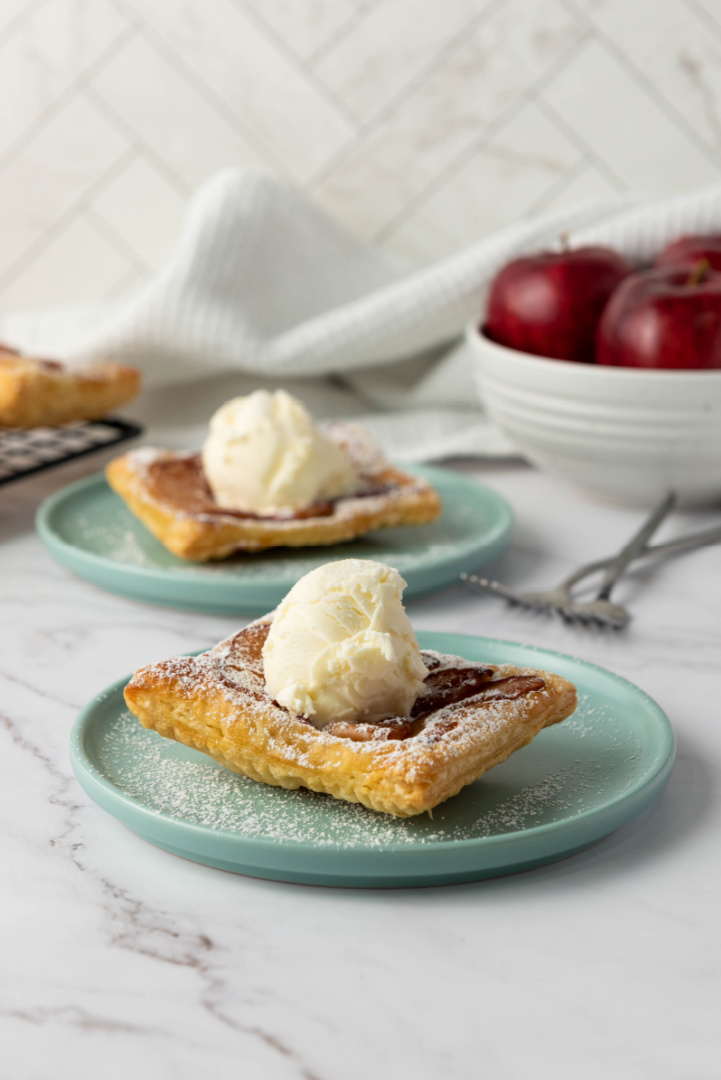
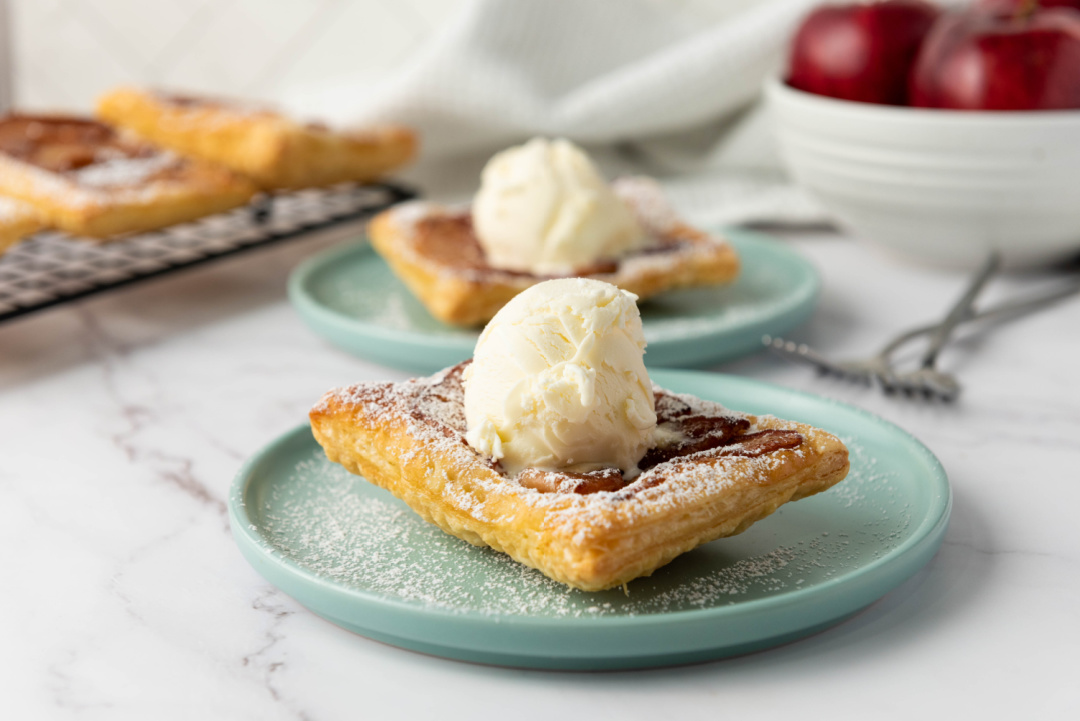
- With Ice Cream: A scoop of vanilla or lemon sorbet on the side turns it into a simple dessert for dinner guests.
- For Gifting: Wrap it up in parchment and twine for a thoughtful homemade treat for neighbors, teachers, or friends.
If you’re searching for an easy lemon loaf cake recipe with cake mix, this one checks all the boxes.
It’s fast, foolproof, and full of bright flavor. Whether you’re hosting company or just need something to satisfy a sweet tooth, this lemon drizzle loaf cake is always a good idea.
Don’t forget to bookmark this one—you’ll be coming back to it more than you think.
Lemon Drizzle Loaf Cake
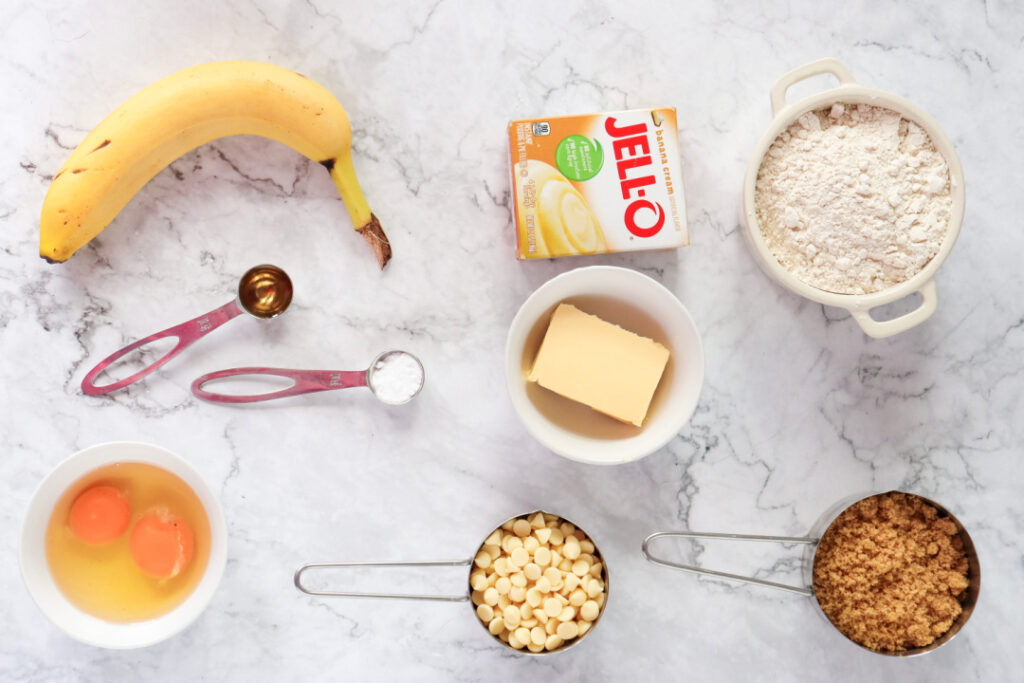
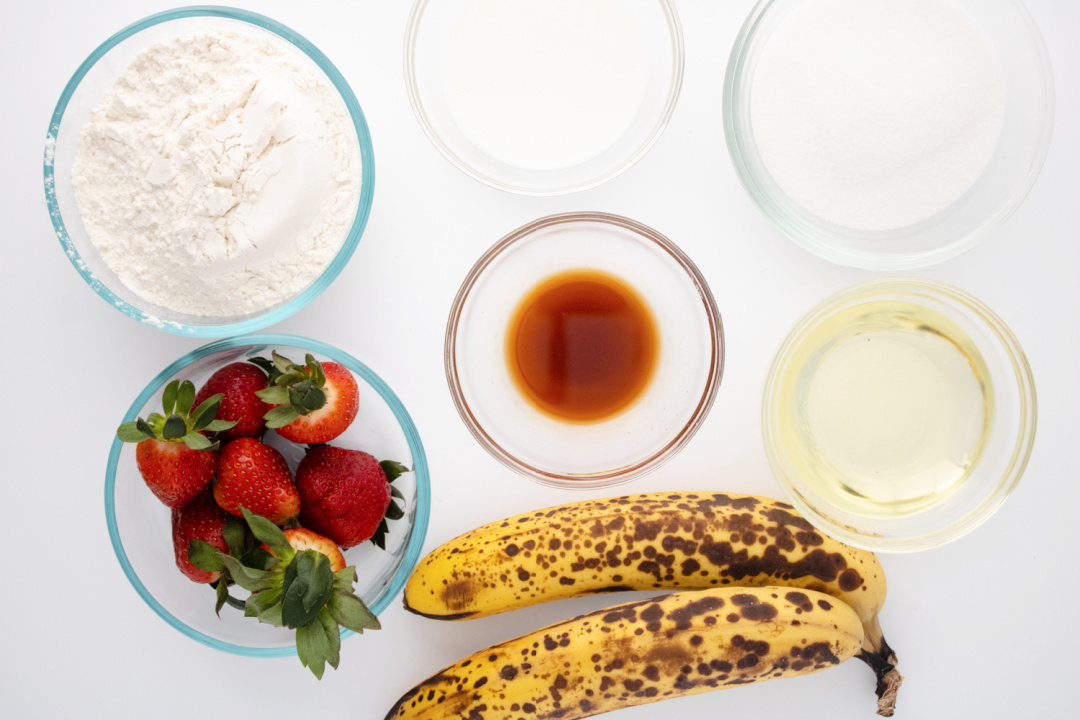
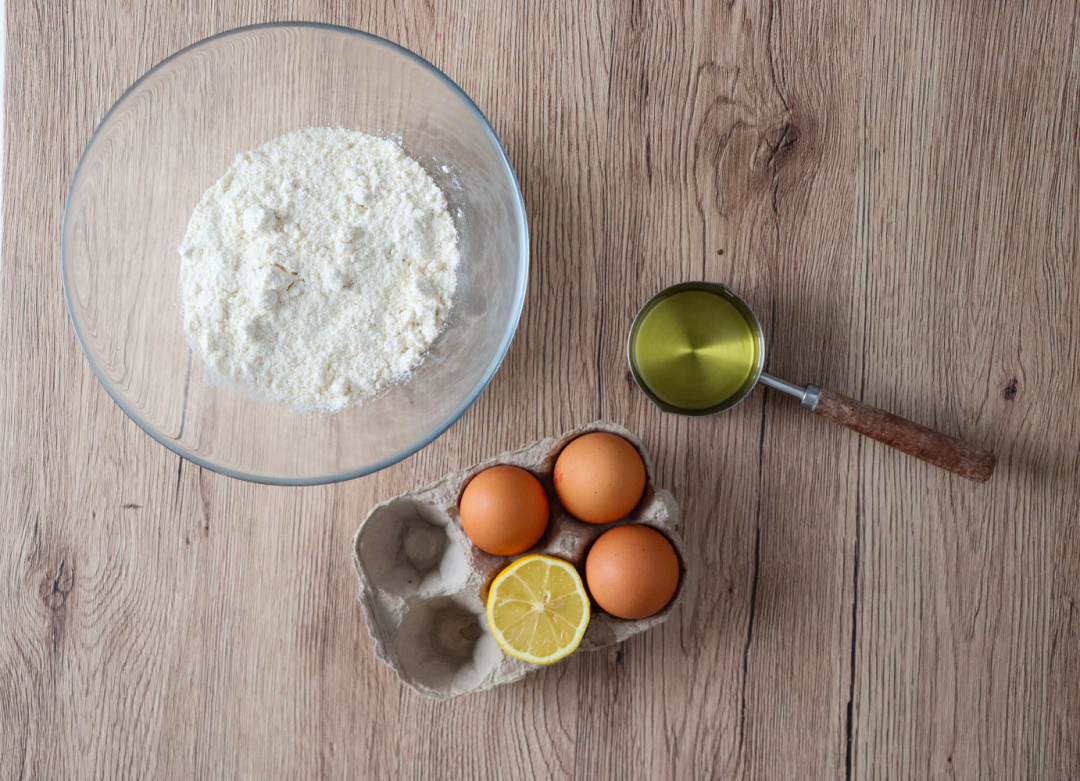
Ingredients:
- 1 box of lemon cake mix (I recommend Betty Crocker)
- 3 eggs
- 1/3 cup vegetable oil
- 1 cup water
For the lemon drizzle:
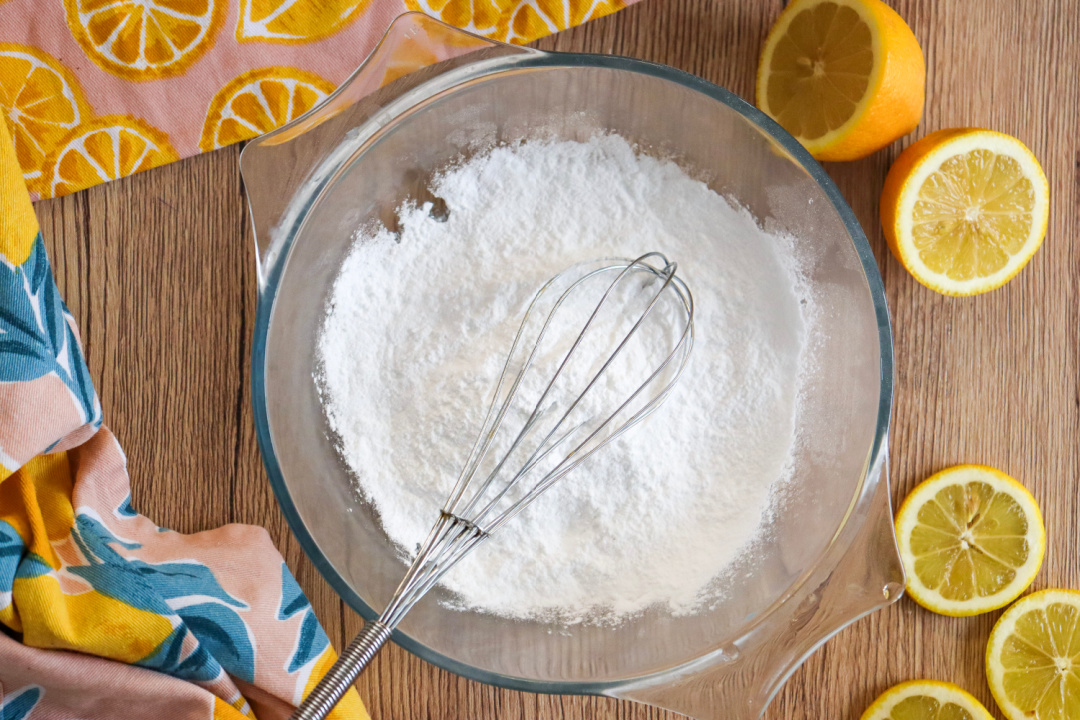
- 1 cup of powdered sugar
- 1–2 tbsp. fresh lemon juice
- Pinch of salt
Equipment: loaf pan
Directions:
Preheat your oven to the temperature specified on the lemon cake mix box.
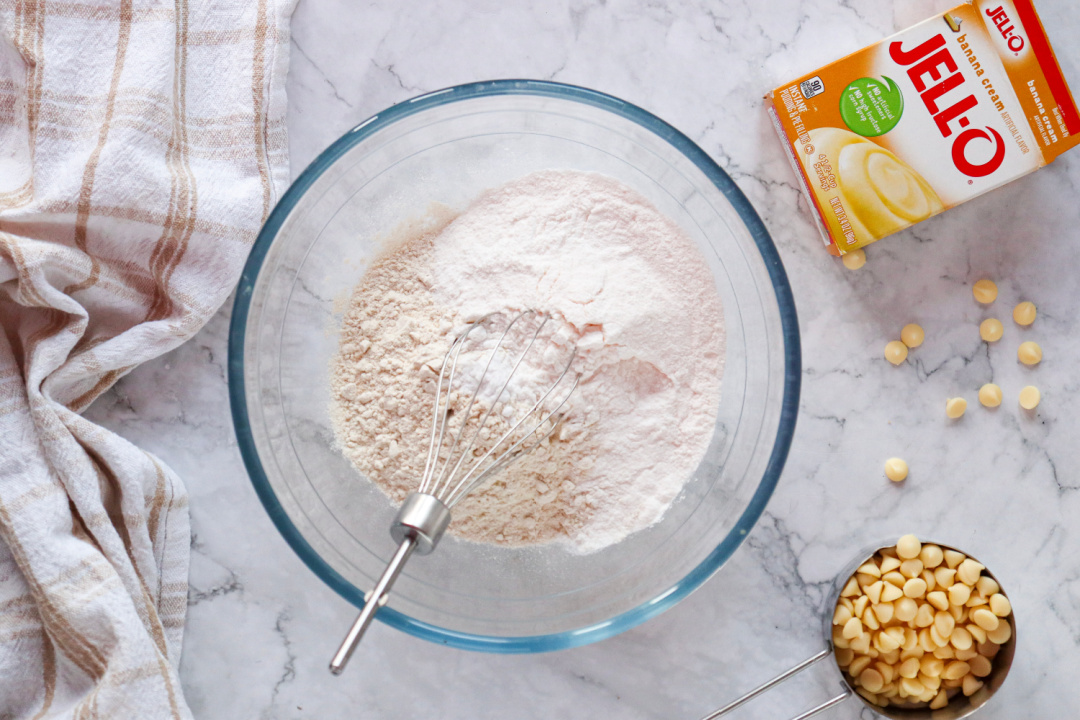
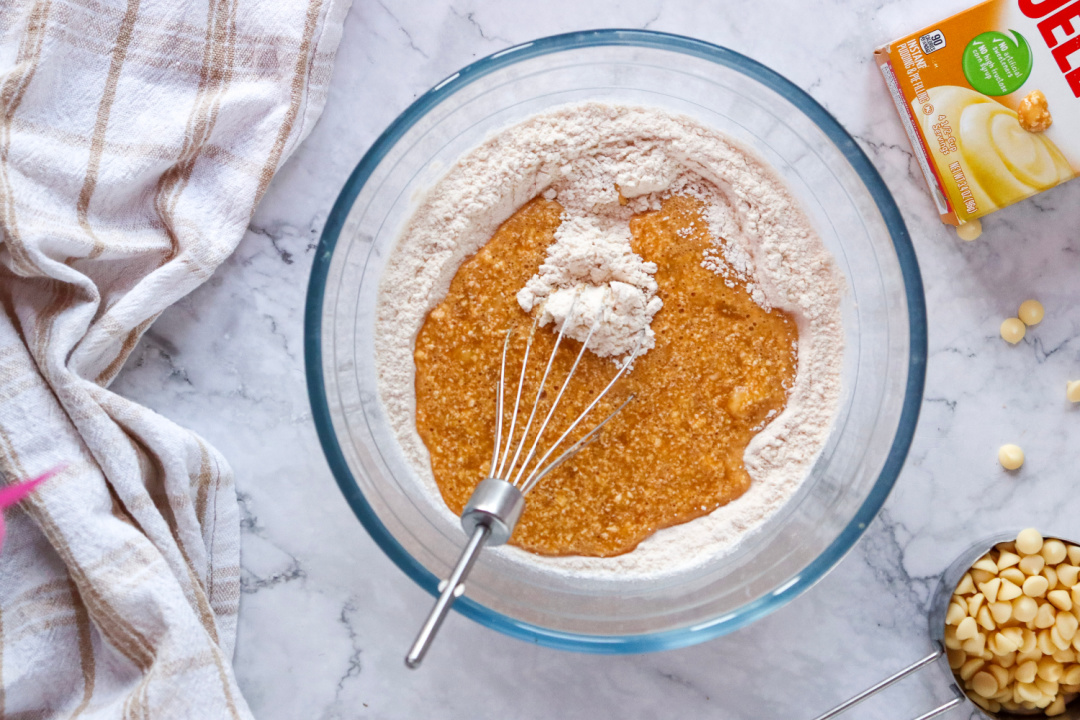
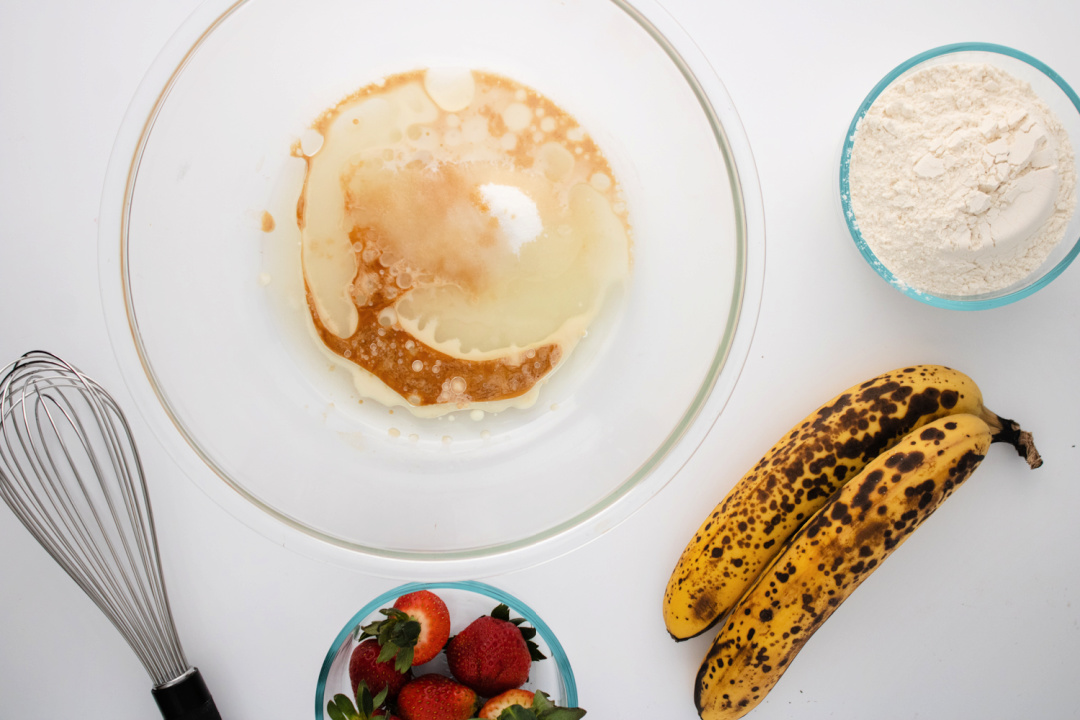
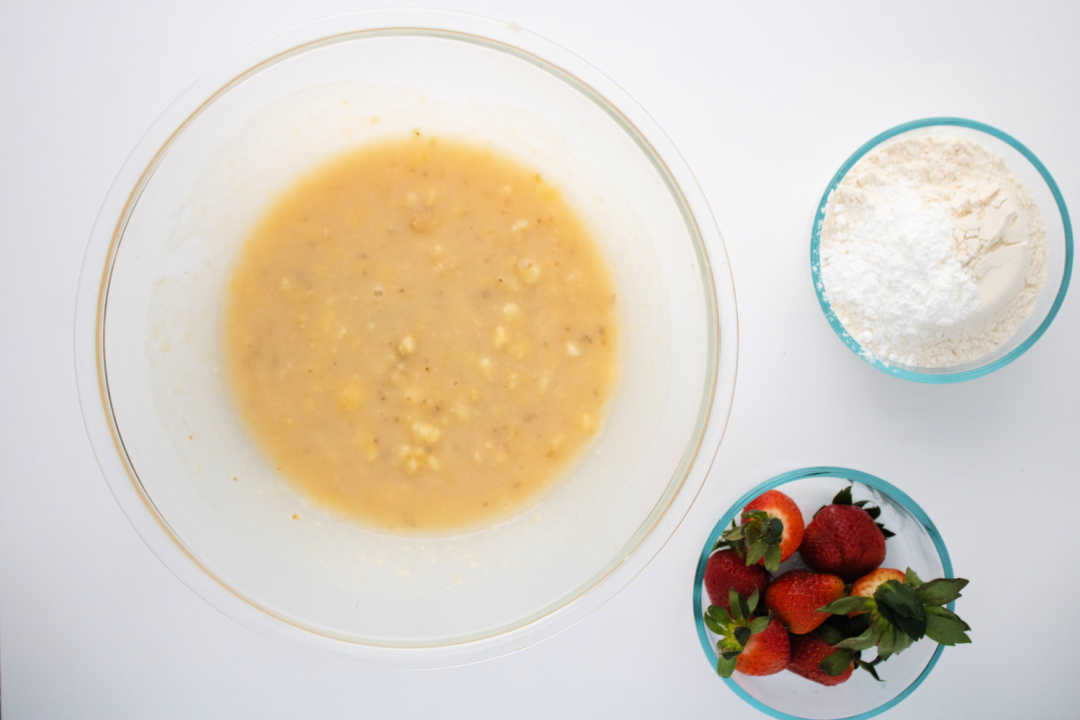
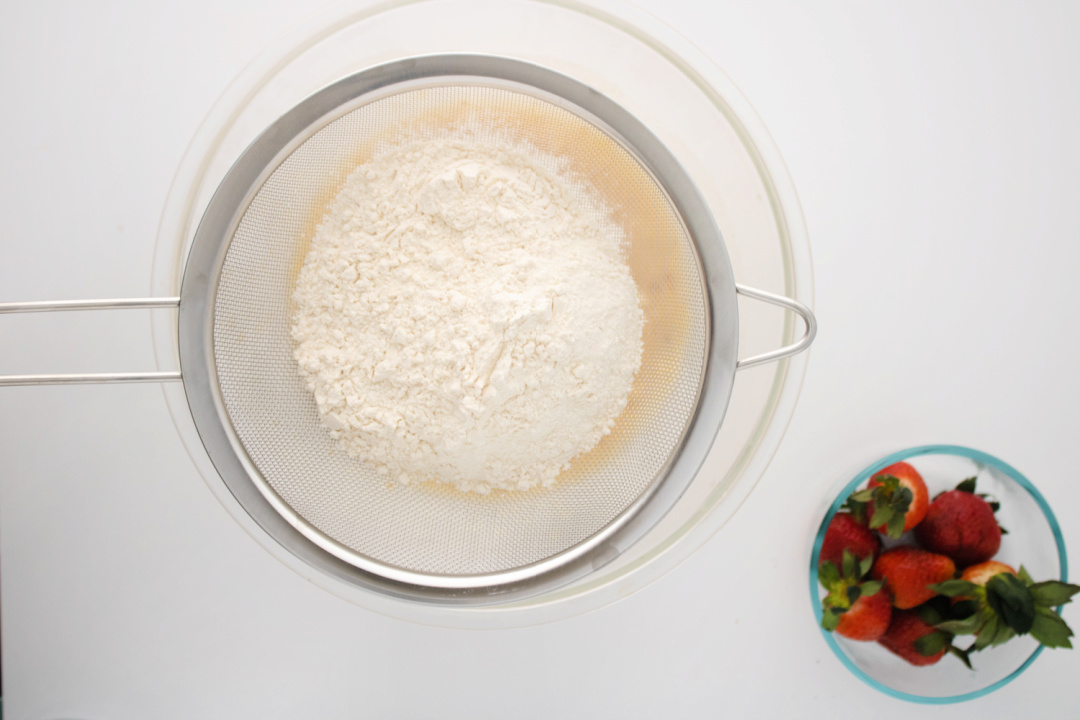
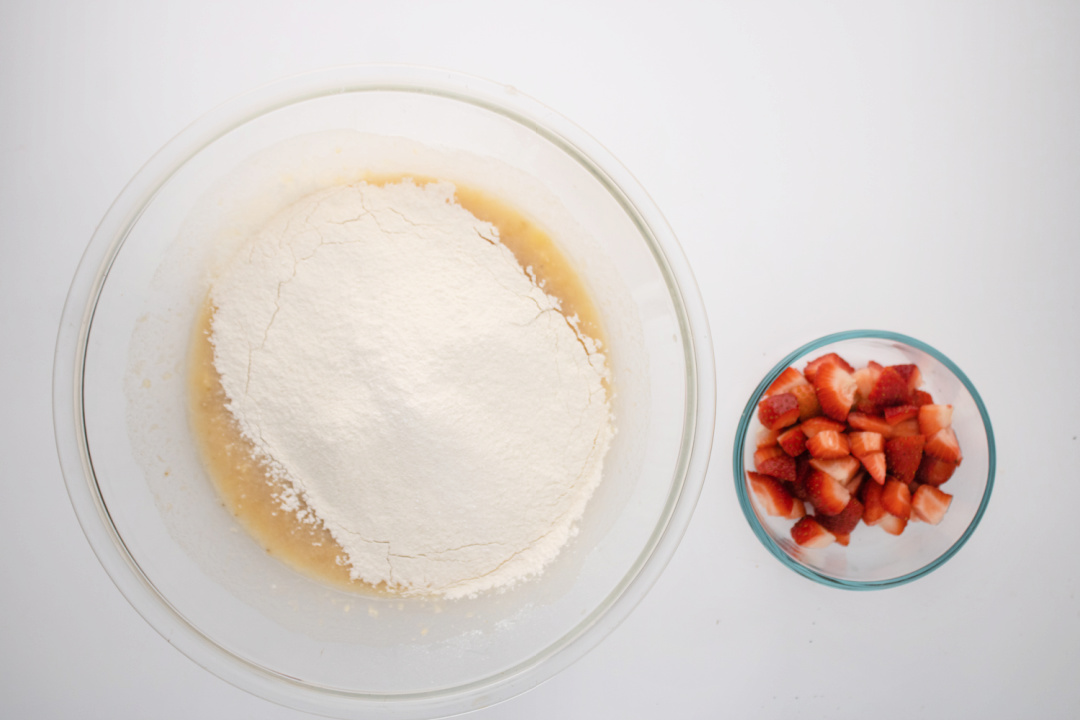
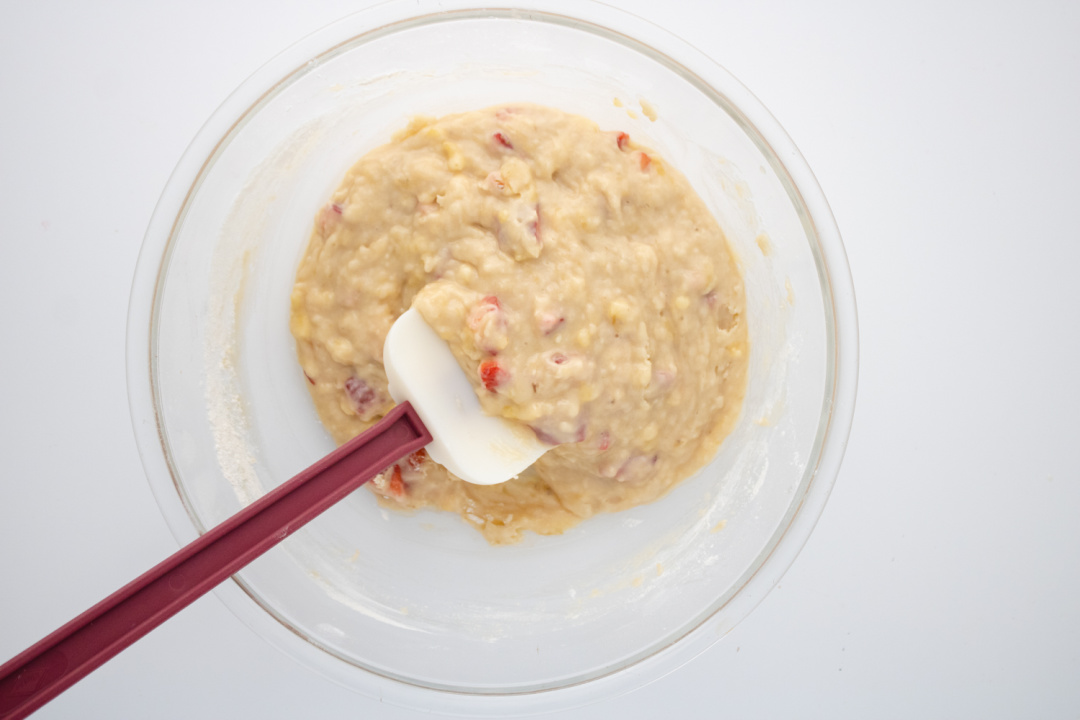
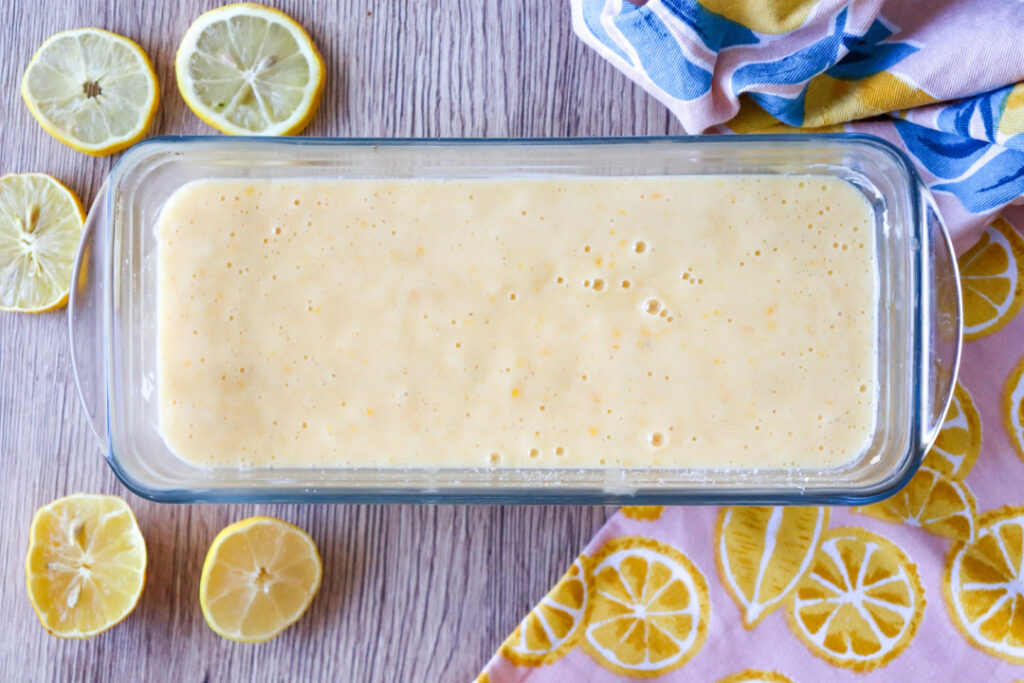
Grease and flour a loaf pan, ensuring all sides are well coated. In a large mixing bowl, combine the lemon cake mix, eggs, vegetable oil, and water.
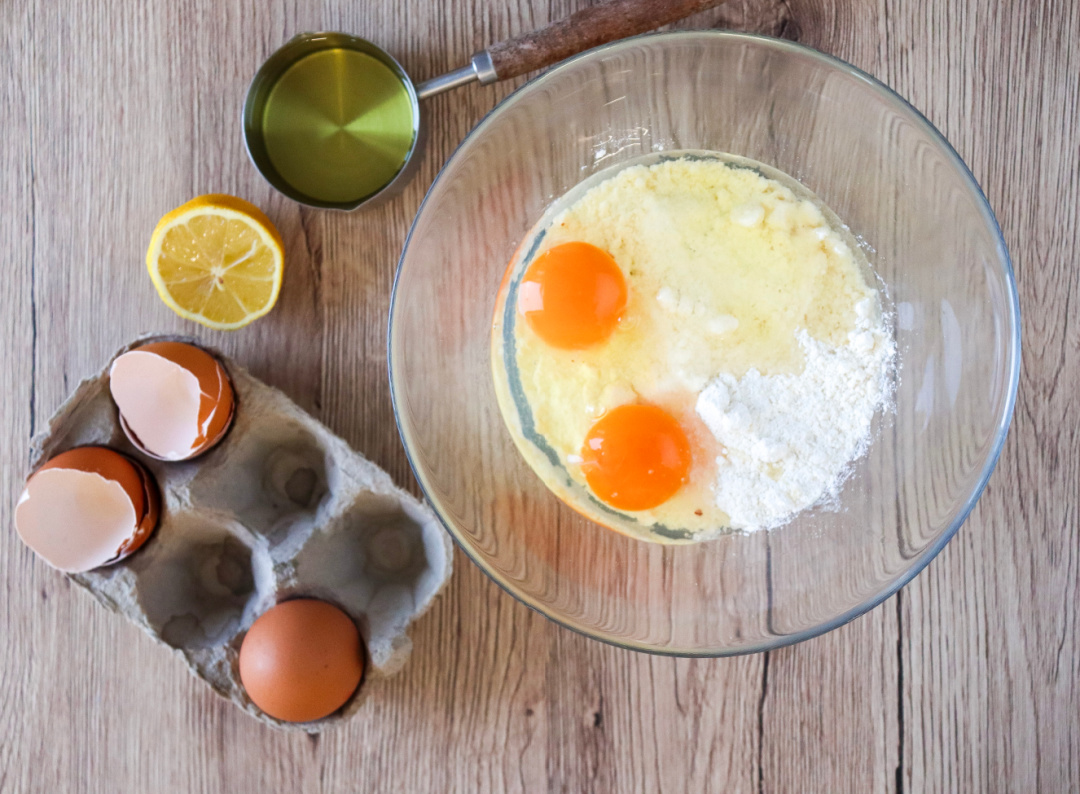

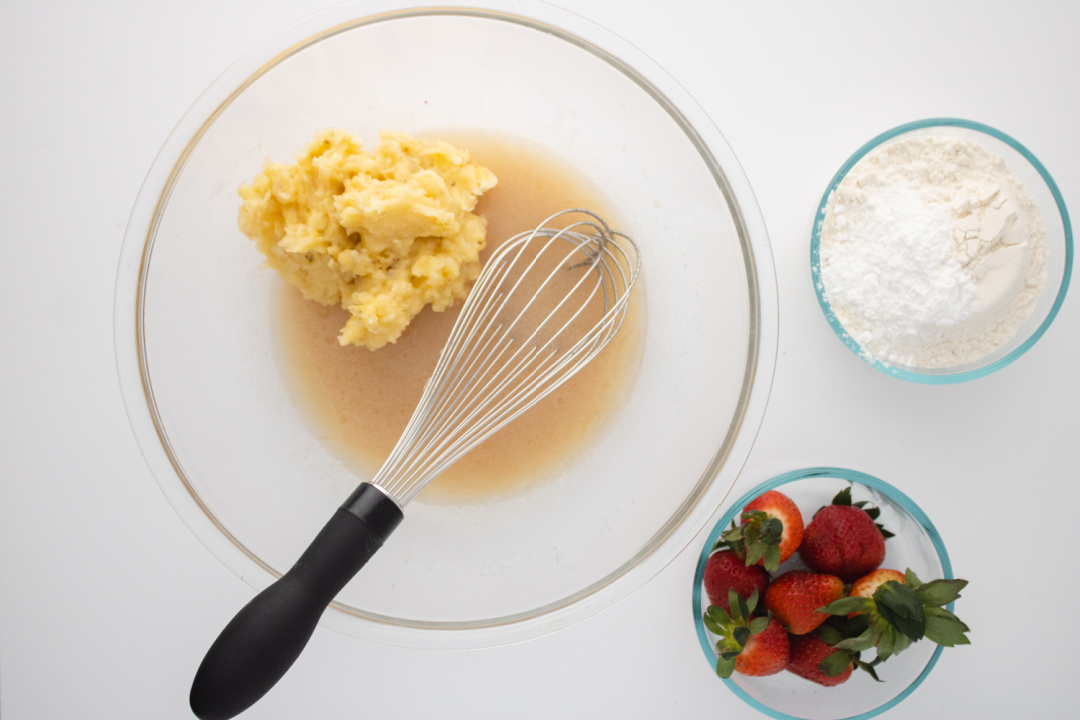
Mix well until all ingredients are fully incorporated and the batter is smooth.
Transfer the mixture into the loaf pan, levelling it out smoothly.

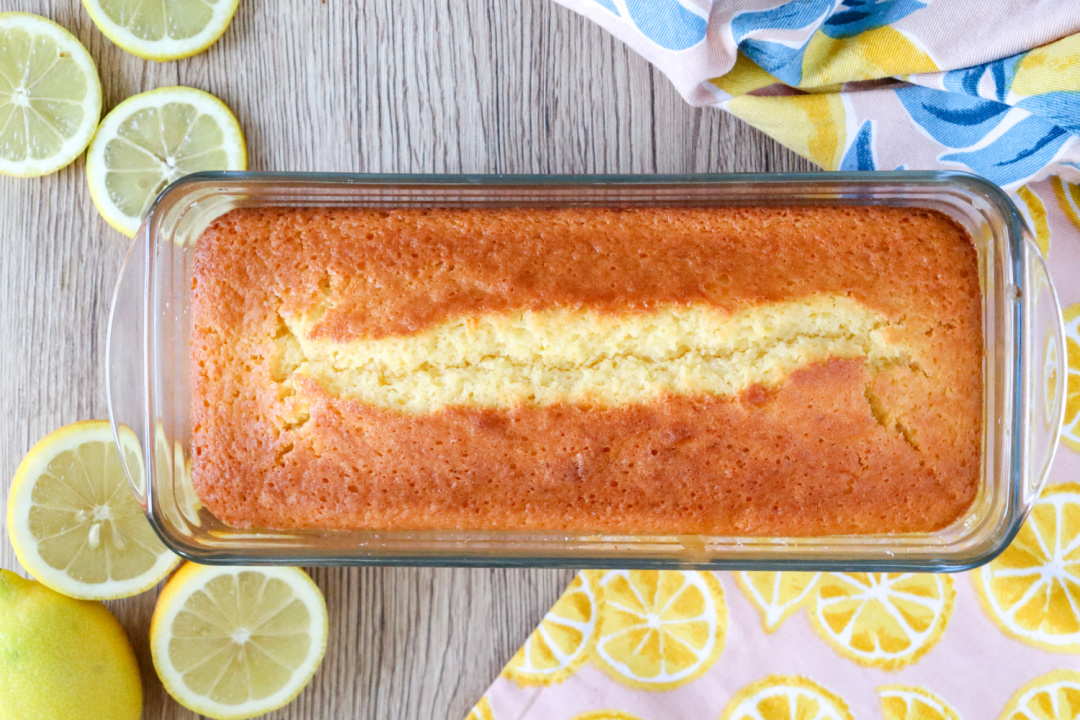
Place the loaf pan in the preheated oven and bake according to the instructions on the cake mix box, or until a toothpick inserted into the center comes out clean.
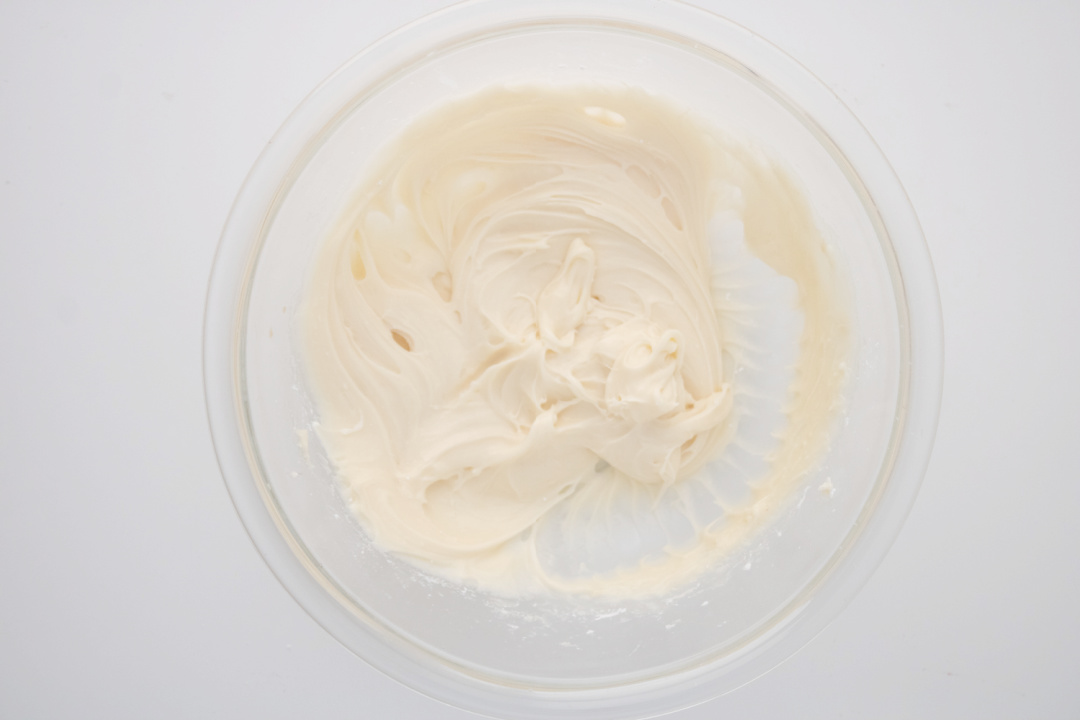
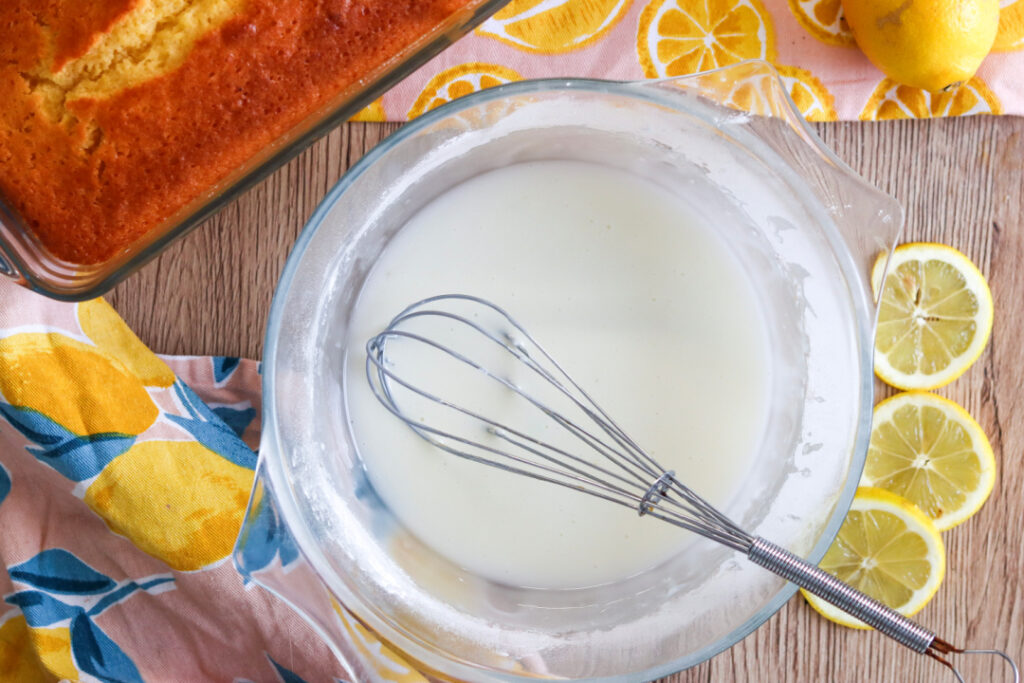
While the cake is cooling, prepare the lemon frosting mix according to the instructions on the box. Ensure it is smooth and creamy. Whisk until the mixture is smooth and free of lumps.
Once the cake is baked, remove it from the oven and let it cool in the pan for about 10 minutes.
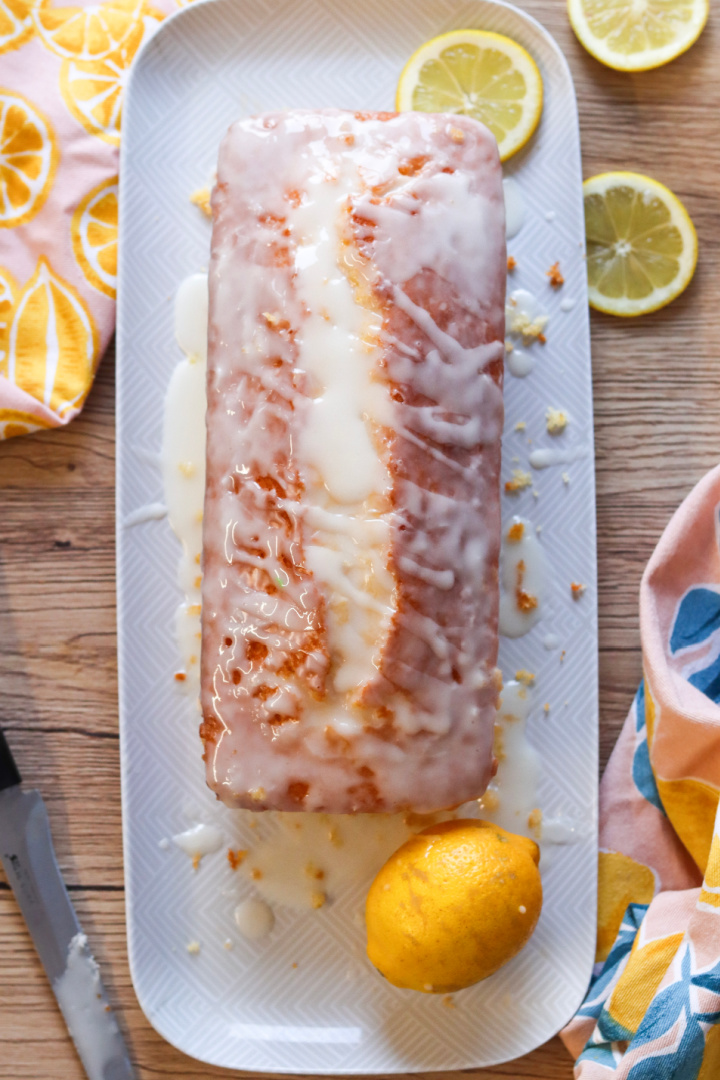
Carefully transfer the cake onto a wire rack to cool completely. Once the cake has cooled, place it on a serving plate or platter.
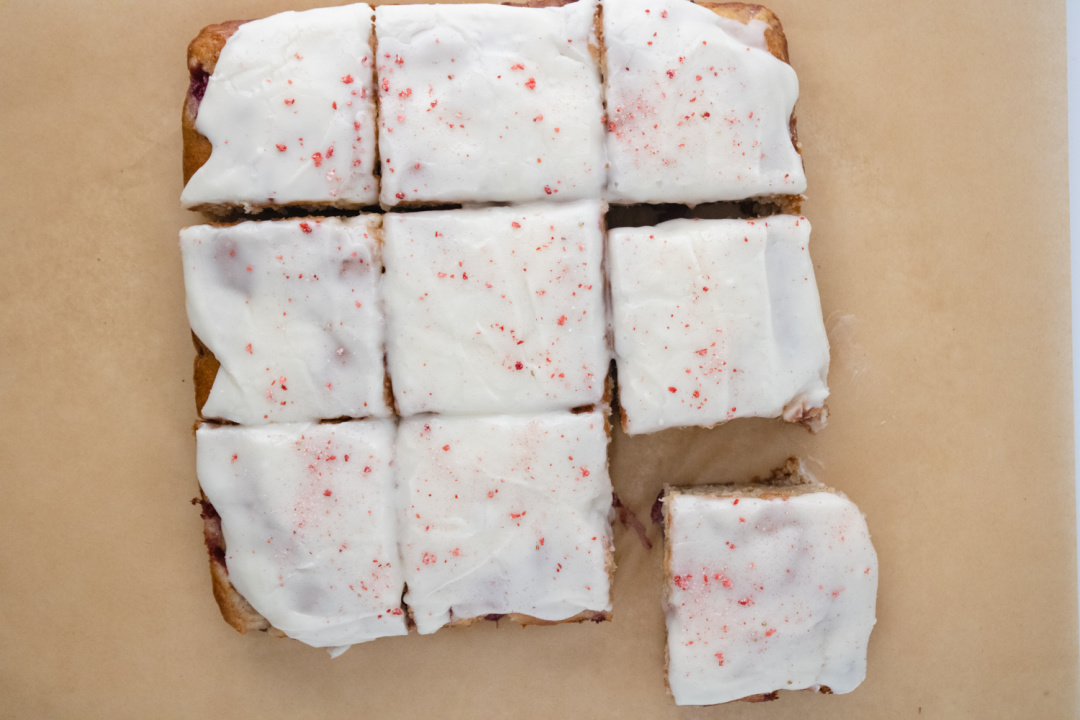
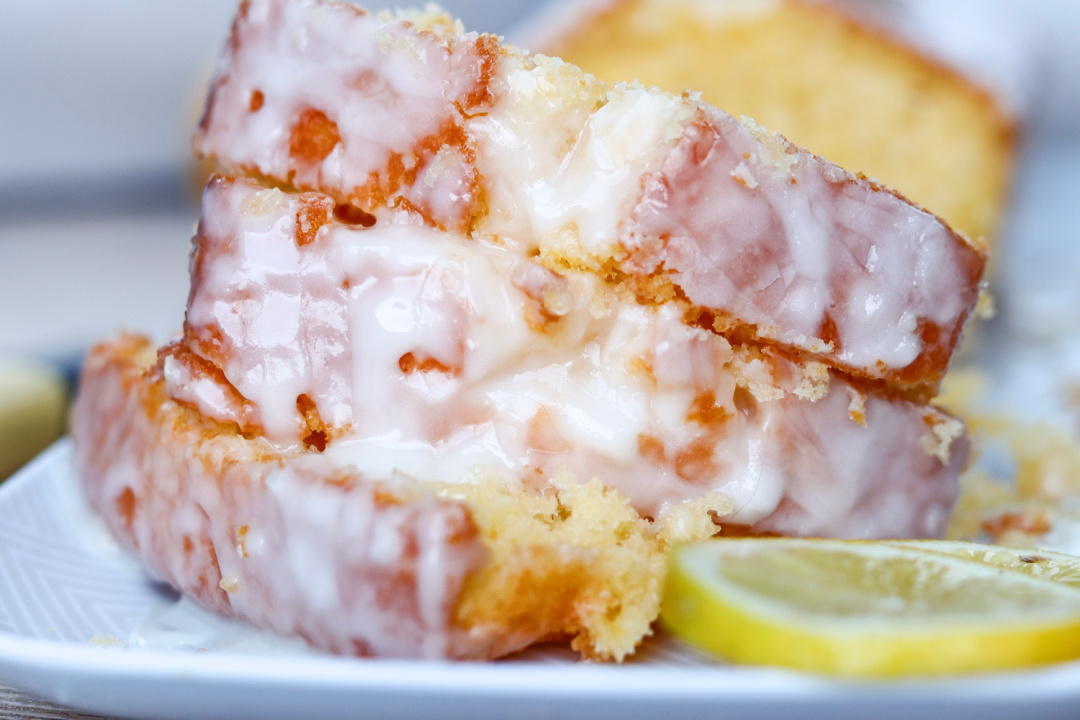
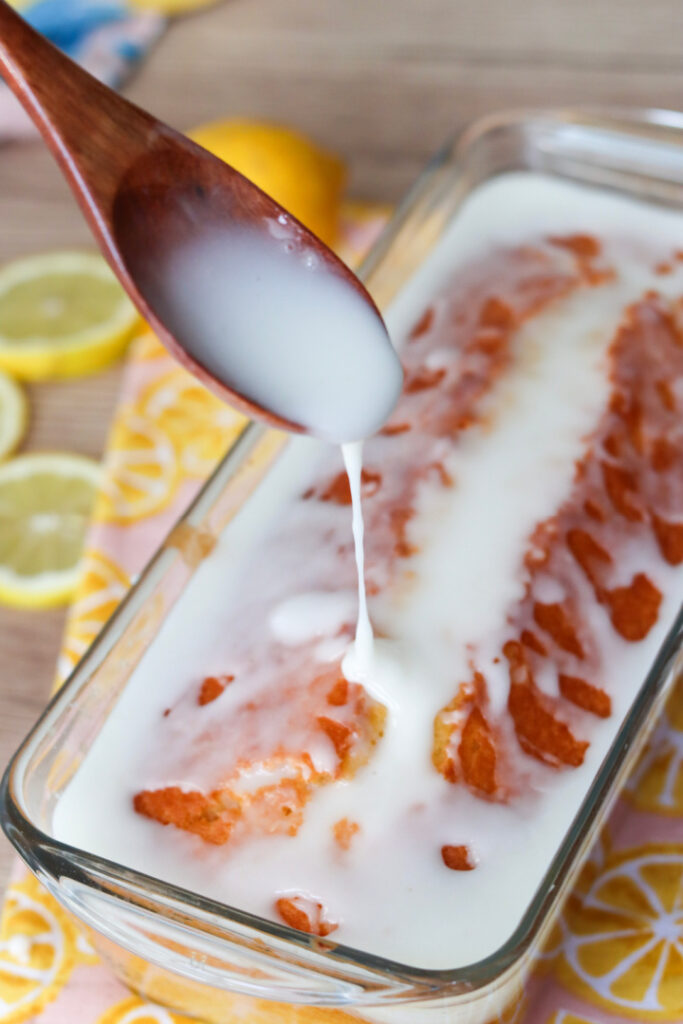
Using a spoon, drizzle the lemon drizzle mixture over the top of the cake, allowing it to drip down the sides. Let the drizzle set for a few minutes before slicing and serving.
Enjoy your delicious Lemon Loaf Cake!
Lemon Drizzle Loaf Cake FAQs
Can I use lemon cake mix to make a loaf cake?
Yes, you can absolutely use a box of lemon cake mix to make a loaf cake. It’s a great shortcut that still gives you a moist, flavorful result with less effort. Just make sure to use a standard loaf pan and follow the adjusted measurements in this recipe.
What size loaf pan should I use?
A standard 9×5-inch loaf pan works best for this lemon loaf cake recipe. Be sure to grease and flour the pan so the cake doesn’t stick.
How do I know when the lemon loaf cake is done baking?
Bake the cake according to the time on the box, but always check by inserting a toothpick in the center. If it comes out clean, the cake is done. If there’s batter on it, let it bake a few more minutes.
How do I make the lemon drizzle glaze?
To make the lemon glaze, mix 1 cup of powdered sugar with 1–2 tablespoons of fresh lemon juice and a pinch of salt. Start with 1 tablespoon of juice, then add more if needed to reach a pourable consistency. Drizzle it over the cooled cake so it sets up nicely.
Can I use bottled lemon juice instead of fresh?
Fresh lemon juice is best for flavor, especially in the drizzle. But if bottled is all you have, it’ll still work in a pinch.
Do I need to refrigerate the lemon loaf cake?
You don’t need to refrigerate it right away. Store it in an airtight container at room temperature for up to 3 days. If you want to keep it longer, refrigerate it for up to 5 days or freeze it for up to 2 months.
Can I add anything to this lemon loaf cake recipe?
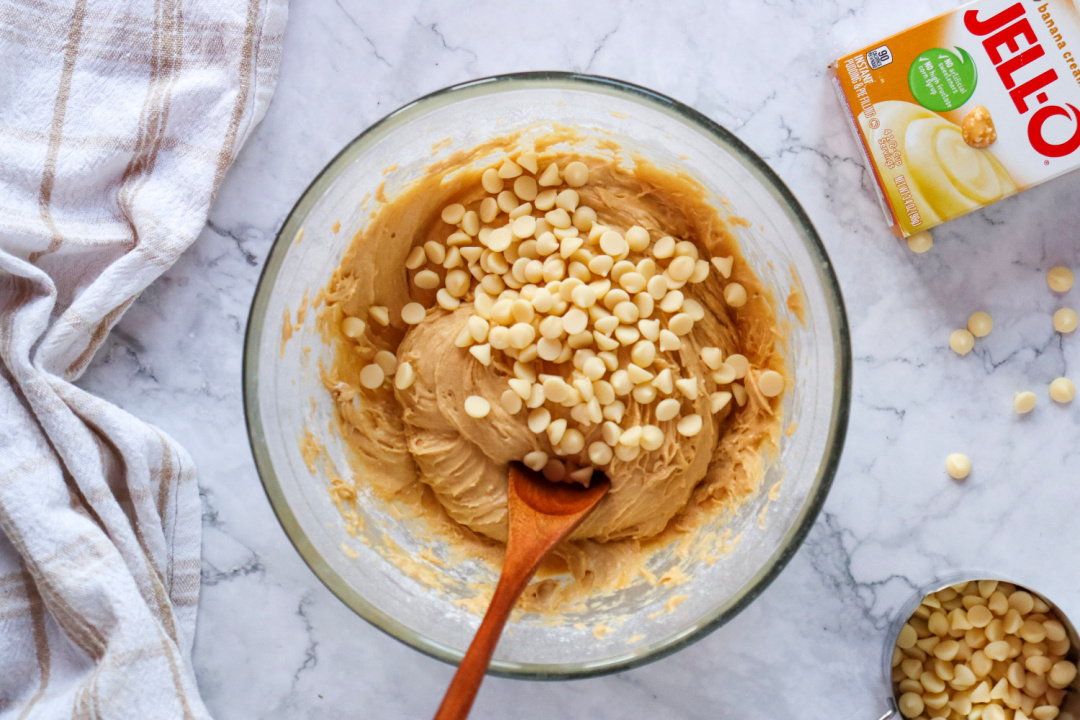
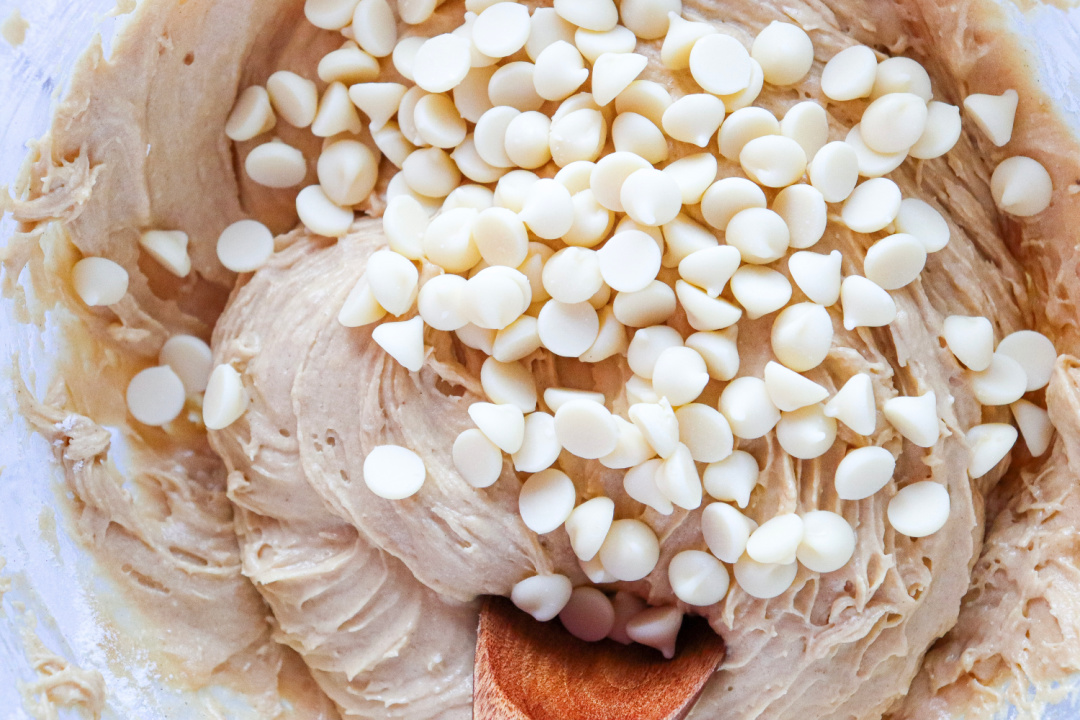
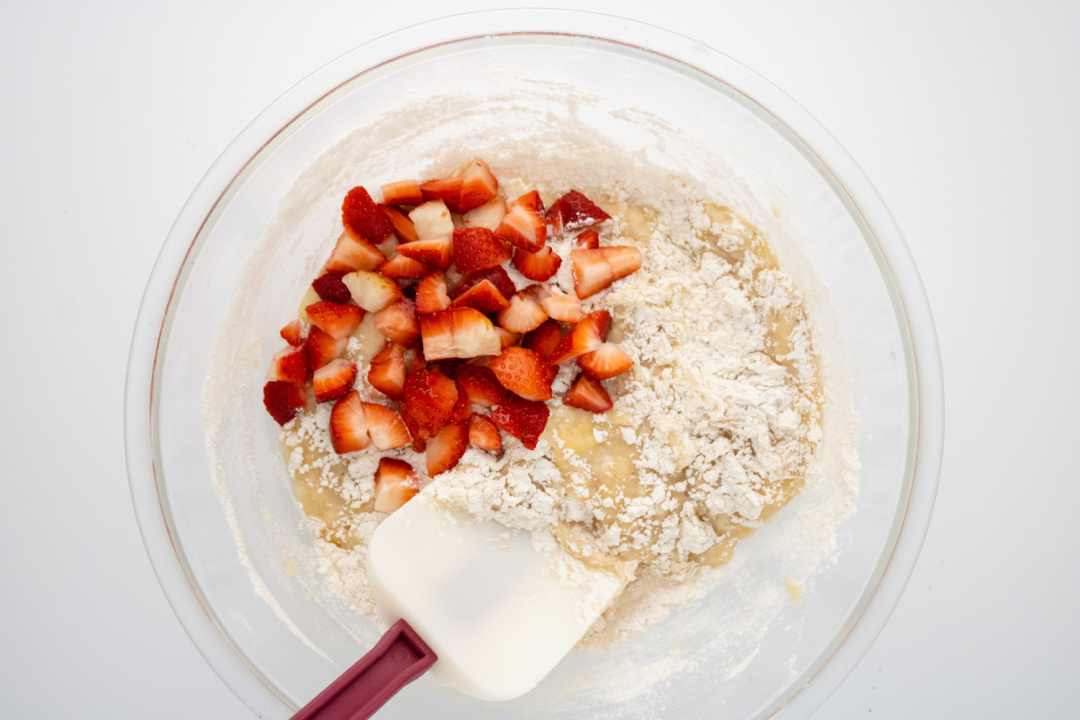
Absolutely. Fold in ½ cup of blueberries or white chocolate chips before baking for a twist. Just be sure to lightly coat add-ins in flour before mixing them into the batter to prevent sinking.
Why did my lemon loaf cake sink in the middle?
This can happen if the oven wasn’t fully preheated, if the batter was overmixed, or if it was underbaked. Always preheat the oven, mix just until combined, and test doneness with a toothpick.
Can I double this recipe?
Yes, but it’s best to bake in two separate loaf pans rather than one large one. This ensures even baking.
Lemon Drizzle Loaf Cake
Ingredients
- 1 box of lemon cake mix (I recommend Betty Crocker)
- 3 eggs
- 1/3 cup vegetable oil
- 1 cup water
- 1 cup of powdered sugar
- 1–2 tbsp. fresh lemon juice
- Pinch of salt
Instructions
Preheat your oven to the temperature specified on the lemon loaf cake mix box.
Grease and flour a loaf pan, ensuring all sides are well coated.
In a large mixing bowl, combine the lemon loaf cake mix, eggs, vegetable oil, and water.
Mix well until all ingredients are fully incorporated and the batter is smooth.
Transfer the mixture into the bread tin, levelling it out smoothly.
Place the loaf pan in the preheated oven and bake according to the instructions on the cake mix box, or until a toothpick inserted into the center comes out clean.
While the cake is cooling, prepare the lemon frosting mix according to the instructions on the box.
Ensure it is smooth and creamy. Whisk until the mixture is smooth and free of lumps.
Once the cake is baked, remove it from the oven and let it cool in the pan for about 10 minutes.
Carefully transfer the cake onto a wire rack to cool completely.
Once the cake has cooled, place it on a serving plate or platter.
Using a spoon, drizzle the lemon drizzle mixture over the top of the cake, allowing it to drip down the sides.
Let the drizzle set for a few minutes before slicing and serving.