-
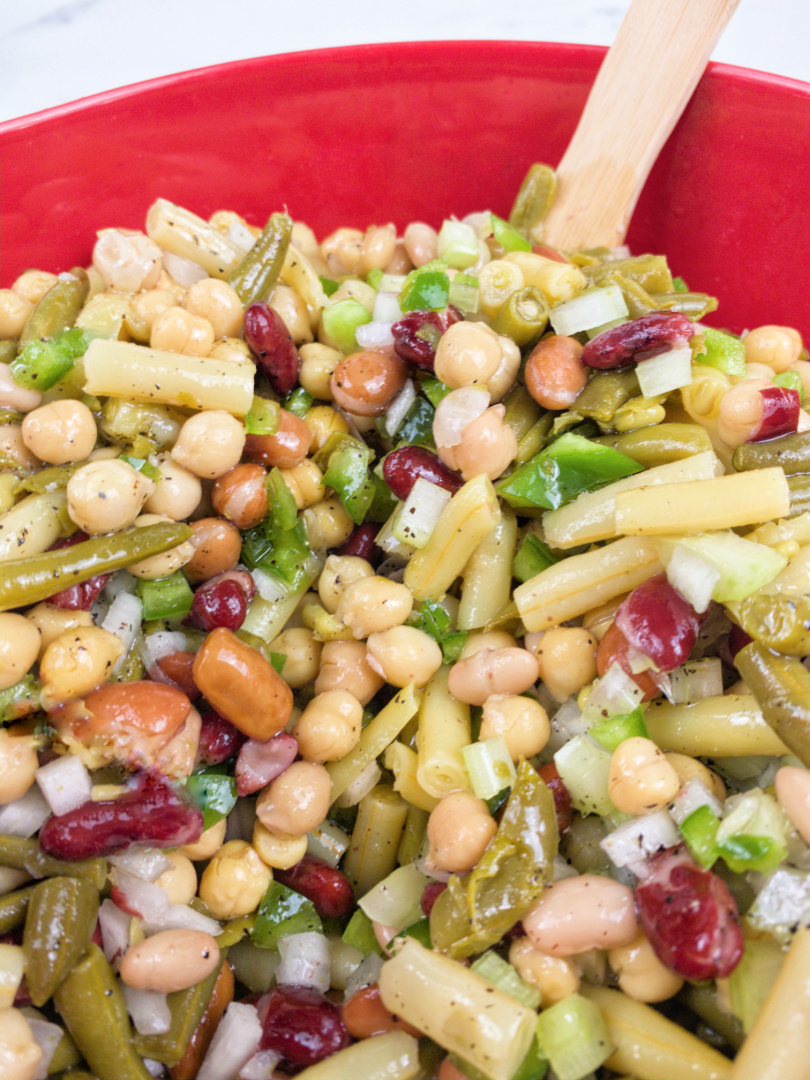
Mixed Bean Salad
This Mixed Bean Salad recipe uses a variety of beans and seasonings for a delicious side dish! Learn how to make this easy recipe. Southern Mixed Bean Salad: A Colorful Dish for Every Occasion Are you searching for a vibrant and flavorful dish to bring to your next potluck or family gathering? Try this Southern…
-
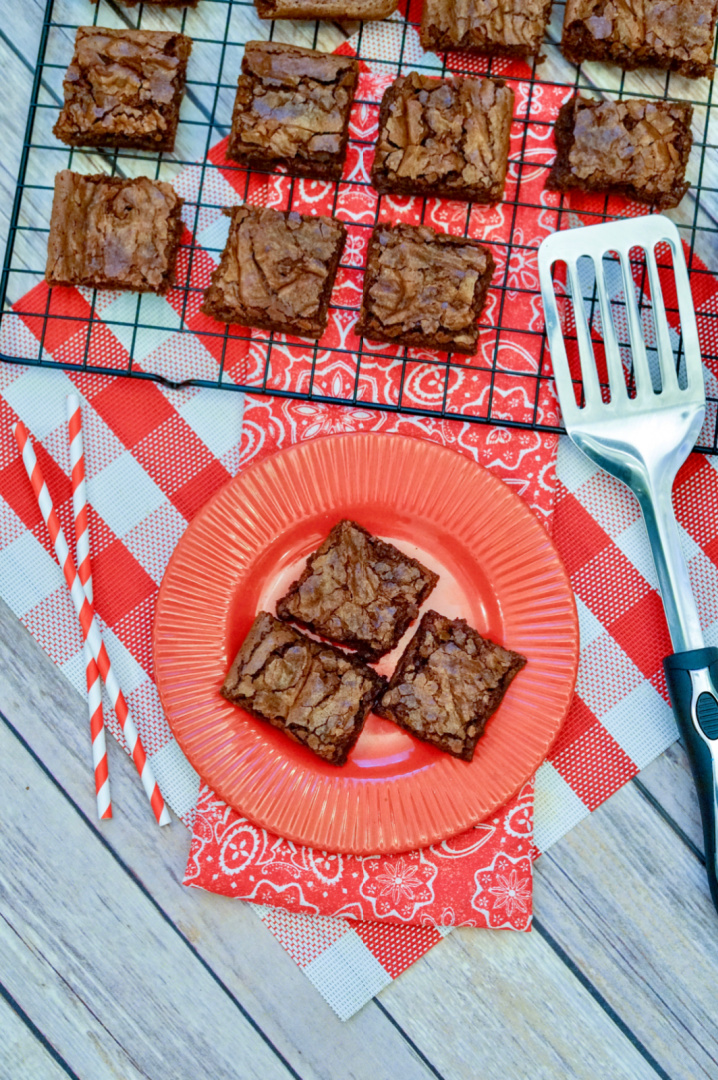
Homemade Chewy Chocolate Brownies
Homemade Chewy Chocolate Brownies There’s something about a pan of fresh, homemade chewy chocolate brownies that makes any day better. This is one of those easy dessert recipes that doesn’t take much effort but gives you big results—rich, fudgy flavor with just the right amount of chew. Whether you’re baking for your family, a church…
-
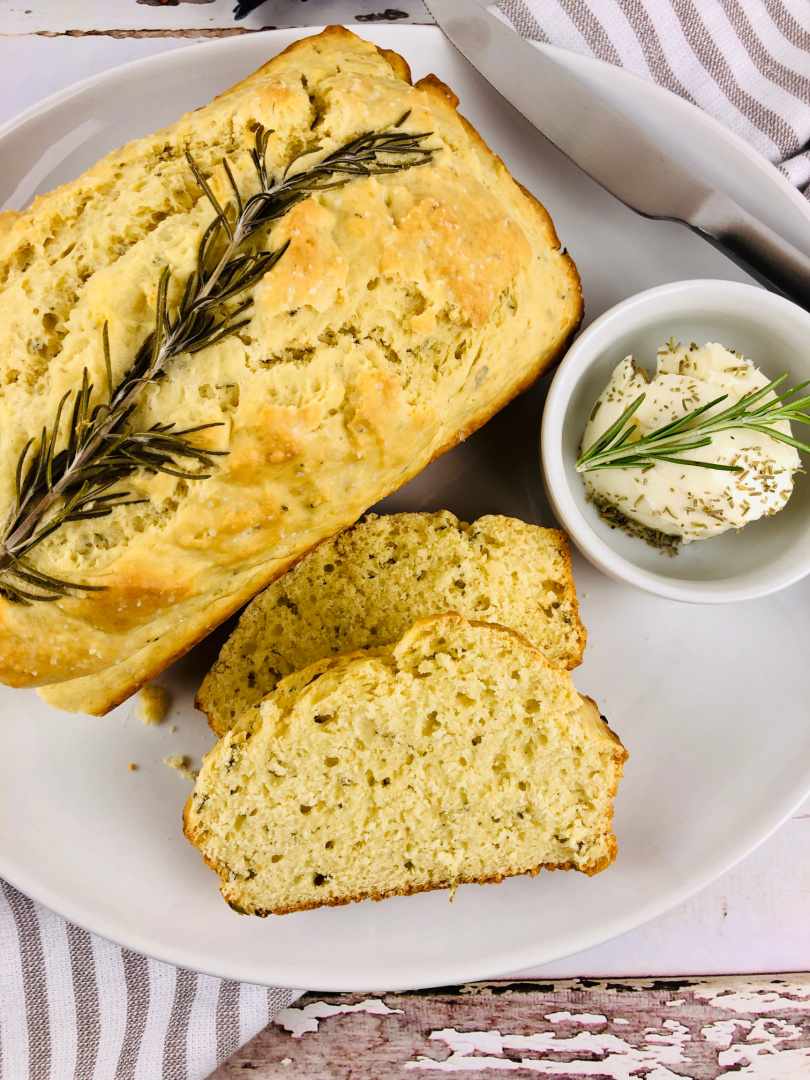
Rosemary Olive Oil Bread with Herb Butter
Try this Rosemary Olive Oil Bread with herb butter and pair a slice of this tasty bread with your favorite meal this week! Do you love trying new bread recipes? If so, this recipe is for you! This rosemary olive oil bread is filled with flavor. It requires a few basic ingredients! Yes, you can…
-
Brisket Sides
Smoking a brisket this weekend? Not sure what sides to serve? Check out these Brisket Sides that you can enjoy! There are a variety of different side dishes for smoked brisket that are easy and delicious to make. Some of the most popular side dishes to serve include baked beans, potatoes, coleslaw, and brussels sprouts.…
-
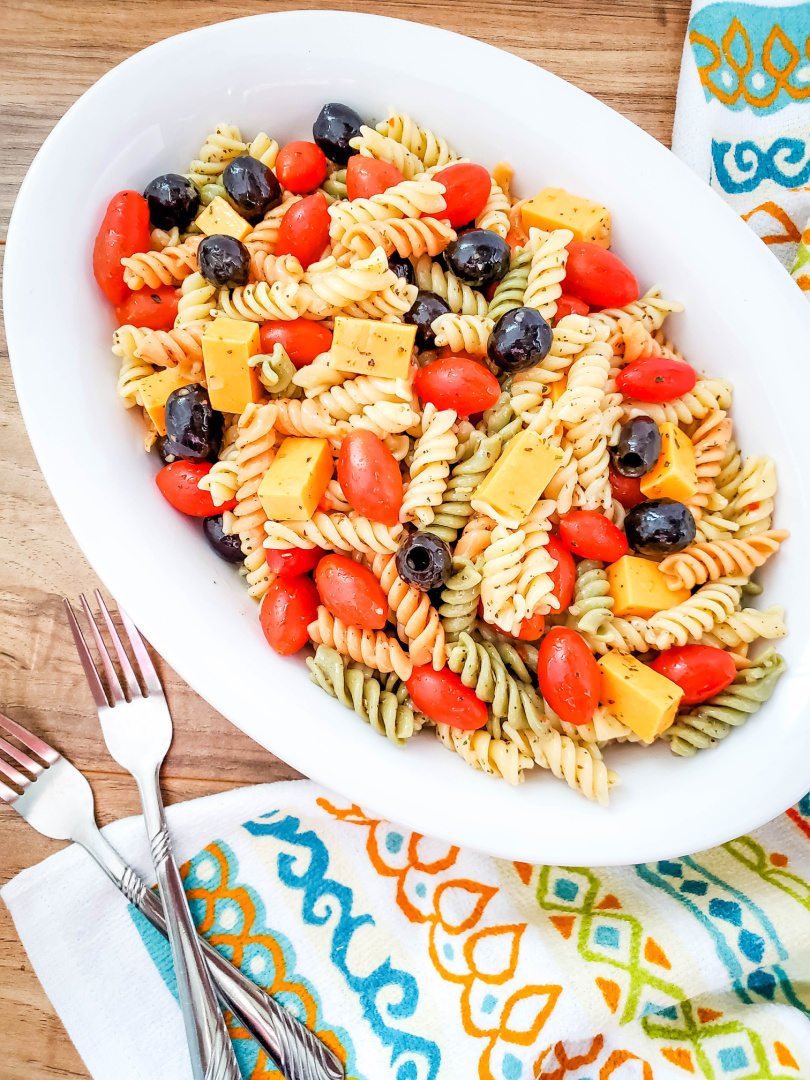
Vegetable Pasta Salad
Easy Vegetable Pasta Salad for Potlucks, Picnics, and Busy Weeknights If you’re looking for a quick and crowd-pleasing side dish, this easy vegetable pasta salad recipe is worth keeping on standby. It’s cold, crisp, and full of simple ingredients that come together fast—and it’s the kind of dish you can count on when you need…