-
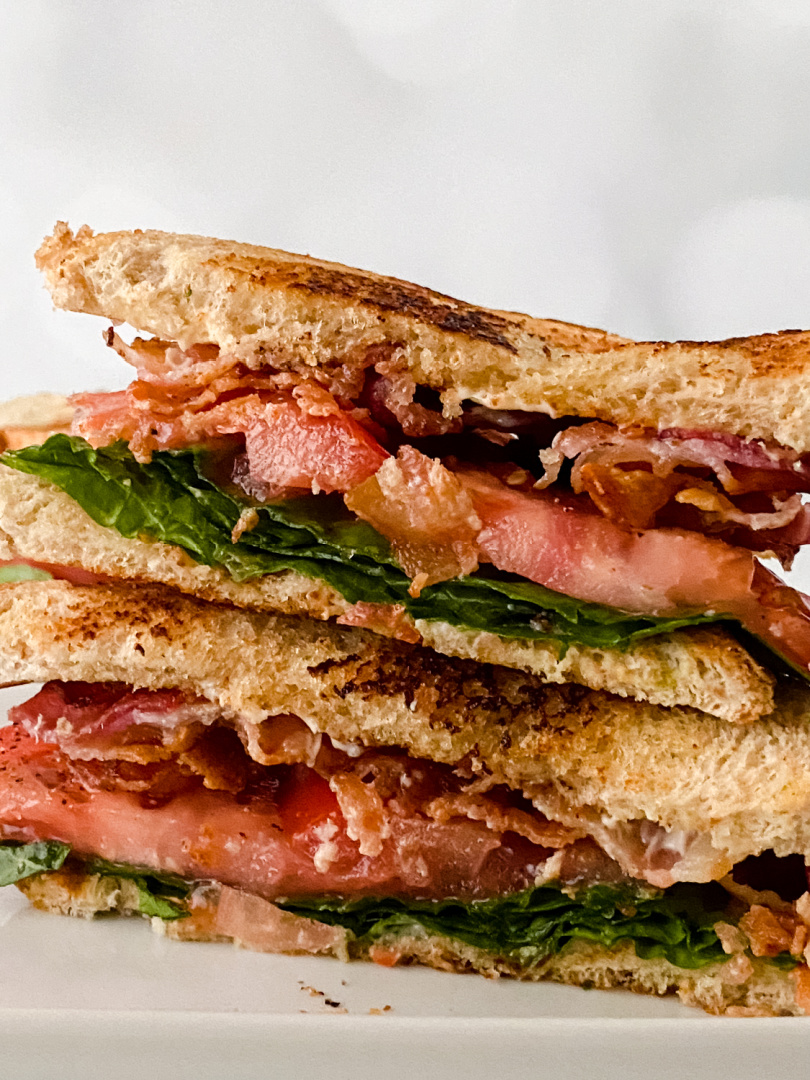
Classic BLT Sandwich
Classic BLT Sandwich Ingredients: Instructions: Fry bacon over to medium heat, to desired crispiness. Remove and drain on paper towels. Once all bacon is done, use a few paper towels to soak up the grease. Butter your bread and place it inside the hot skillet. Toast both sides (about 2-3 mins total). Build your sandwich…
-
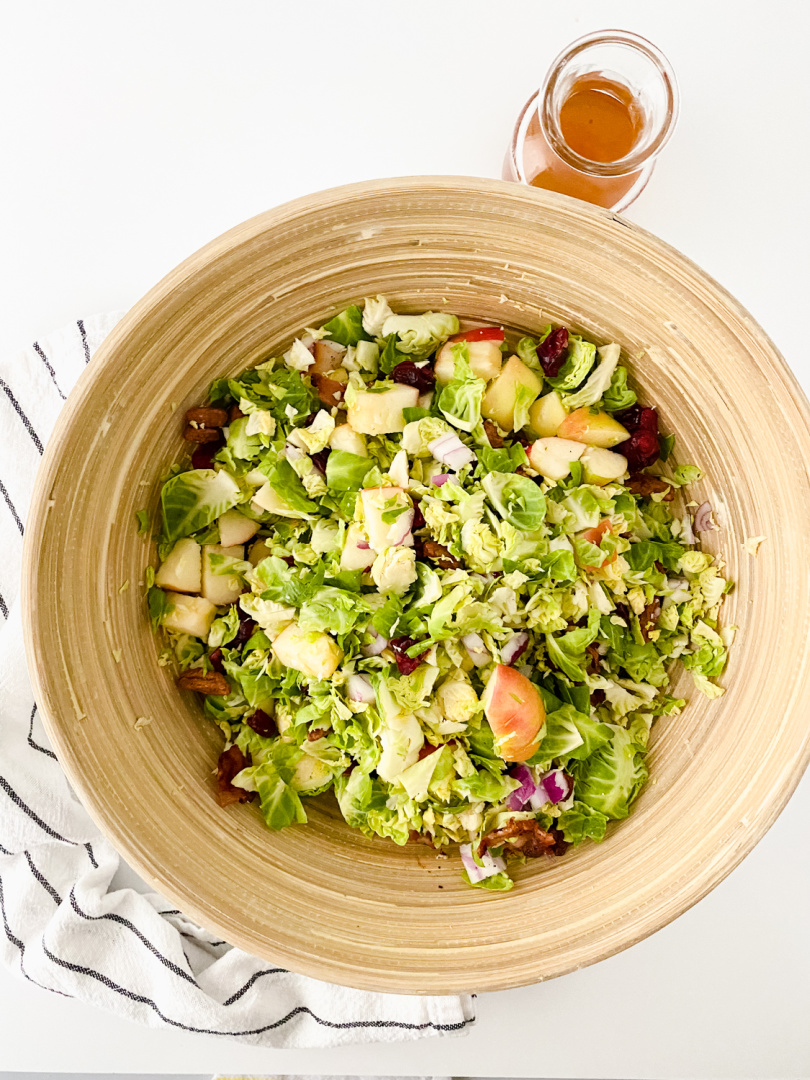
Brussels Sprouts Salad with Maple Vinaigrette
Brussels Sprouts Salad with Maple Vinaigrette: A Fresh Southern Side with Bold Flavor When you’re looking for something crisp, fresh, and full of flavor to bring to the table, this Brussels Sprouts Salad with Maple Vinaigrette is one of those go-to southern recipes that works in all kinds of settings. It’s simple to throw together,…
-
Homemade Strawberry Lemonade
Refreshing Homemade Strawberry Lemonade for Hot Southern Days If there’s one thing we know down South, it’s how to beat the heat—and nothing cools you off like a tall glass of homemade strawberry lemonade. This easy strawberry lemonade recipe is made with real fruit and fresh lemon juice, perfect for everything from backyard cookouts to…

-
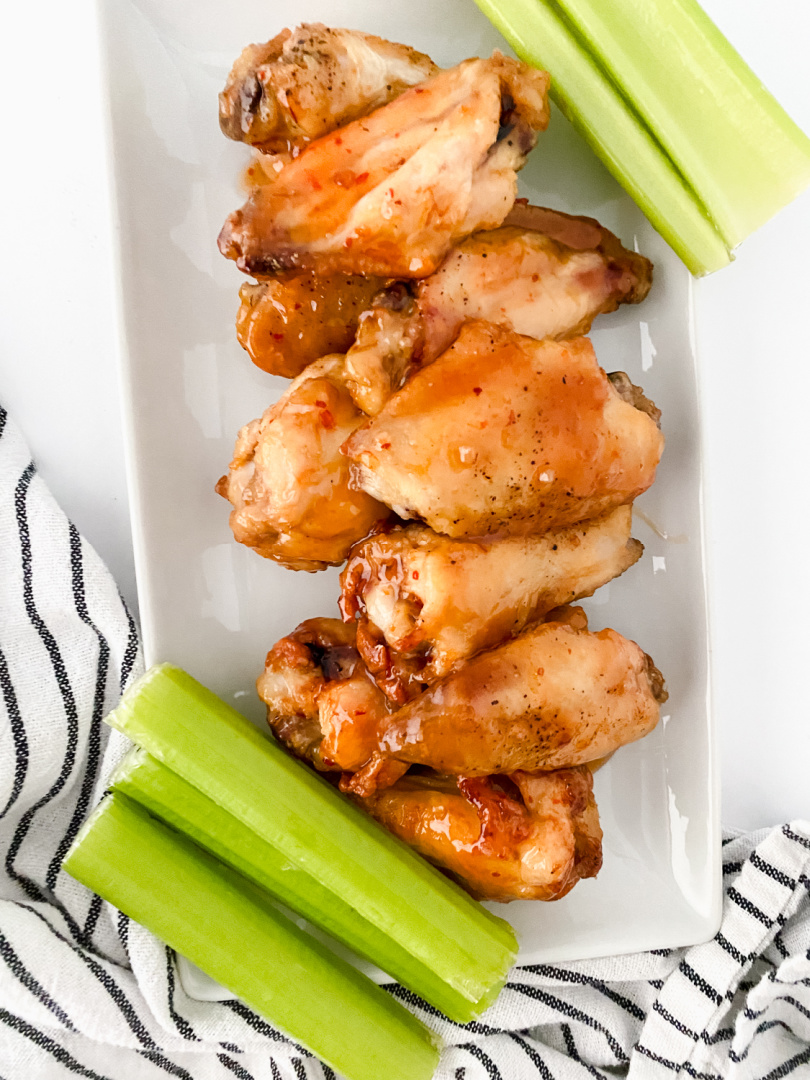
Air Fryer Sweet Chili Wings
Air Fryer Sweet Chili Wings Ingredients: Sauce Instructions: Preheat air fryer to 400F, add parchment sheet (optional). Clean chicken and pat dry. Sprinkle with salt and pepper. Lightly coat in flour, shaking off excess. Add chicken to air fryer, spray with cooking oil. Cook for 6 mins and spritz with cooking oil. Cook for an…
-
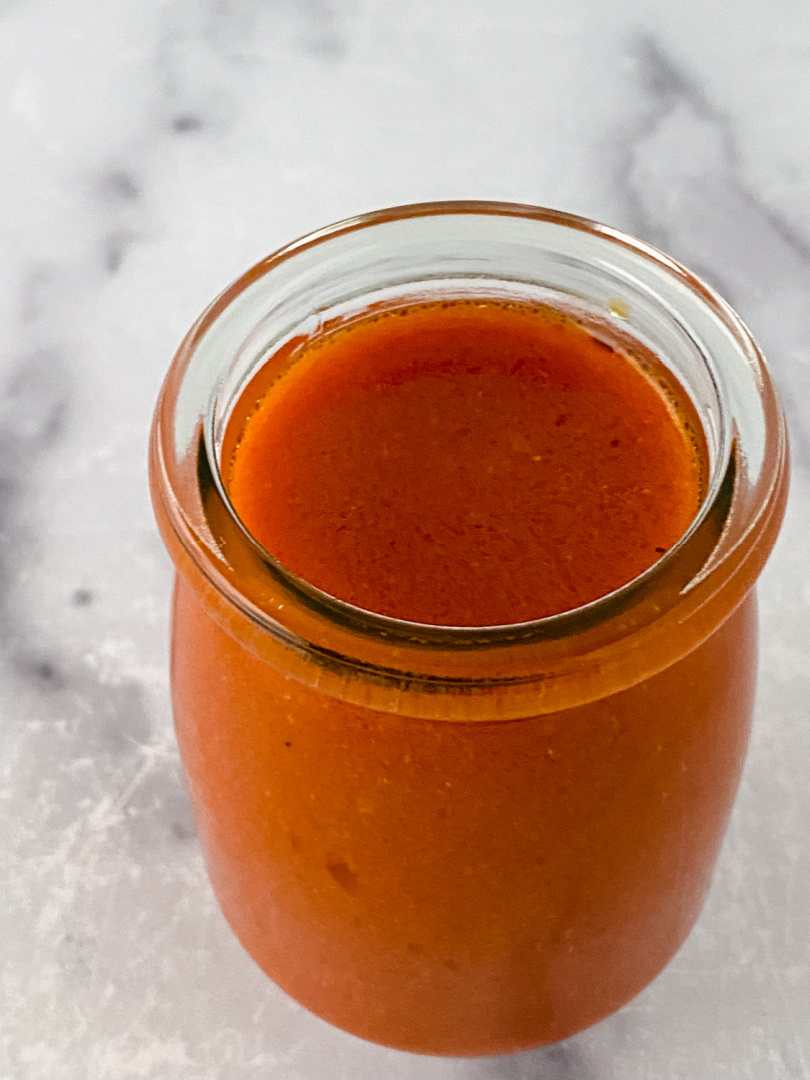
Buffalo Sauce
Buffalo Sauce Instructions: Add the butter and hot sauce to a pan. Place over medium heat and once the butter melts, add in the vinegar, Worcestershire, garlic powder, salt and pepper. Stir to combine. Once it simmers remove from heat.