-
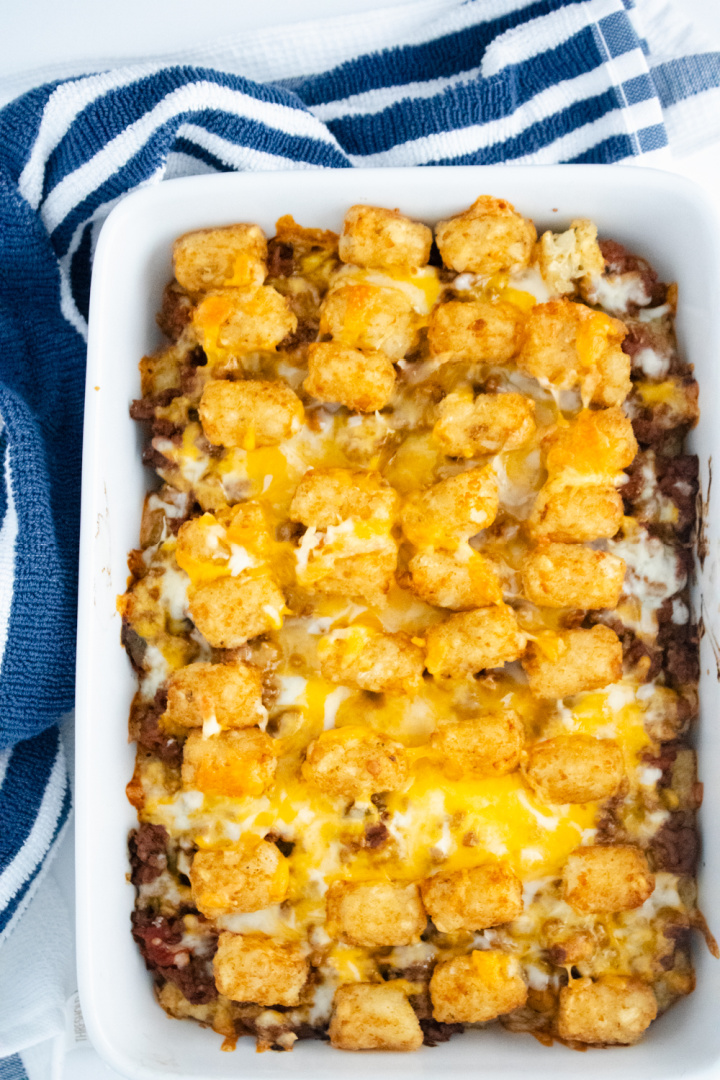
Taco Tot Casserole
Taco Tot Casserole Ingredients: Directions: Preheat your oven to 425. Lightly spray baking dish with Olive Oil non stick spray. Add all tots to the pan and bake for ten mins. Remove and set aside. Brown your ground beef and drain. Add in taco seasoning, 1/3 cup water and 1 cup of salsa. Mix until…
-
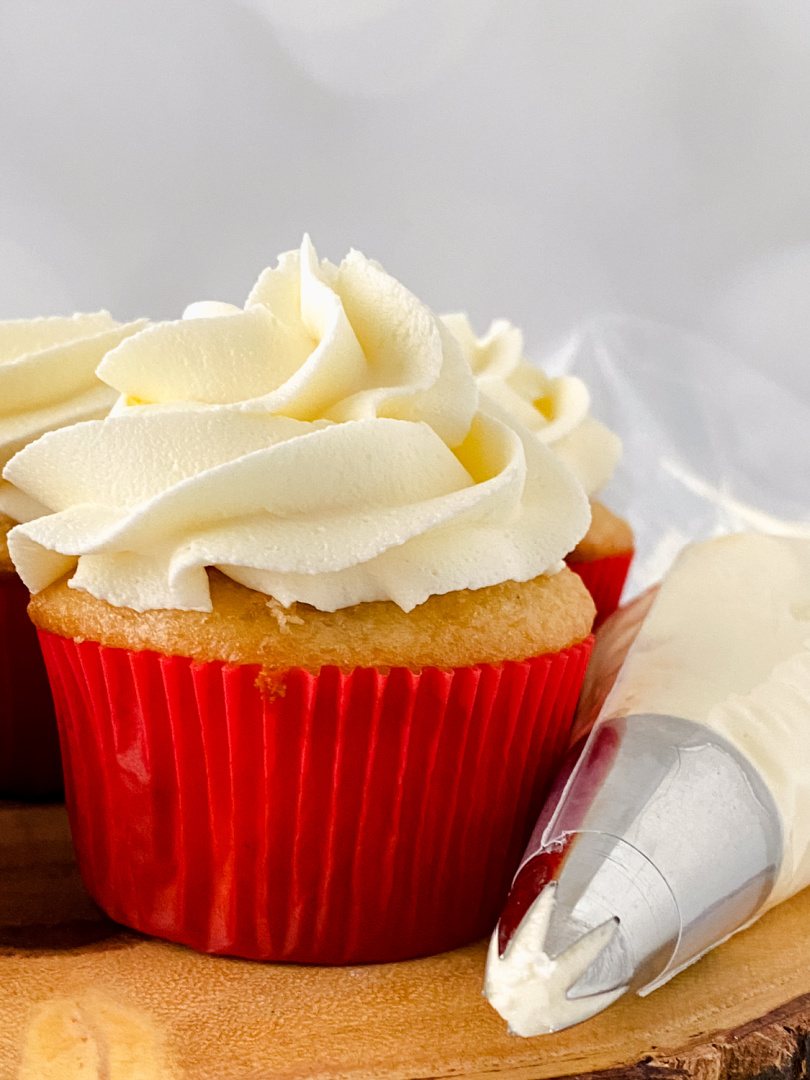
Vanilla Buttercream Frosting
The Best Vanilla Buttercream Frosting for Cakes, Cupcakes, and Cookies There’s something about a smooth, sweet vanilla buttercream frosting that brings it all together. Whether you’re baking a birthday cake, whipping up cupcakes for a school party, or just looking to frost a batch of sugar cookies on a quiet Saturday afternoon, this easy vanilla…
-
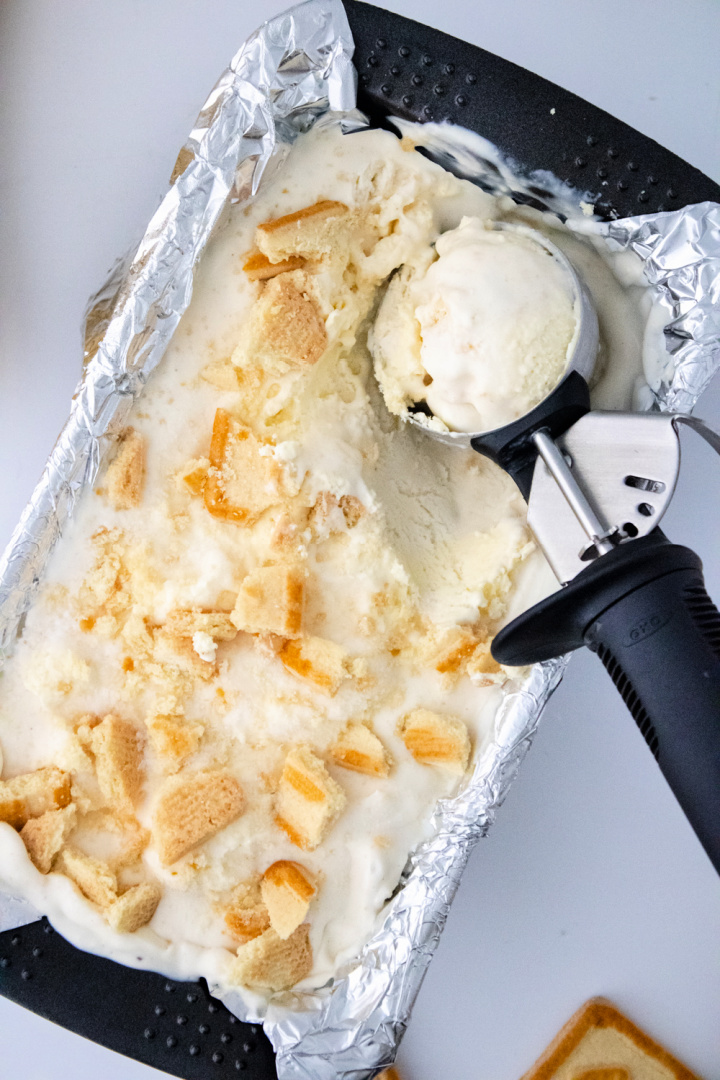
Banana Pudding Cheesecake Ice Cream: The Ultimate No-Bake Dessert
If you’re looking for a no-bake dessert that combines the creamy richness of cheesecake with the nostalgic flavors of banana pudding, this Banana Pudding Cheesecake Ice Cream recipe is for you. Perfect for summer gatherings, family dinners, or just a sweet treat to cool off with, this ice cream is easy to make and impossible…
-
No Churn Vanilla Bean Ice Cream
No Churn Vanilla Bean Ice Cream Ingredients: Instructions Add heavy cream to a large bowl and mix on high until fluffy (3-5 mins). Add the condensed milk and vanilla extract. Fold in until no streaks remains. Slice the vanilla beans and scrape out the beans. Add them, then stir. Place into bread pan. Cover with…
-
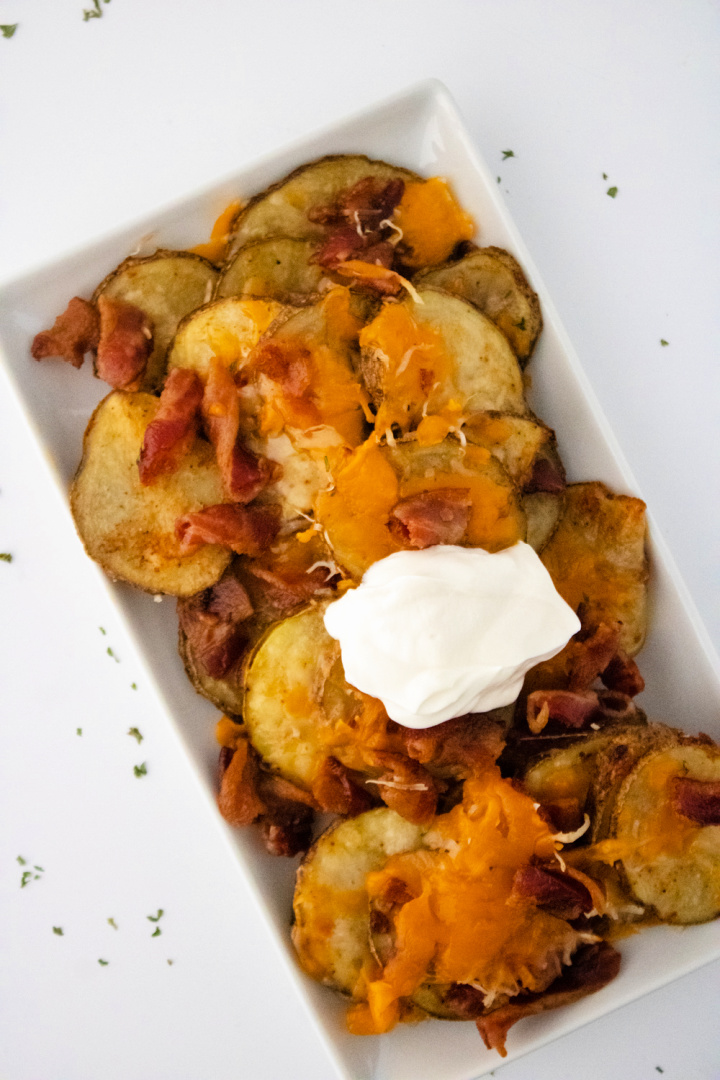
Irish Pub Nachos
Irish Pub Nachos Ingredients Instructions Preheat your oven to 400. Wash and dry the potatoes. Slice them into ¼ in slices. Place into a large bowl. Add Olive oil, salt, pepper, paprika, onion and garlic powder. Lay out flat on a second parchment lined baking sheet. Bake for 20 mins. Twist the bacon and place…