-
Bacon Cheeseburger Egg Rolls
Bacon Cheeseburger Egg Rolls Equipment Prep: 10-15 mins Cook: 20 mins Total: 35-40 min Yield: 12 egg rolls Ingredients: Instructions: Heat your skillet over medium high, once hot, add the bacon. Cook bacon on both sides for about 3 mins (or until desired crispiness). Remove bacon and let drain on paper towel. Add diced onion…

-
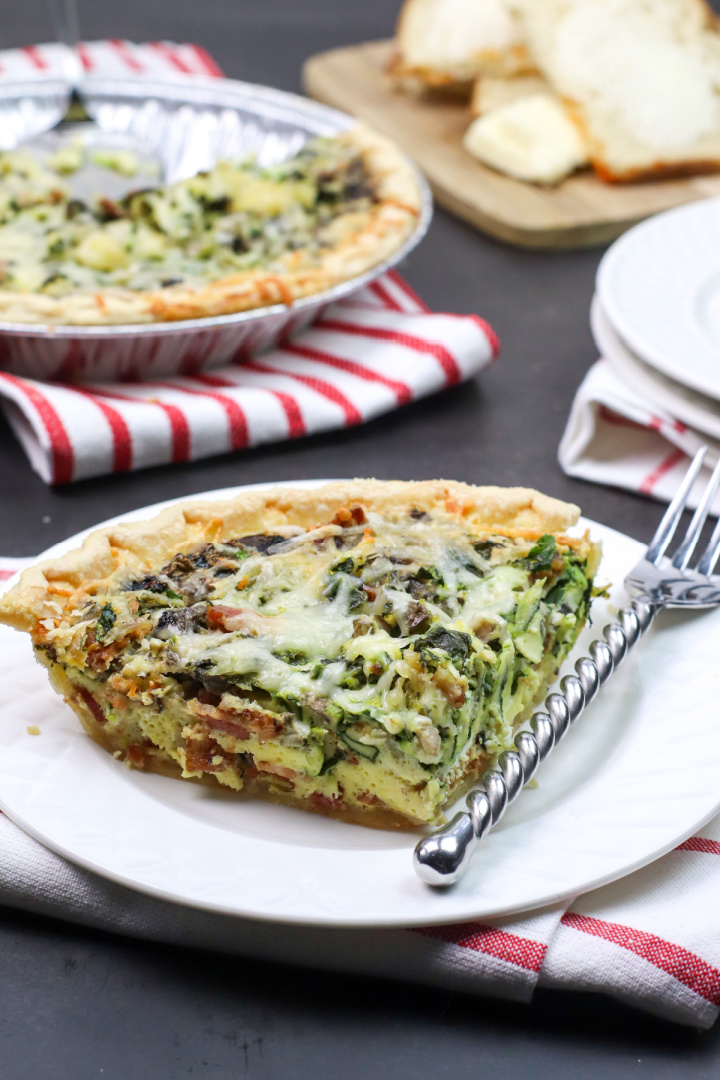
Bacon Swiss Quiche
Easy Bacon Swiss Quiche for Breakfast, Brunch, or Dinner When it comes to an easy meal that feels a little elevated but still uses everyday ingredients, this Bacon Swiss Quiche is a go-to. Whether you’re hosting Sunday brunch or pulling together a quick dinner with what you’ve already got in the fridge, this recipe brings…
-
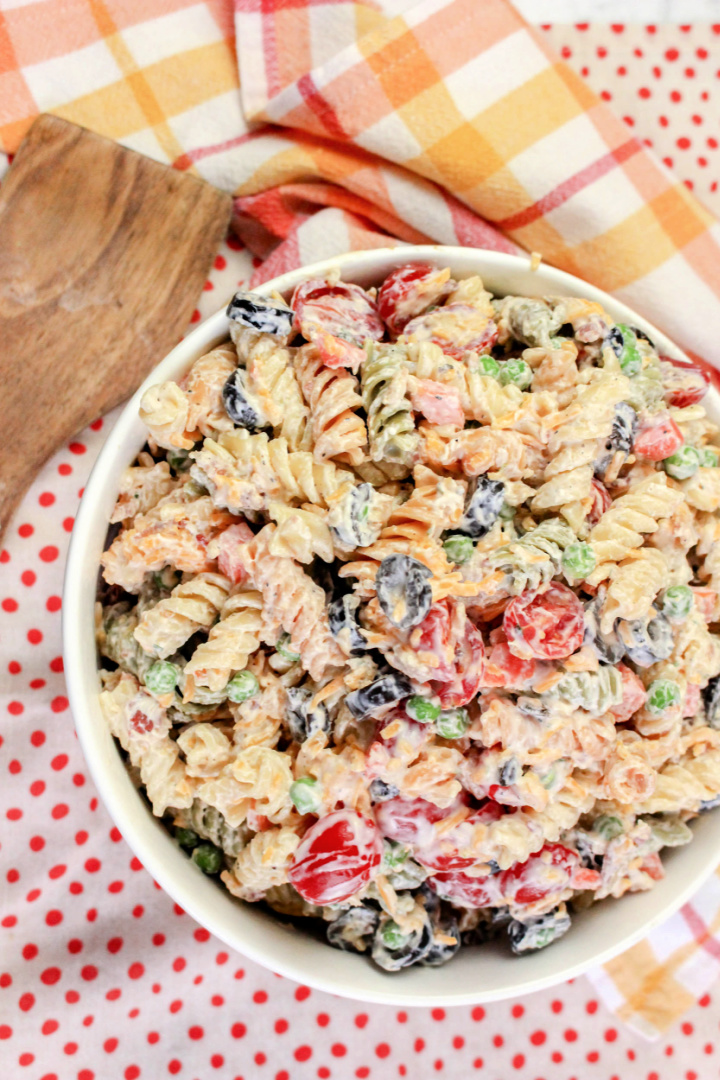
Bacon Ranch Pasta Salad
Easy Bacon Ranch Pasta Salad for Potlucks, Cookouts, and Weeknight Dinners If you’re looking for a pasta salad recipe that’s loaded with flavor and simple to make, this Bacon Ranch Pasta Salad is a solid go-to. Whether you’re heading to a family cookout, need something quick for a weeknight dinner, or just want a cold…
-
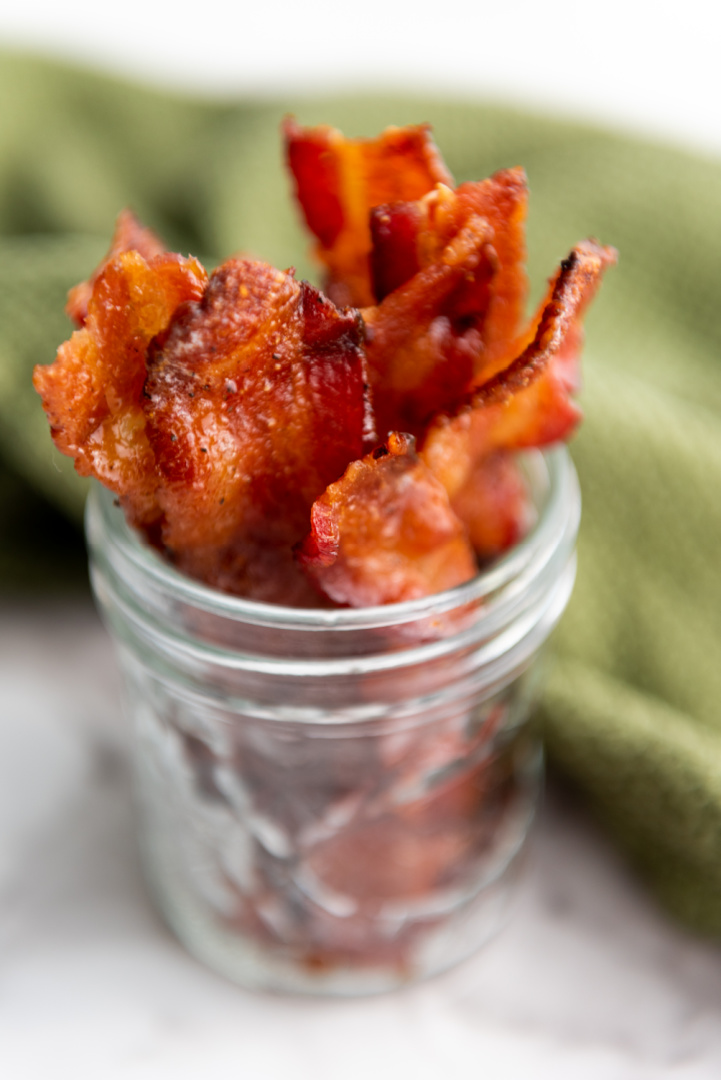
Maple Brown Sugar Candied Bacon
Bacon is a universally loved ingredient, adored for its robust flavor and delightful crisp texture. But have you ever considered giving this breakfast staple a sweet makeover? Candying, the process of coating or infusing food items with sugar or sweet syrup, introduces a brand new flavor profile to the bacon. It’s like turning your bacon…
-
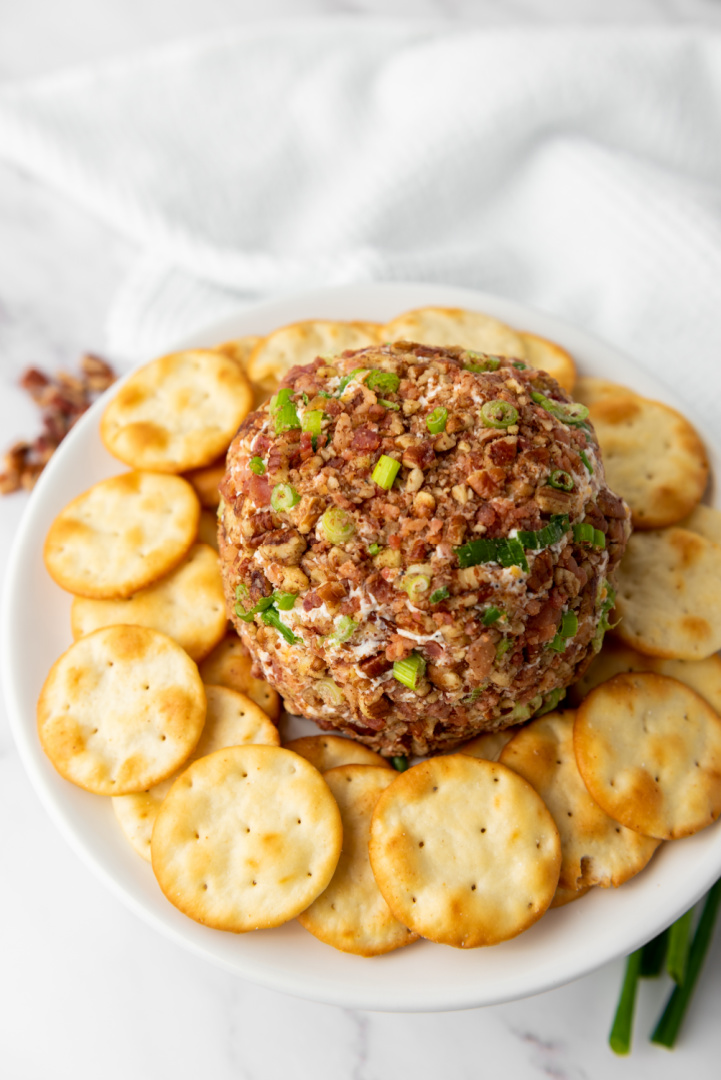
Bacon Pecan Cheeseball
Cheeseballs, those quintessential party appetizers, have been gracing our gatherings for decades. They are the epitome of simplicity and flavor, offering a tantalizing combination of cheese, nuts, fruits, and a variety of seasonings. Today, we’re exploring a particular variety: the Bacon Pecan Cheeseball. An unassuming delight that’s sure to add a different dimension to your…