
-
Tips for Cooking With Olive Oil
You will always find a bottle of olive oil in my kitchen! Here are my best tips for cooking with olive oil. Savor the delicate aromas and earthy flavors, and you’ll understand why olive oil is the cornerstone of wholesome cooking. The popular Mediterranean Diet, Weight Watchers, and other plans herald olive oil as a…
-
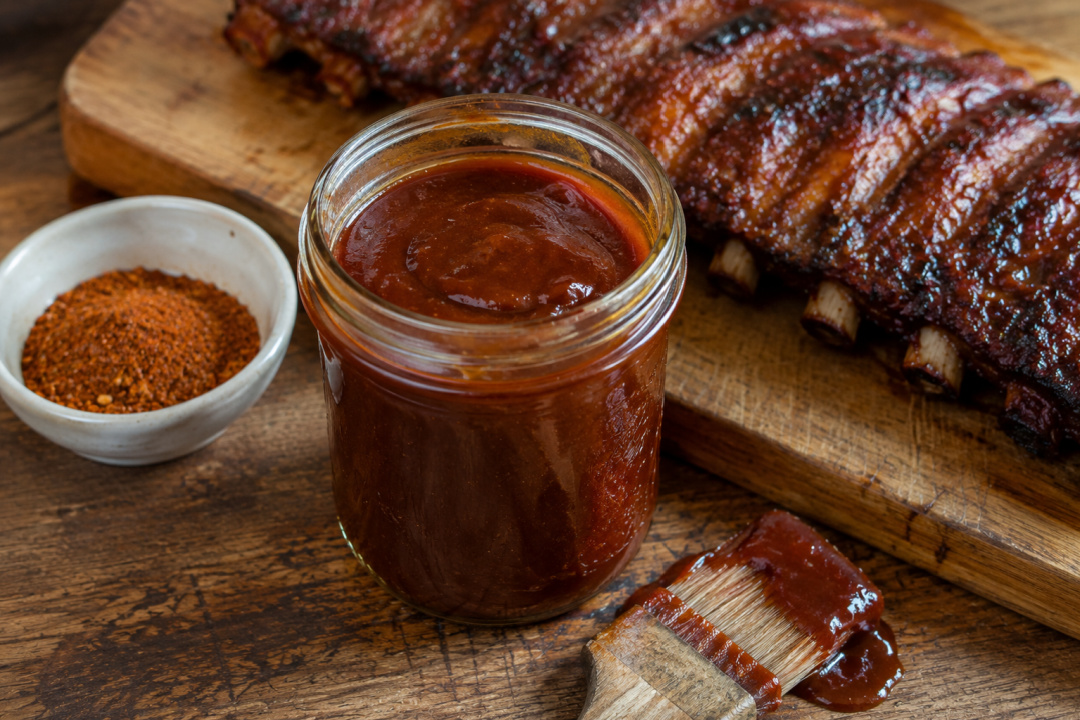
Homemade BBQ Sauce for Pork Ribs
If you’re looking for the best homemade BBQ sauce for ribs, this easy recipe is sweet, smoky, tangy, and packed with rich flavor. Made with simple pantry ingredients, it’s perfect for brushing onto smoked, grilled, or oven-baked pork ribs during the final minutes of cooking for a sticky, caramelized finish. This homemade BBQ sauce for…
-
How to Cook Scallops
Are you interested in learning how to prepare and cook scallops? Here are my tips for How to Cook Scallops! When cooking scallops – as with any form of shellfish – there are two inherent dangers. Firstly, and most importantly, we must make sure that they are fresh and have not “turned.” How to Cook…
-
How to Cook Oysters
Oysters, like any other mollusk, can be cooked in a variety of ways depending on how you like to eat them. In general, you don’t have to fear cooking and eating oysters. If cooked properly, oysters can be the stars of delicious dishes and meals. Here are some suggestions and tips on how to cook…
-
How to Cook Clams
Clams are a wonderful, tasty food that is relatively easy to prepare. Read my tips for How to Cook Clams. There is nothing like a bunch of steamed clams to liven up a meal, whether it is an outdoor barbecue or dining inside. So what is the best way to prepare clams for cooking? How…