-
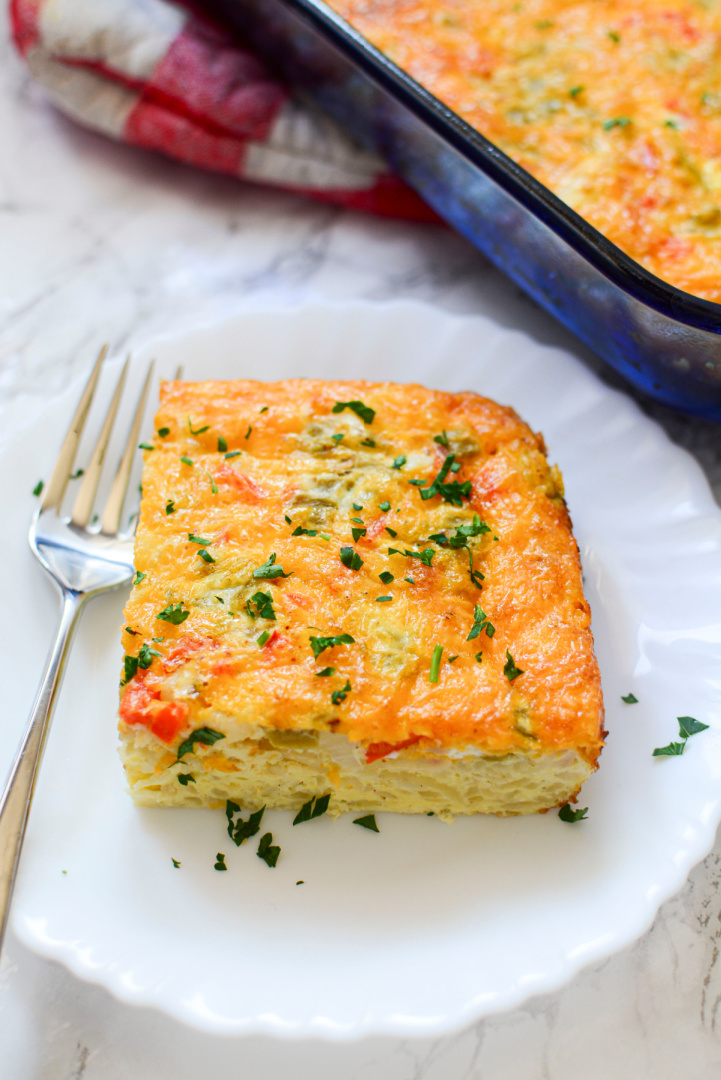
Fiesta Breakfast Casserole
A Morning Fiesta: The Story Behind the Breakfast Casserole Good morning! Today, we’re diving into the heart of a breakfast dish that promises to start your day on a festive note, even before the sun fully wakes up. Let’s talk about the Fiesta Breakfast Casserole. The first thing to appreciate about the Fiesta Breakfast Casserole…
-
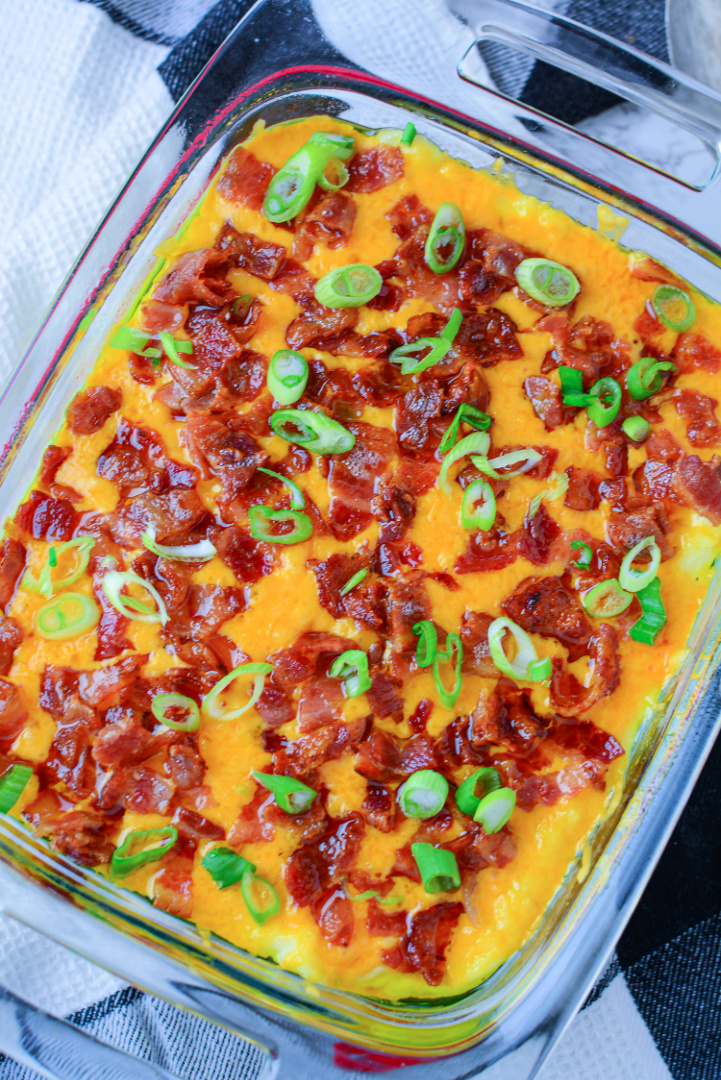
Loaded Mashed Potato Casserole
The Comforting Allure of the Loaded Mashed Potato Casserole Ah, the humble potato. Throughout history, it has fed nations, comforted the soul, and, most importantly for Roscoe’s Recipes readers, has been the star of countless delightful dishes. Today, we delve into a dish that is pure comfort on a plate: the Loaded Mashed Potato Casserole.…
-
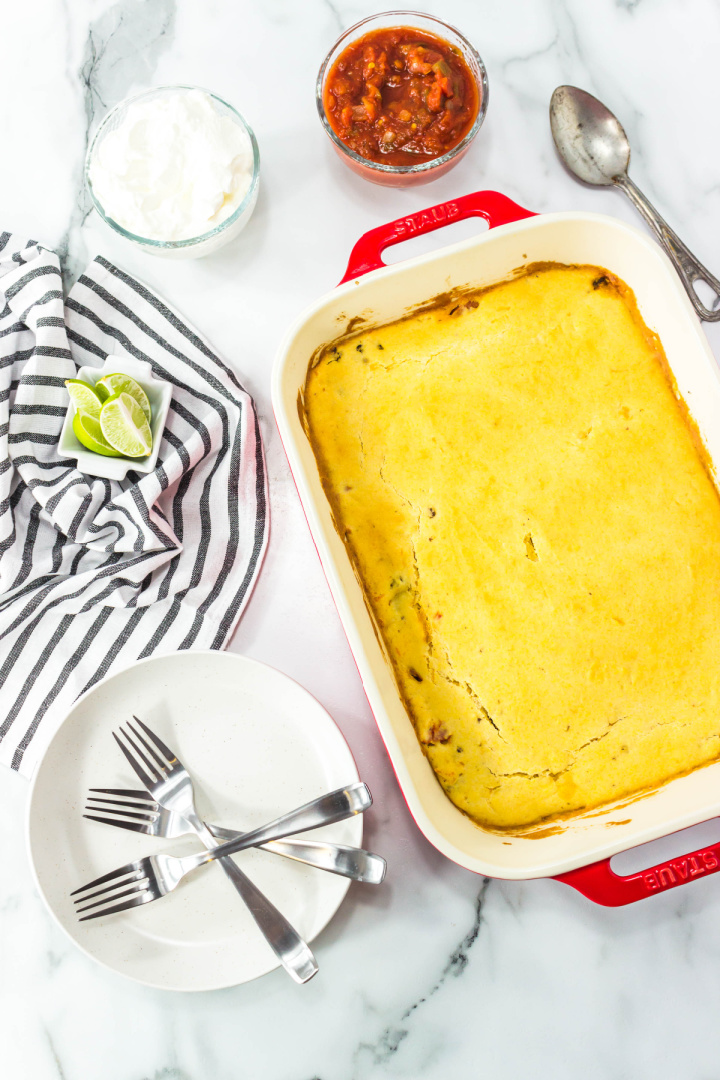
Taco Bake Casserole with Cornbread Topping
Hearty Taco Bake Casserole: A Comfort Food Favorite That Feeds a Crowd When weeknight dinners start feeling repetitive or you’re looking for something new to bring to the table, this easy taco bake casserole with cornbread topping is one of those go-to meals that just makes sense. It’s hearty, full of flavor, and doesn’t take…
-
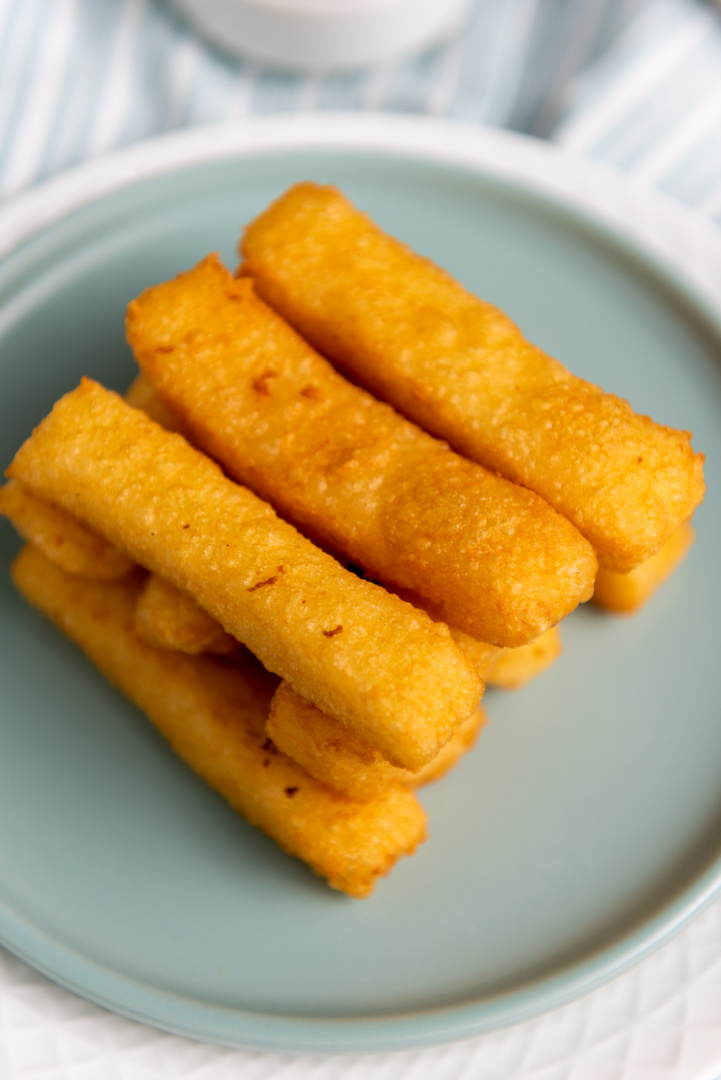
Cheesy Potato Sticks
Cheesy Potato Sticks: A Crispy Snack Everyone Loves When it comes to comfort food, potatoes never disappoint. Cheesy potato sticks take that classic favorite and turn it into a crunchy, golden snack that’s perfect for just about any occasion. With only a handful of ingredients and a simple cooking process, this recipe is one you’ll…
-
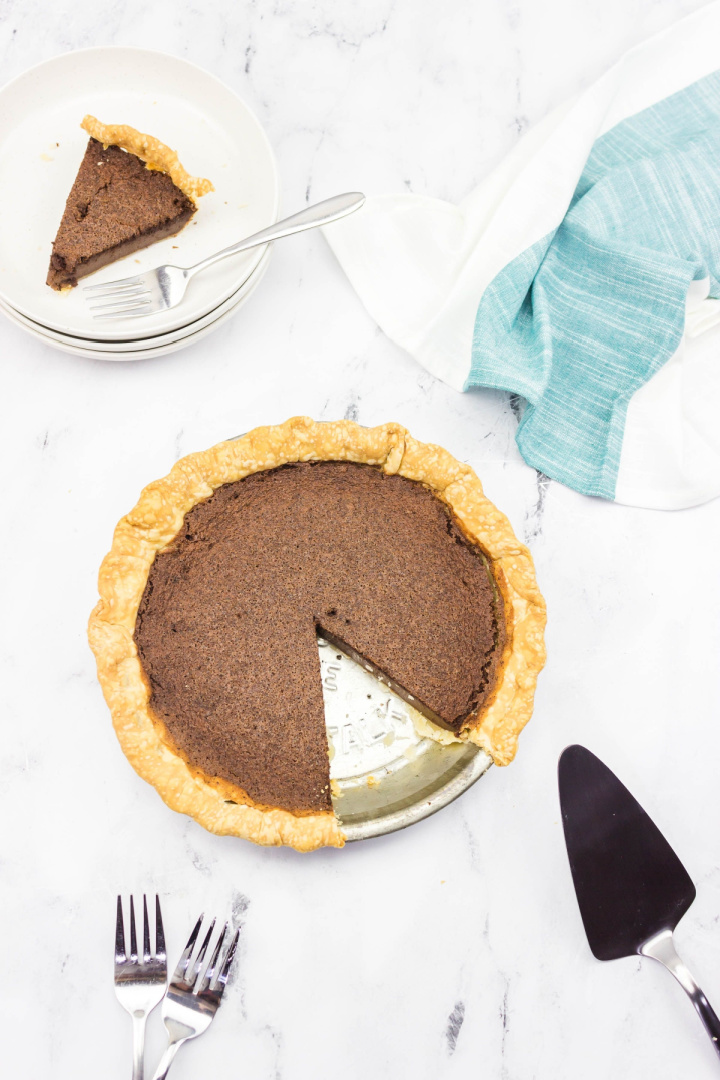
Chocolate Chess Pie
Are you a chocolate dessert lover always on the lookout for your next satisfying sweet indulgence? If yes, then you must try a Chocolate Chess Pie – an all-time favorite dessert that is both rich and decadent! The pie is a Southern favorite, originating in the American South, with its origins dating back to the…