-
Copycat Buffalo Wild Wings Lemon Pepper Wings
Disclaimer: This homemade copycat recipe is inspired by the popular Lemon Pepper Wings served at Buffalo Wild Wings. It is not affiliated with, endorsed by, or sponsored by Buffalo Wild Wings, and it is not the restaurant’s official recipe. This version is my own homemade recreation designed to capture a similar buttery lemon pepper flavor…

-
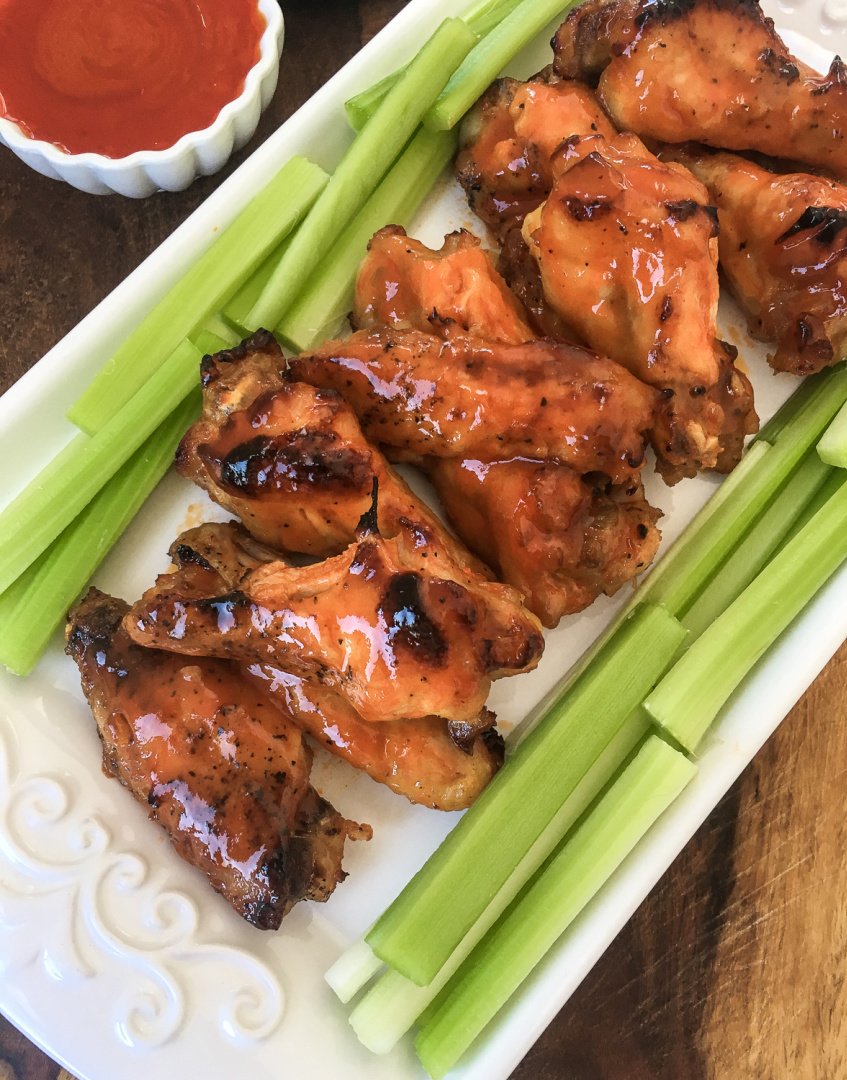
Instant Pot Buffalo Chicken Wings
This delicious Instant Pot Buffalo Chicken Wings recipe is a surefire way to satisfy your cravings! Not only are these wings incredibly flavorful, but they can be cooked up in minutes with the help of your trusty instant pot. With just a few simple ingredients, you’ll have a full plate of delicious and spicy buffalo…
-
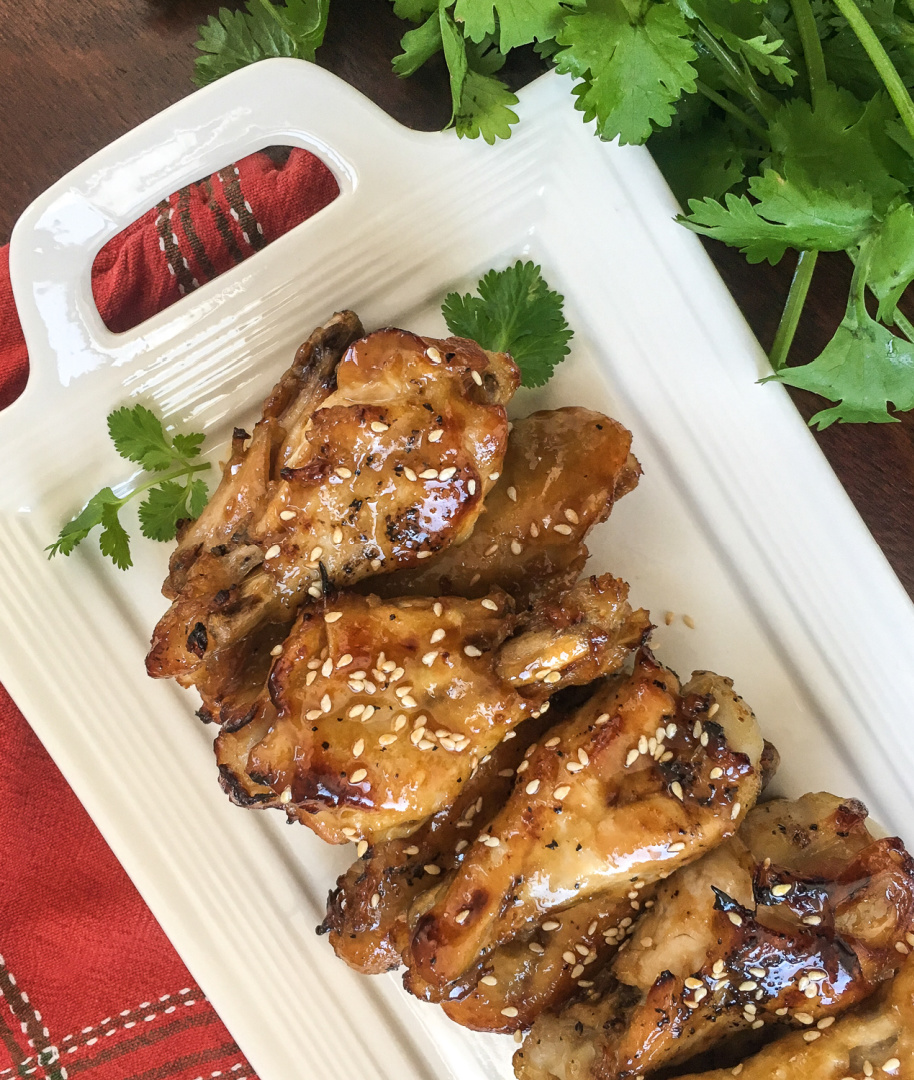
Instant Pot Sesame Garlic Chicken Wings
These Instant Pot Sesame Garlic Chicken Wings are full of flavor and incredibly easy to make! All you need are a few simple ingredients, your trusty Instant Pot, and a craving for deliciousness. The sesame garlic marinade gives the wings that authentic Asian flavor while still being subtle enough to not overpower the natural taste…
-
Chicken Wing Recipes
Are you looking for some delicious and easy chicken wing recipes that are sure to please everyone in the family? Well, look no further! Here’s my selection of chicken wing recipes for you to try out. From classic flavors like Buffalo wings to more daring creations like sesame garlic wings, there is something for every…
-
Homemade Guacamole
Homemade Guacamole Ingredients: Instructions: Cut the avocados in half, remove and discard the skin and pit. Put the avocado in a bowl and set aside. Dice the tomatoes and set aside. Dice the onion and set aside. Chop the jalapeno and set aside. Chop the cilantro and set aside. Cut the lime in half and…