-
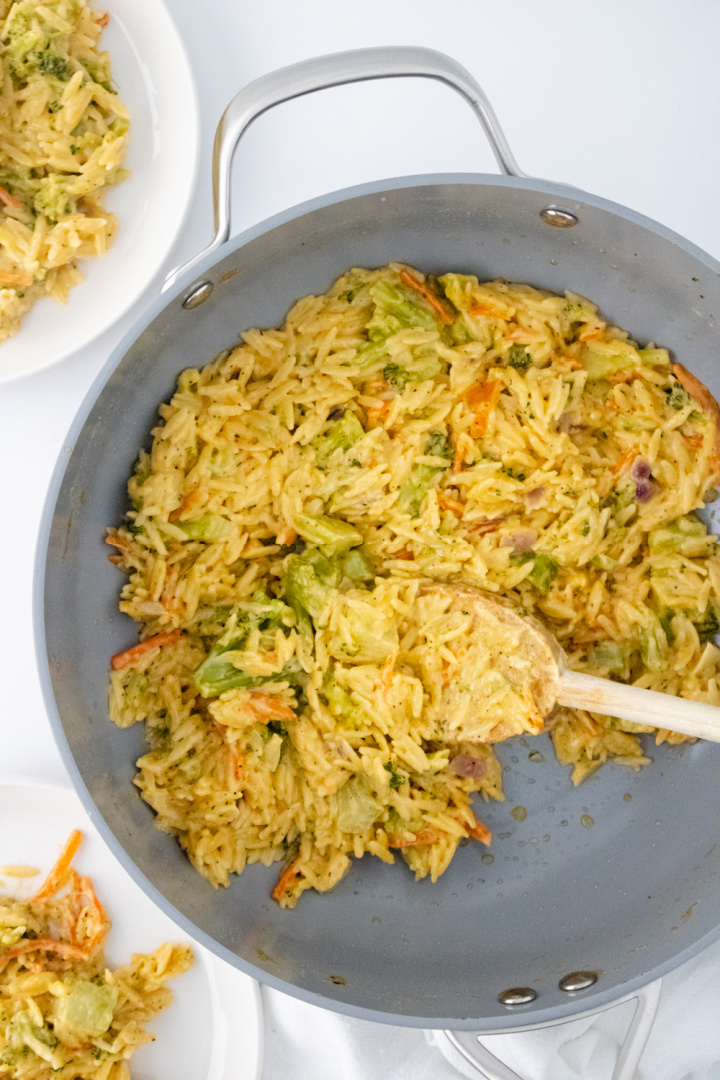
Broccoli Cheddar Orzo Pasta
Easy Broccoli Cheddar Orzo Pasta Recipe for Busy Families If you’re looking for a quick and satisfying weeknight dinner idea that doesn’t involve a sink full of dishes or a long ingredient list, this Broccoli Cheddar Orzo Pasta recipe needs to be on your radar. It’s creamy, comforting, and simple enough to whip up in…
-
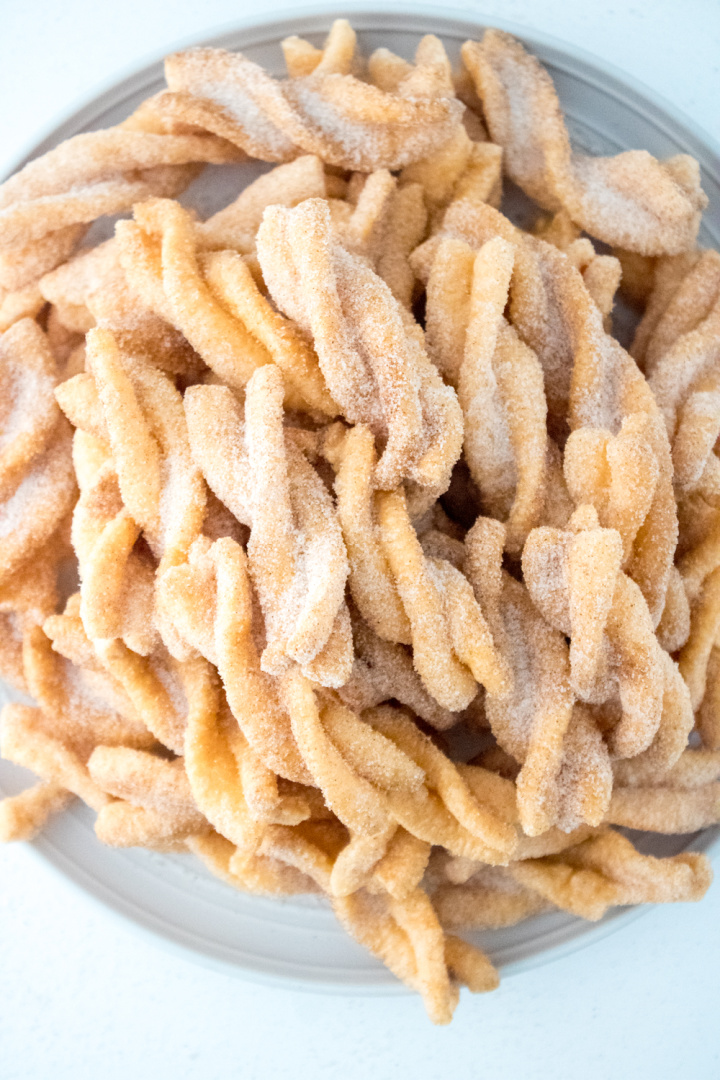
Easy Cinnamon Twists Recipe (Sweet Fried Cinnamon Sugar Snack)
If you’re looking for a quick sweet snack with plenty of crunch, these Cinnamon Twists are hard to beat. Crispy, light, and coated in a simple cinnamon sugar mixture, they come together in just minutes and make a fun homemade treat for the whole family. Made with duros (duritos) pasta, these fried twists puff up…
-
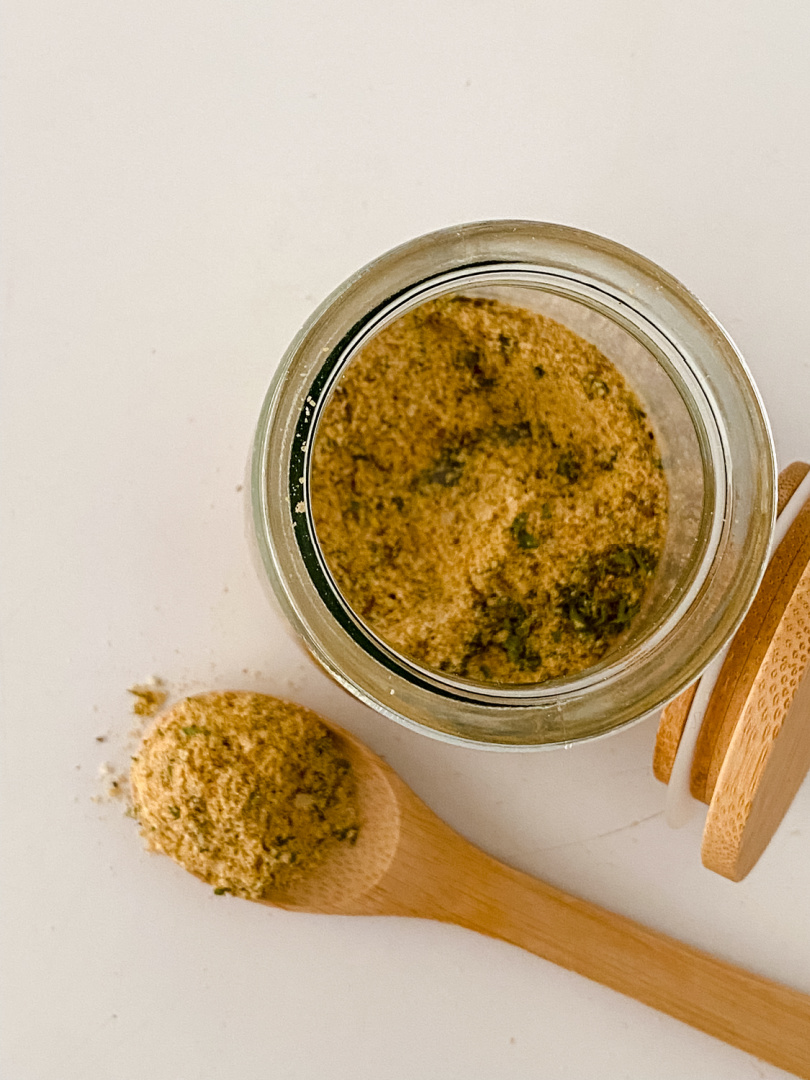
Ramen Seasoning
Ramen Seasoning Equipment Time: 3 mins Yield: 10 servings Ingredients: Instructions: Mix all seasonings together. Store in an airtight container, seasoning shaker or mason jar. Recommended usage: When making homemade Ramen noodles the ratio is 2 cups water to 1 tablespoon seasoning. Bring two cups water to a boil. Add in dried Ramen noodles. Cook…
-
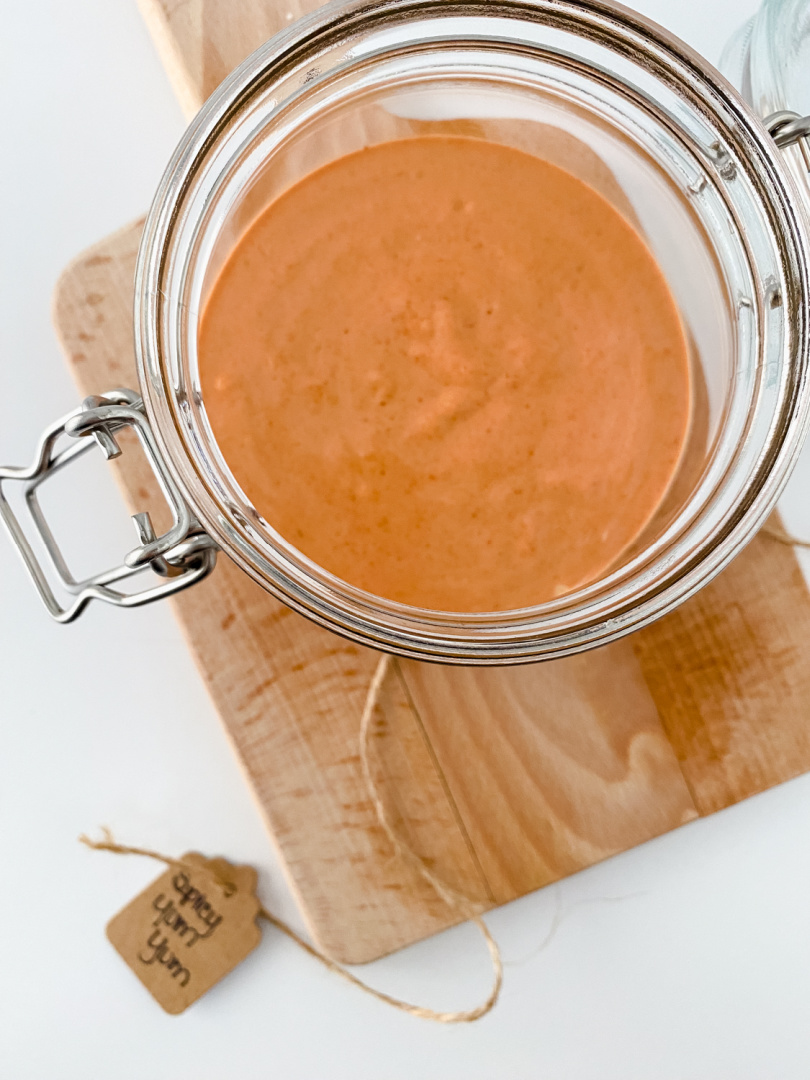
Spicy Yum Yum Sauce
Spicy Yum Yum Sauce Equipment Time: 3 mins Yield: 4 servings Ingredients: Instructions: Mix all ingredients together. Store in an airtight container or mason jar. Can be stored for up to up to a week. Notes: This is a healthy alternative to store bought Yum Yum sauce. To cut the heat remove the sriracha.
-
Sweet Chili Chicken Egg Rolls
Sweet Chili Chicken Egg Rolls: A Crispy, Flavor-Packed Appetizer Everyone Will Love If you’re looking for an easy chicken egg roll recipe with sweet chili sauce that brings both crunch and flavor, this one’s for you. These homemade sweet chili chicken egg rolls are a southern-style spin on a popular takeout favorite, and they come…