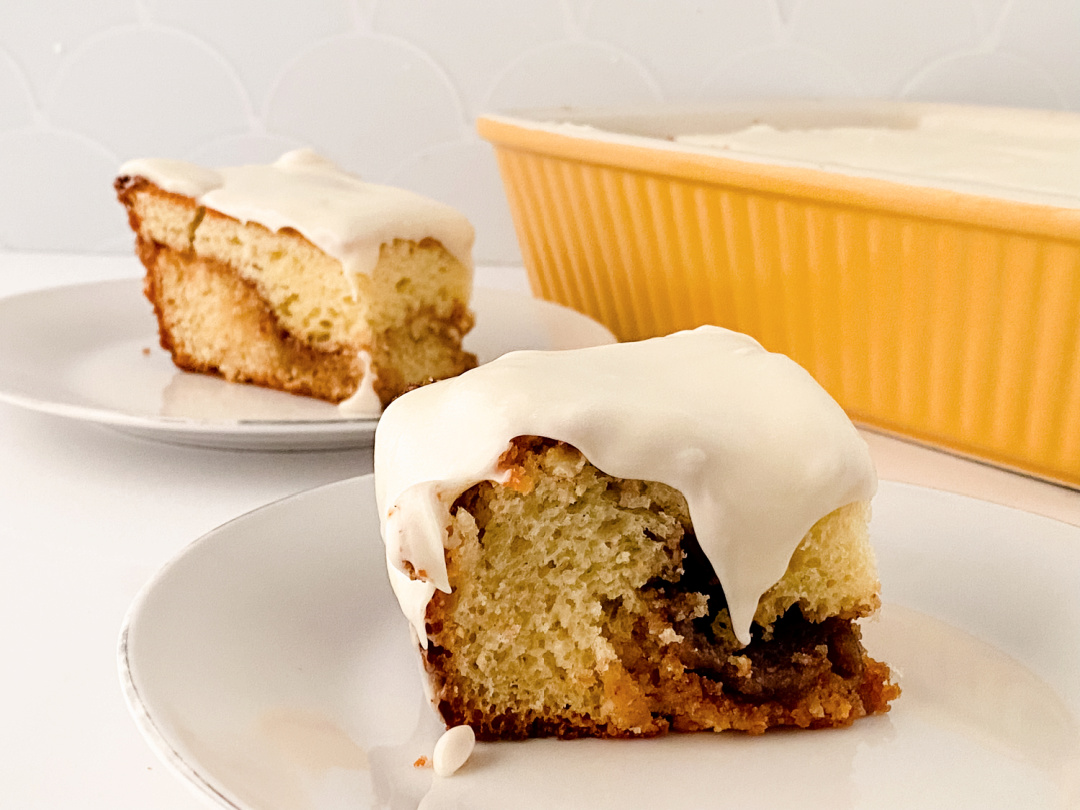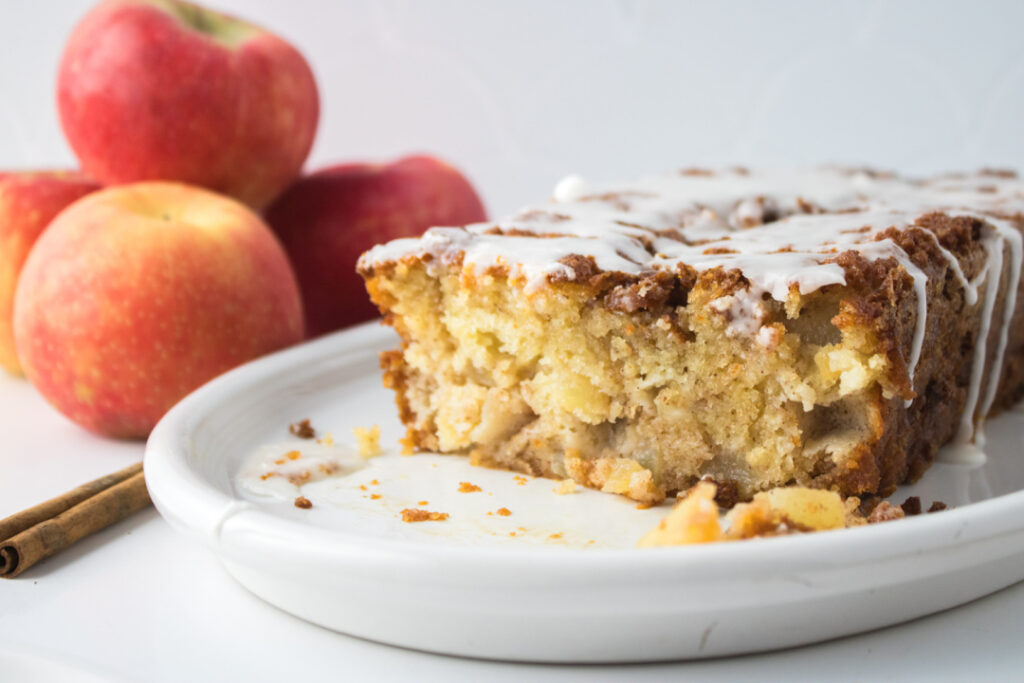
Apple Fritter Loaf Cake: A Cozy, Crowd-Pleasing Southern Favorite
If you’re the kind of person who looks forward to apple season, crisp mornings, and cozy baking projects that make the house smell like a dream, this apple fritter loaf cake recipe was made for you.
It’s one of those baked goods that fits just right into a Saturday morning routine or a lazy Sunday afternoon, especially when served warm with a mug of coffee or cold glass of milk.
A Fall Favorite That Works Year-Round
Even though this cake leans into those classic fall flavors with chopped apples and warm apple pie spice, don’t box it into one season.
This loaf can be made any time of year—whether you’re using fresh-picked apples from the orchard or the ones you’ve had in the fridge for a bit too long.
It’s perfect for anyone searching for a quick and easy apple bread with glaze that feels homemade and comforting without too much fuss.
Banana Bread with Pecans and Walnuts
Instant Pot Apple and Blueberry Crisp
Who Is This Recipe For?
This apple fritter loaf is ideal for folks who love old-fashioned southern baking recipes but don’t necessarily want to spend hours in the kitchen.
It’s great for busy parents wanting to surprise their kids with a sweet treat after school, retirees baking for a church potluck, or anyone craving the flavors of a classic apple fritter in a loaf cake form.
If you’ve ever typed “apple fritter bread recipe like grandma used to make” into Google, this one checks all the boxes. It’s buttery, tender, packed with juicy apples, and finished with a simple cinnamon glaze that brings it all together.
When and Where to Serve Apple Fritter Loaf Cake
This loaf cake shines at just about any occasion.
Serve it as a brunch centerpiece, bring it to a neighbor as a thoughtful gift, or slice it up for dessert at a casual family dinner. It holds up well at room temperature, so it’s also a solid option for picnics or road trips.
Hosting a fall gathering?
This is a fantastic addition to the table alongside hot cider or spiced tea. It’s also a great make-ahead option—bake it the night before, let it cool, and drizzle the glaze on right before serving for that fresh-from-the-oven look and taste.
How to Use This Recipe in Creative Ways
One of the best things about this easy glazed apple bread recipe is how versatile it is. You can:
- Turn it into muffins: Pour the batter into a muffin tin for single-serve portions. Just cut down the bake time and keep an eye on them.
- Add nuts or raisins: Fold in some chopped pecans or golden raisins for added texture.
- Use it as French toast: Slice a leftover piece thick and turn it into decadent apple fritter French toast the next morning.
- Pair it with ice cream: Serve a warm slice with a scoop of vanilla bean or cinnamon ice cream for an easy southern dessert.
- Wrap it as a gift: This loaf makes a great homemade holiday or hostess gift. Wrap it in parchment paper and tie it with a little twine for a simple but thoughtful presentation.
A Must-Have Recipe for Your Southern Baking Rotation
Whether you’re looking for a moist apple loaf cake recipe, something to satisfy your sweet tooth, or just a simple way to use up a couple of apples, this one’s worth saving.
With just a few pantry staples and minimal prep, you’ll have a soft, cinnamon-swirled loaf that tastes just as good the next day (if there’s any left).
If you’re after a southern-style apple dessert that’s easy to make, comes together in about an hour and a half, and tastes like it came from a cozy little bakery down the road, this one’s a keeper.
Apple Fritter Loaf Cake
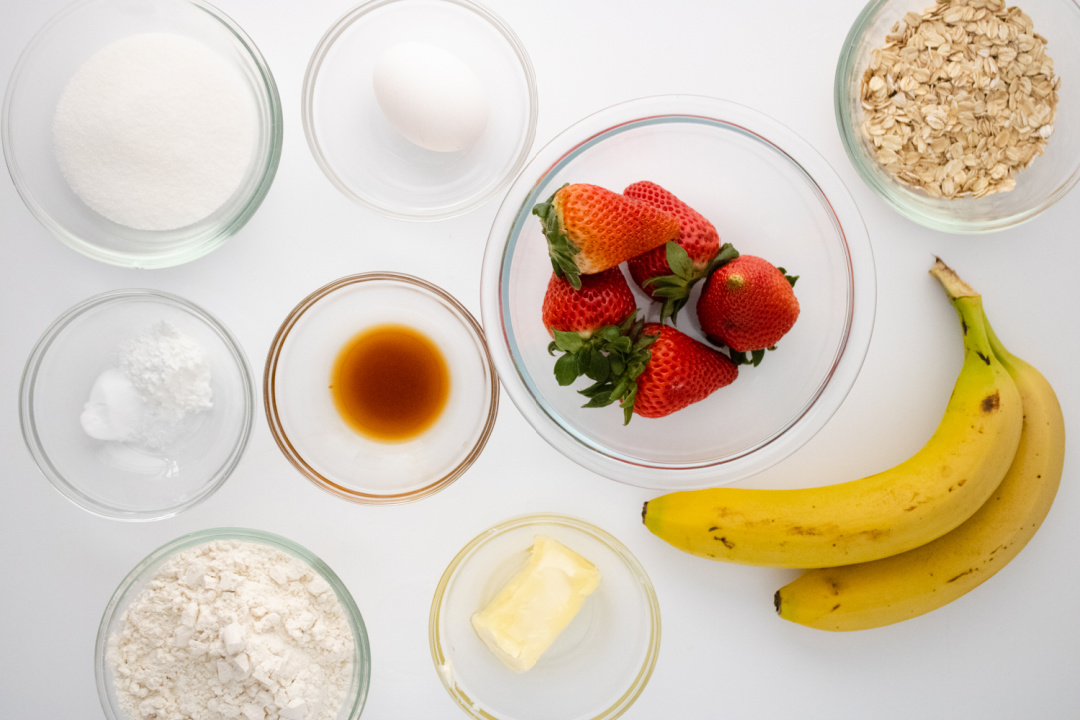
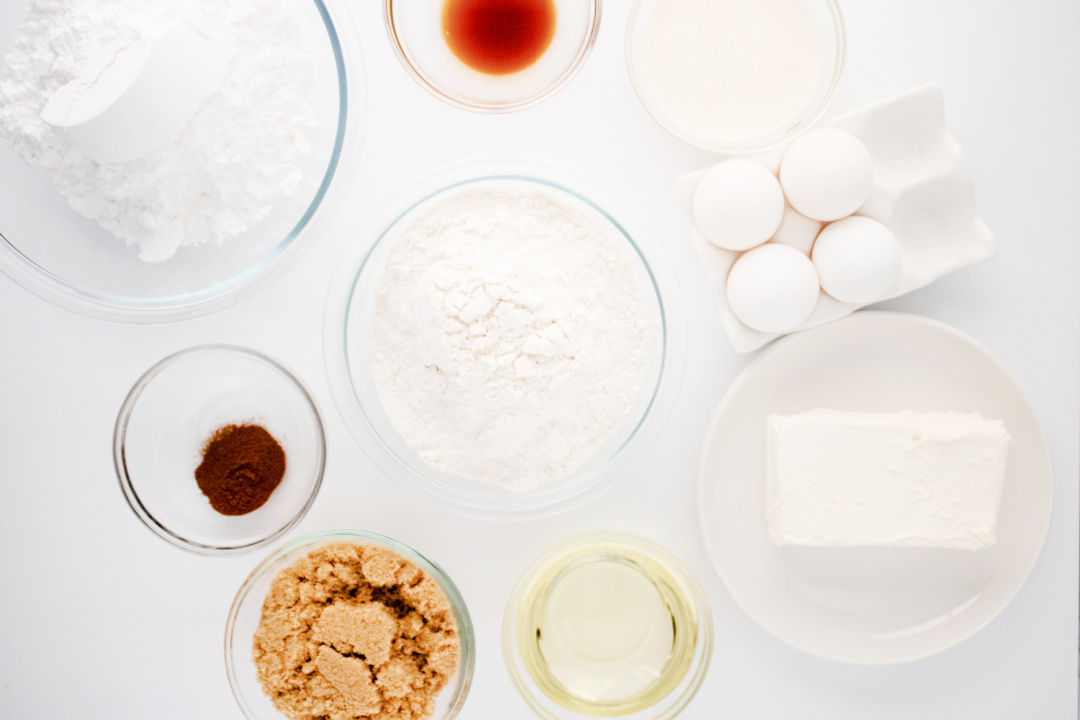
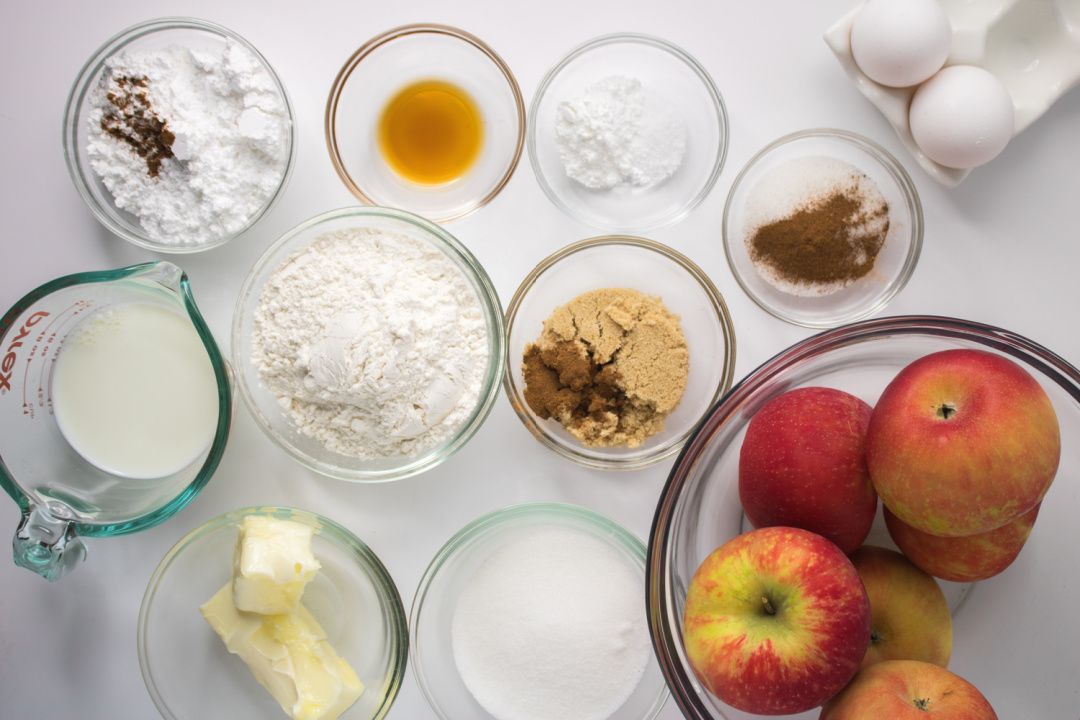
Ingredients:
- 1/2 cup butter, softened
- 2/3 cup granulated sugar
- 2 eggs
- 1 1/2 tsp vanilla extract
- 1 1/2 cups all-purpose flour
- 2 tsp baking powder
- 1 tsp salt
- 1/2 cup milk
Apple Mixture:
- 2 apples, chopped (peeled if desired)
- 2 tbsp granulated sugar + 1 tsp apple pie spice
Spiced Sugar Swirl:
- 1/3 cup brown sugar
- 1 tsp apple pie spice
Glaze:
- 1 cup powdered sugar
- 1 tsp apple pie spice
- 1-2 tbsp milk
Instructions:
Preheat oven to 350F.
Grease and flour a standard 9×5” loaf pan (or liberally spray with nonstick).
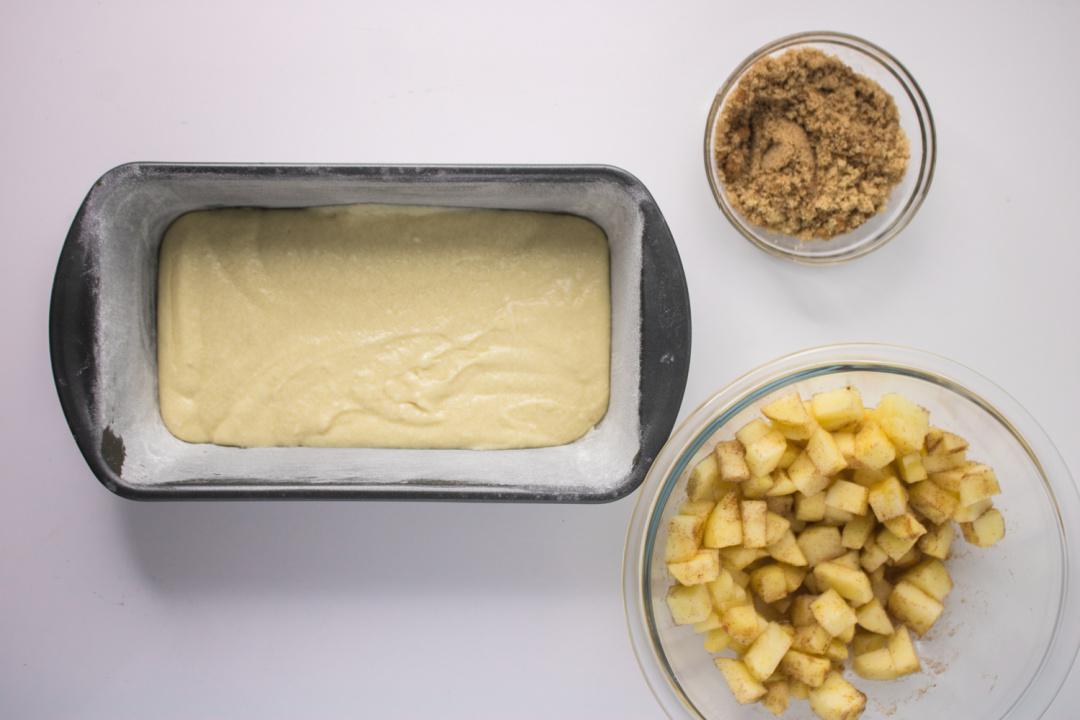
To a small bowl, mix together the brown sugar and apple pie spice and set aside.
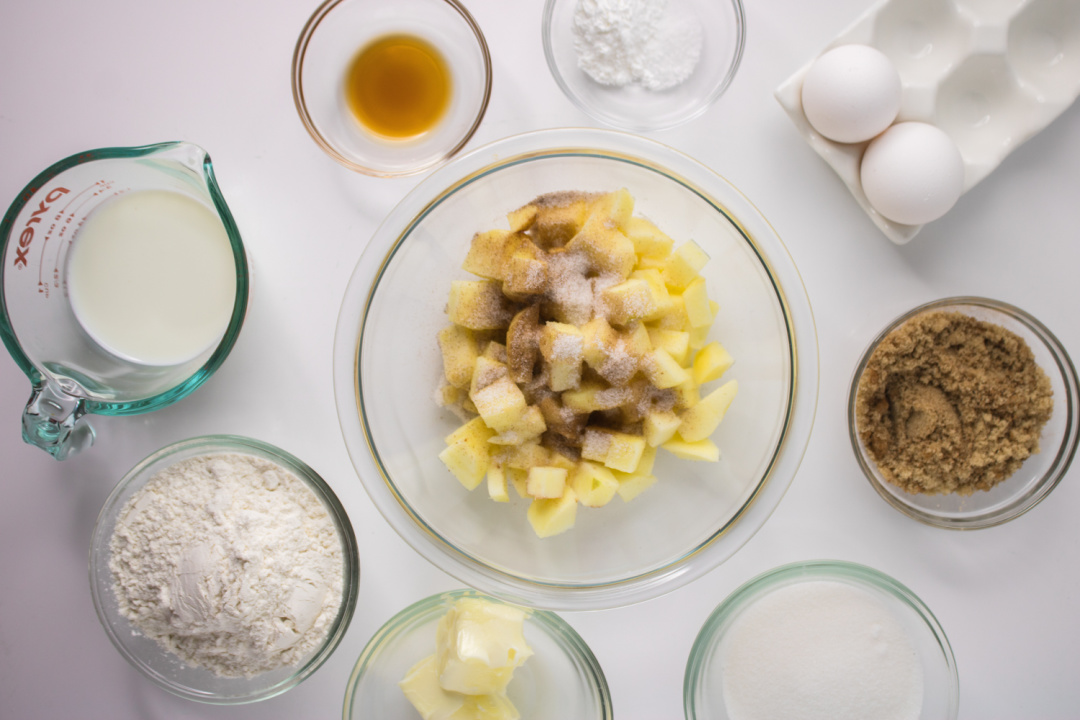
In a separate medium bowl, toss the chopped apples with the granulated sugar and apple pie spice; set aside.
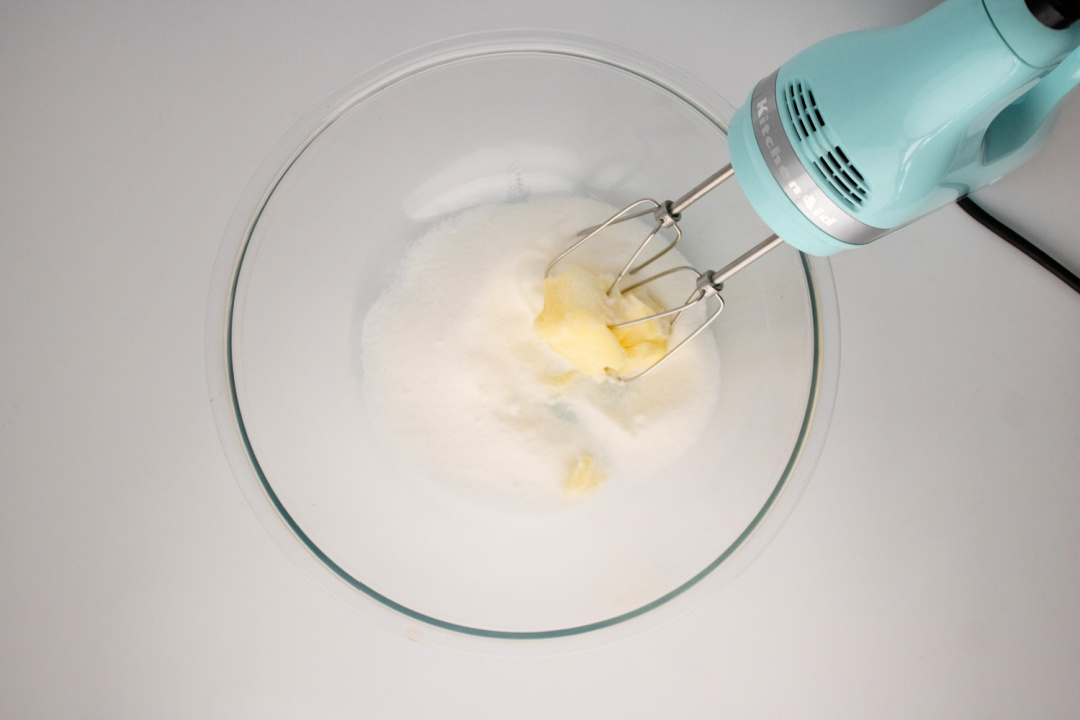
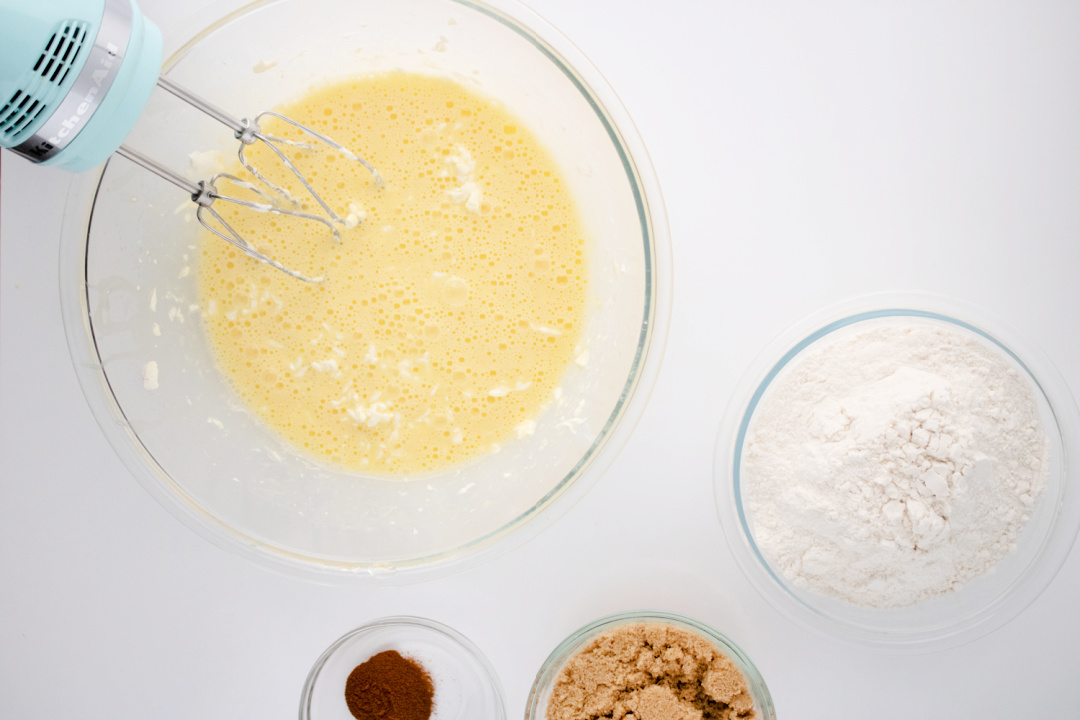
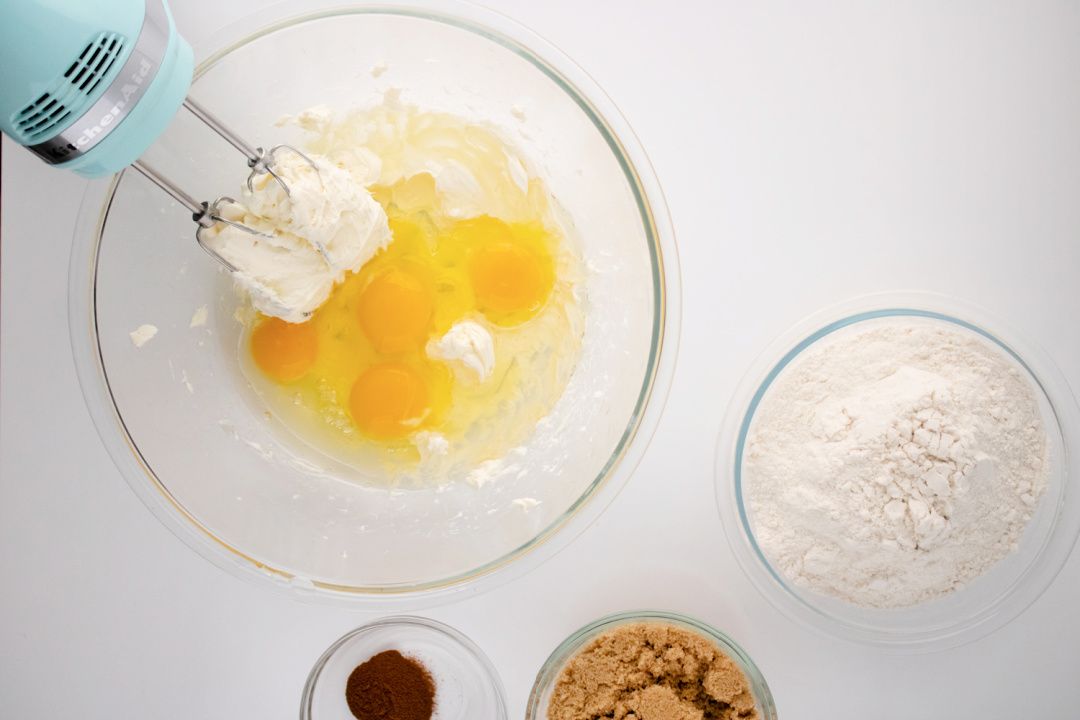
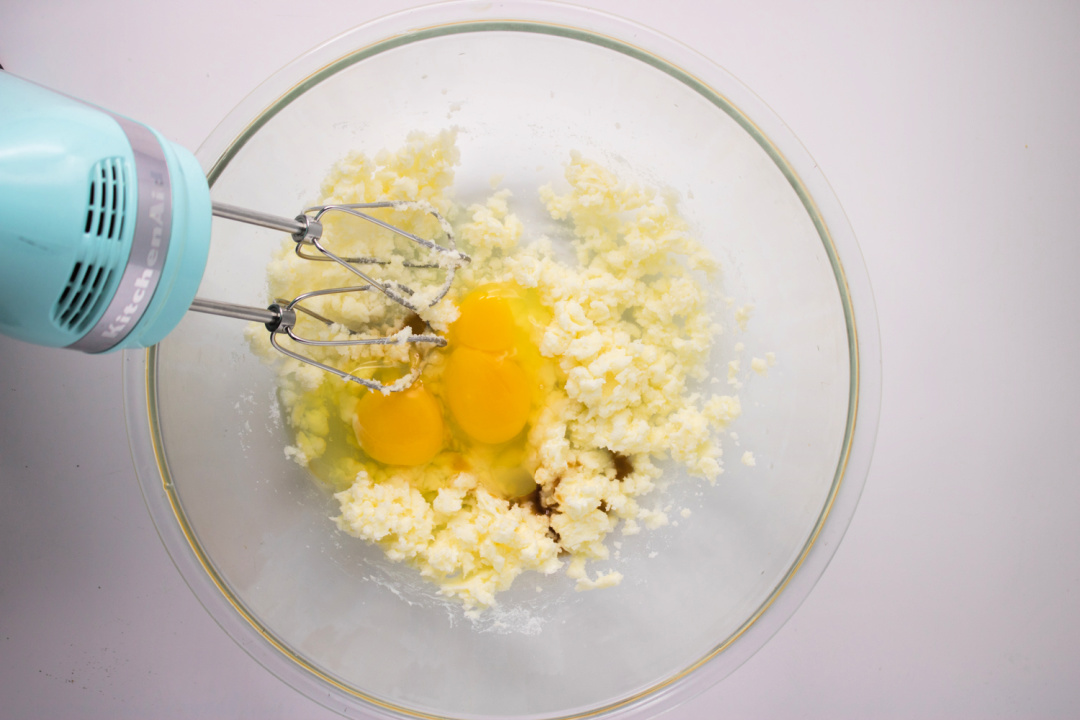
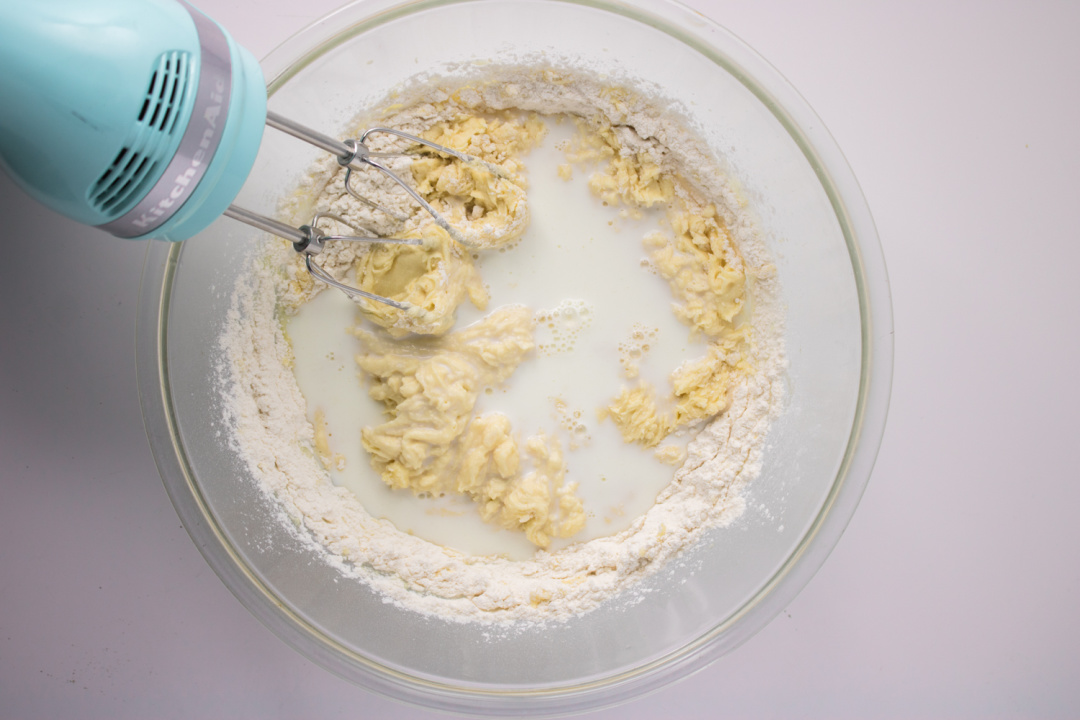
In a large bowl, beat the butter and granulated together until fluffy.
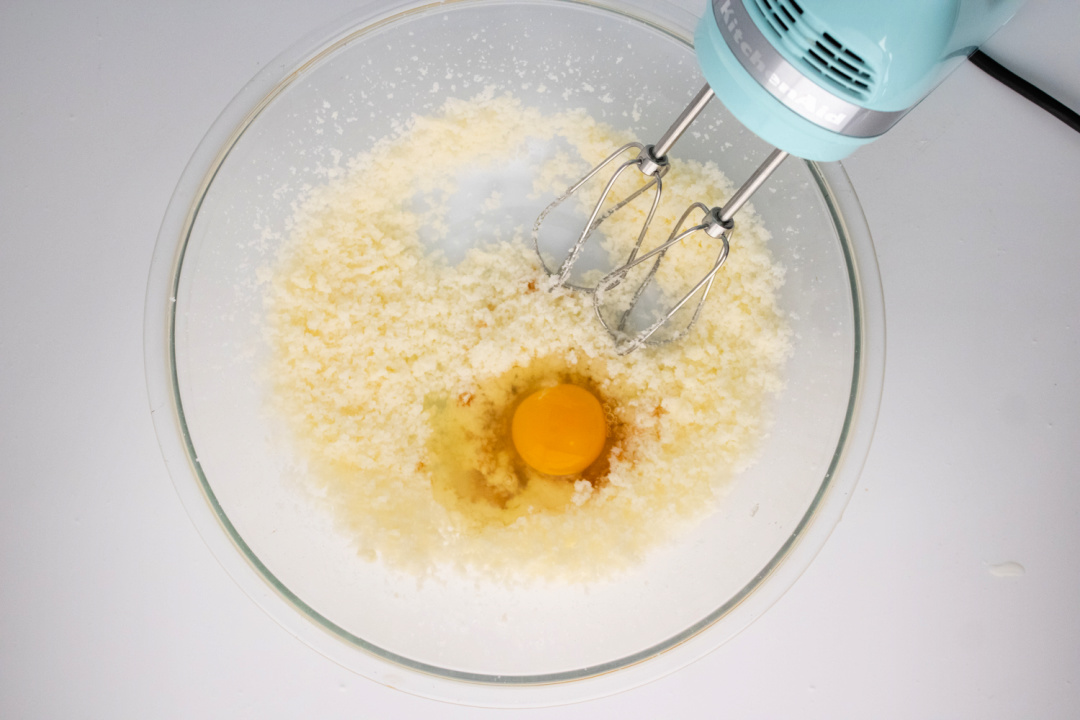
Beat in the eggs and add the vanilla extract.
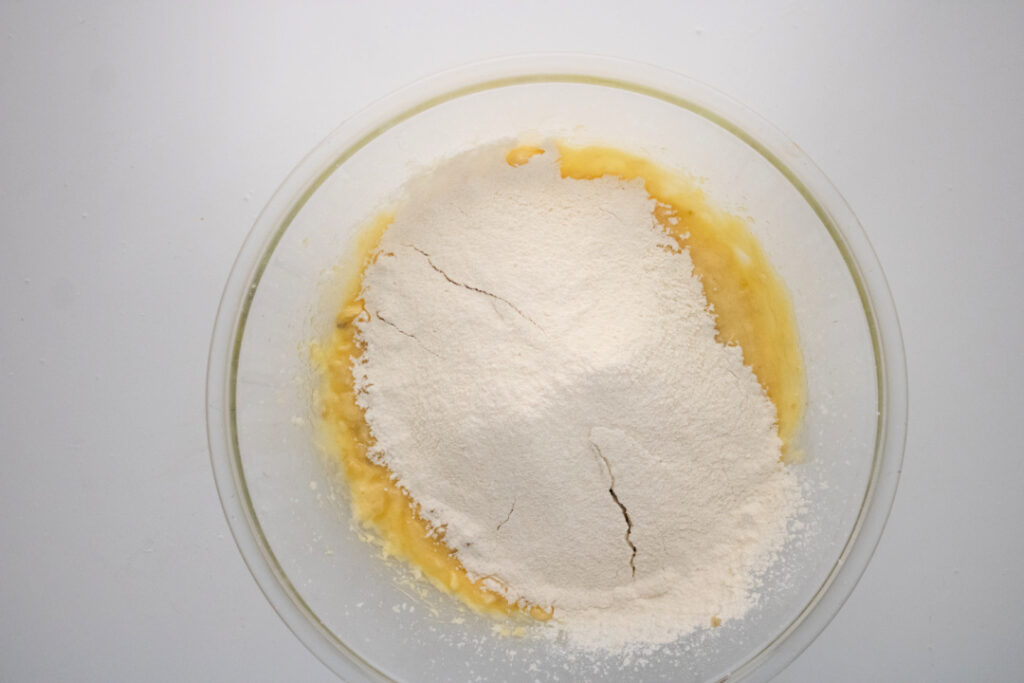
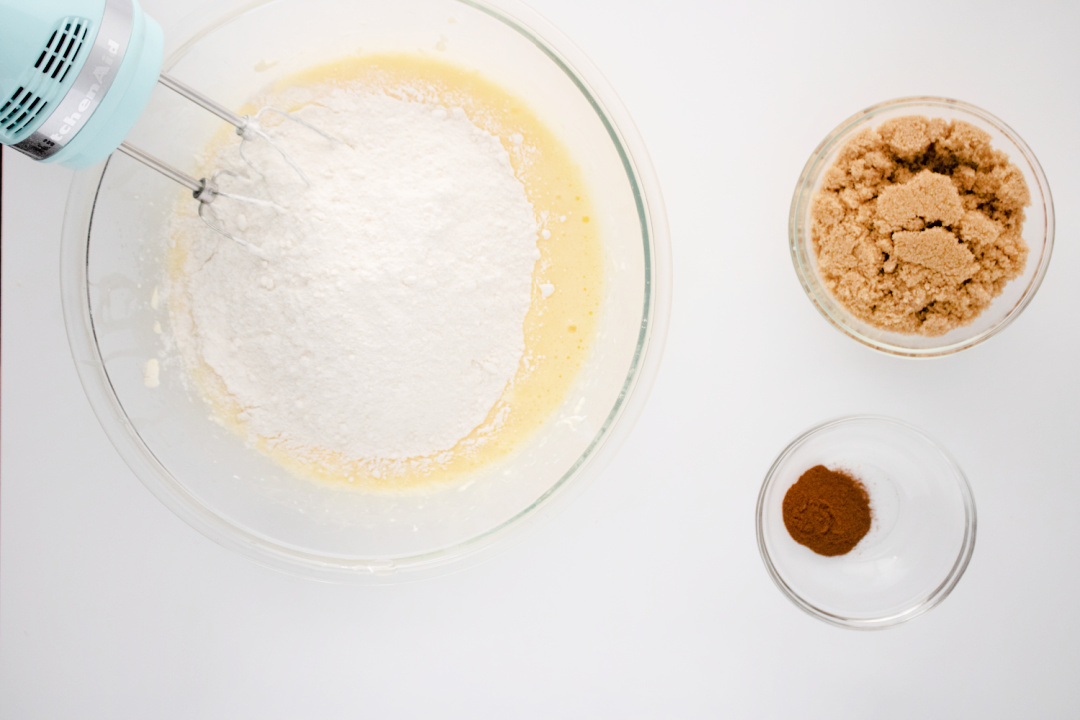
Whisk together the flour, baking powder, and salt in a separate medium bowl, then add to the wet mixture.
Beat until well combined.
Add in the milk and continue to beat until the batter is smooth.
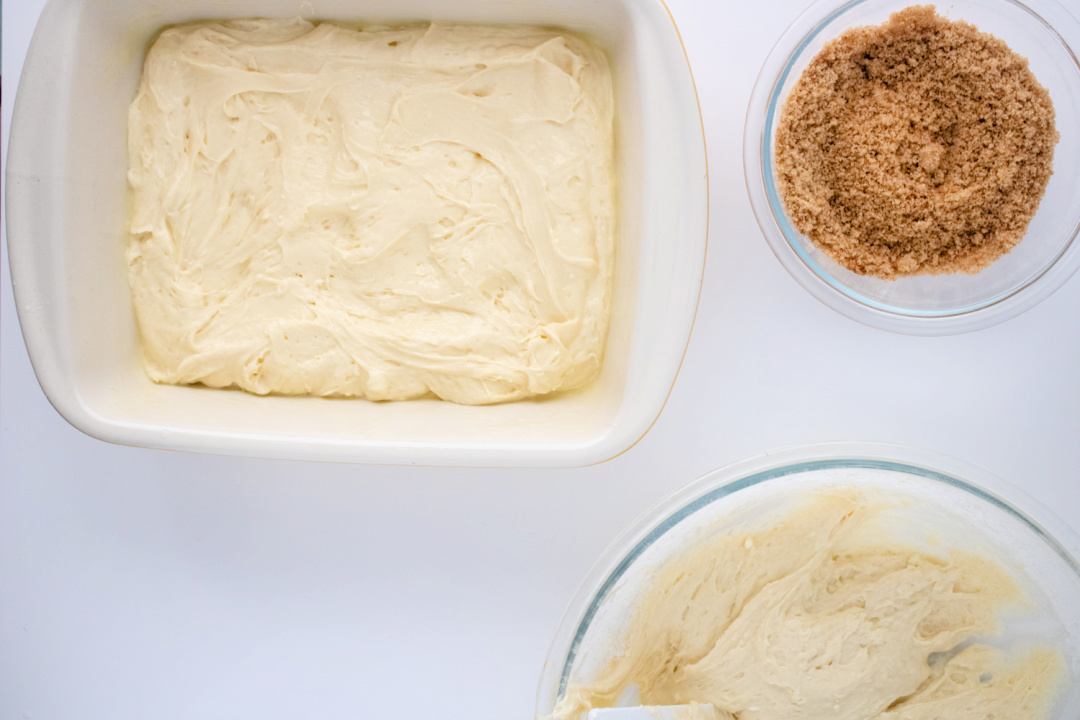
Pour half the batter into the prepared loaf pan.
Add half of the chopped apple mixture.
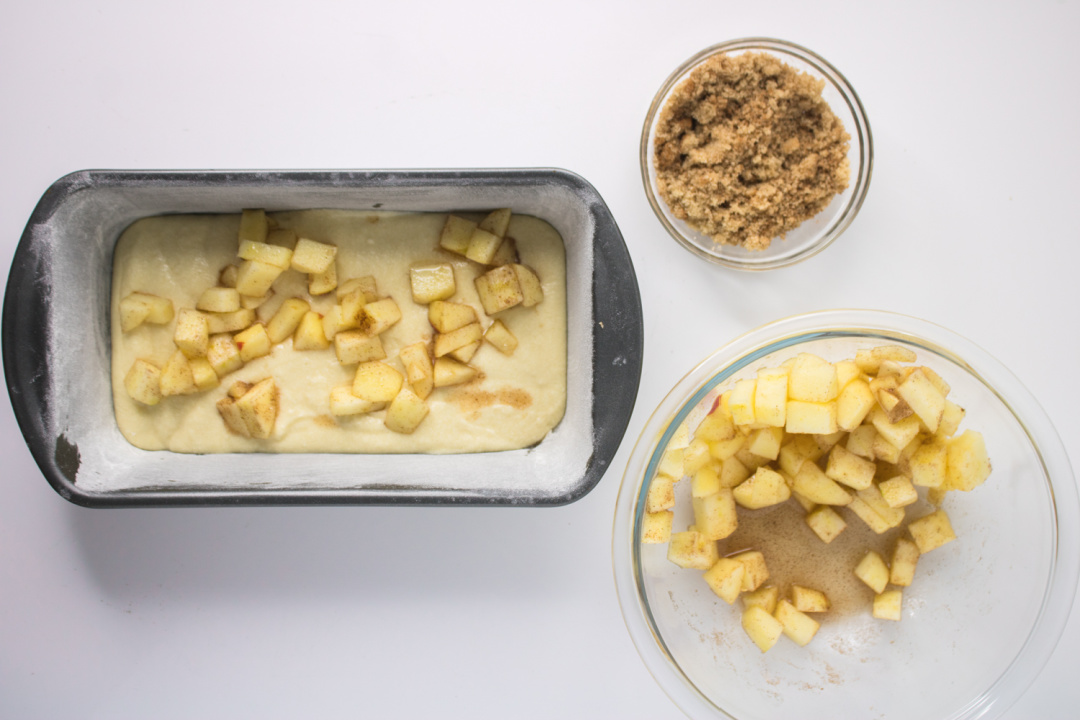
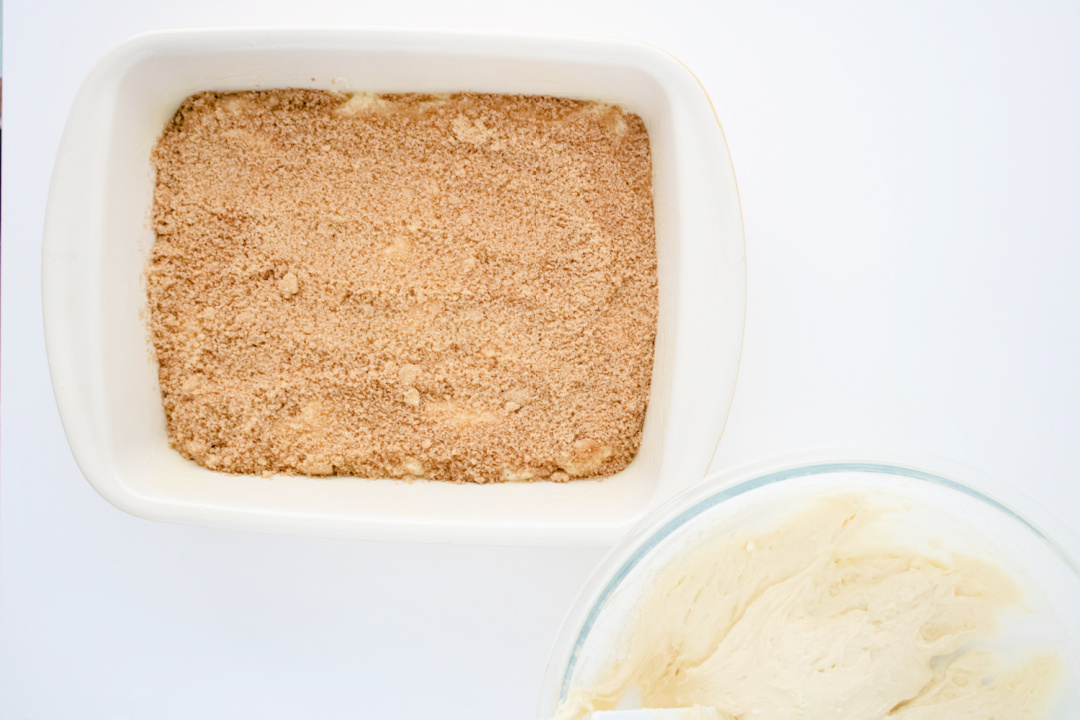
Sprinkle half of the cinnamon and brown sugar mixture on top of the apple layer.
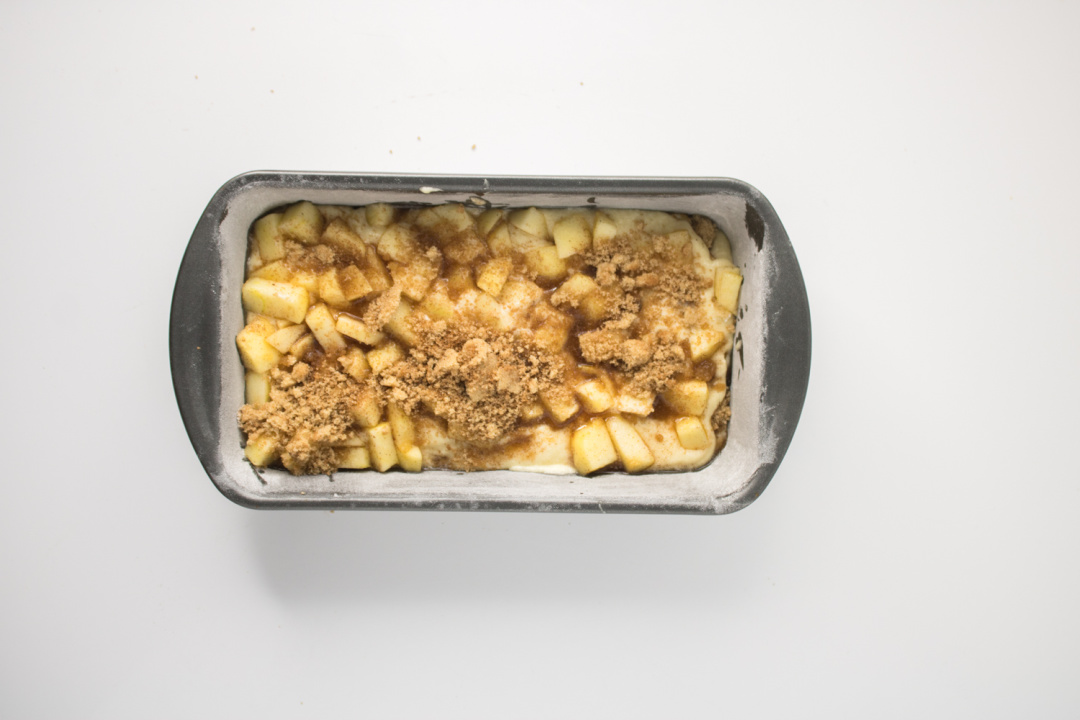
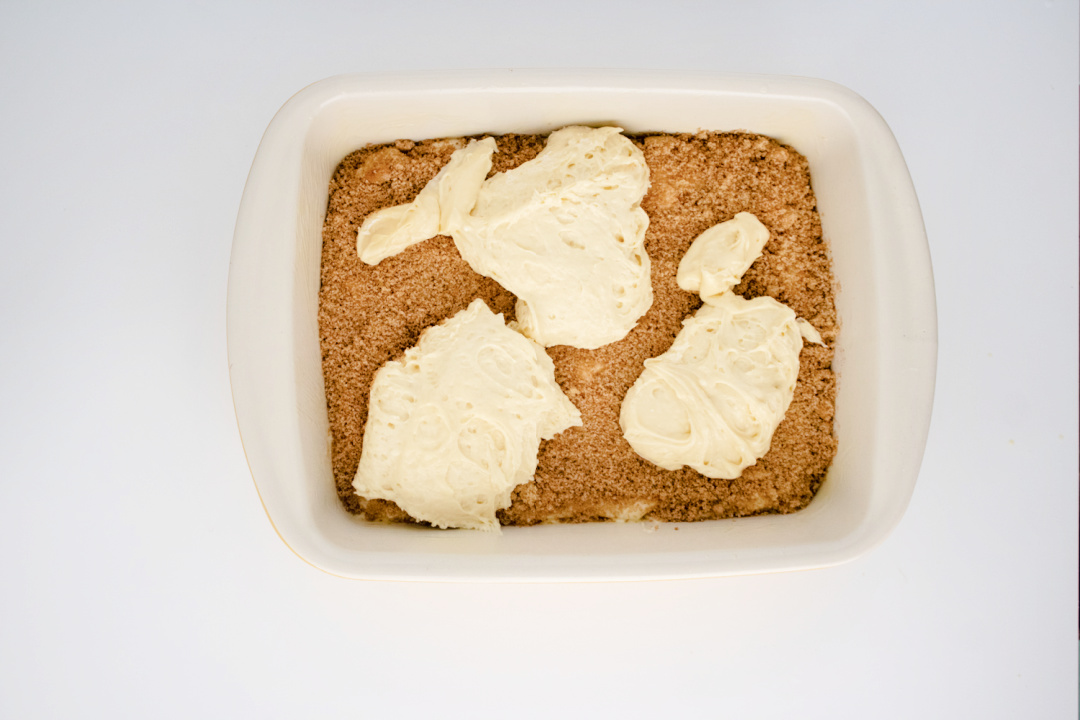
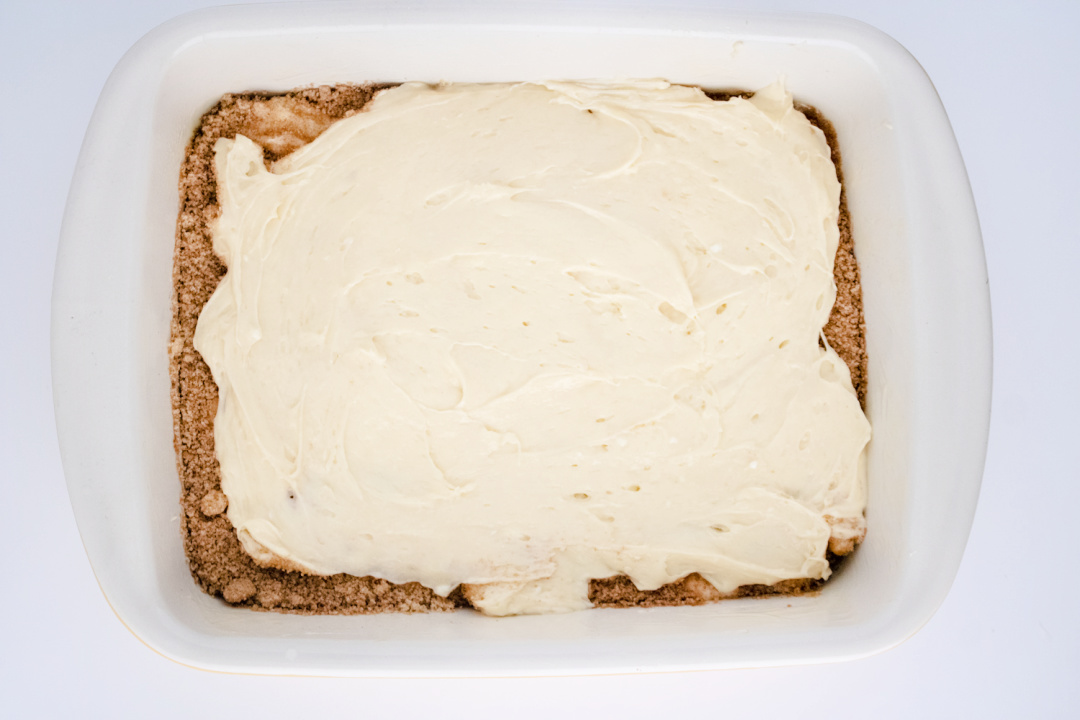
Pour the rest of the batter over the apple layer.
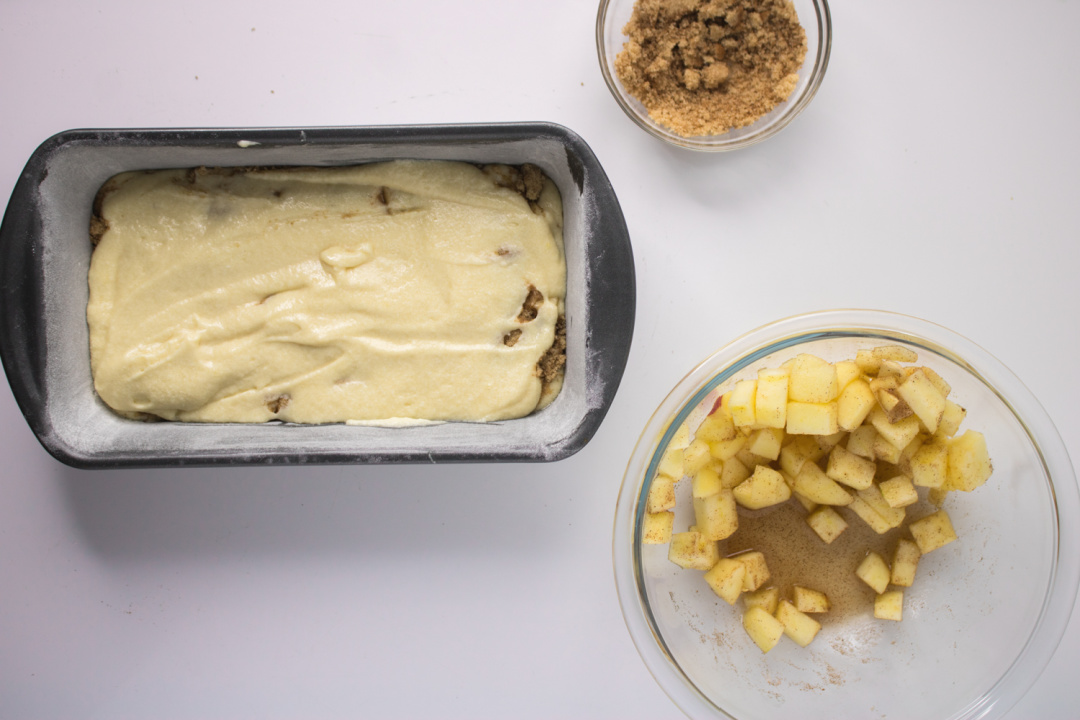
Add the remaining chopped apples.
Then sprinkle the remaining cinnamon and brown sugar mixture.
Lightly press the apples into the batter and gently swirl the brown sugar mixture through it, using a knife.
Bake at 350F for 50-60 minutes, or until a toothpick inserted into the middle comes out clean and the top is golden brown.
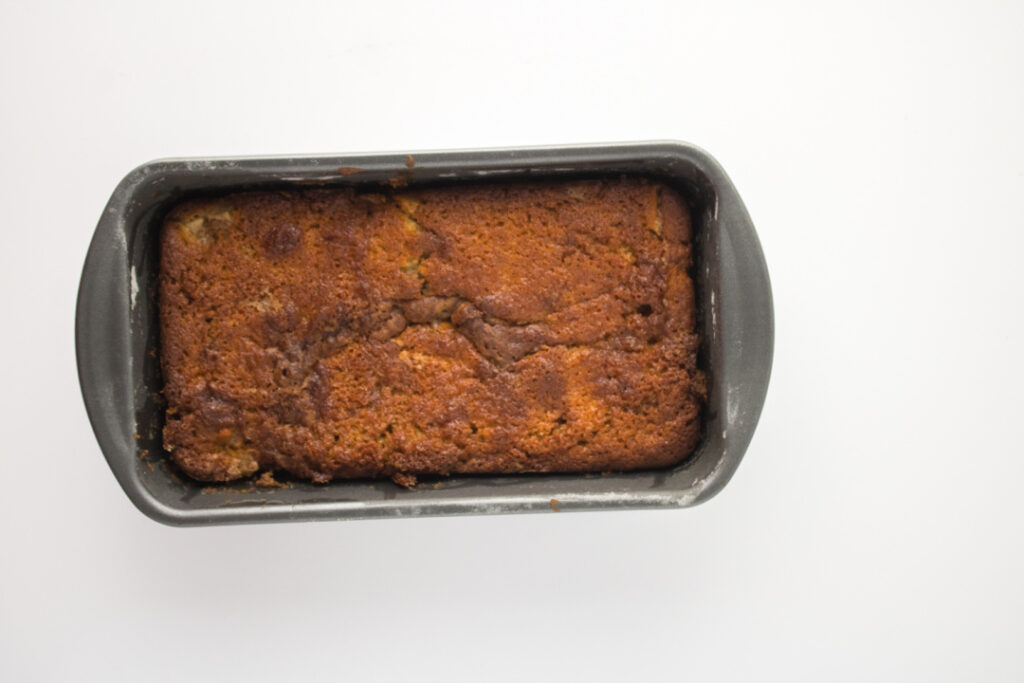
Let the loaf rest in the pan for 15 minutes, then remove and transfer to a wire cooling rack to cool completely.
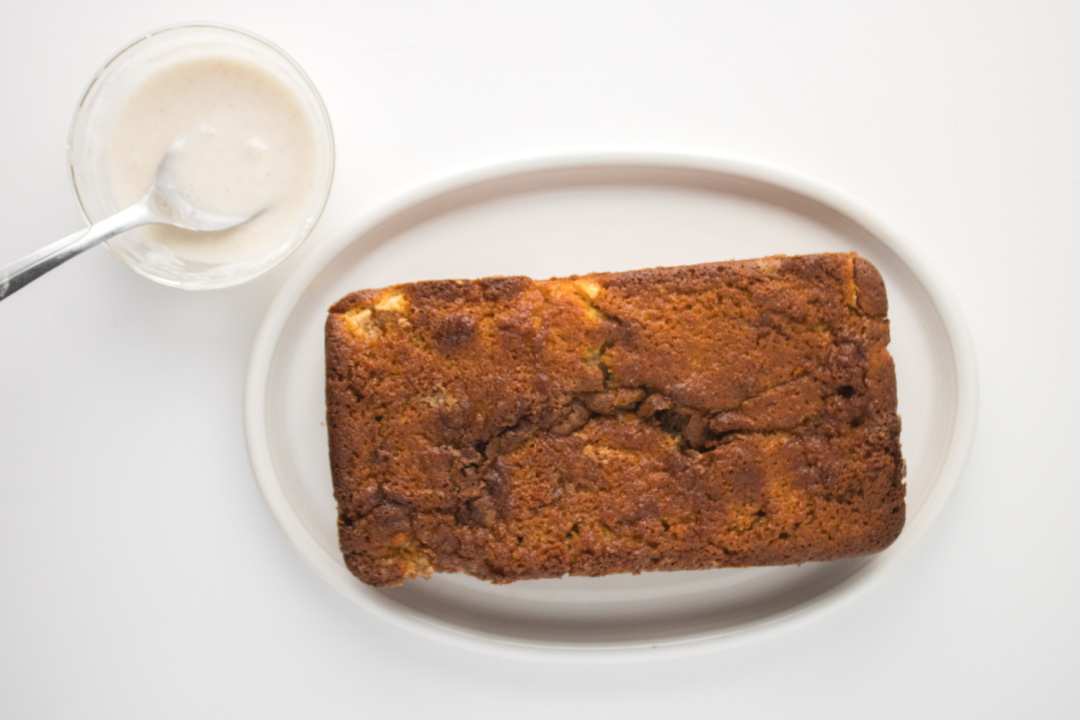
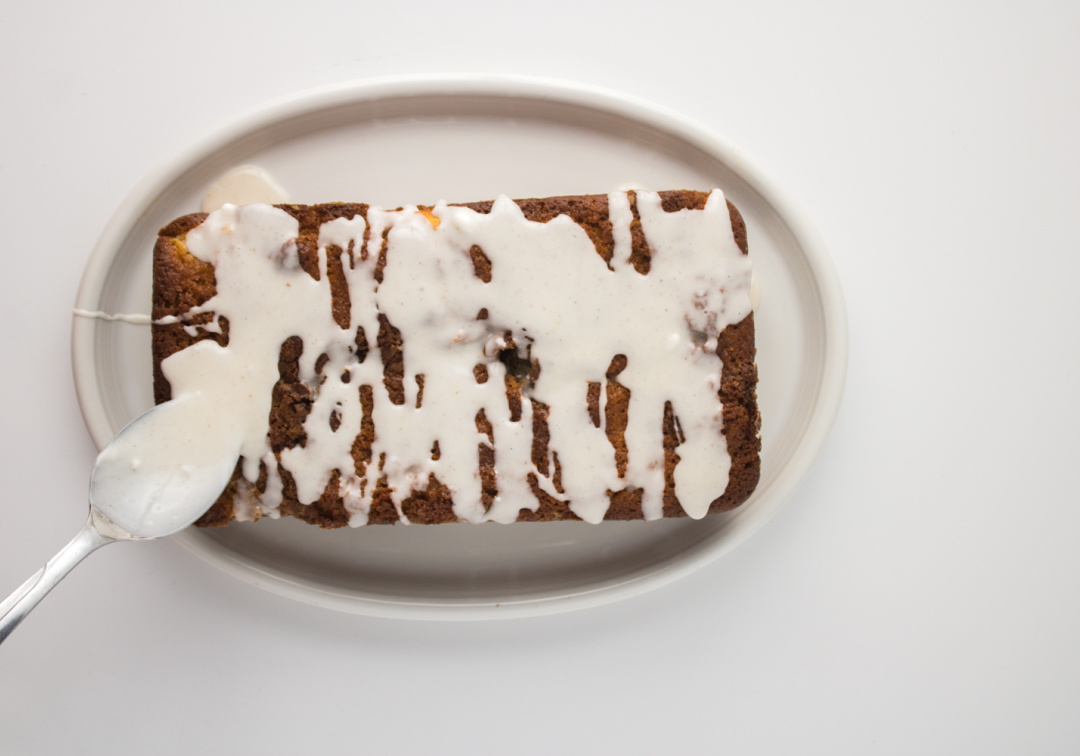
Whisk the ingredients for the cinnamon glaze together in a small bowl.
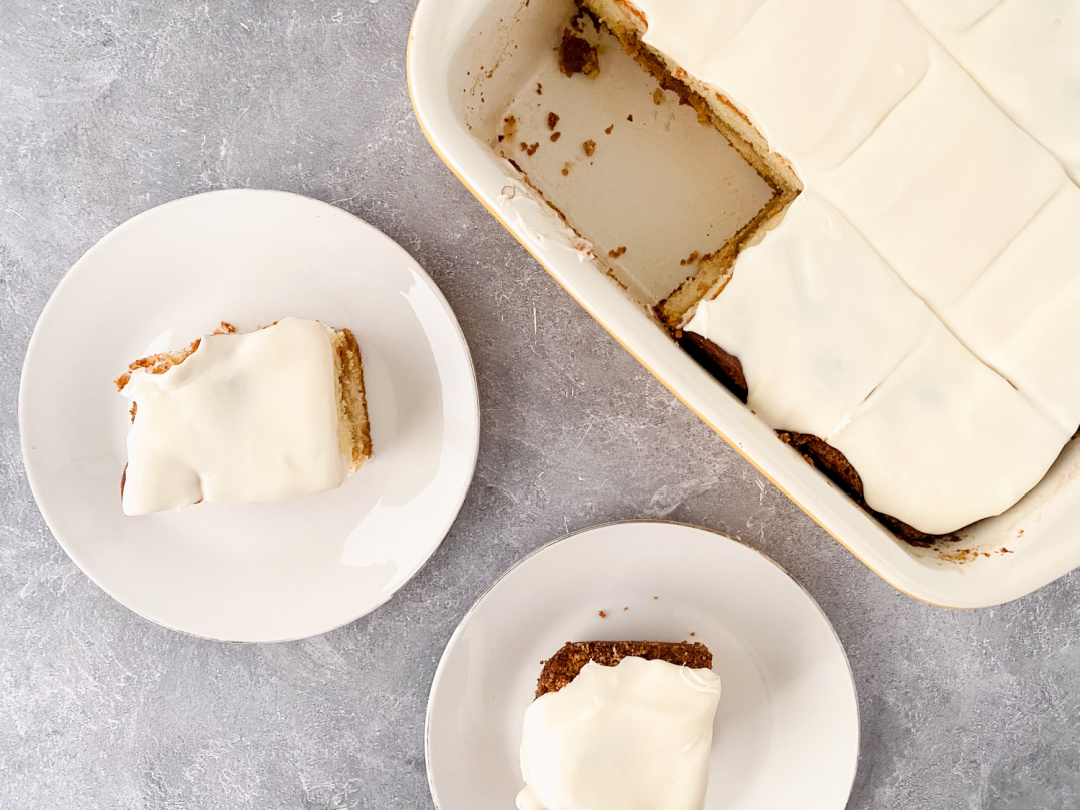
Once the loaf is completely cool, drizzle with glaze.
Frequently Asked Questions About Apple Fritter Loaf Cake
1. Can I use any type of apple in this apple fritter loaf cake?
Yes, you can use your favorite variety of apple. Granny Smith apples are great for a tart bite, while Fuji, Honeycrisp, or Gala will give a sweeter, softer texture. A mix of tart and sweet apples works well too, especially if you’re after that homemade apple fritter flavor.
2. Can I make this recipe ahead of time?
Absolutely. This loaf actually tastes even better the next day once all the flavors have had time to settle. Store it in an airtight container at room temperature for up to 2 days, or refrigerate it for up to 5 days.
3. Does this apple fritter bread freeze well?
Yes, this is a great apple loaf cake to freeze. Just make sure it cools completely, then wrap it tightly in plastic wrap and aluminum foil. It can be frozen (without glaze) for up to 2 months. Thaw at room temperature and add the glaze once it’s fully defrosted.
4. How do I keep the loaf from becoming soggy?
Let it cool completely on a wire rack before storing. If you store it while it’s still warm, condensation can make the loaf soggy. Also, don’t overdo it with the apple chunks—too many can release extra moisture.
5. Can I make this apple fritter loaf without a glaze?
Yes, the glaze is optional. If you’re trying to cut back on sugar or want something a little more breakfast-style, you can skip it and still have a moist, flavorful loaf.
6. Can I turn this into an apple fritter bundt cake or muffins instead of a loaf?
Sure can. For a bundt cake, double the recipe and bake a little longer—just be sure to test doneness with a toothpick. For muffins, divide the batter into a greased muffin tin and reduce the bake time to around 18–22 minutes.
7. Is this a good recipe to bring to a potluck or bake sale?
Definitely. This easy apple fritter bread for potlucks or bake sales travels well, slices beautifully, and looks impressive with that golden swirl and simple glaze. Just be ready to share the recipe!
8. How do I make the swirl look pretty in the middle of the loaf?
Use a butter knife to gently swirl the brown sugar mixture into the batter—don’t overmix it. Just a few figure-eights through the top and middle layers will give you that signature swirl look.
9. Can I add a streusel topping instead of the glaze?
Yes! A cinnamon streusel topping made with butter, brown sugar, and flour adds a nice crunchy texture. Just sprinkle it over the top of the batter before baking.
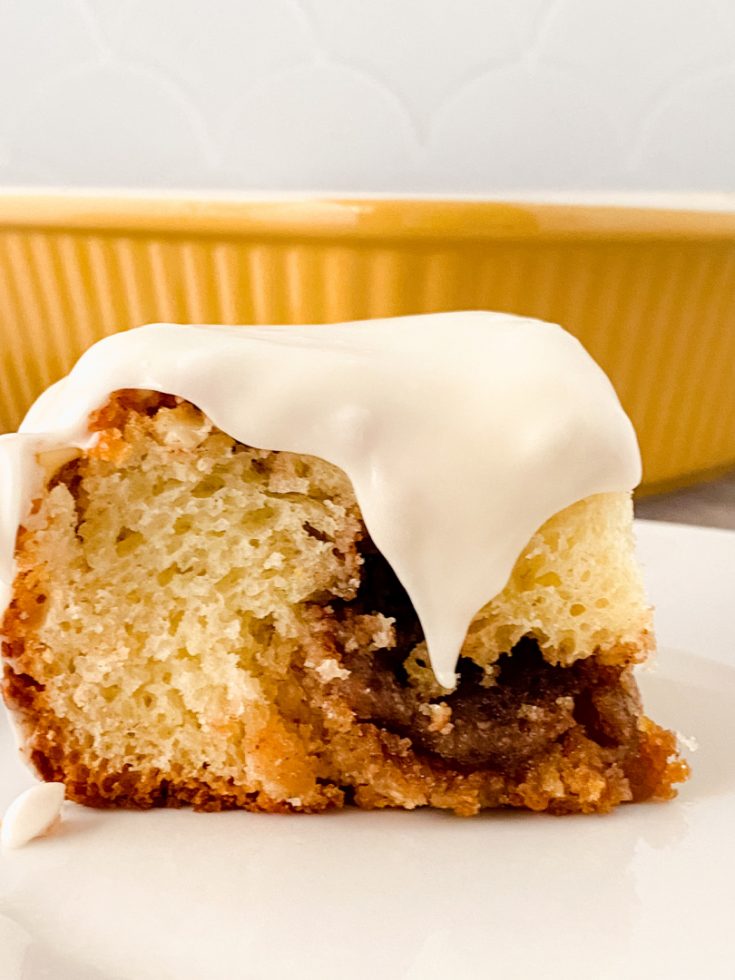
10. What makes this loaf cake different from traditional apple bread?
The difference is in the flavor and texture—this one mimics the taste of a bakery-style apple fritter, complete with a soft crumb, cinnamon-spiced apples, and a sweet glaze that ties it all together. It’s not quite a cake, not quite a quick bread—just the best of both worlds.
Apple Fritter Loaf Cake
Ingredients
- 1/2 cup butter, softened
- 2/3 cup granulated sugar
- 2 eggs
- 1 1/2 tsp vanilla extract
- 1 1/2 cups all-purpose flour
- 2 tsp baking powder
- 1 tsp salt
- 1/2 cup milk
- Apple Mixture:
- 2 apples, chopped (peeled if desired)
- 2 tbsp granulated sugar + 1 tsp apple pie spice
- Spiced Sugar Swirl:
- 1/3 cup brown sugar
- 1 tsp apple pie spice
- Glaze:
- 1 cup powdered sugar
- 1 tsp apple pie spice
- 1-2 tbsp milk
Instructions
Preheat oven to 350F.
Grease and flour a standard 9×5” loaf pan (or liberally spray with nonstick).
To a small bowl, mix together the brown sugar and apple pie spice and set aside.
In a separate medium bowl, toss the chopped apples with the granulated sugar and apple pie spice; set aside.
In a large bowl, beat the butter and granulated together until fluffy.
Beat in the eggs and add the vanilla extract.
Whisk together the flour, baking powder, and salt in a separate medium bowl, then add to the wet mixture.
Beat until well combined.
Add in the milk and continue to beat until the batter is smooth.
Pour half the batter into the prepared loaf pan.
Add half of the chopped apple mixture.
Sprinkle half of the cinnamon and brown sugar mixture on top of the apple layer.
Pour the rest of the batter over the apple layer.
Add the remaining chopped apples.
Then sprinkle the remaining cinnamon and brown sugar mixture.
Lightly press the apples into the batter and gently swirl the brown sugar mixture through it, using a knife.
Bake at 350F for 50-60 minutes, or until a toothpick inserted into the middle comes out clean and the top is golden brown.
Let the loaf rest in the pan for 15 minutes, then remove and transfer to a wire cooling rack to cool completely.
Whisk the ingredients for the cinnamon glaze together in a small bowl.
Once the loaf is completely cool, drizzle with glaze.