

There’s nothing quite like the smell of freshly baked bread filling your kitchen.
This Basic White Bread recipe is soft, fluffy, and made with simple pantry ingredients, making it perfect for everything from sandwiches and toast to serving alongside comforting meals.
If you’ve been wanting to try baking homemade bread but felt intimidated by working with yeast, this recipe is a great place to start.
With just a handful of everyday ingredients and a little patience while the dough rises, you’ll have a beautiful golden loaf that’s well worth the wait.
One of the best things about this homemade white bread is its versatility. Enjoy it warm with butter, honey, or your favorite jam, use it to make grilled cheese or French toast, or slice it for sandwiches throughout the week.
Whether you’re an experienced baker or making your very first loaf, this easy recipe delivers soft, delicious results you’ll want to make again and again.
Throughout this post, I’ll share step-by-step process photos, helpful tips for working with yeast dough, and simple tricks to help you bake a loaf with a soft texture and golden crust every time.
Looking for more homemade bread recipes? Be sure to try my Banana Bread with Pecan and Walnuts for a moist, sweet loaf that’s perfect for breakfast, dessert, or an afternoon snack.
Why You’ll Love This Recipe
- Made with simple pantry staples. You only need a handful of everyday ingredients to bake this homemade white bread.
- Soft and fluffy texture. This loaf bakes up with a tender crumb that’s perfect for sandwiches, toast, or enjoying warm with butter.
- Easy enough for beginners. If you’re new to baking with yeast, this recipe walks you through each step with helpful tips and process photos.
- Versatile for any meal. Serve it with soups, stews, chili, pasta dishes, or alongside recipes like Instant Pot Broccoli Cheese Soup or One Pot Chicken and Rice.
- No bread machine required. Everything comes together with a mixing bowl, a little kneading, and your oven.
- Freezer-friendly. Bake a loaf now and freeze extra slices to enjoy homemade bread whenever you need it.
- Perfect for everyday baking. Whether you’re making school lunches, weekend breakfasts, or a side for dinner, this classic white bread recipe is one you’ll reach for again and again.
Equipment You’ll Need
You don’t need any fancy equipment to make this homemade white bread. A few basic kitchen tools are all it takes.
- 9×5-inch loaf pan – Helps the bread bake into a classic sandwich loaf shape.
- Large mixing bowl – For combining the ingredients and mixing the dough.
- Measuring cups and measuring spoons – To accurately measure each ingredient.
- Wooden spoon or sturdy mixing spoon – Makes mixing the dough easier before kneading.
- Cooling rack – Allows air to circulate around the loaf so it cools evenly.
- Serrated bread knife – Perfect for slicing the cooled bread without crushing the soft interior.
Tip: If you’re planning to bake homemade bread regularly, a quality serrated bread knife is one of the best kitchen tools you can own. It makes slicing soft bread much easier and helps create clean, even slices.
Helpful Tips for the Best Homemade White Bread
Making homemade bread is a rewarding process, and these simple tips can help you achieve a soft, fluffy loaf every time.
Use Warm Water
The water should feel warm to the touch, about 105–110°F. Water that’s too hot can damage the yeast, while cooler water may slow the rising process.
Be Patient During Both Rises
Every kitchen is different. If your home is on the cooler side, your dough may need a little extra time to double in size. Rather than watching the clock, look for dough that has doubled before moving to the next step.
Don’t Add Too Much Flour
The dough may seem slightly sticky at first. As you knead, it will become smoother and easier to handle. Adding too much flour can result in a denser loaf.
Let the Bread Cool Completely
It can be tempting to slice into a warm loaf, but allowing the bread to cool completely helps the inside finish setting. Cutting it too soon can leave the center with a gummy texture.
Slice with a Serrated Bread Knife
For the cleanest slices, use a serrated bread knife and a gentle back-and-forth sawing motion. This helps prevent the soft loaf from being compressed while slicing.
Save this basic white bread recipe for later:
Basic White Bread
Ingredients
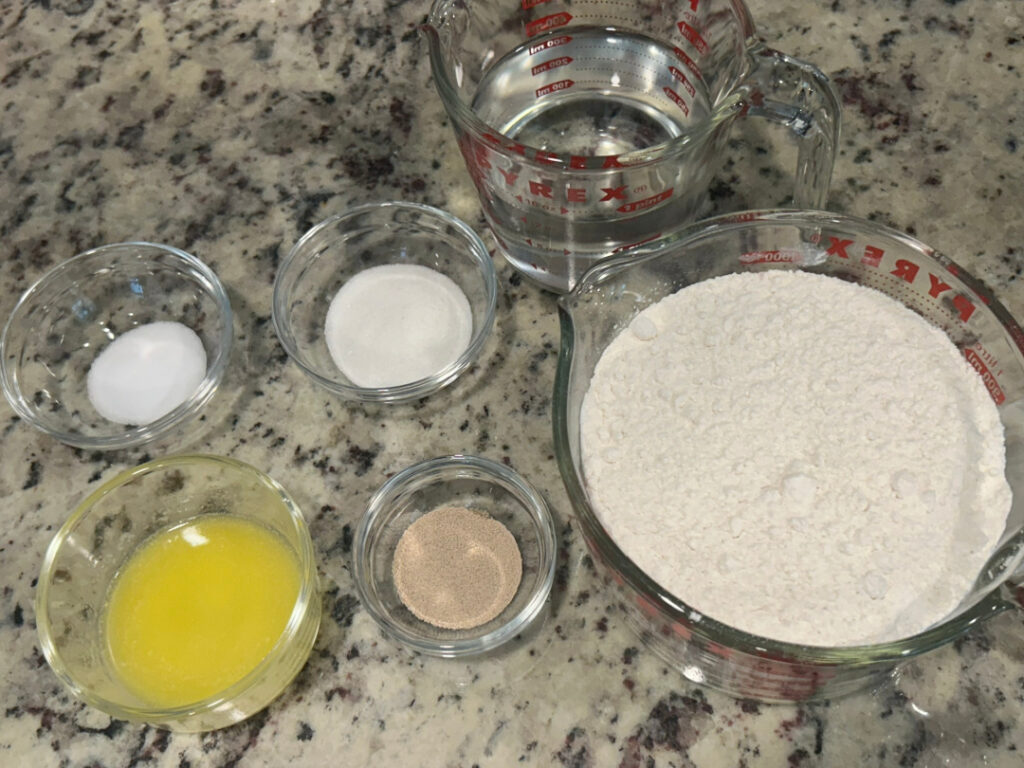
- 4 cups all-purpose flour
- 2 1/4 teaspoons active dry yeast (1 packet)
- 2 tablespoons granulated sugar
- 1 1/2 teaspoons salt
- 1 1/2 cups warm water (about 105–110°F)
- 2 tablespoons unsalted butter, melted
Ingredient Notes
You’ll only need a few simple pantry staples to make this Basic White Bread recipe, but each one plays an important role in creating a soft, flavorful loaf.
All-Purpose Flour
All-purpose flour works beautifully in this recipe, creating a soft loaf that’s perfect for sandwiches, toast, and everyday meals.
Active Dry Yeast
Active dry yeast helps the dough rise and gives the bread its light, fluffy texture. Be sure your yeast is fresh for the best results.
Granulated Sugar
A small amount of sugar feeds the yeast during the rising process and adds a touch of flavor while helping the crust brown beautifully.
Salt
Salt enhances the flavor of the bread and helps balance the sweetness while supporting the overall structure of the dough.
Warm Water
Use warm water, about 105–110°F. Water that’s too hot can damage the yeast, while water that’s too cool may slow the rising process.
Unsalted Butter
Melted butter adds richness, flavor, and tenderness, helping create a soft loaf with a delicious texture.
Pro Tip: Before you begin, check that your yeast hasn’t expired. Fresh yeast is one of the biggest keys to baking a loaf that rises well and has a light, airy texture.
How to Make Basic White Bread
Follow these simple steps to bake a soft, fluffy loaf of homemade white bread from scratch. Be sure to check the process photos throughout the post for extra guidance as the dough rises and bakes.
Step 1:
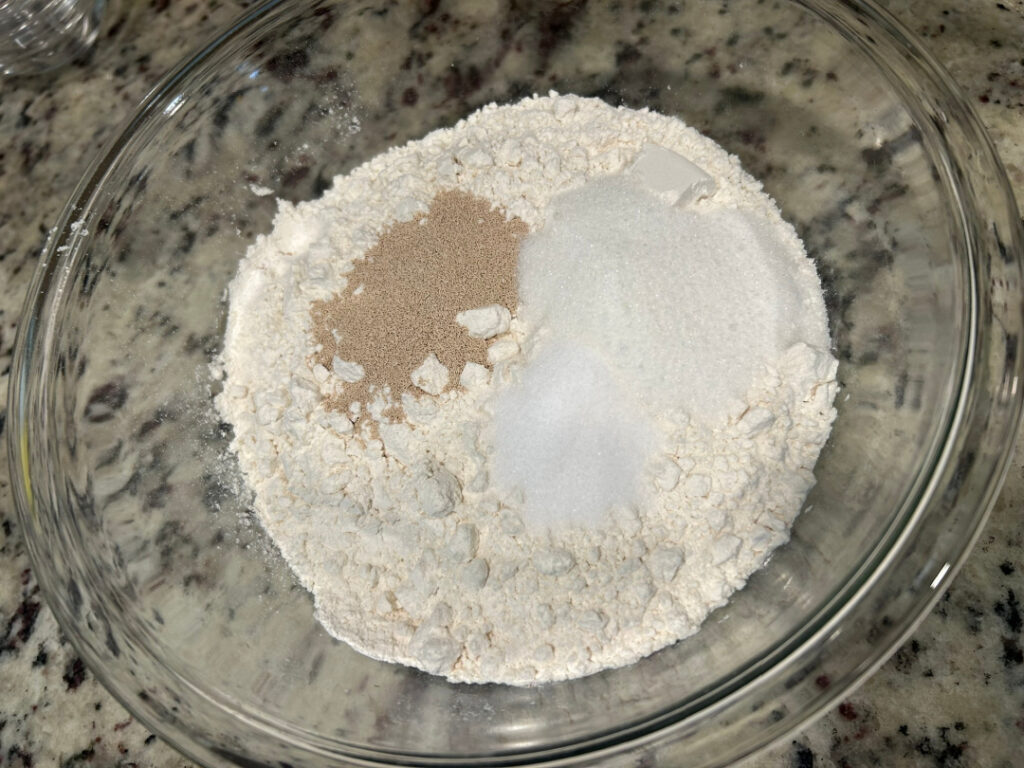
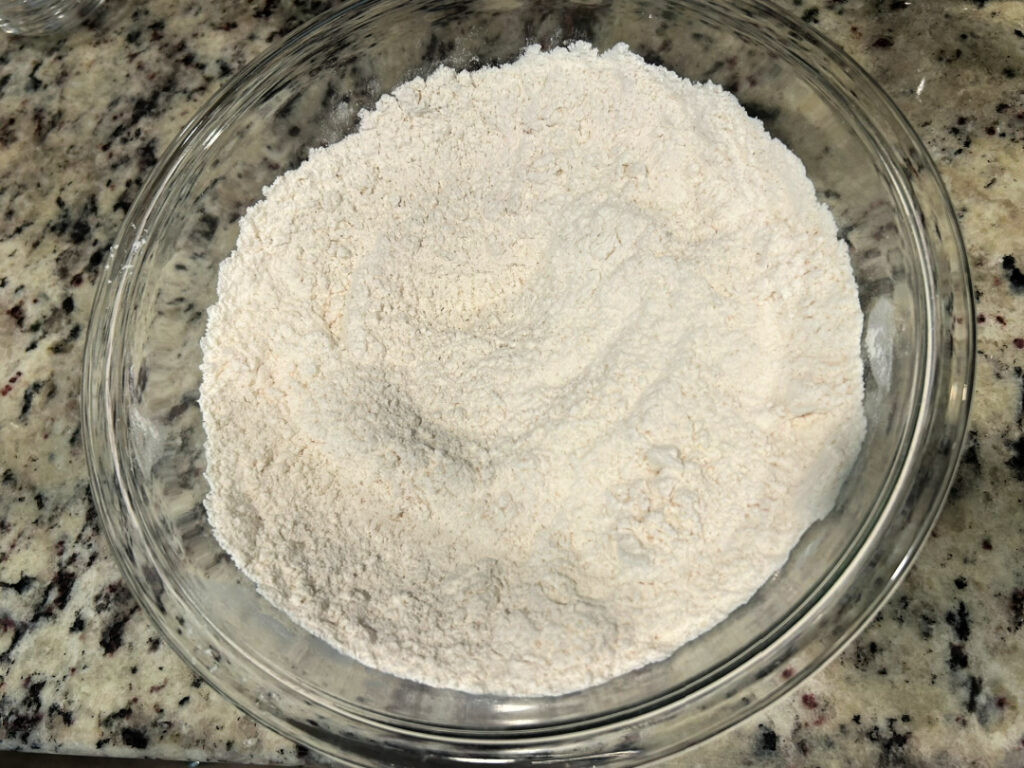
Grease a 9×5-inch loaf pan and set it aside. In a large mixing bowl, whisk together the flour, active dry yeast, sugar, and salt until evenly combined.
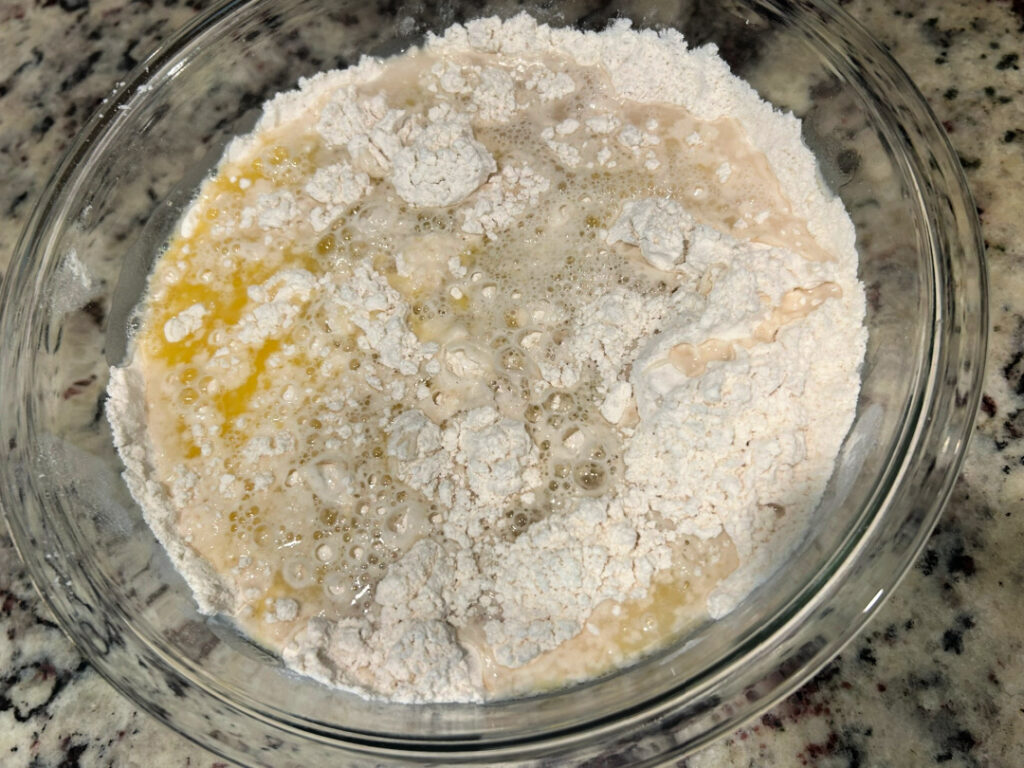
Step 2:
Pour the warm water and melted butter into the dry ingredients. Stir until a shaggy dough begins to come together.
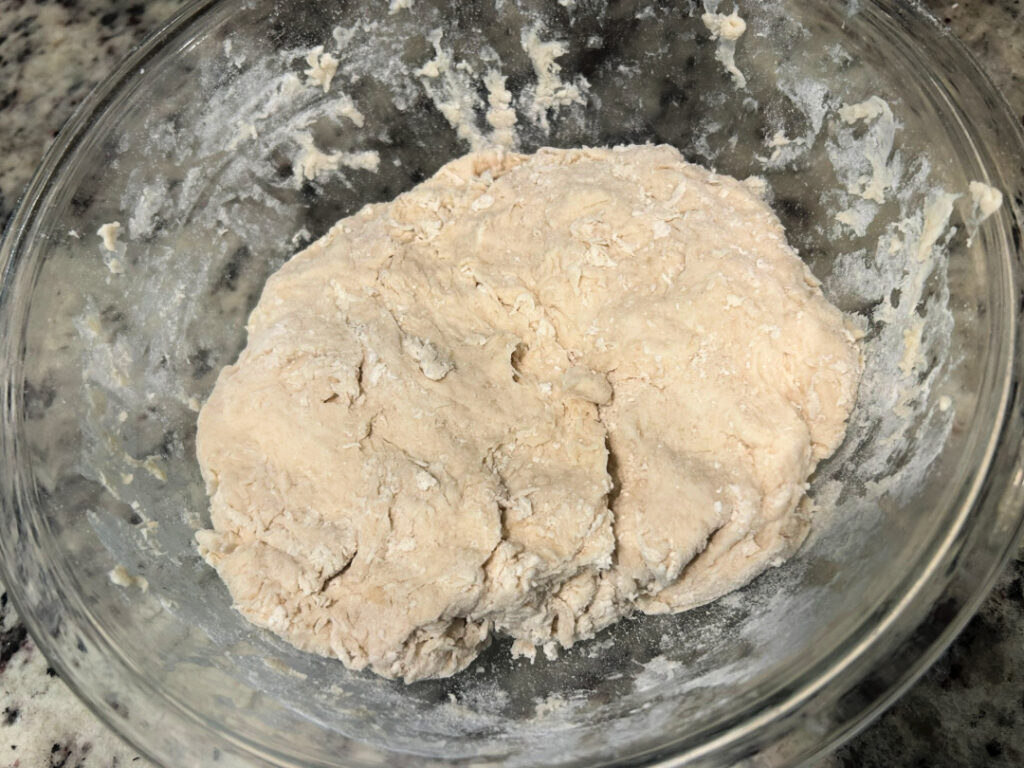
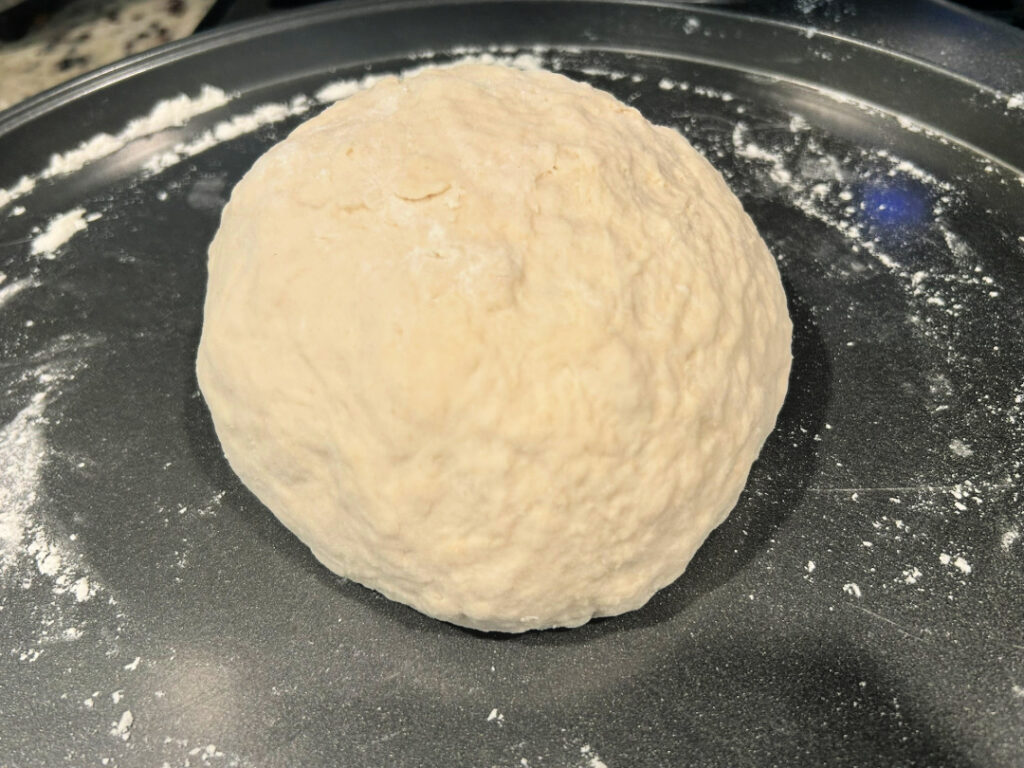
Step 3:
Transfer the dough to a lightly floured work surface. Knead for about 8–10 minutes, or until the dough is smooth, elastic, and no longer sticky. Form into a ball.
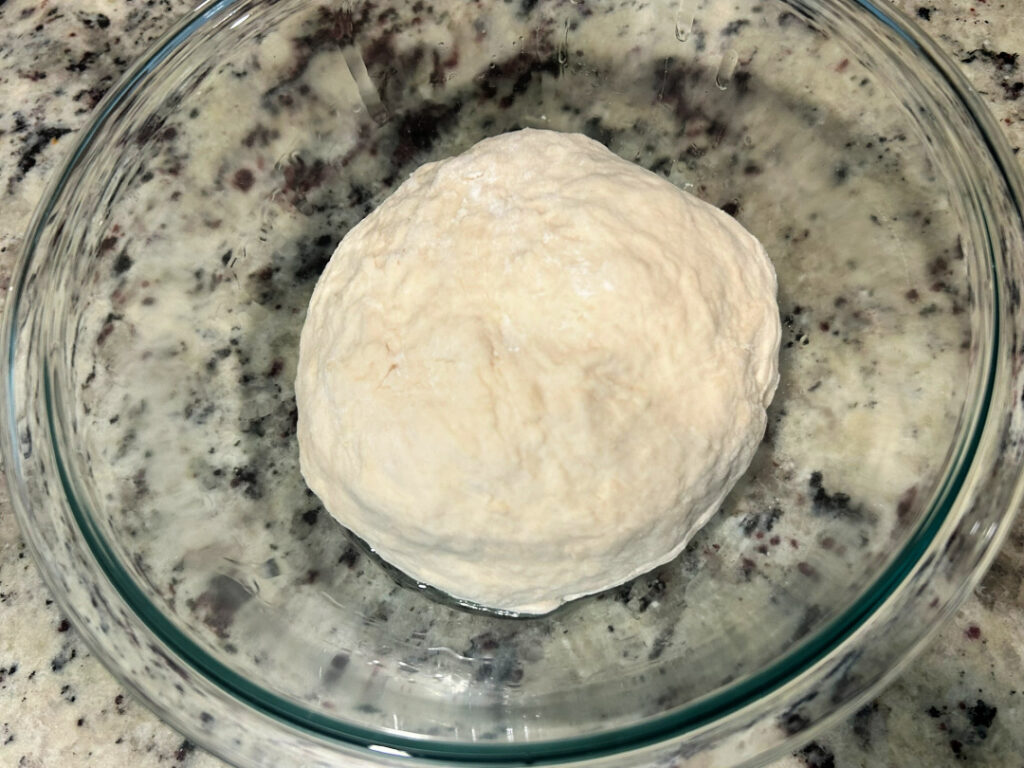
Step 4:
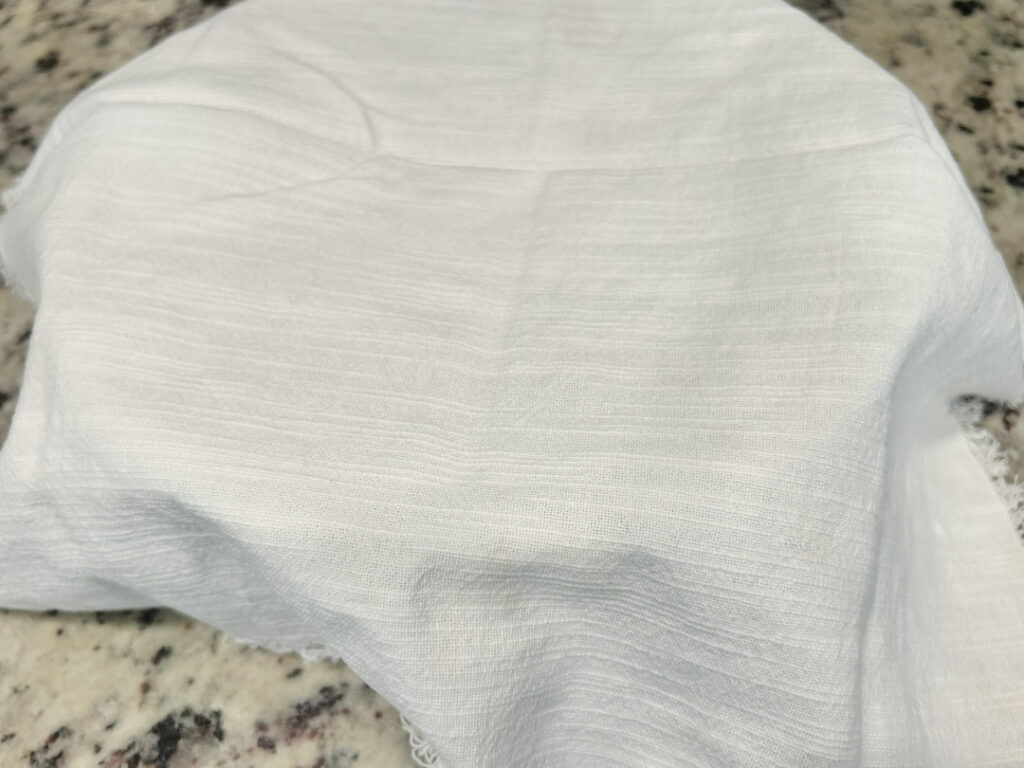
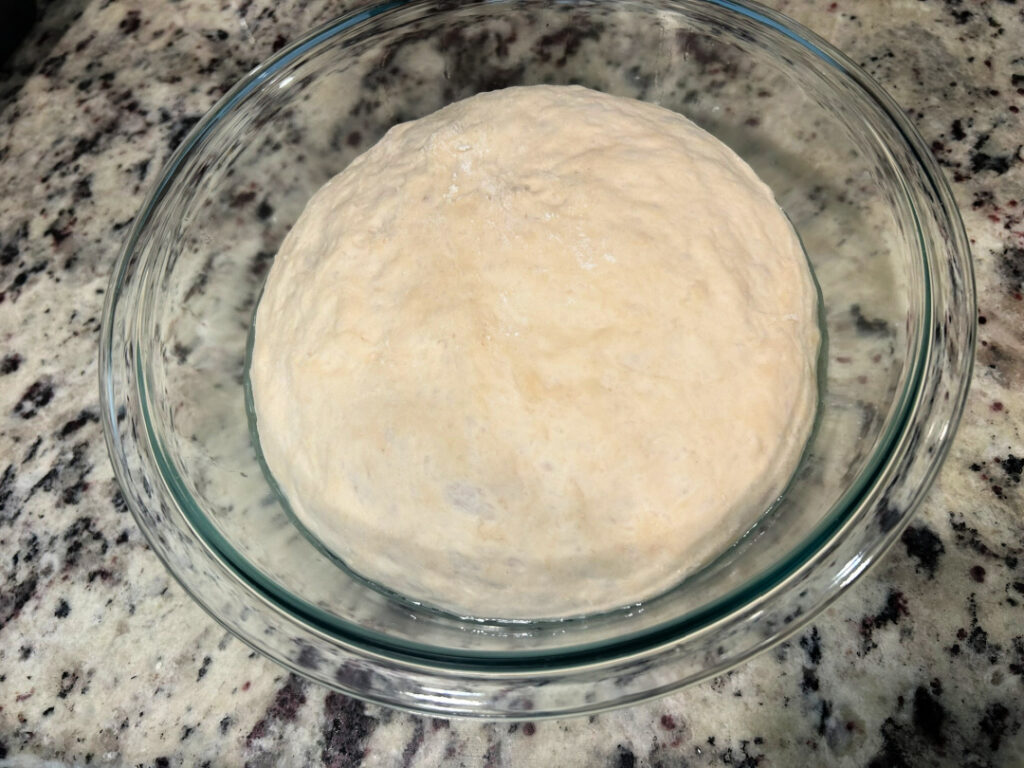
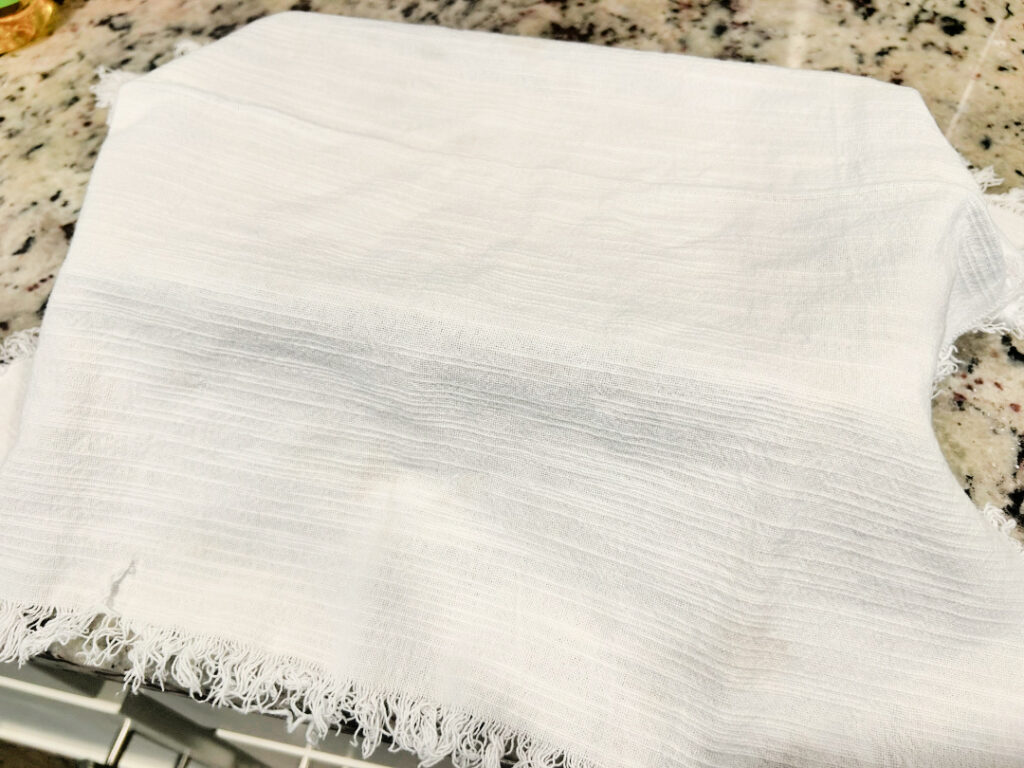
Place the dough into a lightly greased bowl, turning it once so the top is lightly coated. Cover with a clean kitchen towel or plastic wrap and let it rise in a warm place for about 1 hour, or until doubled in size.
Step 5:
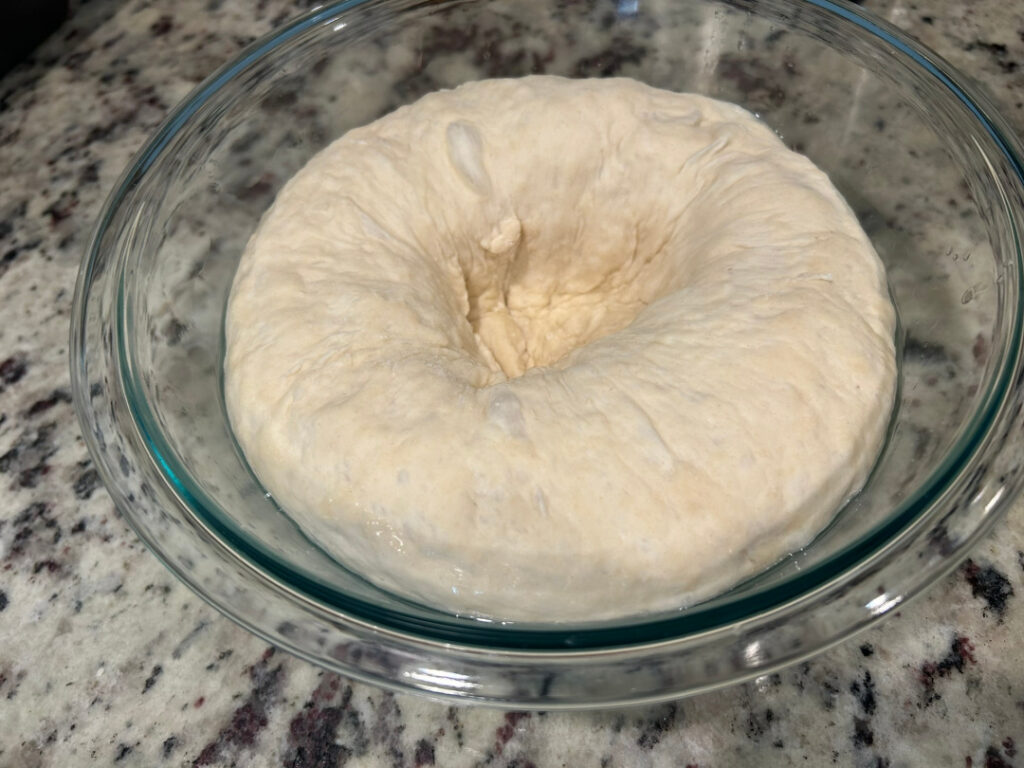
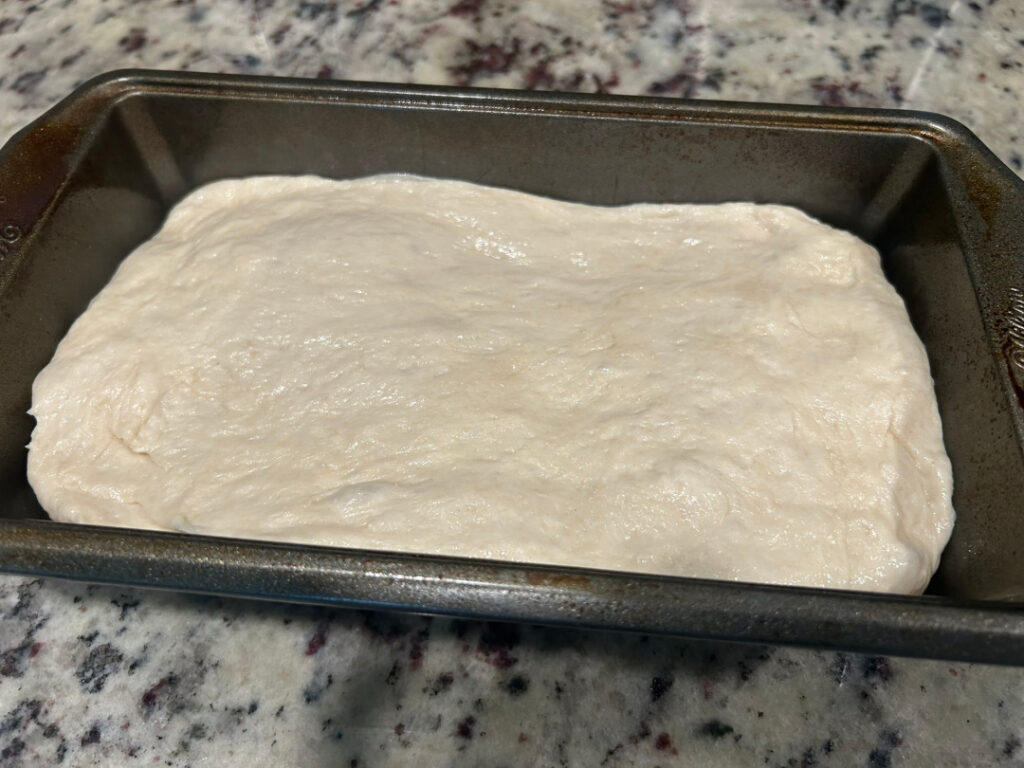
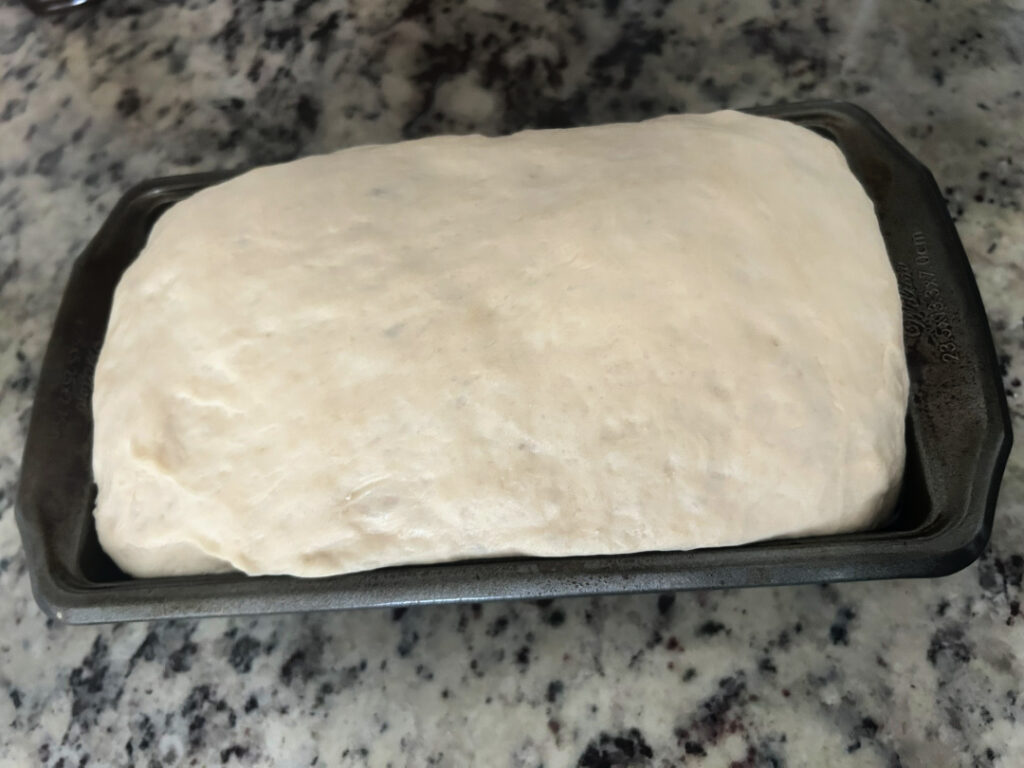
Gently press down the risen dough to release the air. Shape it into a loaf by folding and rolling it into a smooth log, then place it seam-side down in the prepared loaf pan.
Step 6:
Cover the pan and let the dough rise again for 30–45 minutes, or until it has doubled in size and rises slightly above the edge of the pan.
Step 7:
While the dough finishes rising, preheat the oven to 375°F.
Step 8:
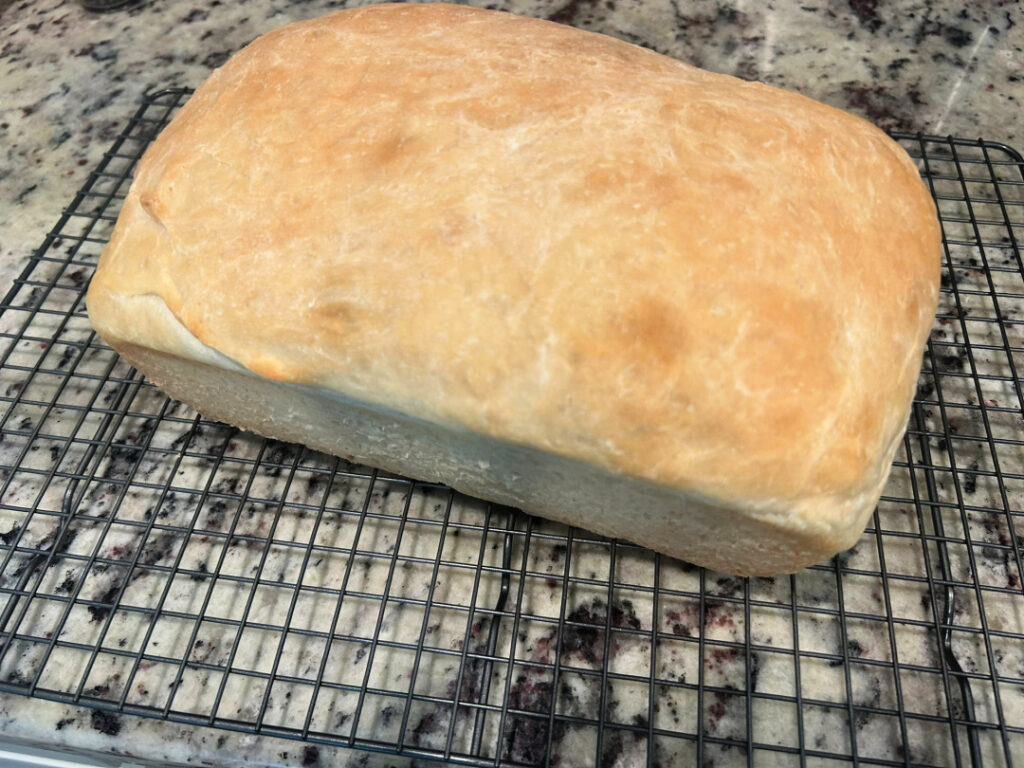
Bake for 25–30 minutes, or until the loaf is golden brown and sounds hollow when tapped on the bottom.
Step 9:
Remove the bread from the pan and place it on a wire rack to cool.
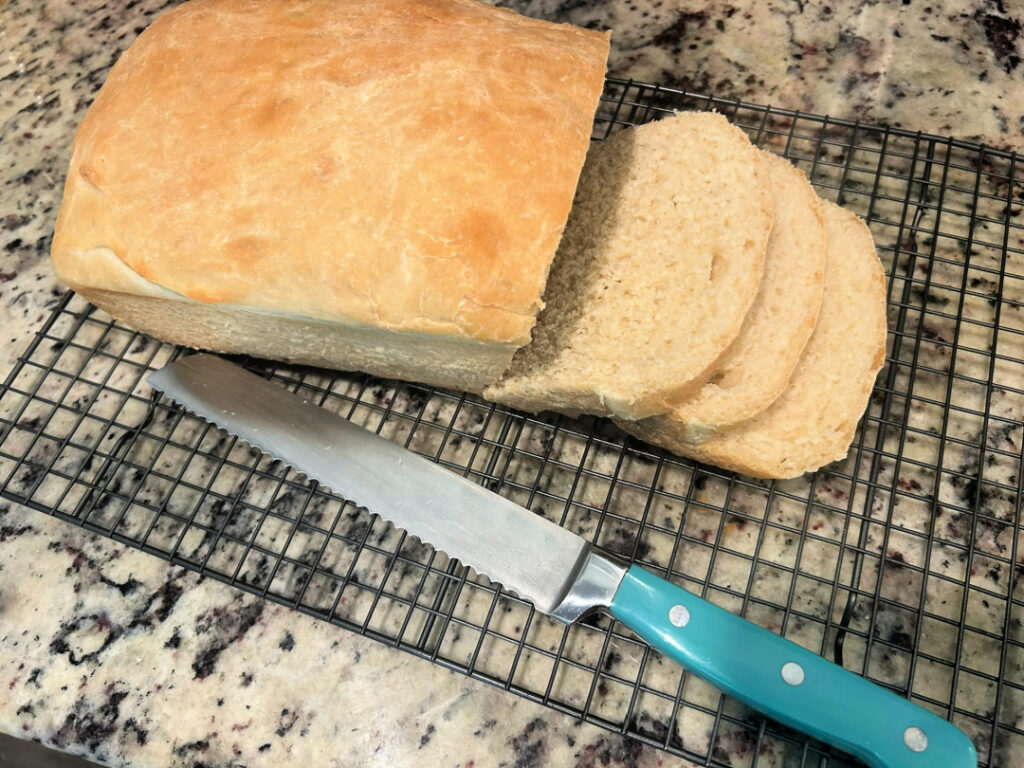
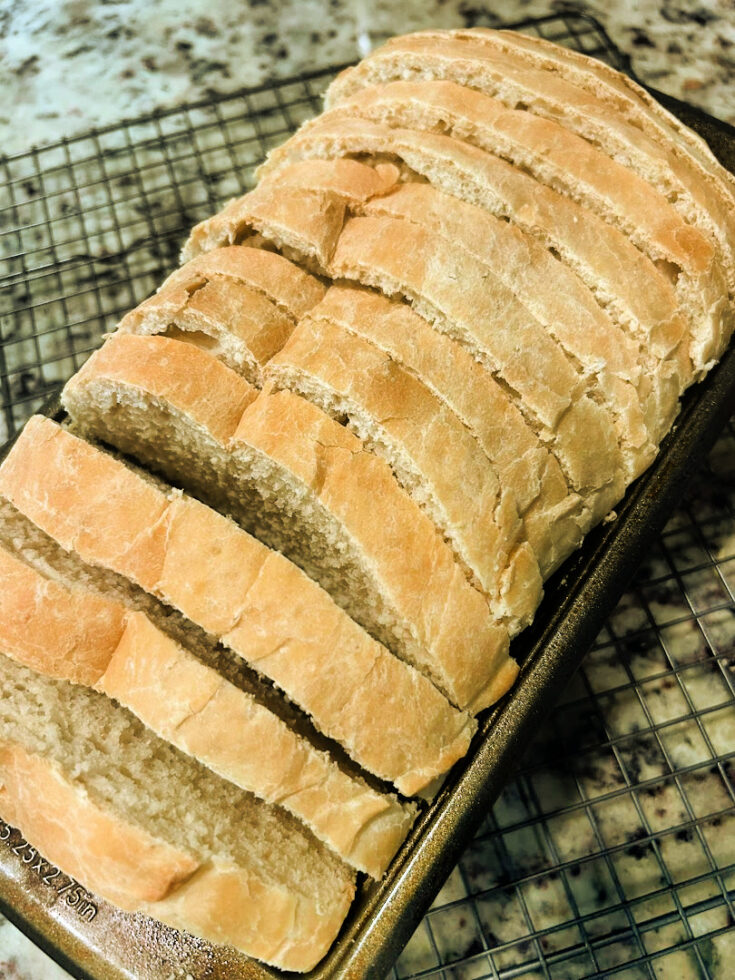
Step 10: Once cooled, use a serrated bread knife and gentle back-and-forth sawing motions to cut even slices without crushing the soft loaf.
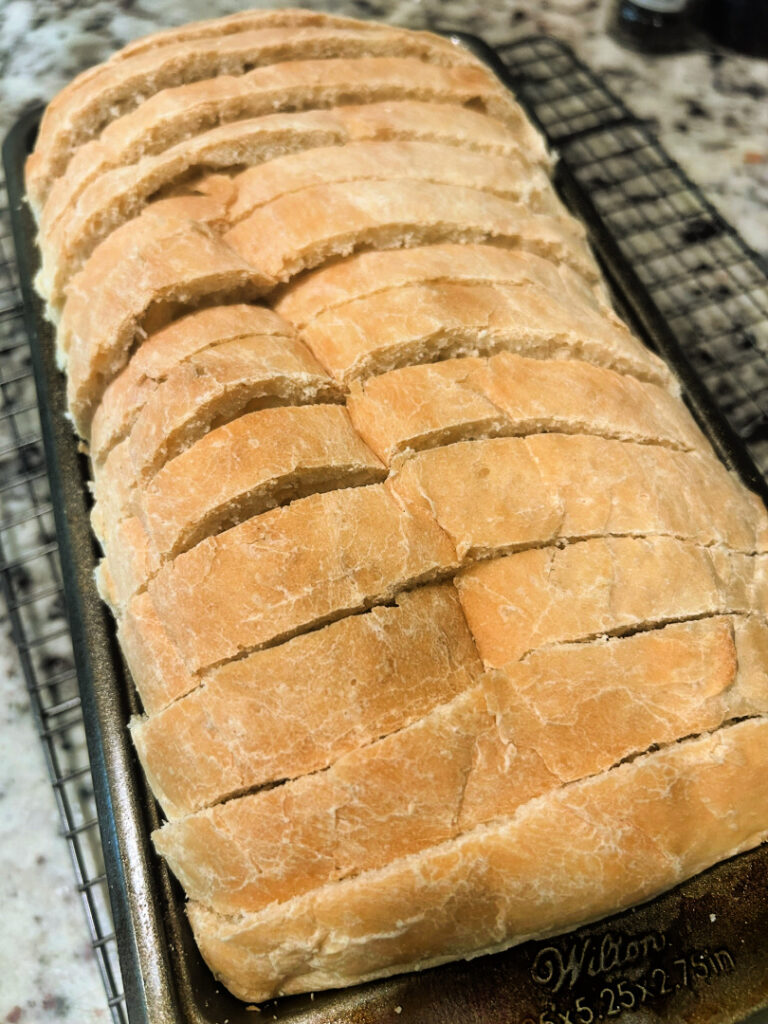
Variations
Once you’ve mastered this Basic White Bread recipe, it’s easy to change it up with a few simple additions.
Brush with Butter
For an extra soft crust, brush the top of the warm loaf with melted butter as soon as it comes out of the oven.
Drizzle with Honey
Spread a little butter over a warm slice, then drizzle it with honey for a simple, delicious treat.
Add Herbs
Mix in dried herbs like rosemary, thyme, or Italian seasoning for a flavorful loaf that’s perfect with soups and pasta dishes.
Top with Seeds
Before baking, sprinkle the loaf with sesame seeds, poppy seeds, or everything bagel seasoning for added texture and flavor.
Make Dinner Rolls
Instead of shaping the dough into one loaf, divide it into equal portions and bake homemade dinner rolls. Just reduce the baking time since smaller rolls cook more quickly.
Make Cinnamon Toast
This bread is delicious toasted with butter and a sprinkle of cinnamon sugar for an easy breakfast or afternoon snack.
Use It for French Toast
Slightly day-old homemade bread makes excellent French toast because it soaks up the egg mixture without becoming overly soft.Try this French Toast Casserole!
Looking for another homemade bread recipe? Try my Dutch Oven Bread for a crusty artisan-style loaf.
What to Serve with Basic White Bread
This homemade white bread is incredibly versatile and pairs well with everything from hearty comfort food to simple breakfasts. Here are a few delicious ways to enjoy it:
- Soups – Serve warm slices alongside your favorite homemade soups for dipping.
- Chili – A thick slice of buttered bread is perfect for soaking up a hearty bowl of chili.
- Country Fried Chicken or Country Fried Steak – Complete a classic Southern-style meal with fresh homemade bread.
- Creamy Mac and Cheese – Add a slice on the side for an easy comfort food dinner.
- Slow Cooker Rump Roast with Potatoes and Carrots – Homemade bread is perfect for enjoying every last bit of the savory broth.
- Toast – Toast slices for breakfast and top with butter, jam, honey, or your favorite fruit preserves.
- Grilled Cheese Sandwiches – This soft loaf makes delicious grilled cheese with a crisp, golden crust.
- French Toast – Slightly day-old slices are ideal for soaking up the egg mixture without falling apart.
Storage
Once the bread has cooled completely, store it in an airtight container, bread box, or resealable plastic bag at room temperature. It will stay fresh for up to 3–4 days.
Avoid storing homemade bread in the refrigerator, as it can dry out more quickly.
Freezing
This bread freezes well for later.
Wrap the whole loaf or individual slices tightly in plastic wrap, then place them in a freezer-safe bag or airtight container. Freeze for up to 3 months.
For convenience, freeze individual slices so you can thaw only what you need.
Reheating
For the best texture, let frozen bread thaw at room temperature before serving.
To enjoy warm bread, heat individual slices in the toaster or warm the loaf in a 300°F oven for about 10–15 minutes until heated through.
Frequently Asked Questions
Can I use bread flour instead of all-purpose flour?
Yes. Bread flour can be substituted for all-purpose flour if you prefer. It may produce a slightly chewier loaf because it contains more protein.
How do I know when the bread is finished baking?
The loaf should be golden brown and sound hollow when tapped on the bottom. If you’re using an instant-read thermometer, the center of the loaf should register about 190–200°F.
Why didn’t my bread rise?
Several factors can affect rising, including expired yeast, water that was too hot or too cold, or a cool kitchen. Make sure your yeast is fresh and allow the dough enough time to double in size.
Why is my homemade bread gummy inside?
Bread that is sliced too soon can have a gummy texture because the inside is still setting as it cools. For the best results, let the loaf cool completely on a wire rack before cutting into it.
Can I freeze homemade white bread?
Absolutely! Once the bread has cooled completely, wrap it tightly and freeze it for up to 3 months. Individual slices are especially convenient because you can thaw only what you need.
What’s the best way to slice homemade bread?
A serrated bread knife works best. Use gentle back-and-forth sawing motions instead of pressing straight down to help create clean slices without crushing the loaf.
How long does homemade white bread stay fresh?
When stored in an airtight container or bread bag at room temperature, homemade white bread is best enjoyed within 3–4 days.
Can I make this recipe without a stand mixer?
Yes! This recipe is designed to be mixed by hand and kneaded on a lightly floured surface, making it a great option even if you don’t have a stand mixer.
Final Thoughts
There’s something incredibly rewarding about baking a loaf of homemade bread from scratch, and this Basic White Bread recipe is a great one to keep in your collection.
With simple pantry ingredients and easy-to-follow steps, you’ll have a soft, fluffy loaf that’s perfect for everything from sandwiches and toast to serving with your favorite family meals.
Whether you’re baking homemade bread for the first time or you’ve been making it for years, I hope this recipe becomes one you’ll come back to again and again.
If you give it a try, I’d love to hear how it turned out! Leave a comment below and let me know how you enjoyed your homemade white bread.
More Homemade Baking Recipes
- Honey Butter Biscuits
- Cinnamon Twists
- Air Fryer Cinnamon Sugar Bites
- Lemon Blueberry Bundt Cake
- Apple Fritter Loaf Cake
Basic White Bread
Soft, fluffy, and easy to make, this Basic White Bread recipe uses simple pantry ingredients to create a homemade loaf that's perfect for sandwiches, toast, or serving alongside your favorite meals.
Ingredients
- 4 cups all-purpose flour
- 2 1/4 teaspoons active dry yeast (1 packet)
- 2 tablespoons granulated sugar
- 1 1/2 teaspoons salt
- 1 1/2 cups warm water (about 105–110°F)
- 2 tablespoons unsalted butter, melted
Instructions
- Grease a 9×5-inch loaf pan and set it aside. In a large mixing bowl, whisk together the flour, active dry yeast, sugar, and salt until evenly combined.
- Pour the warm water and melted butter into the dry ingredients. Stir until a shaggy dough begins to come together.
- Transfer the dough to a lightly floured work surface. Knead for about 8–10 minutes, or until the dough is smooth, elastic, and no longer sticky.
- Place the dough into a lightly greased bowl, turning it once so the top is lightly coated. Cover with a clean kitchen towel or plastic wrap and let it rise in a warm place for about 1 hour, or until doubled in size.
- Gently press down the risen dough to release the air. Shape it into a loaf by folding and rolling it into a smooth log, then place it seam-side down in the prepared loaf pan.
- Cover the pan and let the dough rise again for 30–45 minutes, or until it has doubled in size and rises slightly above the edge of the pan.
- While the dough finishes rising, preheat the oven to 375°F.
- Bake for 25–30 minutes, or until the loaf is golden brown and sounds hollow when tapped on the bottom.
- Remove the bread from the pan and place it on a wire rack to cool completely before slicing and serving.