-
Things to Make With Leftover Brisket
Do you have leftover brisket and not sure what to make with it? Here are ideas for things to make with leftover brisket. Things to Make With Leftover Brisket If you have some leftover brisket sitting in the fridge from the night before, you are in luck because there are a lot of delicious things…
-
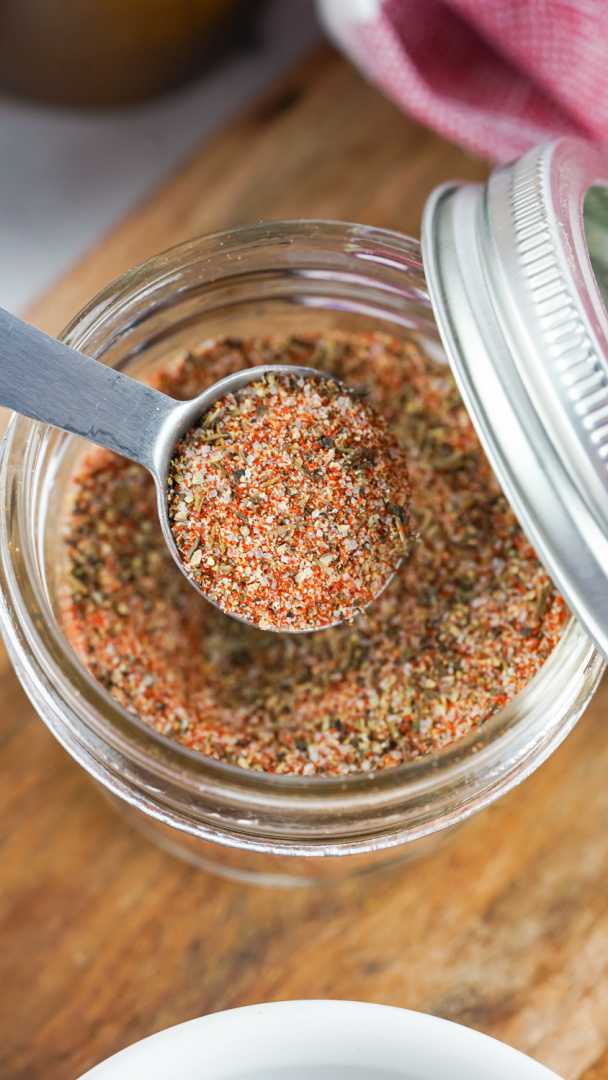
Steak Seasoning
Steak is a delicious and versatile dish, but it can be tricky to get the seasoning just right. That’s why I recommend making your own steak seasoning at home. Not only is it easy to do, but you can tailor the flavor to your own taste. There are a few key ingredients that you’ll need…
-
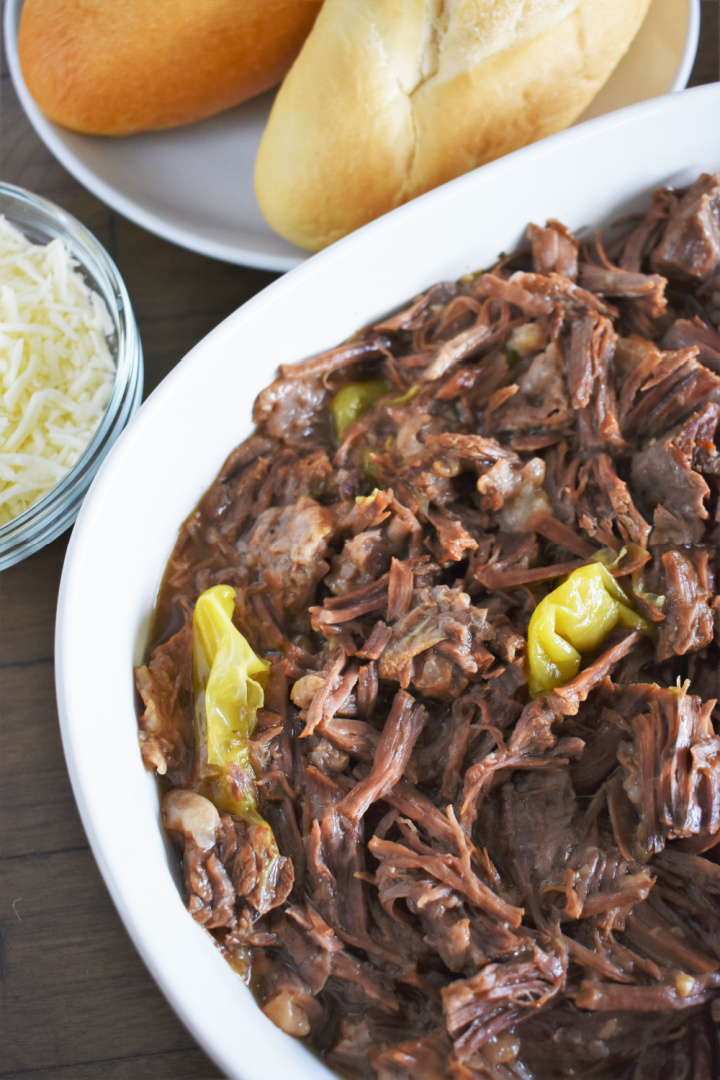
Instant Pot Mississippi Pot Roast
Easy Instant Pot Mississippi Pot Roast Recipe for Busy Families If you’re looking for an easy Instant Pot Mississippi Pot Roast recipe with pepperoncinis and Au Jus mix, this one’s made for real life—hearty, full of flavor, and simple to throw together on a weeknight. Whether you’re feeding a hungry crew after practice or just…
-
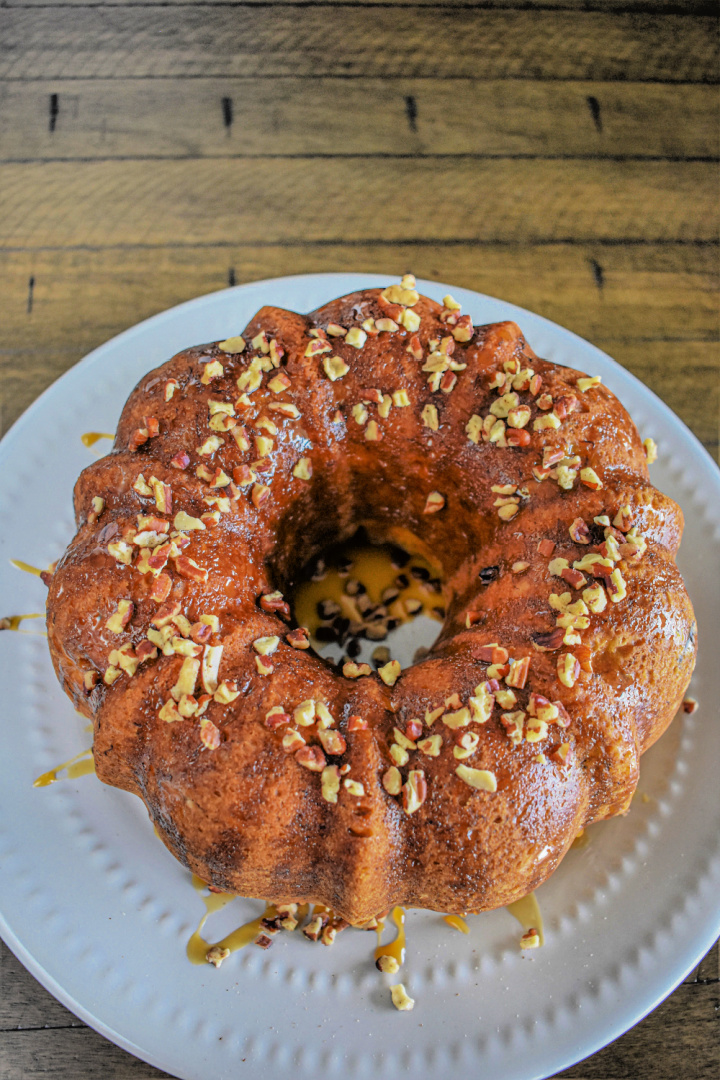
Instant Pot Caramel Pecan Banana Bread
Do you love banana bread? Try this Instant Pot Caramel Pecan Banana Bread today! There’s nothing like the smell of fresh banana bread baking in the oven. And with an Instant Pot, you can have that delicious scent wafting through your home in no time at all. This recipe for Caramel Pecan Banana Bread is…
-
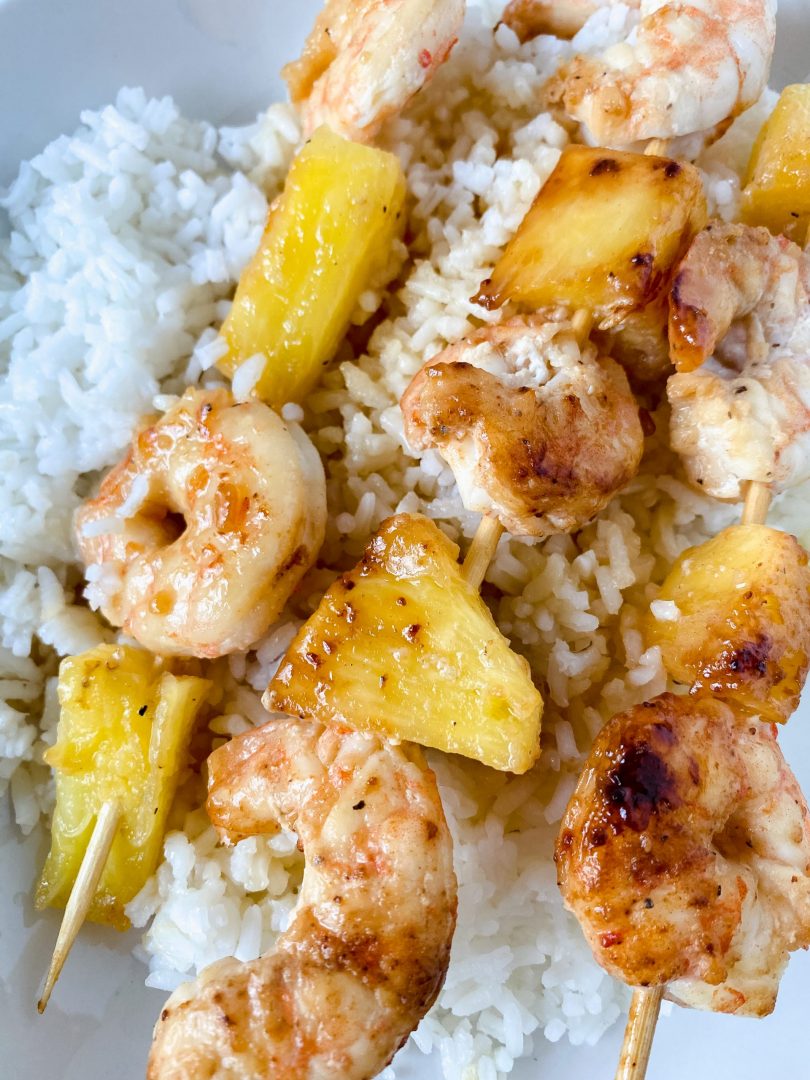
Pineapple Shrimp Skewers with Garlic Honey Glaze
Easy Pineapple Shrimp Skewers: A Simple Southern Dinner with Big Flavor When it comes to making a quick, flavorful meal that feels like summer any time of year, these easy pineapple shrimp skewers on the stovetop or grill are the answer. This dish brings together the natural sweetness of pineapple with juicy shrimp and a…