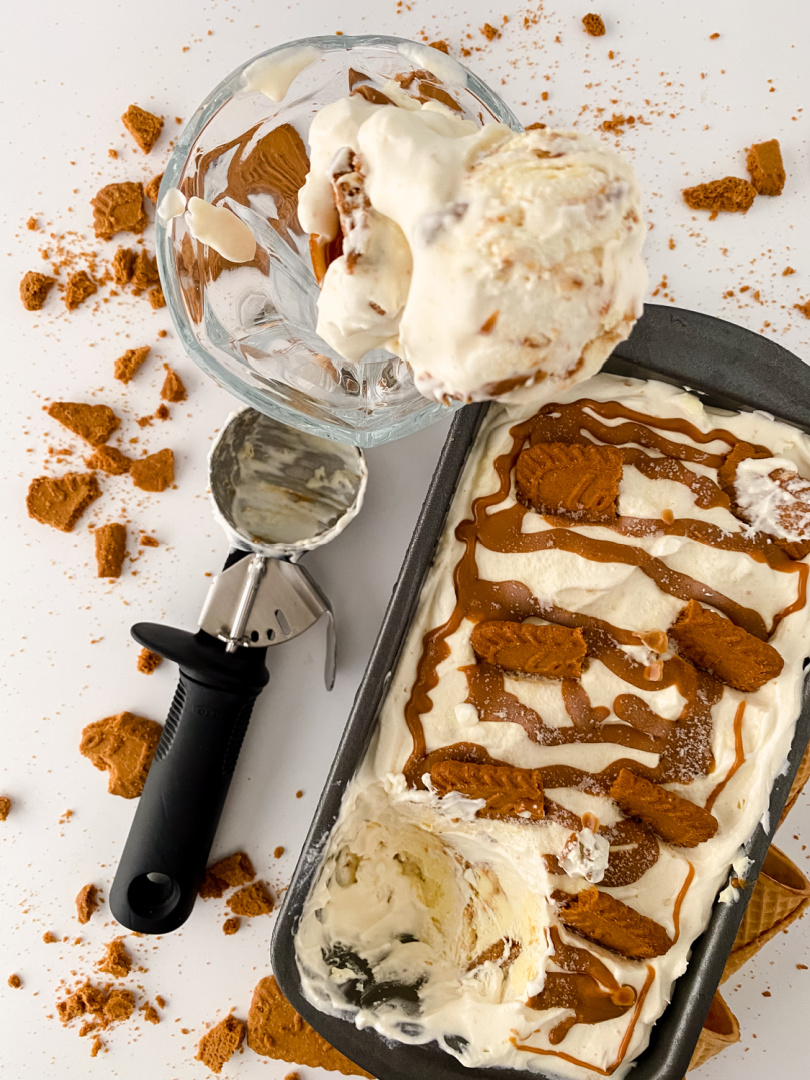
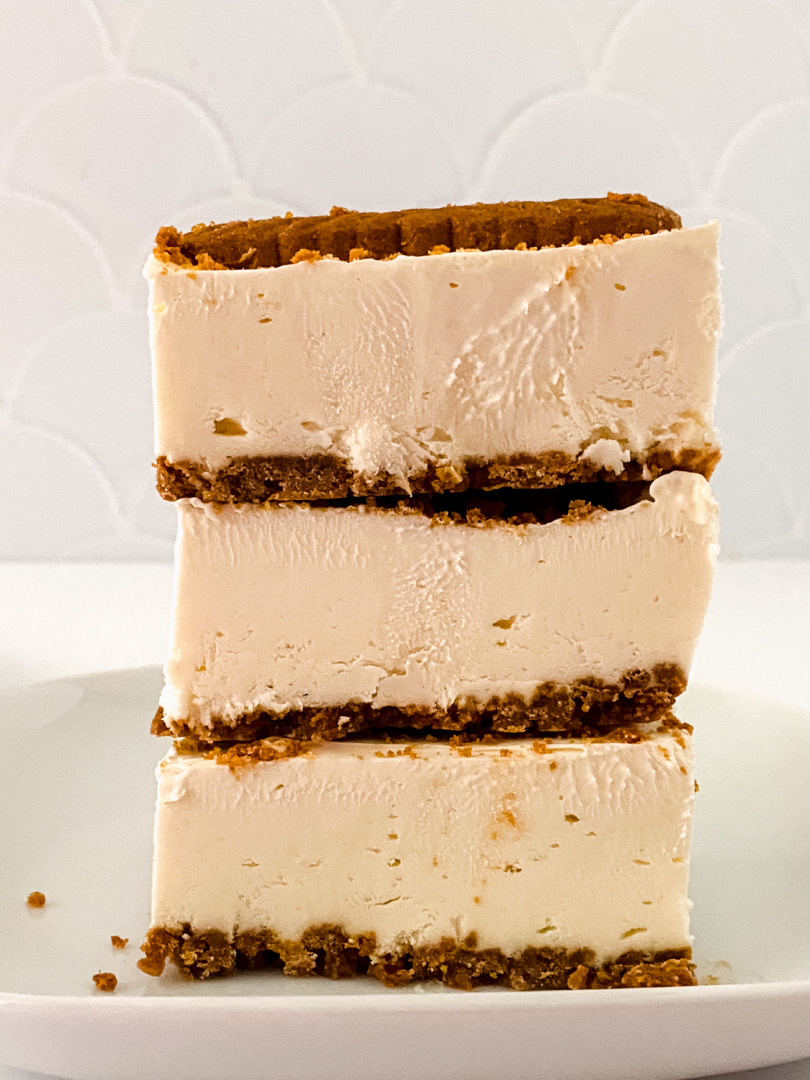
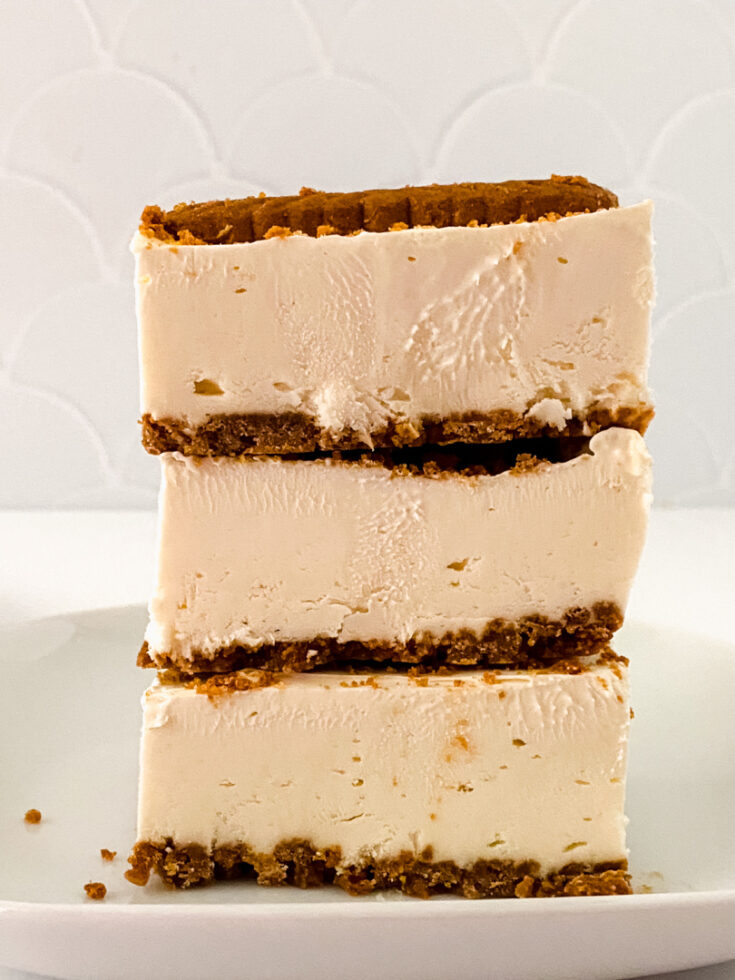
Biscoff Cheesecake Bars: A No-Fuss Southern Dessert for Any Occasion
If you’re anything like me, you like a good dessert that hits all the marks: easy to make, full of flavor, and guaranteed to disappear fast.
These Biscoff Cheesecake Bars check every box.
They’re the kind of no-bake treat (aside from that quick crust toast in the oven) that feels fancy enough for guests but simple enough to throw together on a weeknight.
Who Will Love These Bars?
These cheesecake bars are for anyone who wants a make-ahead dessert without turning on the oven for hours.
They’re ideal for folks who love that creamy, tangy cheesecake flavor but want a handheld version they can cut and serve with zero fuss.
If you’re a fan of cookie butter or those spiced Biscoff cookies you get on flights, this dessert will be right up your alley.
It’s a crowd-pleaser across generations—from kids who love creamy desserts to grandparents who appreciate a twist on classic cheesecake.
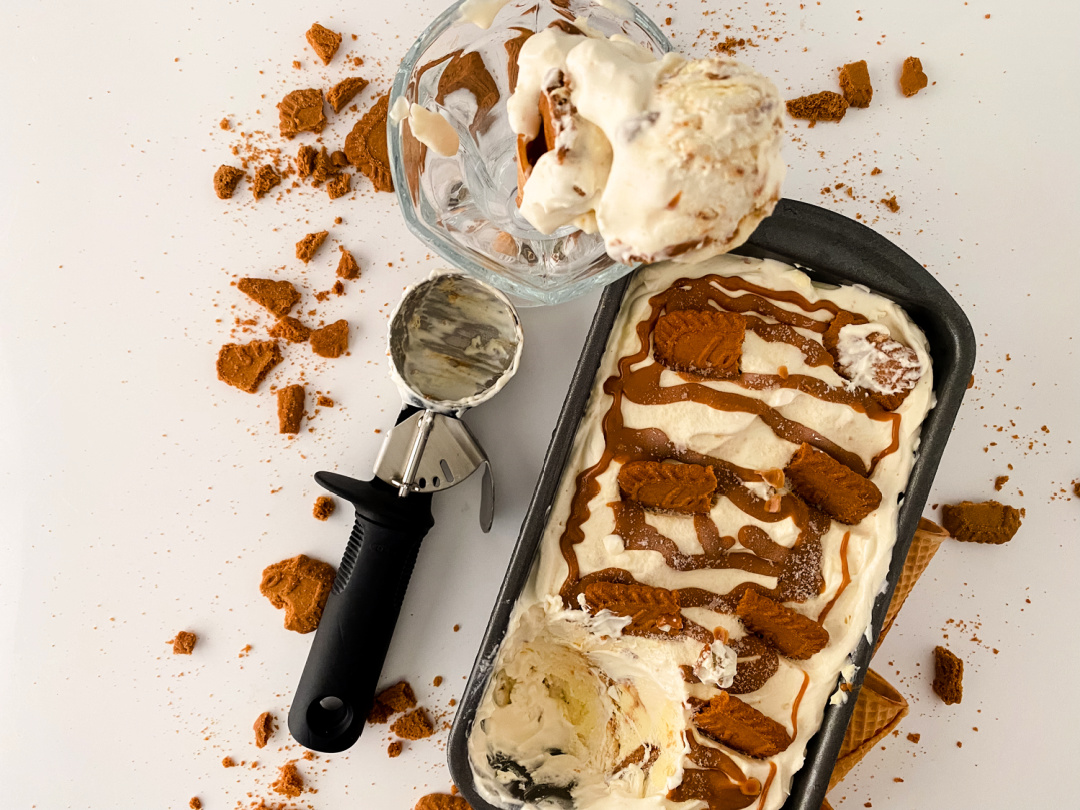
Banana Pudding Cheesecake Ice Cream
What Makes These Biscoff Cheesecake Bars Special?
This isn’t your traditional cheesecake. The crust is made with crushed Biscoff cookies, giving it a deep caramelized flavor with a hint of spice.
Instead of a baked filling, the creamy layer is made with cream cheese, sugar, vanilla, and whipped topping.
It’s light, smooth, and has just the right amount of sweetness to complement that buttery cookie crust.
Plus, there’s no water bath or long bake time. Just a quick bake for the crust and a chill in the fridge (or freezer, if you’re short on time).
Alternative options:
If you don’t have Biscoff cookies on hand or want to switch things up, graham crackers make a great substitute for the crust.
They offer a mild, slightly sweet flavor that pairs well with the creamy cheesecake filling. For a bit more texture and a richer taste, you can also use vanilla wafers.
Just crush them finely and mix with melted butter the same way you would with Biscoff cookies.
Each option brings its own twist, so feel free to experiment based on what you have or the flavor you prefer.
When to Serve Biscoff Cheesecake Bars
This is one of those versatile desserts that works for all sorts of occasions:
- Holiday gatherings when oven space is tight
- Summer cookouts when you don’t want to heat up the kitchen
- Potlucks or church suppers where easy-to-serve bars are the way to go
- Weeknight desserts when you just want something sweet but don’t want to fuss
- Birthday parties or baby showers—cut them small for bite-size servings on a dessert table
They’re easy to transport and slice clean if you freeze them first, making them a great option to take on the go.
Where Do These Fit on the Dessert Table?
These bars are right at home beside pies, cobblers, and banana pudding. You can dress them up for holidays with a drizzle of caramel or a dusting of cinnamon.
Stack them on a tiered platter for a shower or party, or just keep them in a container in the fridge for whenever the sweet tooth hits.
They also work great as part of a dessert board. Cut them into small squares and serve alongside mini brownies, cookies, and fresh berries for a casual but impressive setup.
Why You’ll Keep Coming Back to This Recipe
Once you make these Biscoff Cheesecake Bars, you’ll realize how easy it is to keep the ingredients on hand.
They’re budget-friendly, they come together fast, and you don’t need any special baking skills to pull them off.
They also freeze well—so if you’ve got leftovers (which is rare in my house), you can wrap them up and stash them for later.
How to Get the Best Results
If you want neat, bakery-style slices, go ahead and freeze the bars instead of just refrigerating.
Then use a hot knife to slice clean through each bar. That little extra step makes a big difference, especially if you’re serving them for a special occasion.
Whether you call them cookie butter cheesecake bars or no-bake Biscoff cream cheese bars, one thing’s for sure: this is a dessert you’ll make more than once. And probably get asked for the recipe every time.
Biscoff Cheesecake Bars
Equipment:
- Large mixing bowl
- Hand held or stand mixer
Prep: 10 min
Rest time: 2-4 hours
Total: 2 hr 10 min
Yield: 9-12 servings
Ingredients:
- 1 ½ cups Biscoff cookies, crushed (about 14 cookies)
- 4 Tbsp unsalted butter, melted
- 1 8 oz container cool whip
- 16 ounces cream cheese, softened
- 2/3 cup sugar
- 1 tsp vanilla

Directions:
Preheat the oven to 350 degrees.
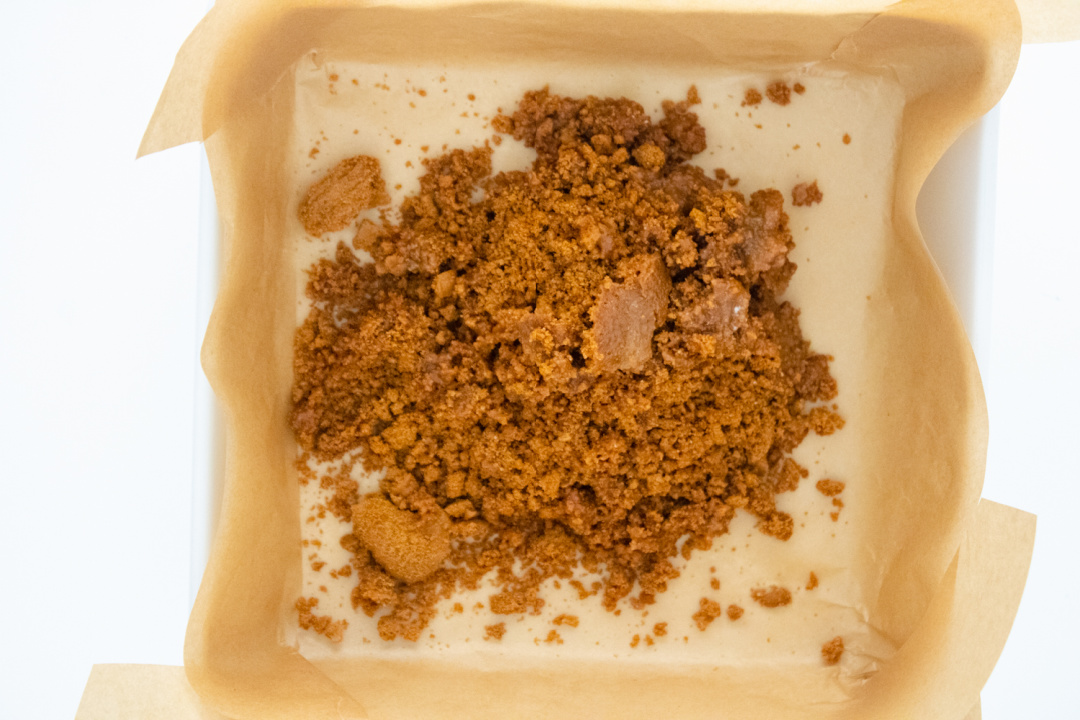
Crush the Biscoff cookies into crumbs and mix with the melted butter.
Flatten into the bottom of the baking dish.

Cook for 10 mins, remove and let cool.
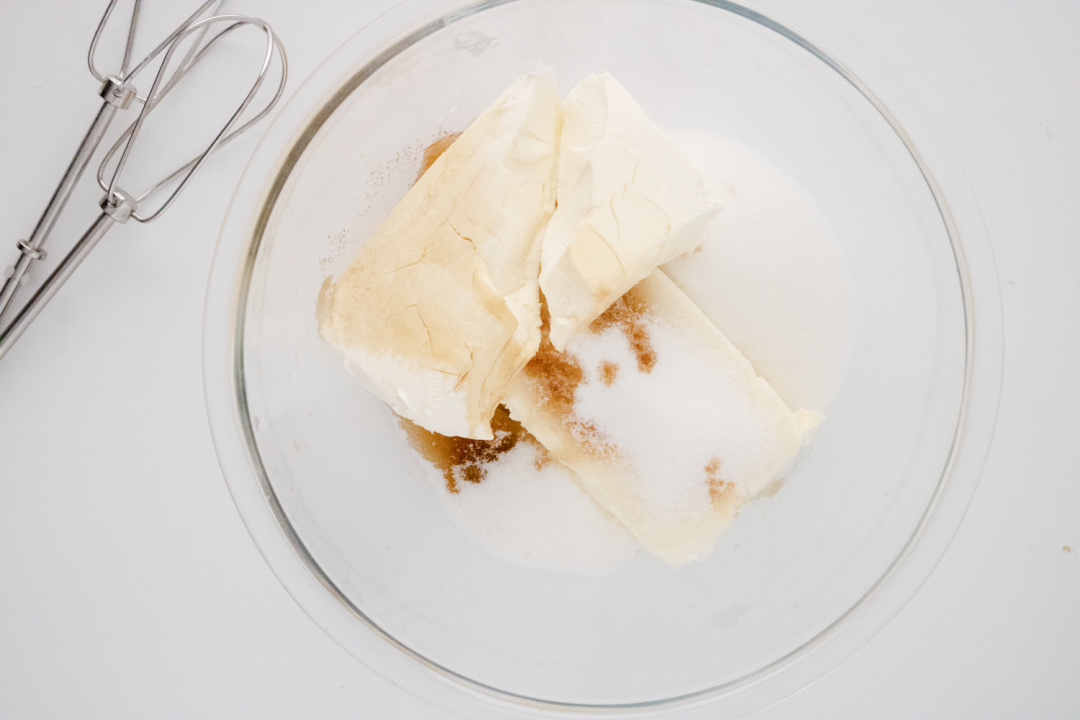
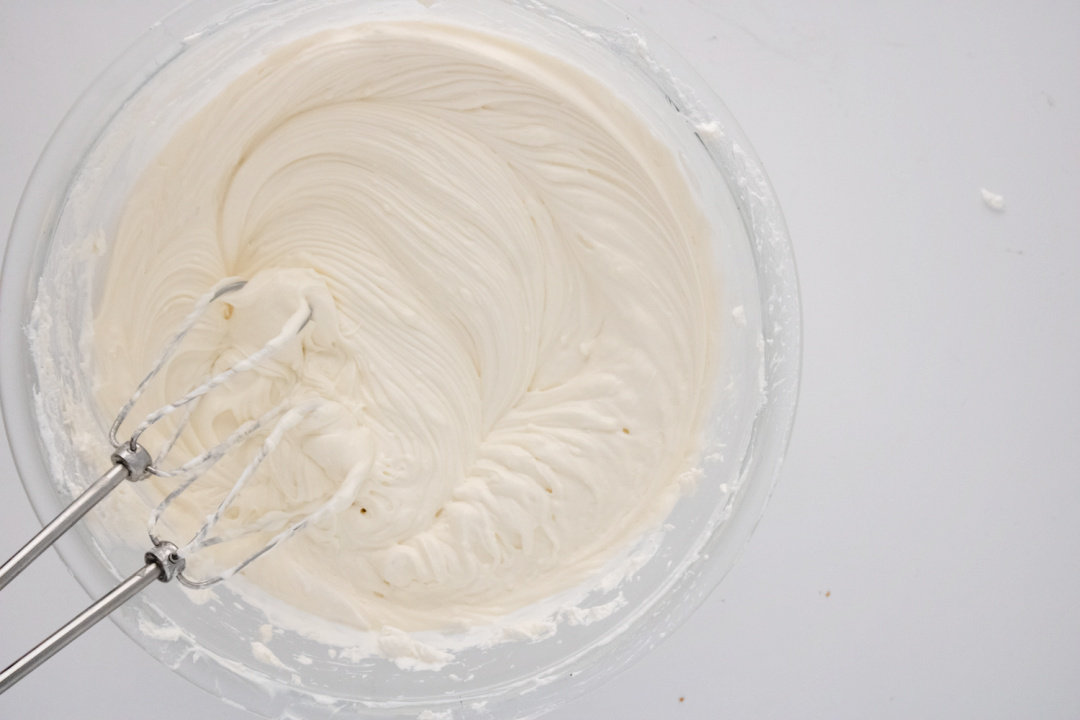
In a large bowl, mix softened cream cheese, granulated sugar and vanilla until smooth.
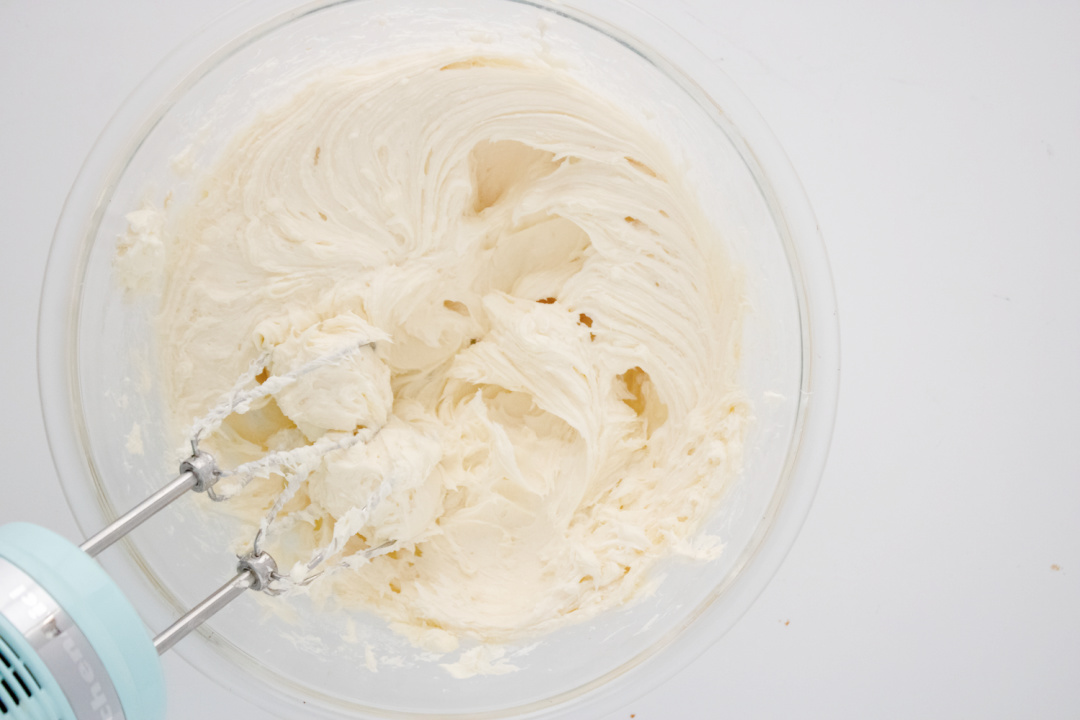
Add in the cool whip and whip until well incorporated.

Pour the mixture on top of the cooled crumbs.
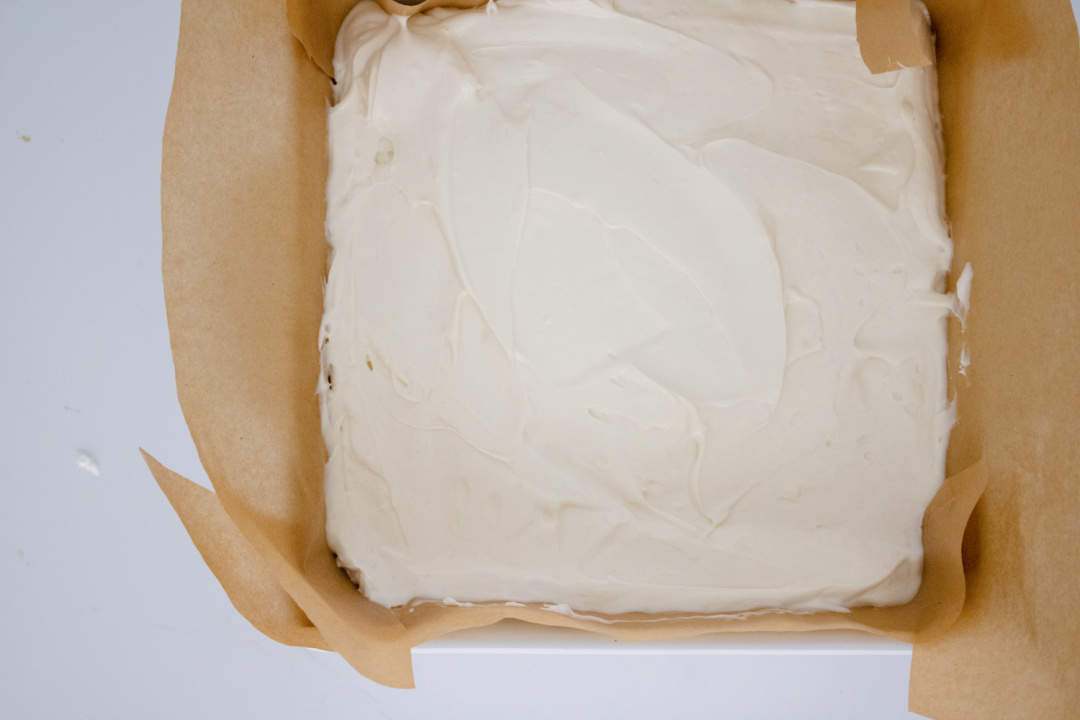
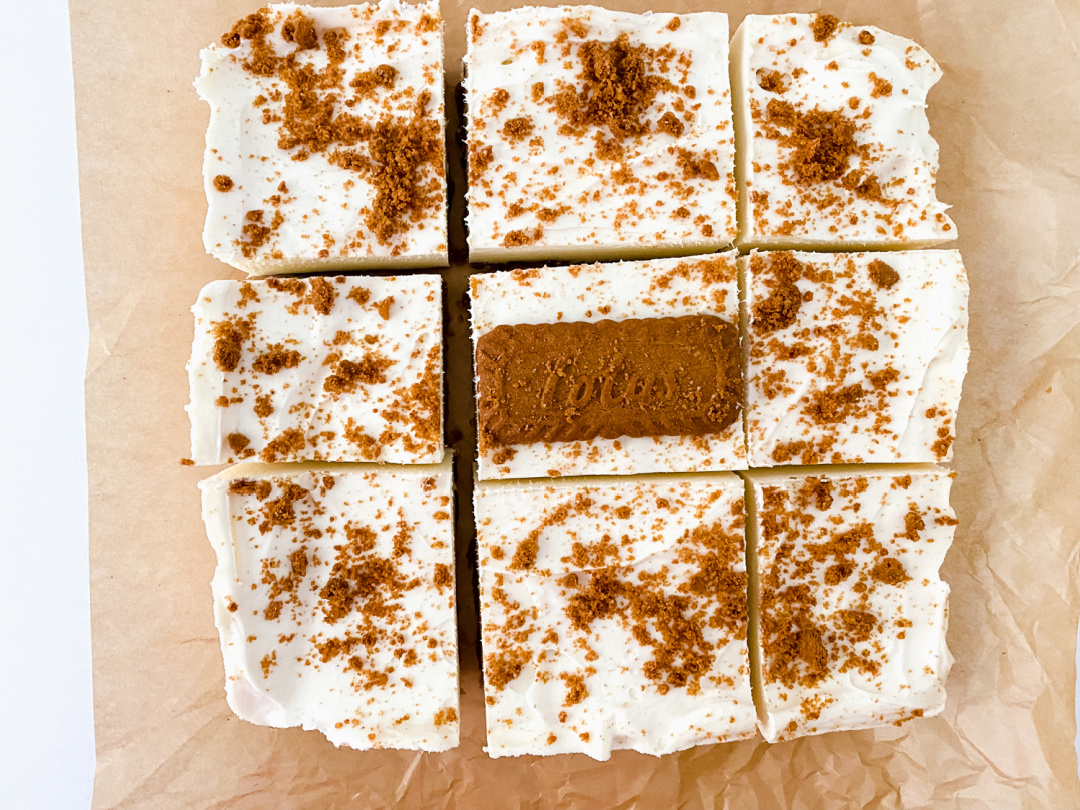
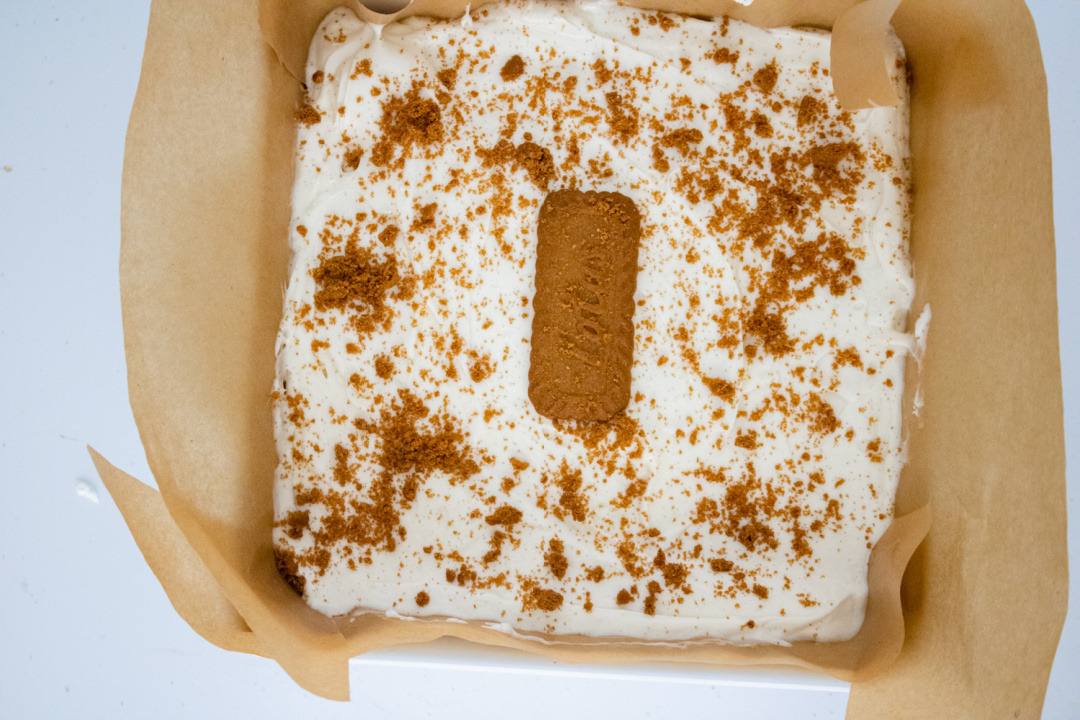
Garnish with more crushed cookies and let chill for 2-4 hours.
Tip: For perfectly cut slices, freeze the cheesecake instead of placing in the fridge.

FAQs for Biscoff Cheesecake Bars
Q: Can I make these cheesecake bars without an oven?
A: Yes! The oven is only needed briefly to bake the cookie crust for about 10 minutes. If you’re short on time, you can skip baking the crust and just press the cookie crumbs and butter mixture into the pan. The bars will still set nicely in the fridge or freezer.
Q: How long should I chill the bars before serving?
A: For the best texture, chill the bars in the fridge for at least 2 to 4 hours. If you want cleaner slices, freeze them for about an hour before cutting.
Q: Can I use regular whipped cream instead of Cool Whip?
A: You can substitute whipped cream, but Cool Whip helps maintain the structure and creaminess without weeping. If you use fresh whipped cream, make sure it’s stabilized or fold it in gently so the bars hold together better.
Q: How long will these cheesecake bars keep in the fridge?
A: Stored in an airtight container, these bars will stay fresh for about 3 to 4 days in the fridge. For longer storage, freeze them for up to a month.
Q: Can I add toppings to these bars?
A: Absolutely! Chopped nuts, caramel drizzle, or extra crushed cookies on top work great. You can also add a sprinkle of cinnamon or a few chocolate chips for added flavor.
Q: What’s the best way to cut these bars cleanly?
A: For clean cuts, freeze the bars for about an hour before slicing. Use a sharp knife dipped in hot water and wiped dry between cuts to get smooth edges.
Q: Can I make these bars dairy-free or vegan?
A: This recipe relies heavily on cream cheese and Cool Whip, so it’s tricky to make completely dairy-free without changing the texture. However, you can try using dairy-free cream cheese and whipped topping alternatives, but results may vary.
Biscoff Cheesecake Bars
Ingredients
- 1 ½ cups Biscoff cookies, crushed (about 14 cookies)
- 4 Tbsp unsalted butter, melted
- 1 8 oz container cool whip
- 16 ounces cream cheese, softened
- 2/3 cup sugar
- 1 tsp vanilla
Instructions
Preheat the oven to 350 degrees.
Crush the Biscoff cookies into crumbs and mix with the melted butter.
Flatten into the bottom of the baking dish.
Cook for 10 mins, remove and let cool.
To a large bowl, mix softened cream cheese, granulated sugar and vanilla until smooth.
Add in the cool whip and whip until well incorporated.
Pour the mixture on top of the cooled crumbs.
Garnish with more crushed cookies and let chill for 2-4 hours.