There’s something about the warm, cozy flavors of apple and cinnamon that just feels like home.
These Upside Down Apple Tarts bring together the best of southern comfort and a touch of elegance, making them perfect for any occasion.
Whether you’re having a few friends over for coffee or just want to treat yourself after a long day, these tarts are your go-to dessert.
They’re simple to make, but they’ll make you look like a pro in the kitchen!
You may also like:
Why Make These Upside Down Apple Tarts?
These tarts are all about making the most of simple ingredients.
The combination of sweet, tender apples and flaky puff pastry creates a dessert that feels special without requiring a lot of effort.
The caramelized sugar and butter give the apples a rich, golden glaze that’s hard to resist, while the puff pastry provides a light, crispy base.
It’s a match made in dessert heaven!
What’s more, these tarts are versatile. They can be dressed up or down depending on the occasion.
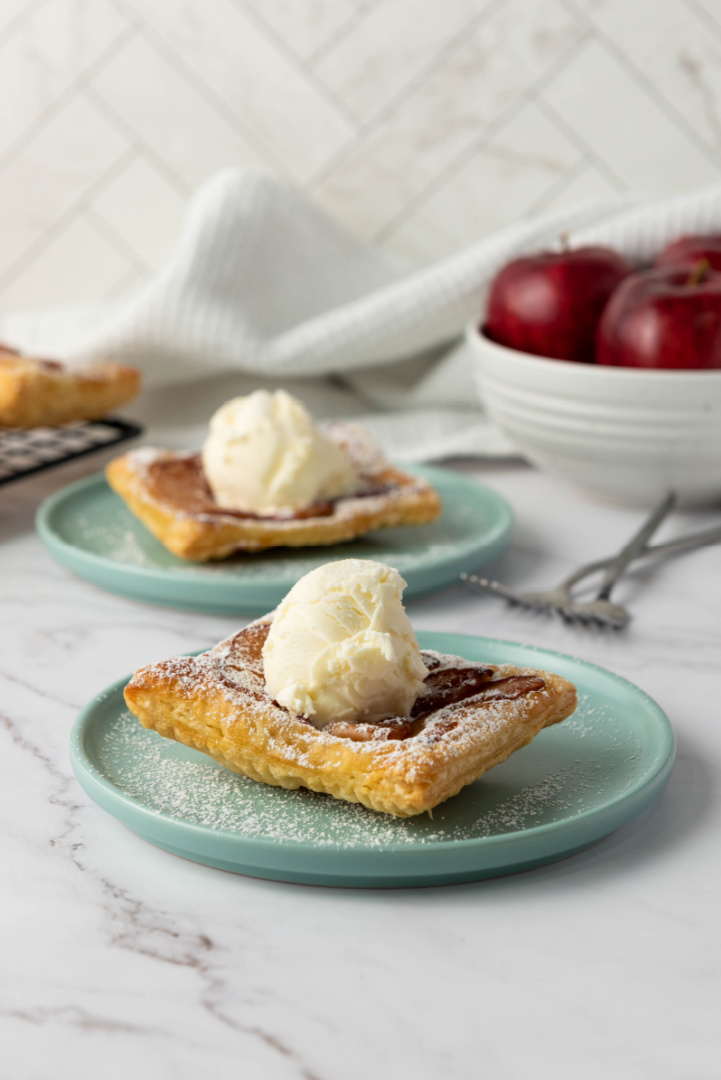
Serve them at a dinner party with a scoop of vanilla ice cream, and you’ve got a dessert that’ll impress your guests.
Or, keep it simple with a dusting of confectioners’ sugar and a cup of coffee for a cozy afternoon snack.
Either way, these tarts are sure to become a favorite in your home.
When and Where to Serve Them
These Upside Down Apple Tarts are perfect for so many occasions.
They’re a great choice for holiday gatherings, offering a sweet treat that’s both classic and crowd-pleasing.
Imagine serving these warm tarts with a scoop of vanilla ice cream on a chilly fall evening—pure comfort food!
They’re also ideal for casual get-togethers.
If you’ve got friends or family dropping by, these tarts can be whipped up in under an hour, making them a great last-minute dessert.
And because they can be served warm or at room temperature, they’re easy to transport if you’re heading to a potluck or a picnic.
What to Serve with These Tarts
These tarts are delicious on their own, but a few simple additions can take them to the next level.
A dollop of whipped cream adds a light, creamy contrast to the rich caramelized apples.
If you want to go all out, a scoop of vanilla ice cream or cinnamon ice cream will make these tarts even more indulgent.
For a truly southern touch, serve the tarts with a drizzle of homemade caramel sauce or a sprinkle of chopped pecans.
The nuts add a lovely crunch that pairs beautifully with the soft, tender apples.
And of course, a cup of freshly brewed coffee or a glass of sweet tea is always a good idea!
Final Thoughts
These Upside Down Apple Tarts are all about simple pleasures.
They bring together the comforting flavors of apple, cinnamon, and buttery pastry in a way that feels both familiar and special.
Whether you’re looking to impress your guests or just treat yourself to a little something sweet, these tarts are sure to hit the spot.
So next time you’re in the mood for a taste of the South, give these tarts a try—you won’t be disappointed!
Upside Down Apple Tart Recipe
Servings: 6 tarts
Prep Time: 5-10 minutes
Cook Time: 10 minutes for caramelizing apples + 30 minutes for baking
Total Time: Approximately 45-50 minutes
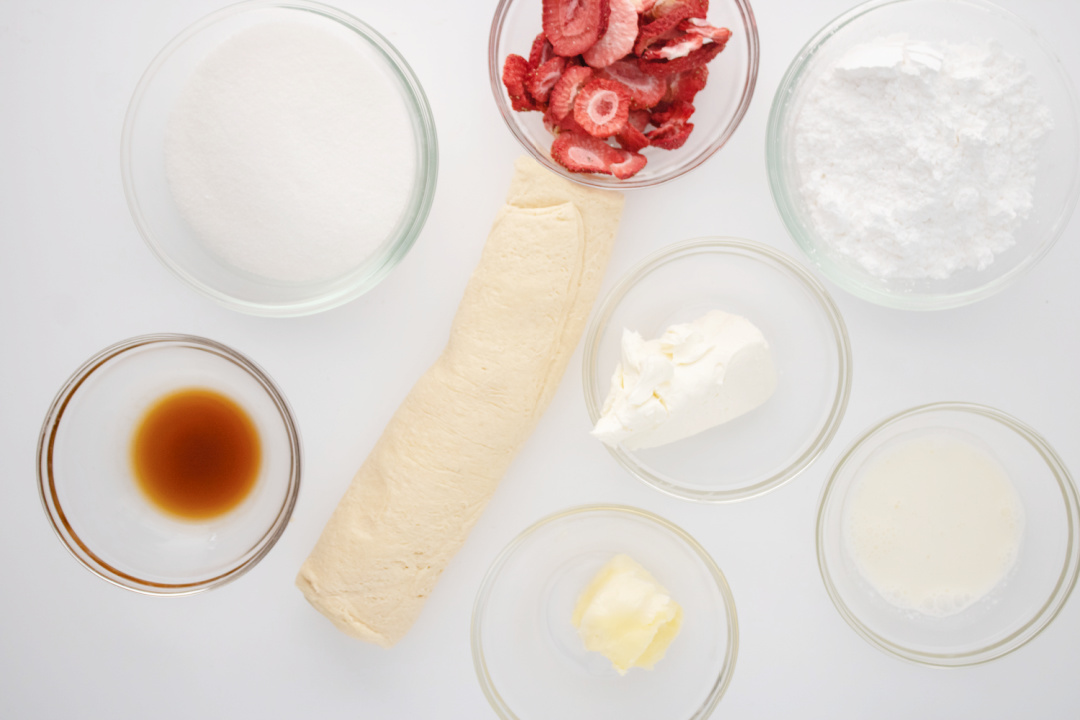
Ingredients:
- 1 sheet of puff pastry, thawed if frozen
- 1 Red Delicious apple
- 1/8 cup brown sugar
- 1/8 cup granulated sugar
- 4 tablespoons unsalted butter
- 1/2 teaspoon cinnamon (optional)
- A pinch of salt
- Confectioners sugar, for serving
Directions:
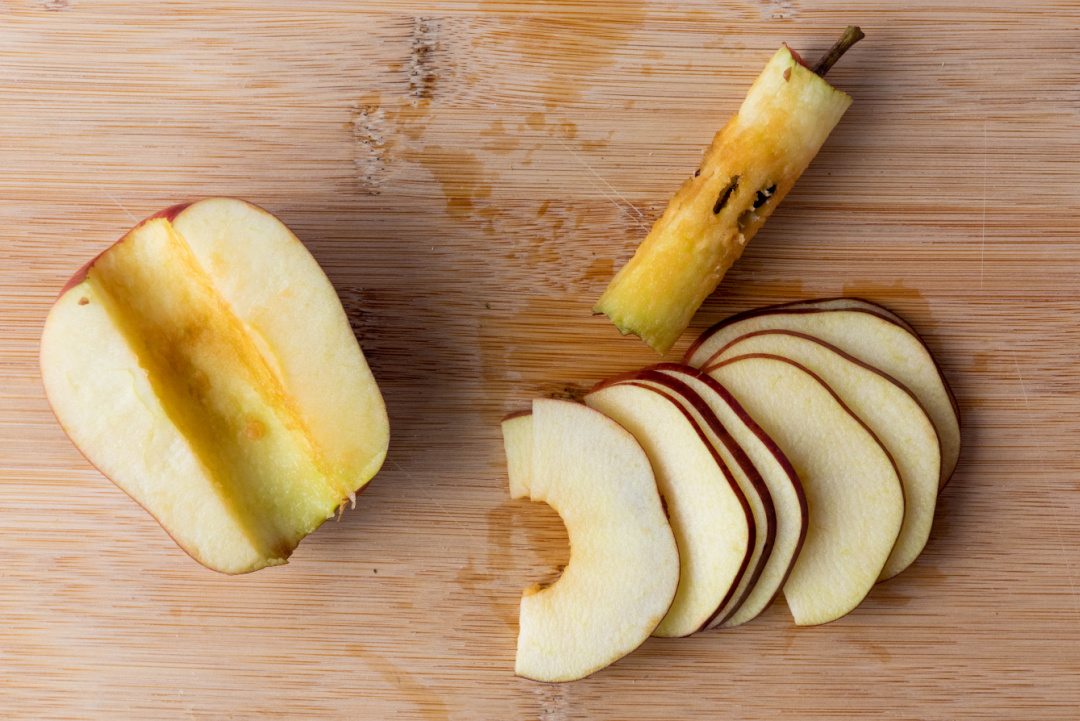
Peel, core, and cut apple into thin slices. Set aside.
Preheat your oven to 375°F.
Use a round baking pan or oven-proof skillet approximately 9 inches in diameter.
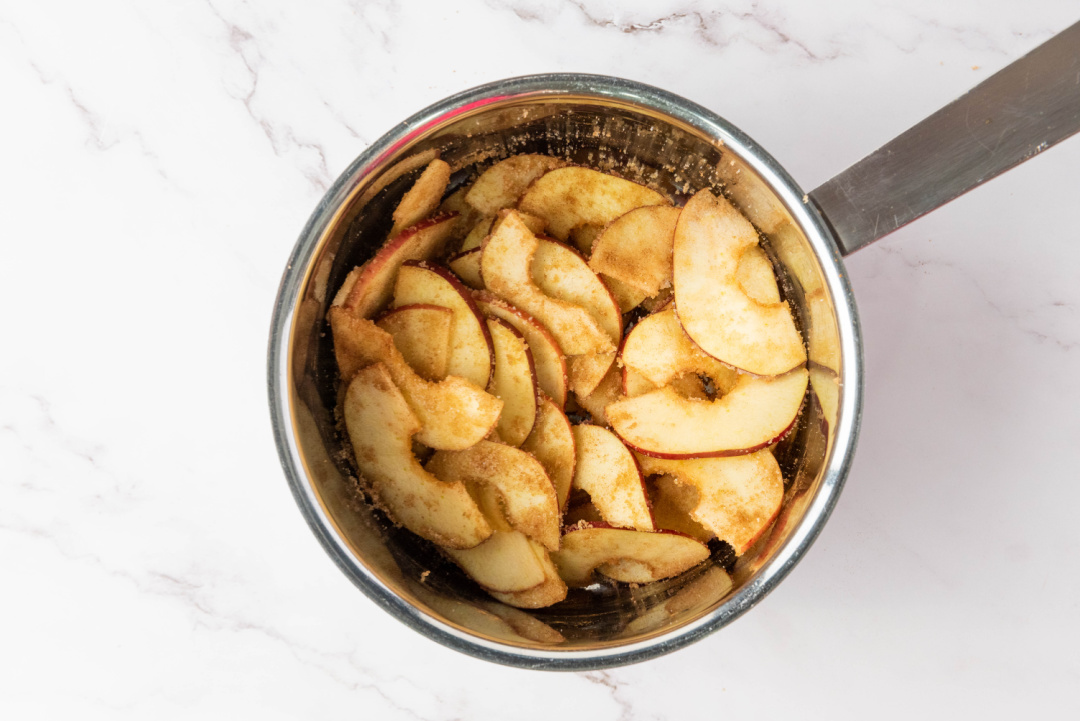
In your pan or skillet, melt the butter over medium heat. Add both types of sugar, cinnamon and a pinch of salt, stirring until the sugars dissolve and the mixture starts to bubble.
Add the apple wedges to the pan, arranging them tightly in a circular pattern. Cook over medium heat for about 10 minutes, until the apples are somewhat tender and caramelized. Be careful not to burn the caramel.
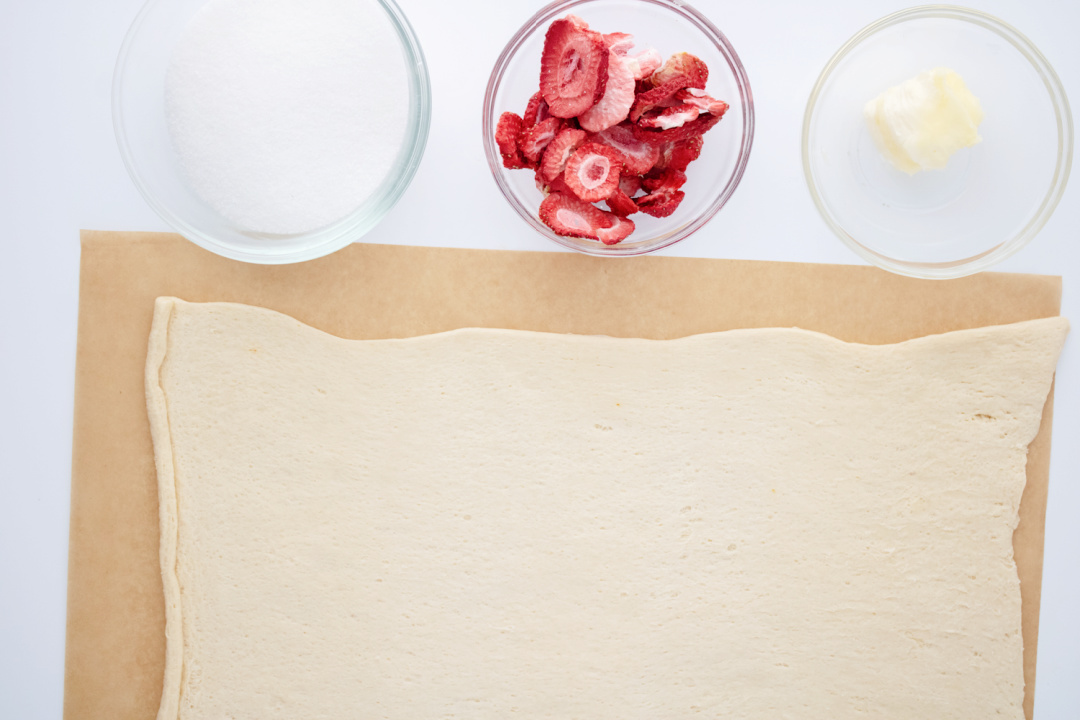
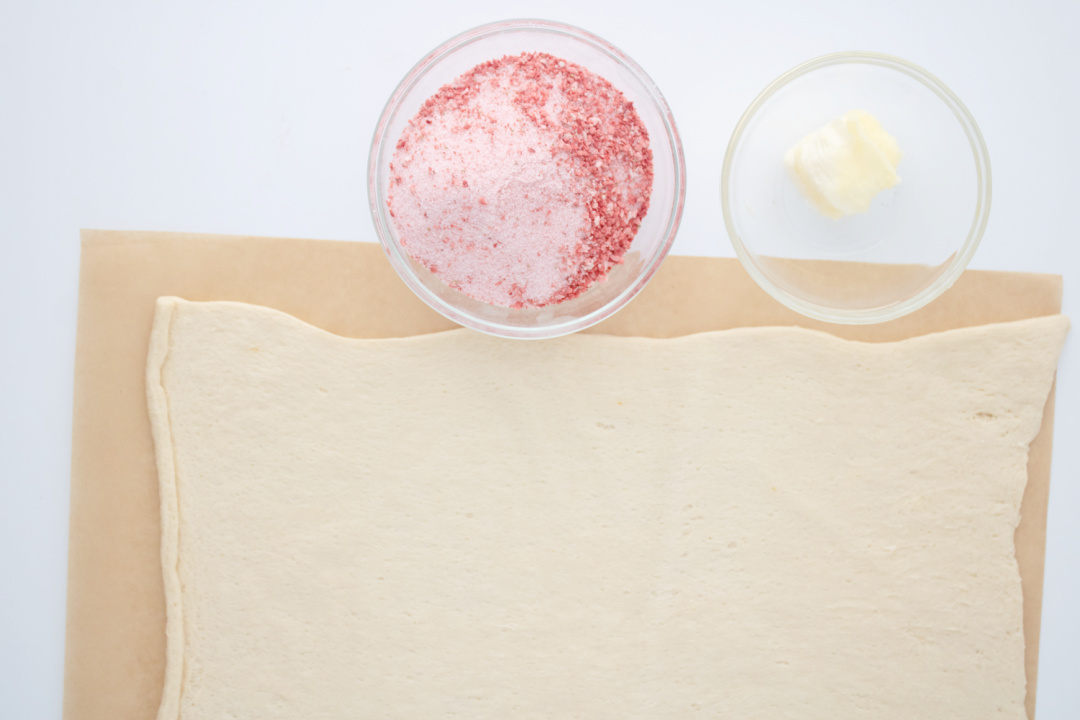
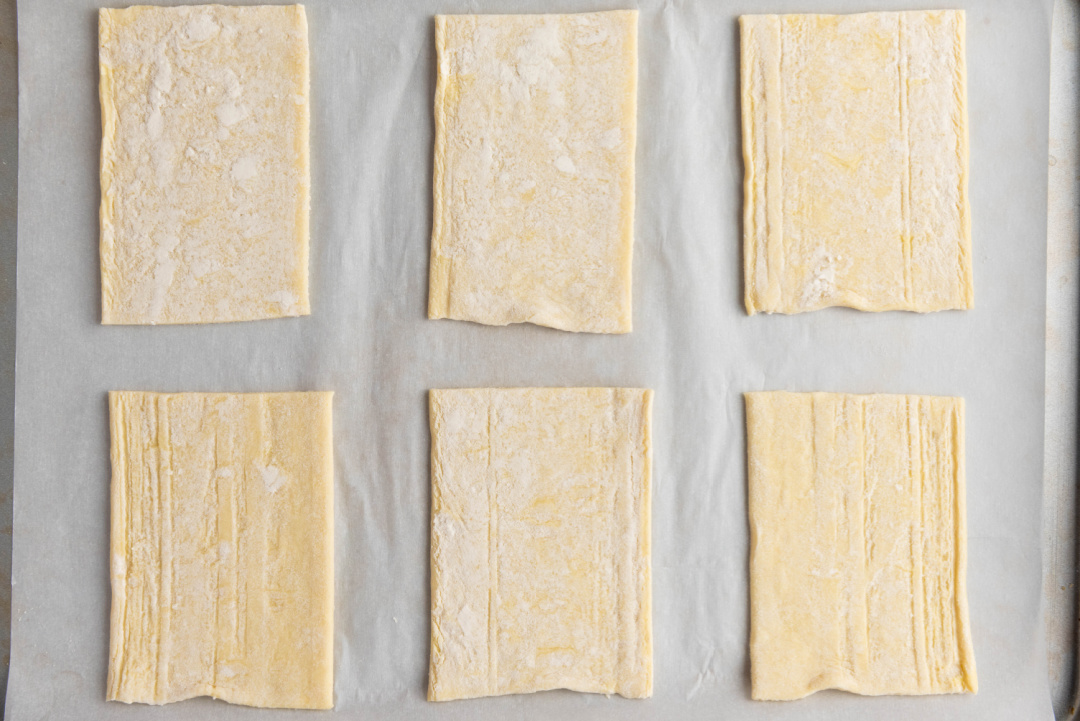
While the apples are caramelizing, roll out your puff pastry on a lightly floured surface. Cut in 6 even rectangles.
Once the apples are caramelized, let them cool off for a few minutes.
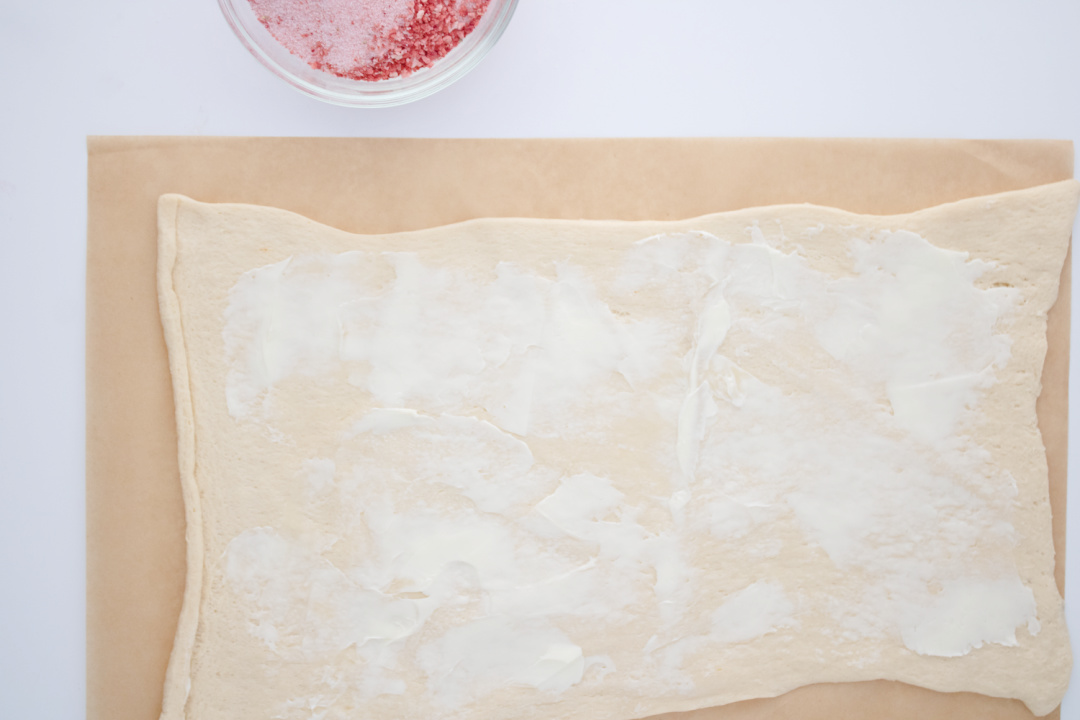
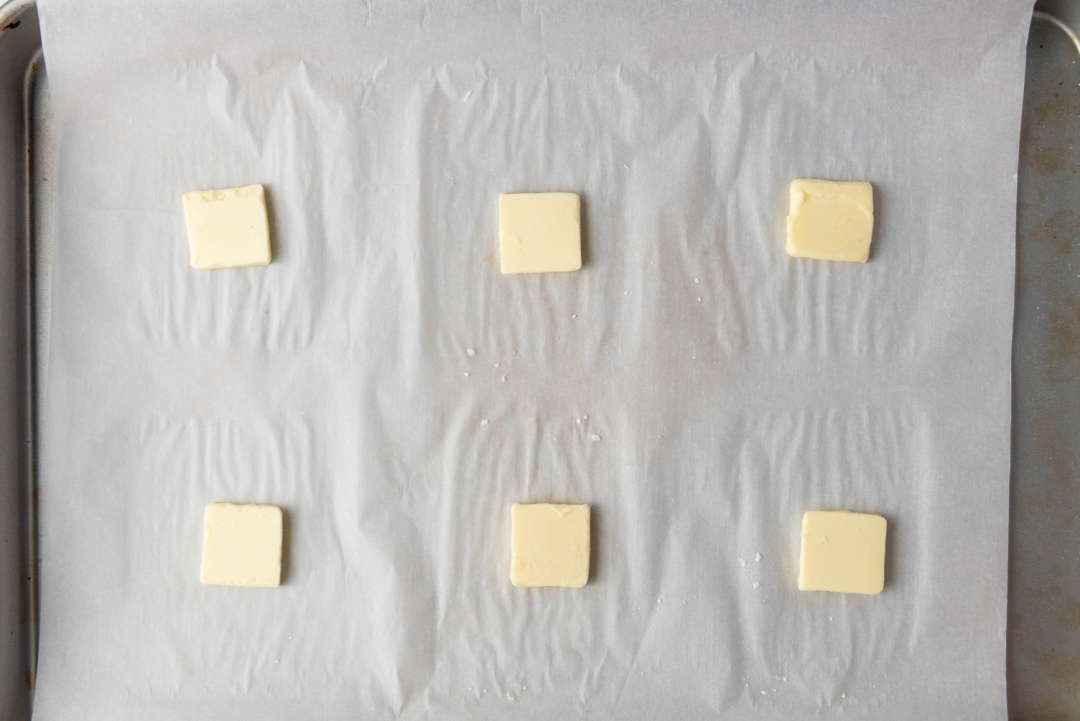
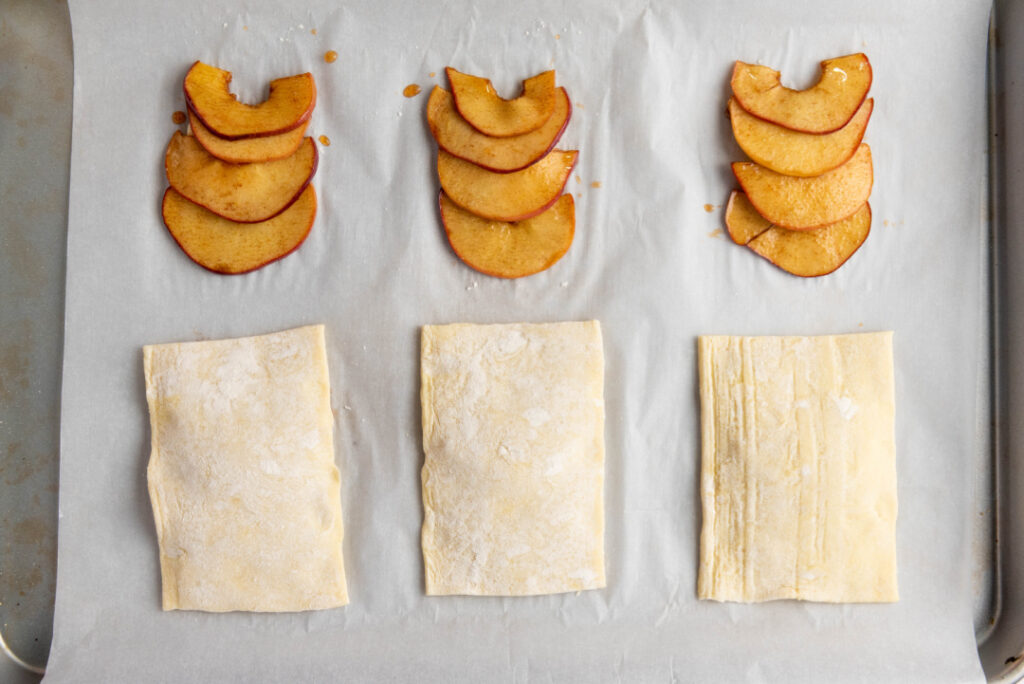
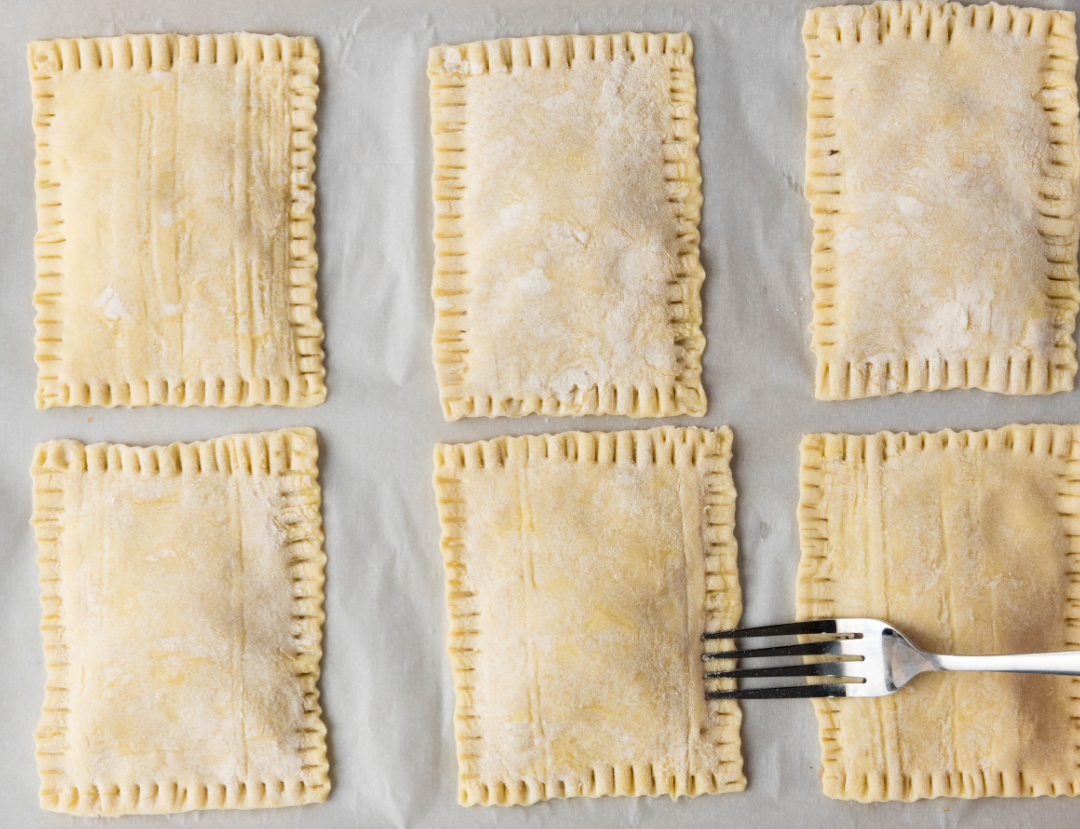
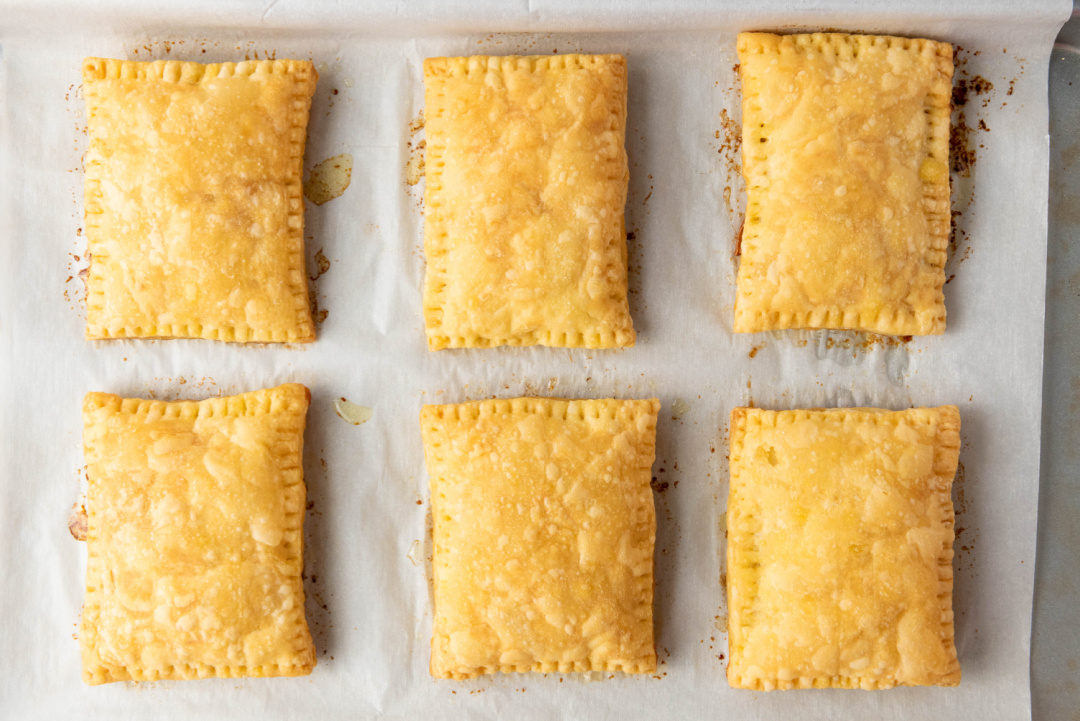
Then place 1 sheet of butter on the baking sheet, add 4 slices of caramelized apple and the puff pastry on top. Then push the edges down using a fork.
Bake in the preheated oven for 30 minutes, or until the puff pastry is golden and puffed.
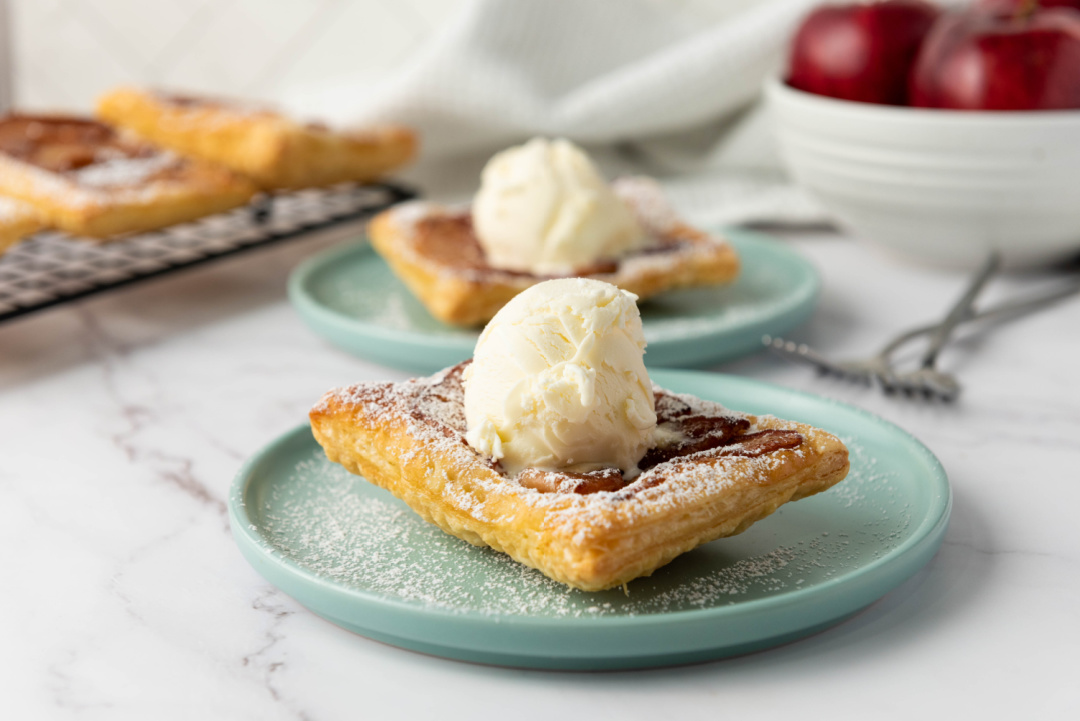
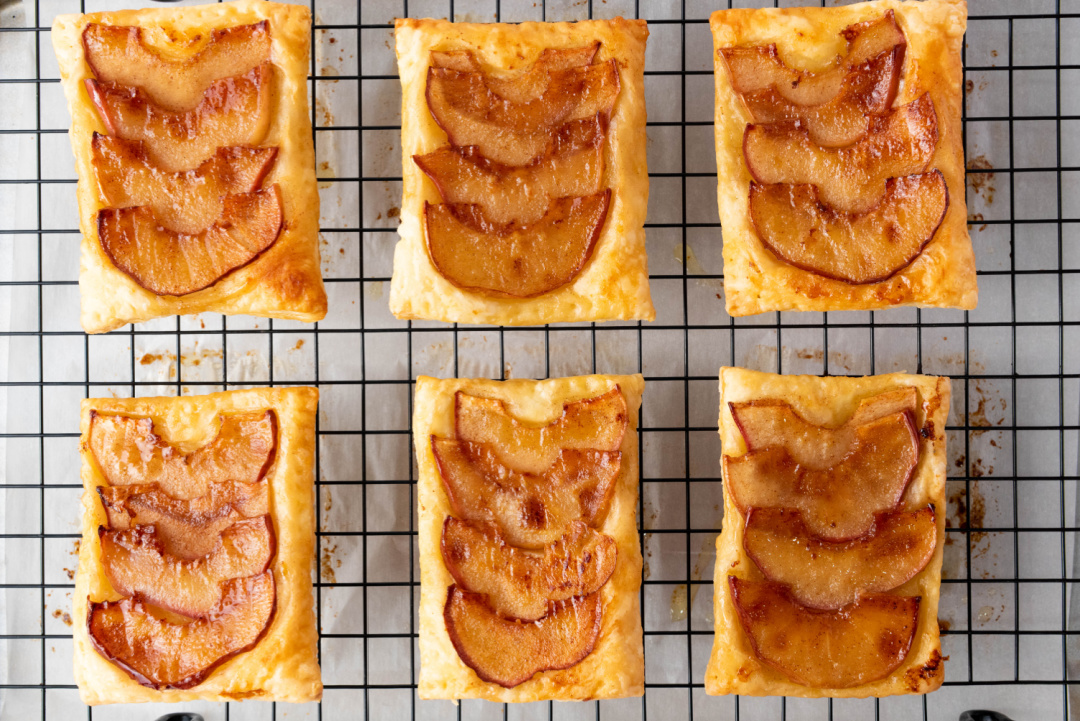
Let the tart cool for a few minutes after removing it from the oven. Then carefully flip the tart onto the plate. Be very careful, as the caramel and pan will be very hot.
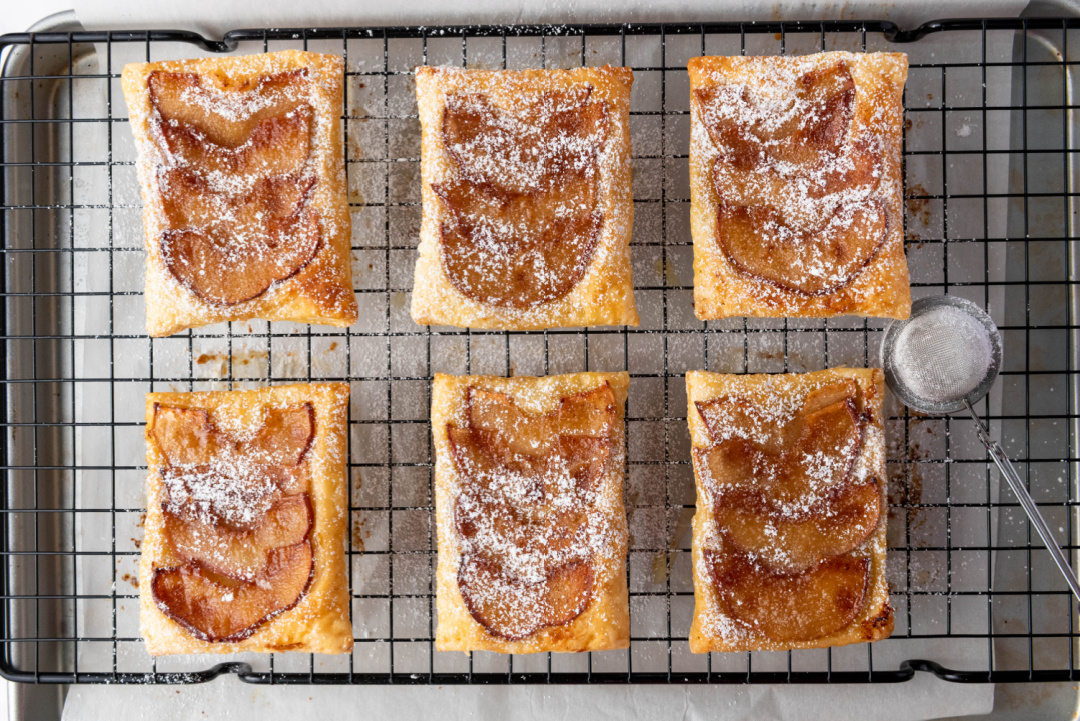
Dust some confectioners sugar over the tarts.
Serve warm or at room temperature, ideally with a dollop of whipped cream or a scoop of vanilla ice cream.
Upside Down Apple Tarts
Ingredients
- 1 sheet of puff pastry, thawed if frozen
- 1 Red Delicious apple
- 1/8 cup brown sugar
- 1/8 cup granulated sugar
- 4 tablespoons unsalted butter
- 1/2 teaspoon cinnamon (optional)
- A pinch of salt
- Confectioners sugar, for serving
Instructions
Peel, core, and cut apple into thin slices. Set aside.
Preheat Oven and Prepare Pan: Preheat your oven to 375°F.
Use a round baking pan or oven-proof skillet approximately 9 inches in diameter.
In your pan or skillet, melt the butter over medium heat. Add both types of sugar, cinnamon and a pinch of salt, stirring until the sugars dissolve and the mixture starts to bubble.
Add the apple wedges to the pan, arranging them tightly in a circular pattern. Cook over medium heat for about 10 minutes, until the apples are somewhat tender and caramelized. Be careful not to burn the caramel.
While the apples are caramelizing, roll out your puff pastry on a lightly floured surface. Cut in 6 even rectangles.
Once the apples are caramelized, let them cool off for a few minutes.
Then place 1 sheet of butter on the baking sheet, add 4 slices of caramelized apple and the puff pastry on top. Then push the edges down using a fork.
Bake in the preheated oven for 30 minutes, or until the puff pastry is golden and puffed.
Let the tart cool for a few minutes after removing it from the oven. Then carefully flip the tart onto the plate. Be very careful, as the caramel and pan will be very hot.
Dust some confectioners sugar over the tarts.
Serve warm or at room temperature, ideally with a dollop of whipped cream or a scoop of vanilla ice cream.
Frequently Asked Questions
Can I use a different type of apple for these Upside Down Apple Tarts?
Yes, you can use other types of apples if you prefer. Granny Smith apples will give a tart flavor, while Honeycrisp or Fuji apples offer a sweeter taste. Just keep in mind that different apples may vary in sweetness and texture, so adjust the sugar and cooking time as needed.
Can I make these Upside Down Apple Tarts ahead of time?
Yes, these tarts can be made ahead of time. You can prepare the tarts and store them in the refrigerator for up to a day before baking. If you want to bake them in advance, you can store the baked tarts in an airtight container at room temperature for up to two days. Reheat in the oven at 350°F for about 10 minutes before serving to crisp up the puff pastry.
Can I freeze Upside Down Apple Tarts?
You can freeze the tarts either before or after baking. If freezing before baking, assemble the tarts and place them in the freezer on a baking sheet until solid. Then, transfer them to a freezer bag or container. When ready to bake, you can bake them directly from frozen, just add a few extra minutes to the baking time. If freezing after baking, let them cool completely, wrap each tart tightly in plastic wrap, and store them in a freezer-safe bag or container. Thaw and reheat in the oven before serving.
Do I have to use puff pastry, or can I substitute with another dough?
Puff pastry gives these tarts a light, flaky texture, which is part of their charm. However, if you prefer, you can substitute with pie crust. Just note that the texture will be different. Pie crust will be denser.
What can I serve with Upside Down Apple Tarts?
These tarts are delicious on their own, but they pair wonderfully with a scoop of vanilla ice cream, a dollop of whipped cream, or a drizzle of caramel sauce. For an extra touch, try adding a sprinkle of chopped nuts, like pecans or walnuts, on top.
How do I store leftover Upside Down Apple Tarts?
Leftover tarts can be stored in an airtight container at room temperature for up to two days. For longer storage, keep them in the refrigerator for up to five days. Reheat in the oven at 350°F for about 10 minutes before serving to restore the pastry’s crispiness.
What makes these Upside Down Apple Tarts different from a regular apple tart?
The key difference is in the presentation and flavor. In an upside down apple tart, the apples are caramelized with sugar and butter at the bottom of the pan before being topped with puff pastry. Once baked, the tart is flipped upside down, creating a beautiful, glossy apple topping with a rich caramel flavor. This method also allows the puff pastry to bake up golden and crispy, providing a delightful contrast to the soft, sweet apples.