Learn how to make this delicious and easy Chicken Pot Pie from scratch! This is comfort food for any time of year.
I love chicken pot pie. I usually crave chicken pot pie when the fall season rolls around, but I do enjoy it any time of year. I used to buy the ready-made pot pies from the box in the grocery store, but I wanted to learn how to make my own recipe from scratch.
Thinking back to 12 years ago, I remember receiving a homemade chicken pot pie from a friend after my wife had our first baby girl. What a blessing meals are after having a child!
I can still remember the taste of that warm and creamy Chicken Pot Pie, and that’s what got me hooked to eating them on a regular basis.
What is a pot pie?
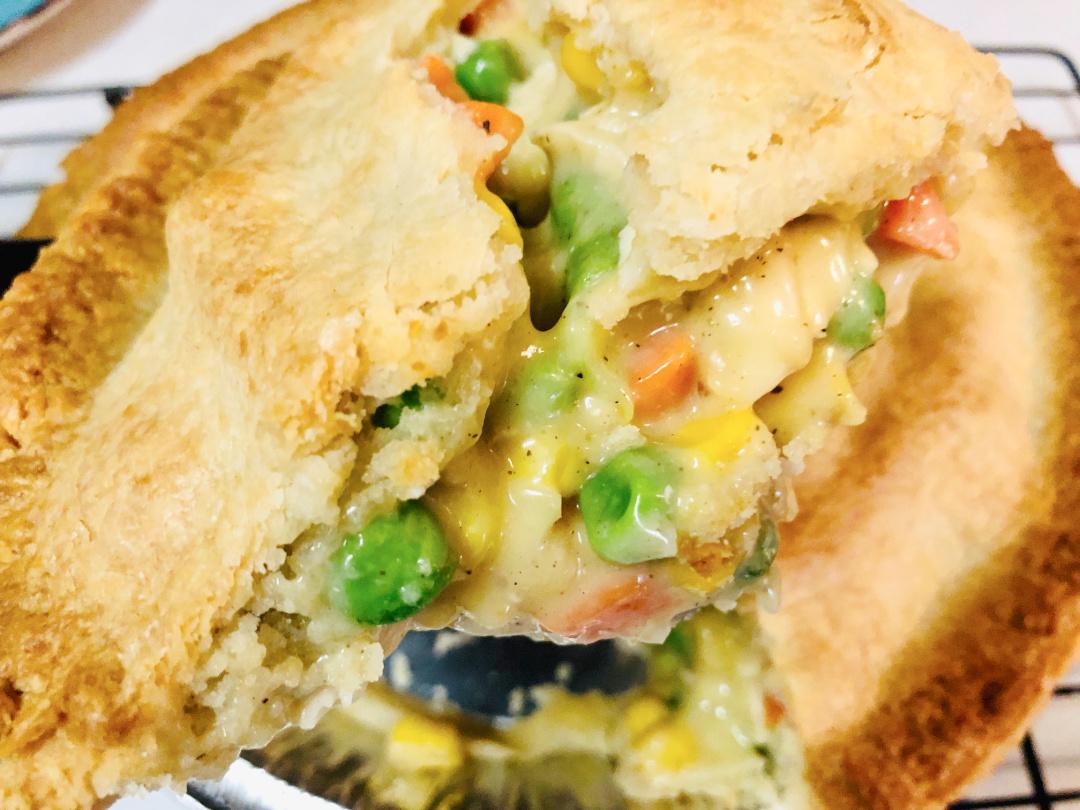
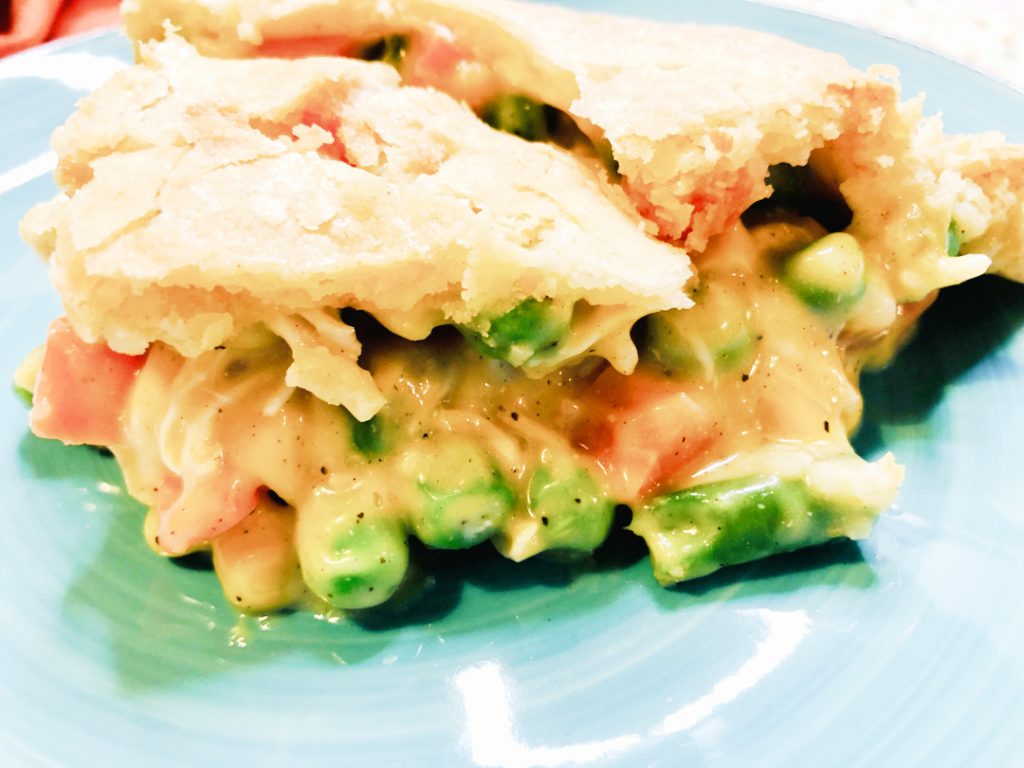
A pot pie is a type of meat pie. A basic pot pie consists of a pie crust, poultry or meat, such as turkey or chicken, vegetables like peas and carrots, and gravy or soupy mixture.
Chicken Pot Pie is an all-American comfort food. I enjoy the yummy mix of vegetables and cream of chicken soup with the flaky crust. The combination is amazing!
Try this easy chicken pot pie recipe!
Chicken Pot Pie
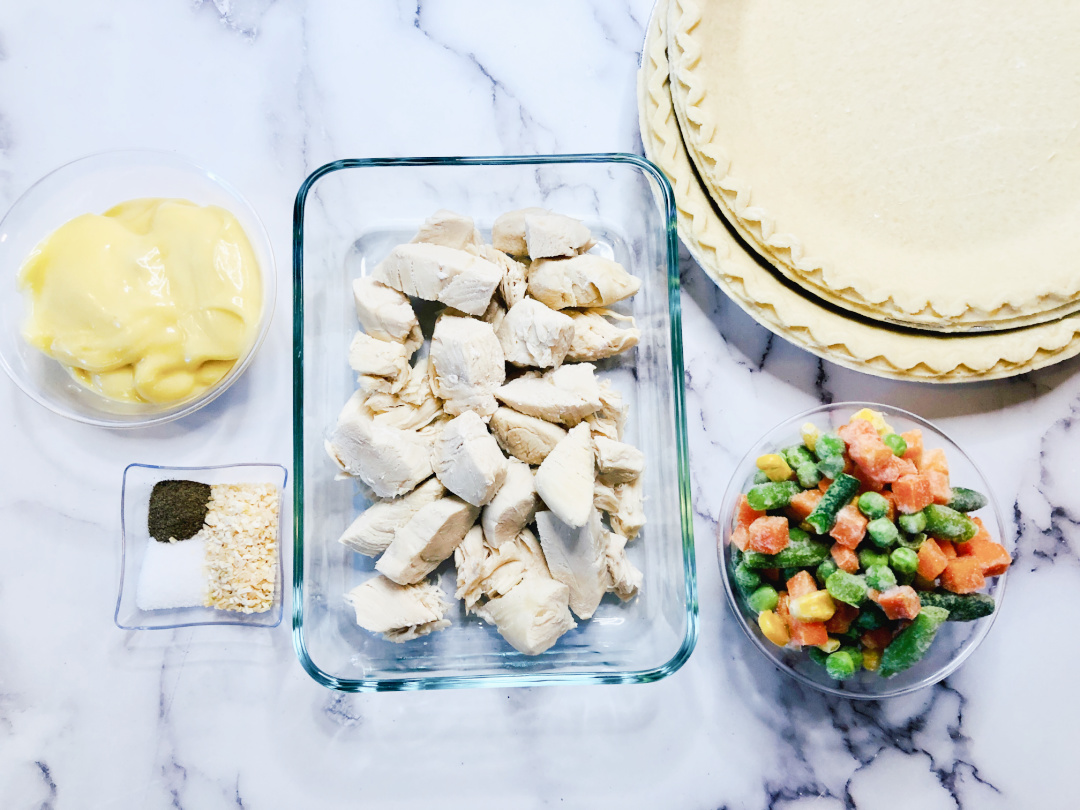
Ingredients:
- 2 frozen pie crust shells
- 1 lb. chicken breast, cooked and shredded
- 1 package frozen mixed vegetables
- 1 (10.5 oz.) can cream of chicken soup
- 2 tbsp. dry minced onion
- Salt and pepper to taste
Directions:
Preheat oven to 400 degrees.
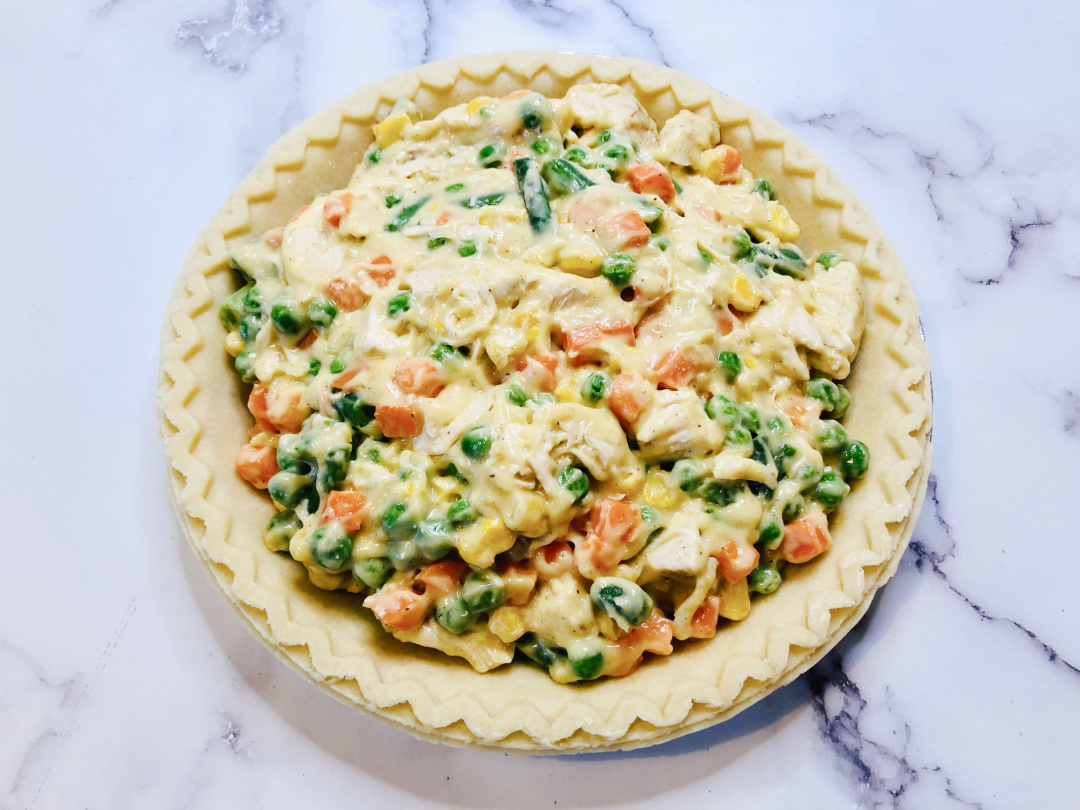
Mix together chicken, vegetables, soup, onion, salt & pepper until well combined.


Pour mixture into one of the pie crust shells.
Place the other pie crust shell bottom side up on top of the mixture.
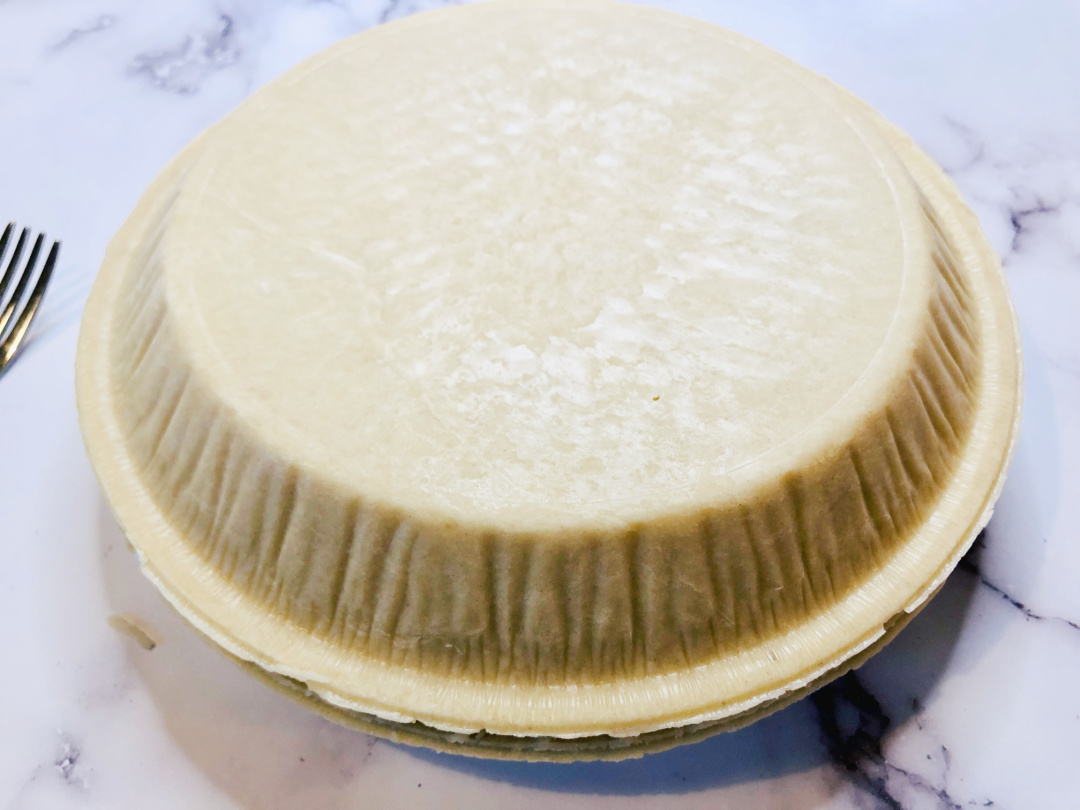
Use a fork to press the sides of the crust together to seal the pie.

Use the fork again to gently poke several sets of holes in the top crust.
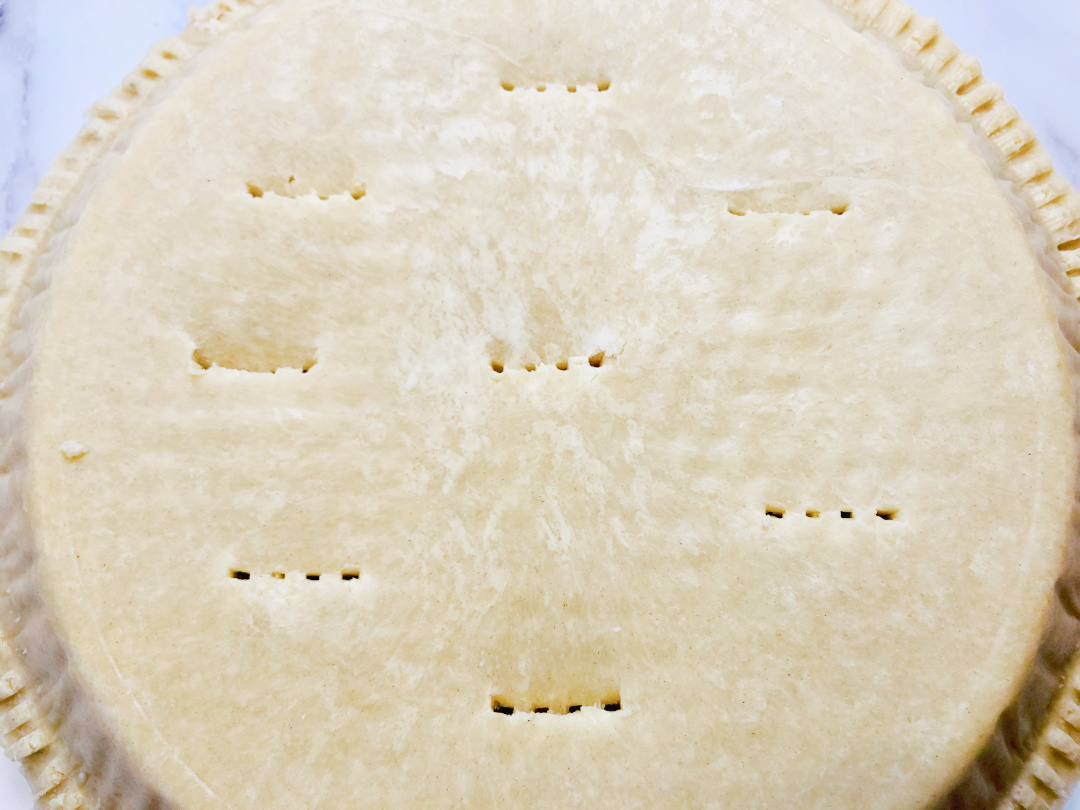
Bake 30-40 minutes or until the crust is golden brown and the filling is bubbly.
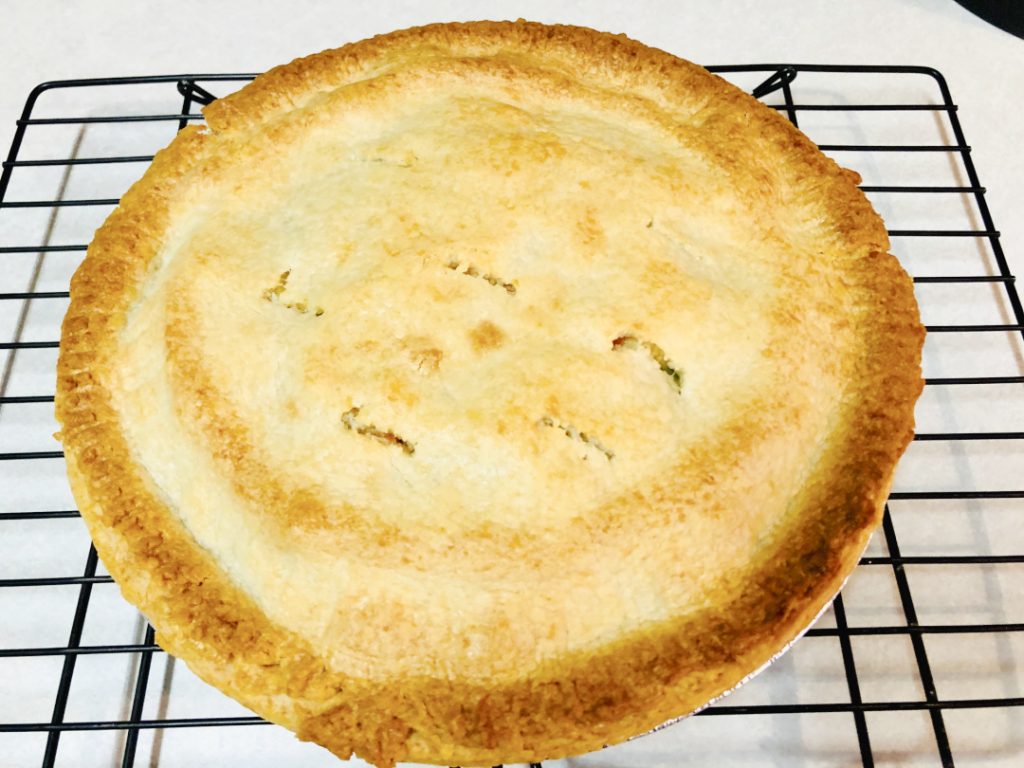
Let rest for about 10 minutes.
Slice, serve, and enjoy!
How long do pot pies last?
Baked chicken pot pie will last for about 3 to 5 days in the fridge. Cover with aluminum foil or plastic wrap and refrigerate.
Can you freeze chicken pot pie?
Yes, to freeze the pot pie, wrap tightly with aluminum foil or plastic freezer wrap. You can also place the pot pie in heavy-duty freezer bag.
Chicken Pot Pie

Ingredients
- 2 frozen pie crust shells
- 1 lb chicken breast, cooked and shredded
- 1 package frozen mixed vegetables
- 1 can cream of chicken soup
- 2 tablespoons dry minced onion
- Salt & pepper to taste
Instructions
Preheat oven to 400 degrees.
Mix together chicken, vegetables, soup, onion, salt & pepper until well
combined.
Pour mixture into one of the pie crust shells.
Place the other pie crust shell bottom side up on top of the mixture.
Use a fork to press the sides of the crust together to seal the pie.
Use the fork again to gently poke several sets of holes in the top crust.
Bake 30-40 minutes or until the crust is golden brown and the filling is bubbly.
Let rest for about 10 minutes.
Slice, serve, and enjoy!