-
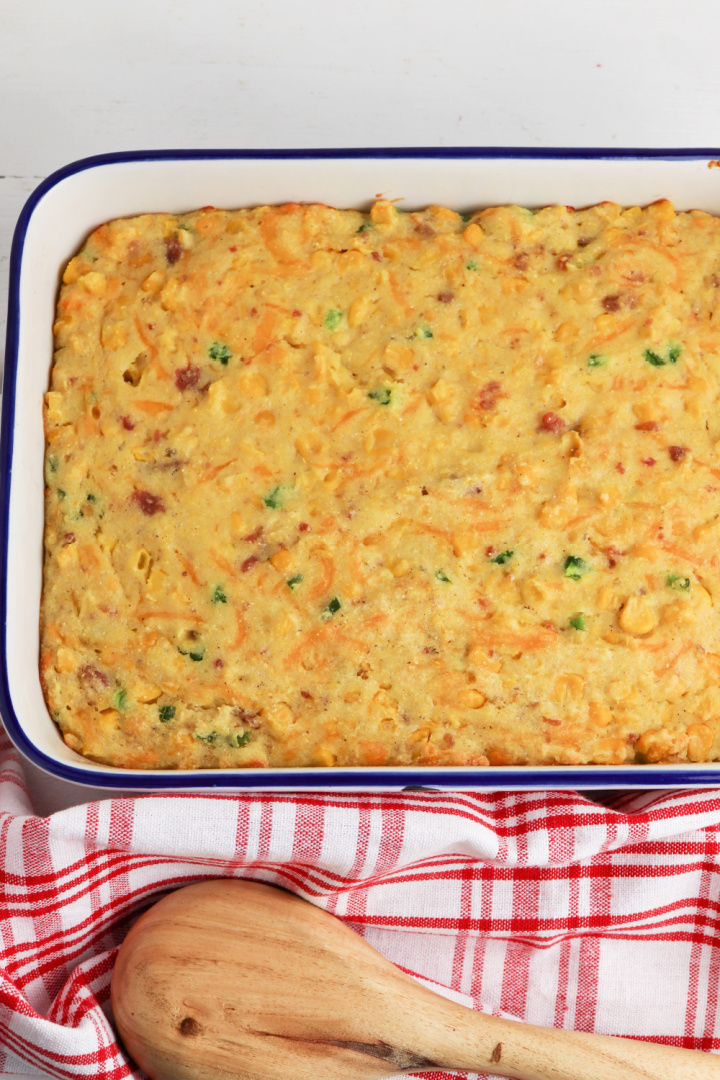
Jalapeno Cheddar Cornbread Casserole
Cornbread and casserole fans! Spice up dinner time tonight and make this delicious Jalapeno Cheddar Cornbread Casserole! Is there anything better than a big pot of chili to warm you up on a chilly day? How about some cheesy cornbread on the side? This Jalapeno Cheddar Cornbread Casserole is the perfect comfort food for a…
-
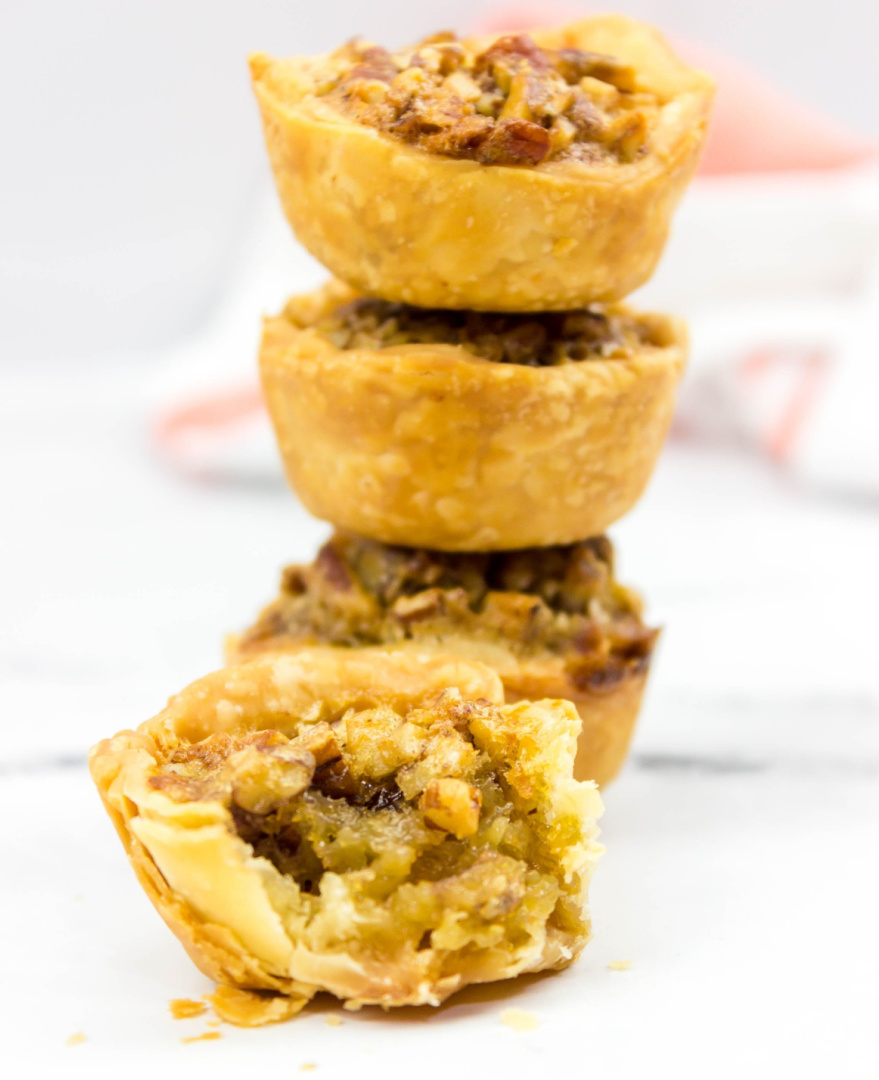
Mini Pecan Tarts
Making Mini Pecan Tarts is a great way to indulge in a tasty treat without spending too much time or energy in the kitchen. Make these tasty treats today! Plus, you can serve them as part of a larger dessert platter or even just as individual snacks! Not only are they super easy to make,…
-
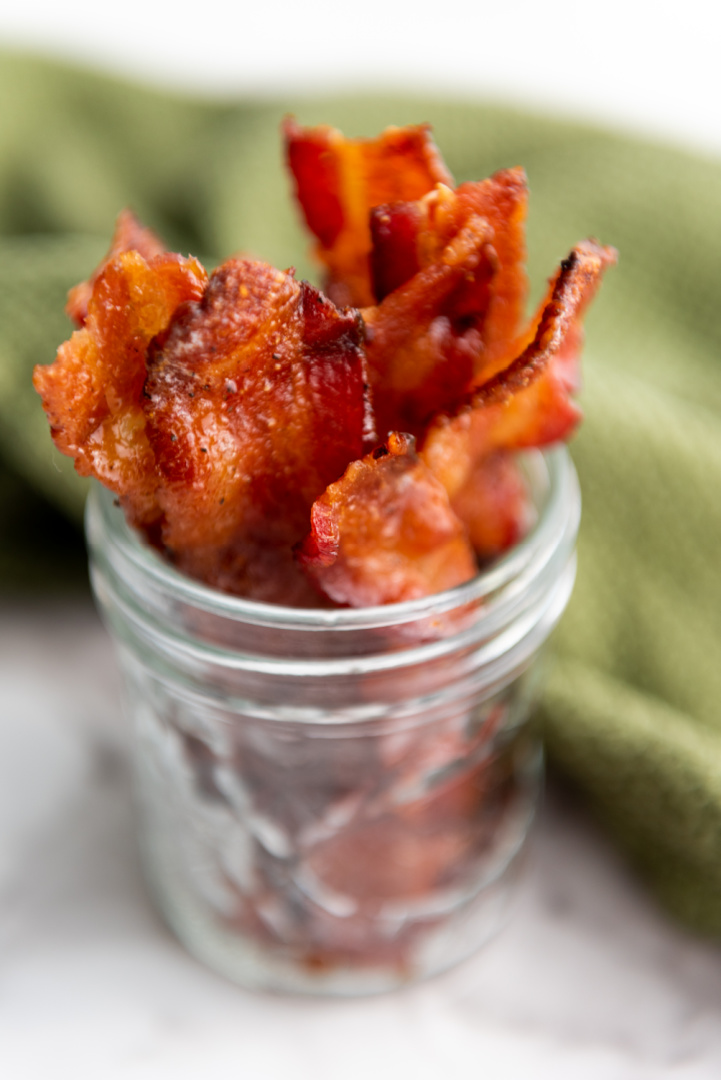
Maple Brown Sugar Candied Bacon
Bacon is a universally loved ingredient, adored for its robust flavor and delightful crisp texture. But have you ever considered giving this breakfast staple a sweet makeover? Candying, the process of coating or infusing food items with sugar or sweet syrup, introduces a brand new flavor profile to the bacon. It’s like turning your bacon…
-
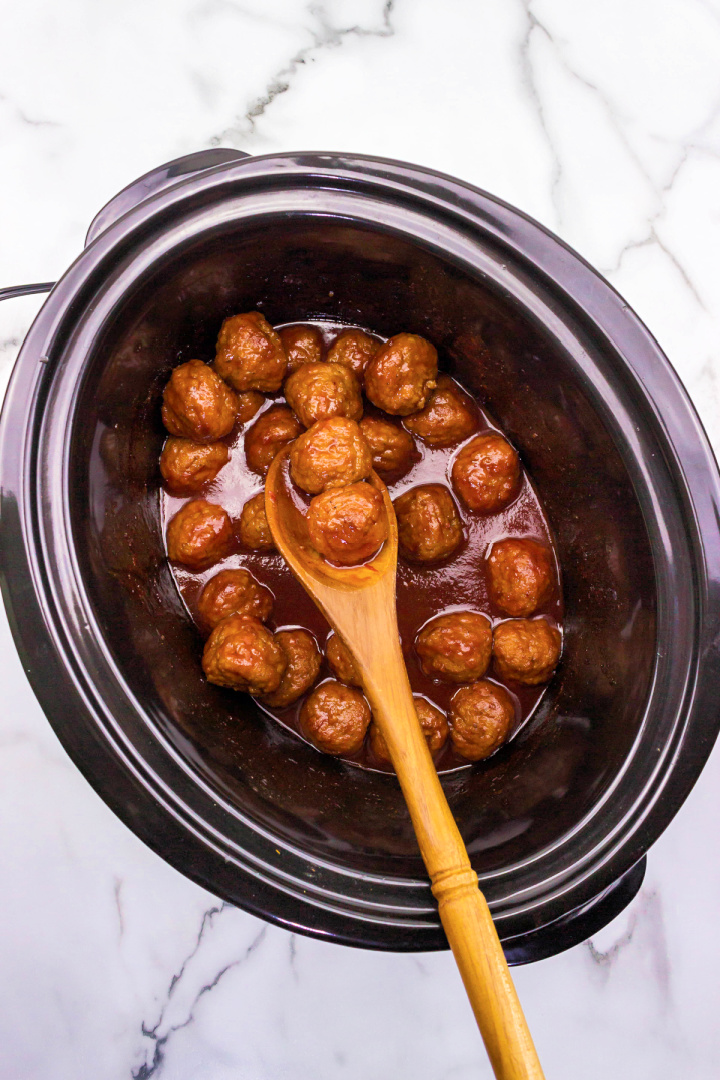
Slow Cooker Meatballs
The Southern Charm of Slow Cooker Meatballs Meatballs, though ubiquitous and beloved across many cuisines worldwide, take on an exceptional charm in Southern kitchens. In the heart of the South, where tradition, flavor, and hospitality reign supreme, we turn to dishes that evoke nostalgia, comfort, and a sense of community. Today, we’re diving deep into…
-
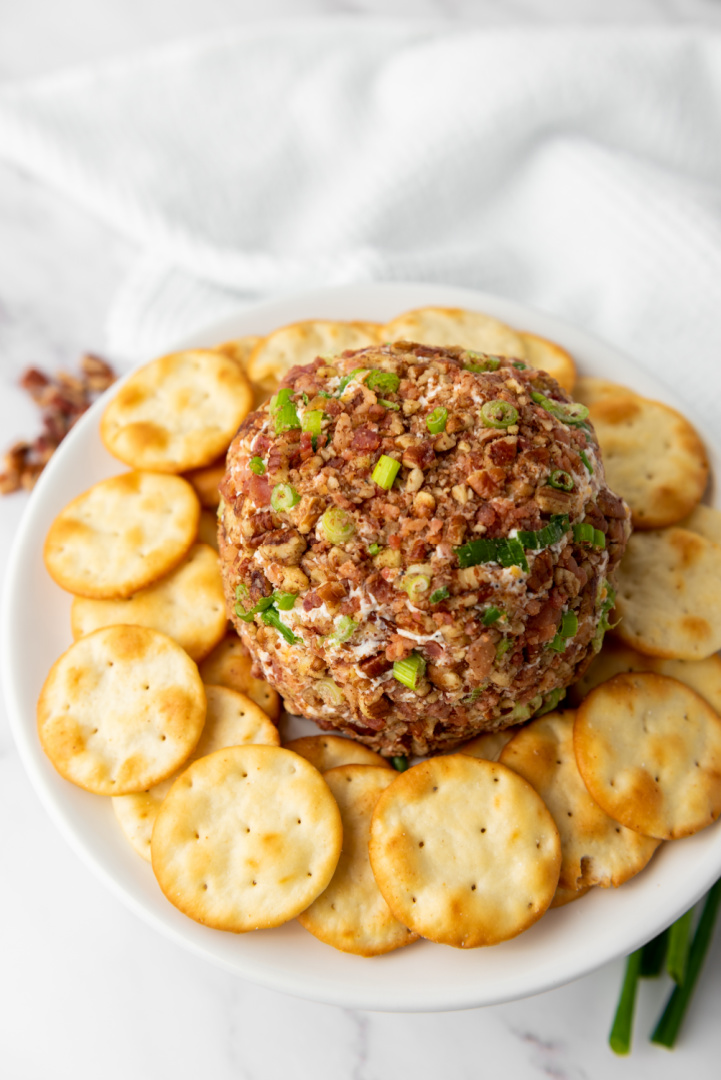
Bacon Pecan Cheeseball
Cheeseballs, those quintessential party appetizers, have been gracing our gatherings for decades. They are the epitome of simplicity and flavor, offering a tantalizing combination of cheese, nuts, fruits, and a variety of seasonings. Today, we’re exploring a particular variety: the Bacon Pecan Cheeseball. An unassuming delight that’s sure to add a different dimension to your…