
-
Slow Cooker Smothered Chicken
Easy Slow Cooker Smothered Chicken: A Southern Comfort Classic When you need a meal that’s easy, hearty, and full of flavor, slow cooker smothered chicken hits the mark. This simple Southern-style recipe is perfect for busy weeknights, laid-back Sundays, or anytime you want comfort food without the fuss. Who This Recipe Is For This recipe…

-
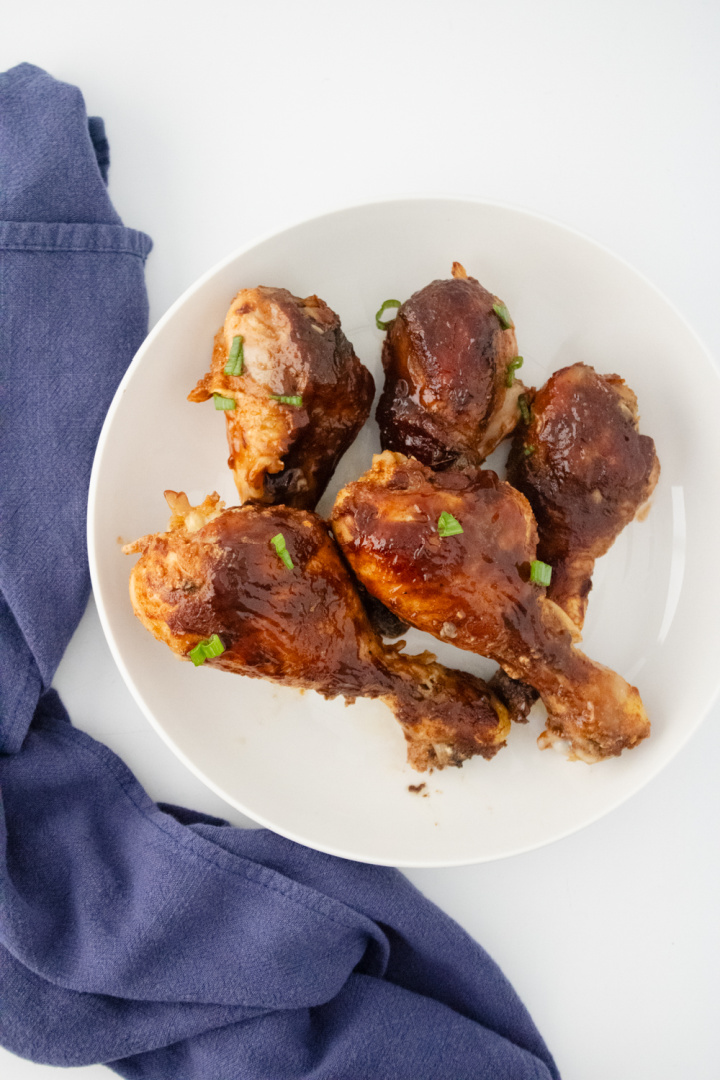
Slow Cooker BBQ Chicken Legs
Slow Cooker BBQ Chicken Legs Ingredients: Instructions: Combine all the seasonings together. Season all of the chicken and rub it into each piece. Place chicken into the crockpot and bruch on bbg sauce. Cook on HIGH for 4 hours. Remove and base with more bbq sauce. For a sticky bbq leg, place under the broiler…
-
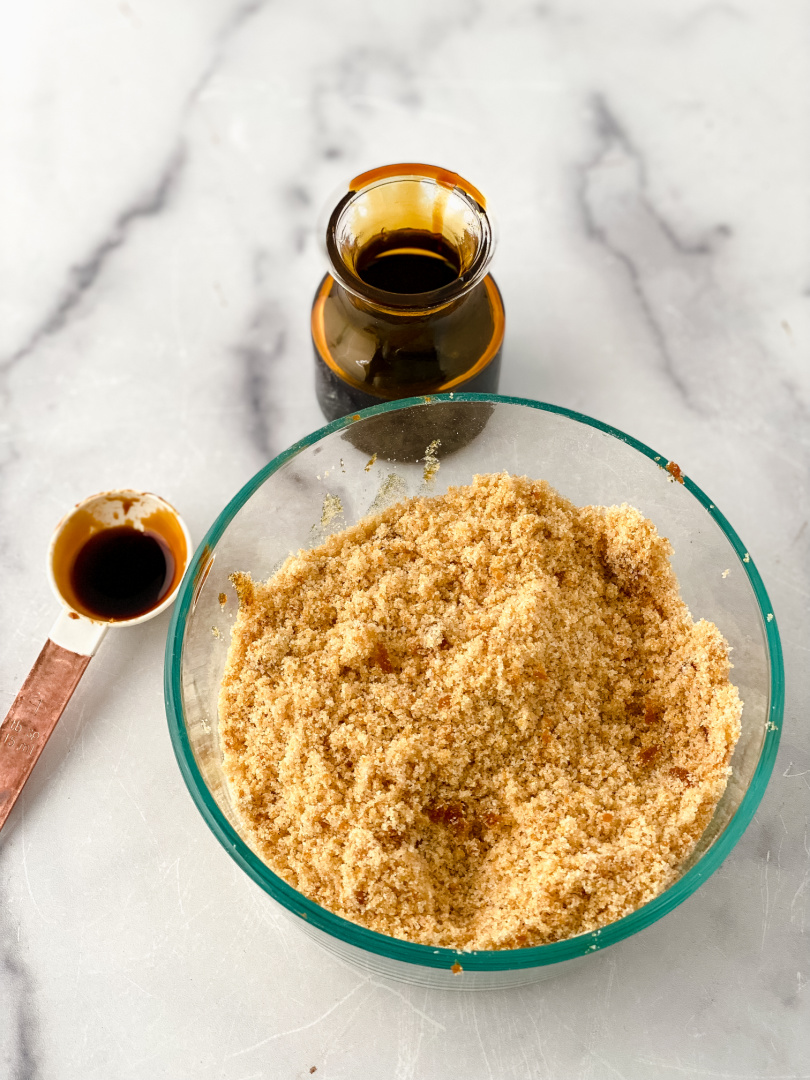
Homemade Brown Sugar
Homemade Brown Sugar Ingredients: Instructions: For every one cup of granulated sugar add one tablespoon of molasses. You can mix with a blender, stand mixer or food processor if mixing large quantities.
-
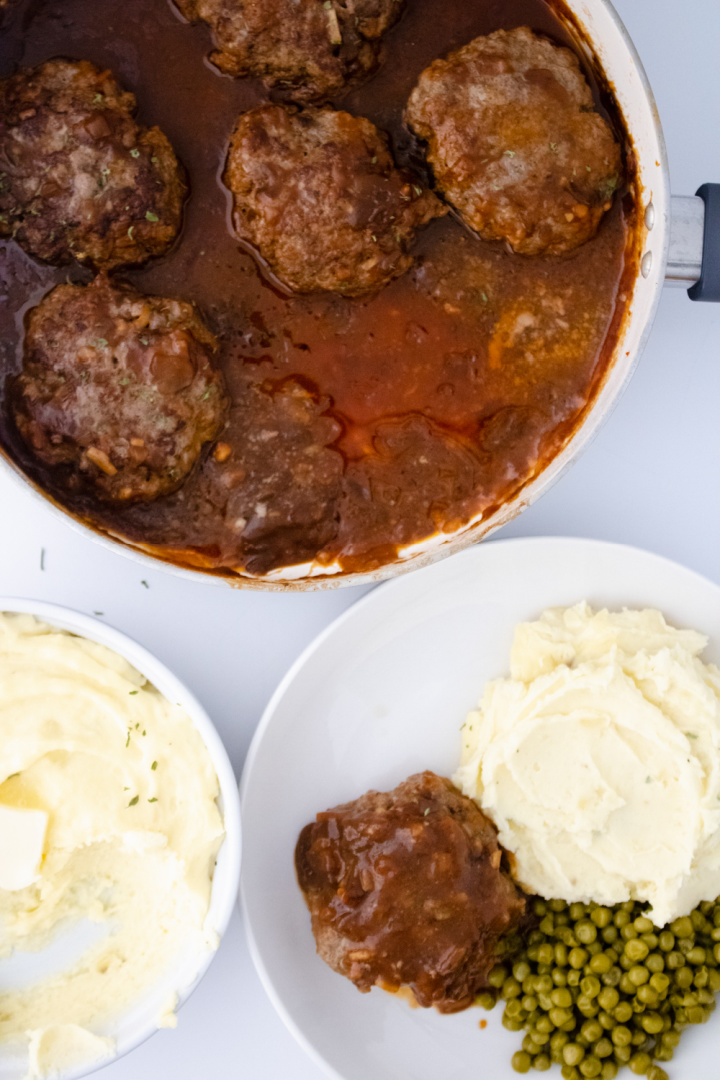
Salisbury Steak and Gravy
Salisbury Steak and Gravy: A Southern Comfort Classic Made Simple When it comes to hearty, stick-to-your-ribs comfort food, this easy Salisbury steak with onion gravy hits all the right notes. It’s one of those meals that feels like it came straight out of a southern kitchen, the kind that fills the house with the smell…
-
Strawberry Banana Oat Muffins
Easy Strawberry Banana Oat Muffins for Breakfast or Snack Time If you’re looking for a quick and easy muffin recipe with simple ingredients, these Strawberry Banana Oat Muffins are a smart choice. They’re made with ripe bananas, fresh strawberries, and pantry staples, which means you probably already have everything you need. Whether you’re feeding hungry…
