Southern Strawberry Muffins: A Sweet Taste of Home
There’s something about the aroma of freshly baked strawberry muffins that brings a sense of warmth and comfort to any home.
These treats are perfect for any occasion, and their sweet, fruity flavor makes them a hit with both kids and adults alike.
If you’re looking for a simple yet satisfying recipe to add to your collection, these strawberry muffins are just the ticket.
Why You’ll Love These Strawberry Muffins
First off, these strawberry muffins are a breeze to make. With basic ingredients that you probably already have in your pantry, you can whip up a batch in no time.
The recipe is straightforward, making it perfect for those who might not be seasoned bakers but still want to impress their family and friends with homemade goodies.
Perfect for Any Occasion
Strawberry muffins are incredibly versatile. They’re an excellent choice for a quick breakfast on busy mornings.
Just grab one on your way out the door and you’ve got a delicious start to your day.
They’re also perfect for brunches, picnics, or as a sweet snack to enjoy with your afternoon tea or coffee.
Imagine serving these muffins at a family gathering or a summer barbecue.
They’re light enough to be enjoyed as a dessert without feeling too heavy, and the fresh strawberries give them a refreshing, seasonal flavor that’s hard to resist.
A Touch of Southern Charm
What makes these muffins truly special is their Southern charm.
In the South, we love using fresh, local ingredients, and strawberries are often at the heart of our summer recipes.
These muffins capture that essence, bringing a taste of Southern hospitality to your kitchen.
Baking Tips
For the best results, use fresh strawberries. Their natural sweetness and juiciness add an extra layer of flavor that frozen strawberries just can’t match.
And don’t forget to use whole milk – it gives the muffins a richer texture that makes them even more irresistible.
So, next time you’re looking for a delightful treat to brighten up your day, give these strawberry muffins a try.
They’re sure to become a favorite in your household, bringing smiles and a little bit of Southern sweetness to everyone who takes a bite.
Helpful Product Recommendations
Non-Stick Muffin Pan – A high-quality non-stick muffin pan ensures your muffins come out perfectly every time without sticking to the pan. Easy to clean and durable for long-lasting use.
Silicone Muffin Liners – Reusable silicone muffin liners are eco-friendly and save you money in the long run. They’re easy to clean and come in fun colors to brighten up your baking.
Cooling Rack – A cooling rack allows your muffins to cool evenly and quickly after baking, preventing them from becoming soggy. It’s a must-have for any baker.
Strawberry Muffins
Ingredients
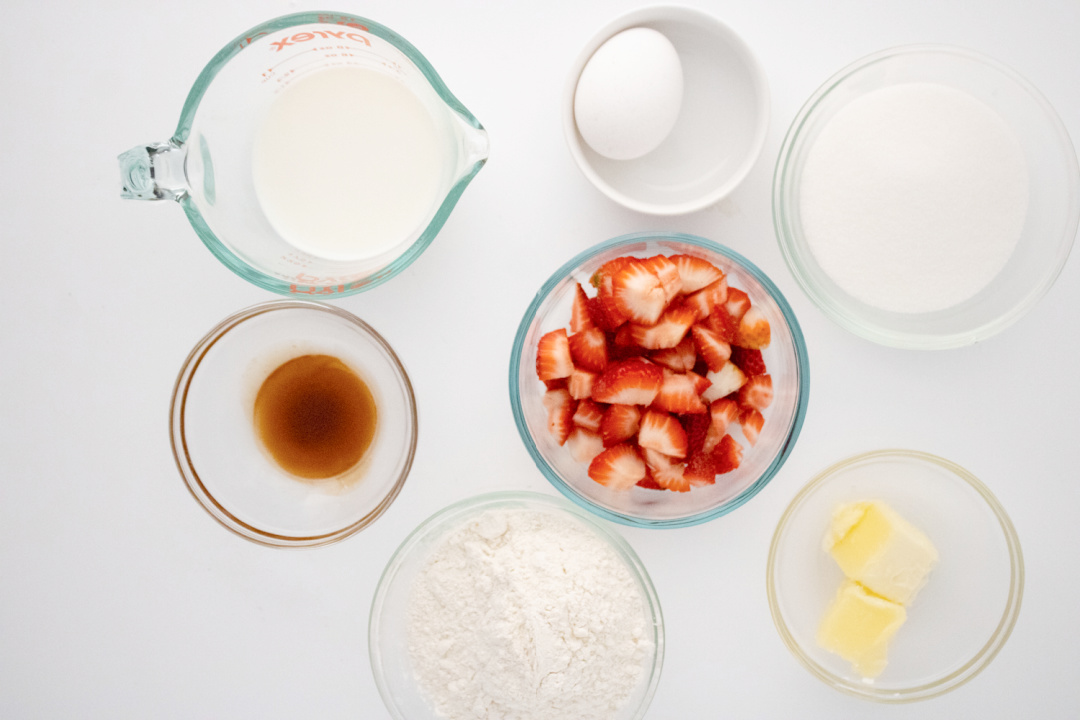
- 1/4 cup butter, melted
- 3/4 cup granulated sugar
- 1 egg
- 1 tsp vanilla extract
- ½ cup whole milk
- 1 1/4 cup all purpose flour (scooped and leveled)
- 1 ½ tsp baking powder
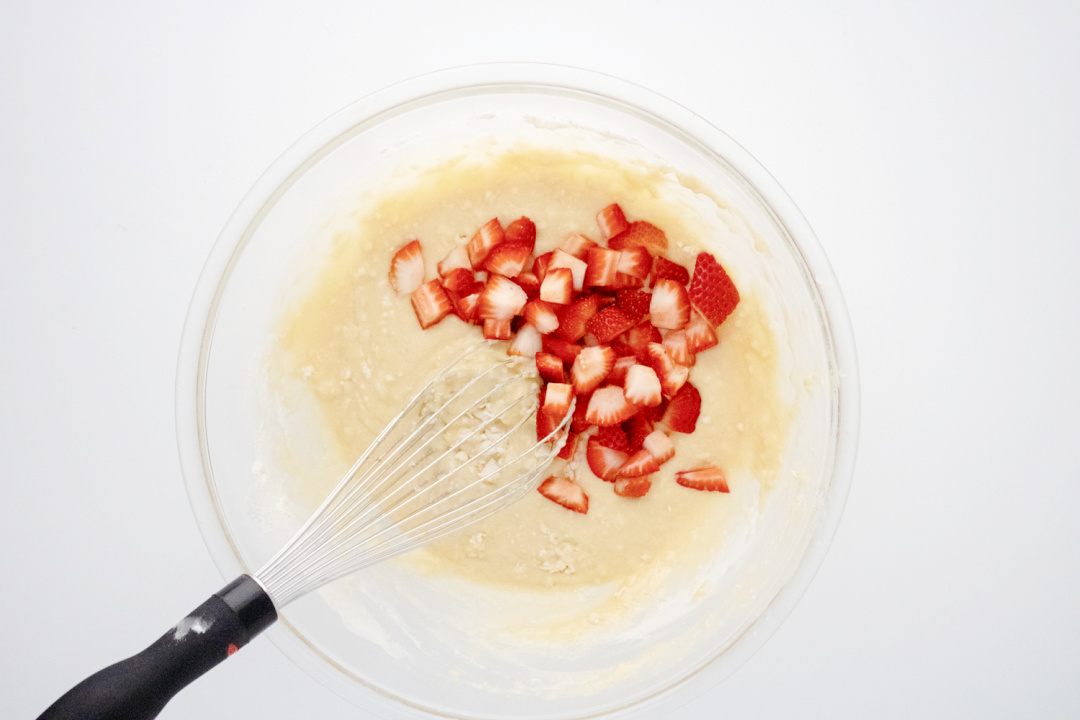
- 5-7 strawberries chopped into small pieces
Instructions
Preheat the oven to 350.
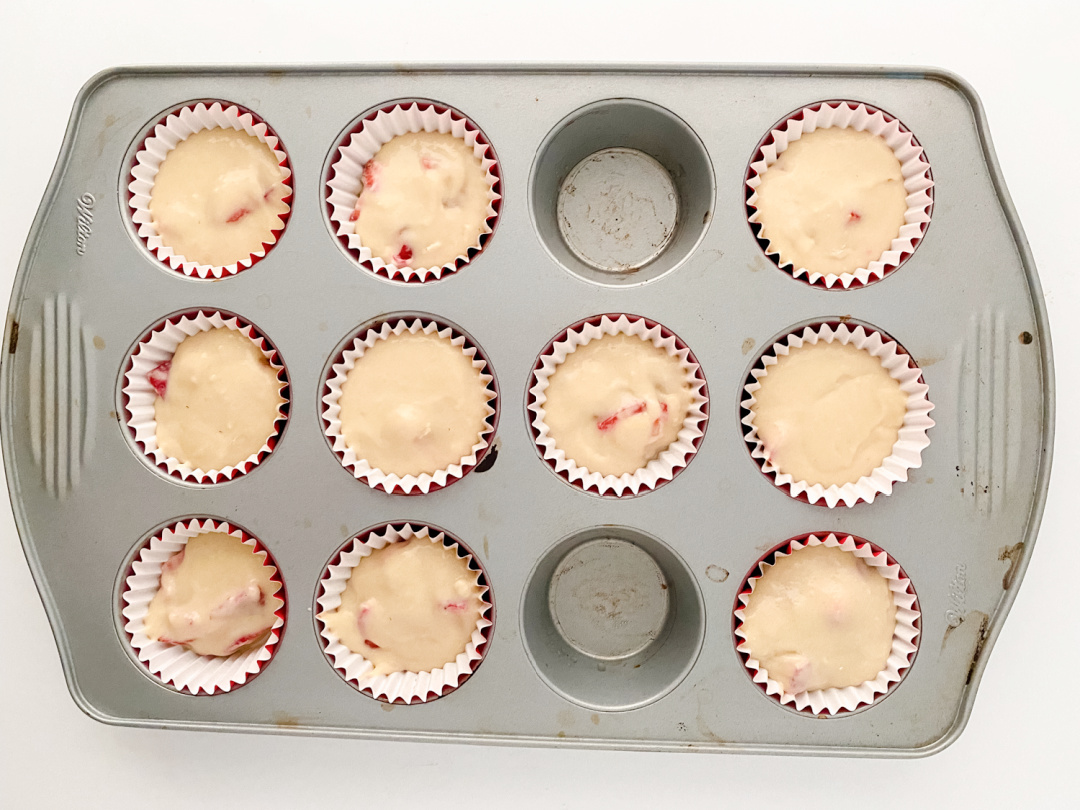
Prepare the muffin tin with liners and set aside.
Add butter to microwave safe bowl and melt in 15 sec increments (this prevents it from exploding).
To a medium sized mixing bowl add melted butter and sugar.

Whisk together.
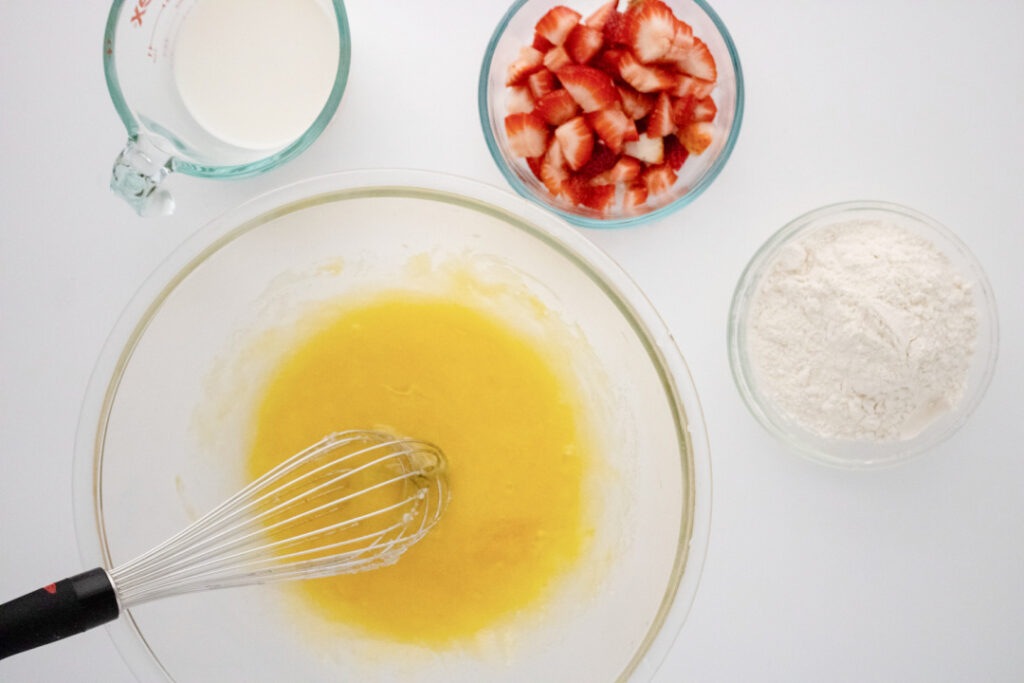
Add in the egg, milk and vanilla and mix well.
Sift in the flour, baking powder and salt.
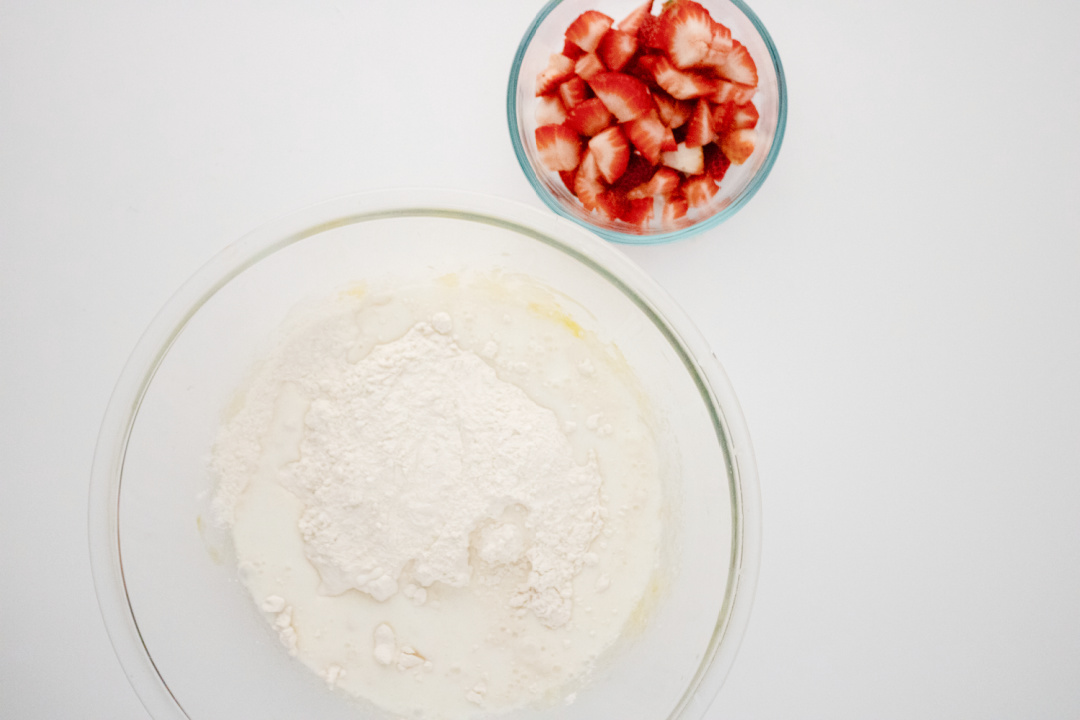
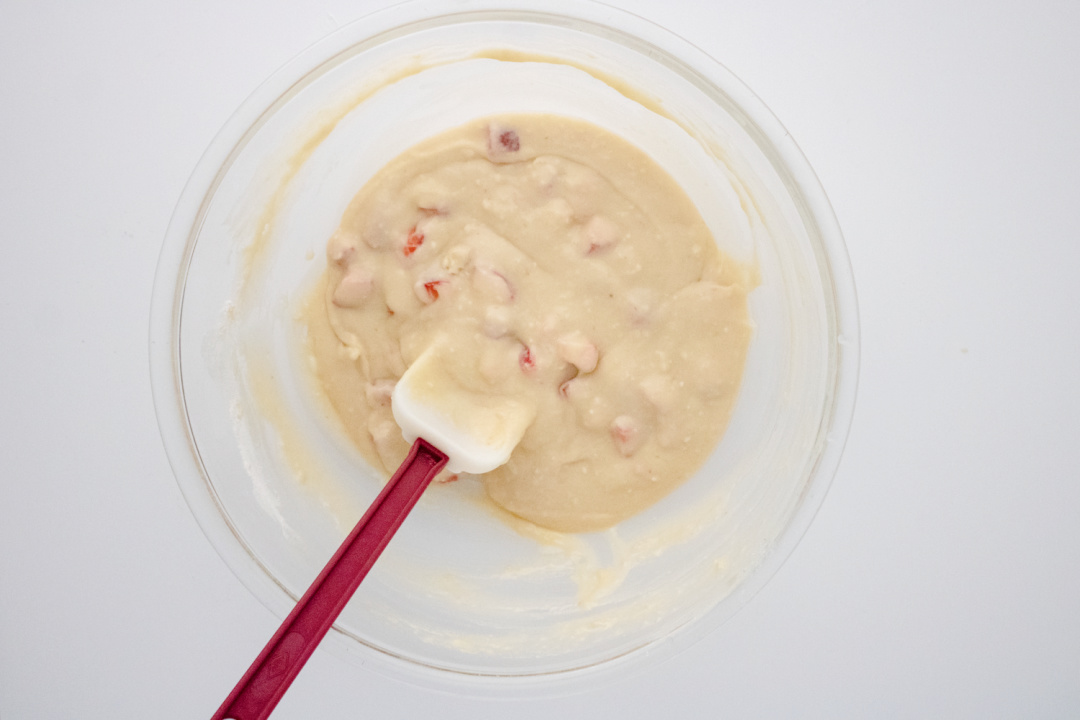
Mix well.
Stir in strawberries.
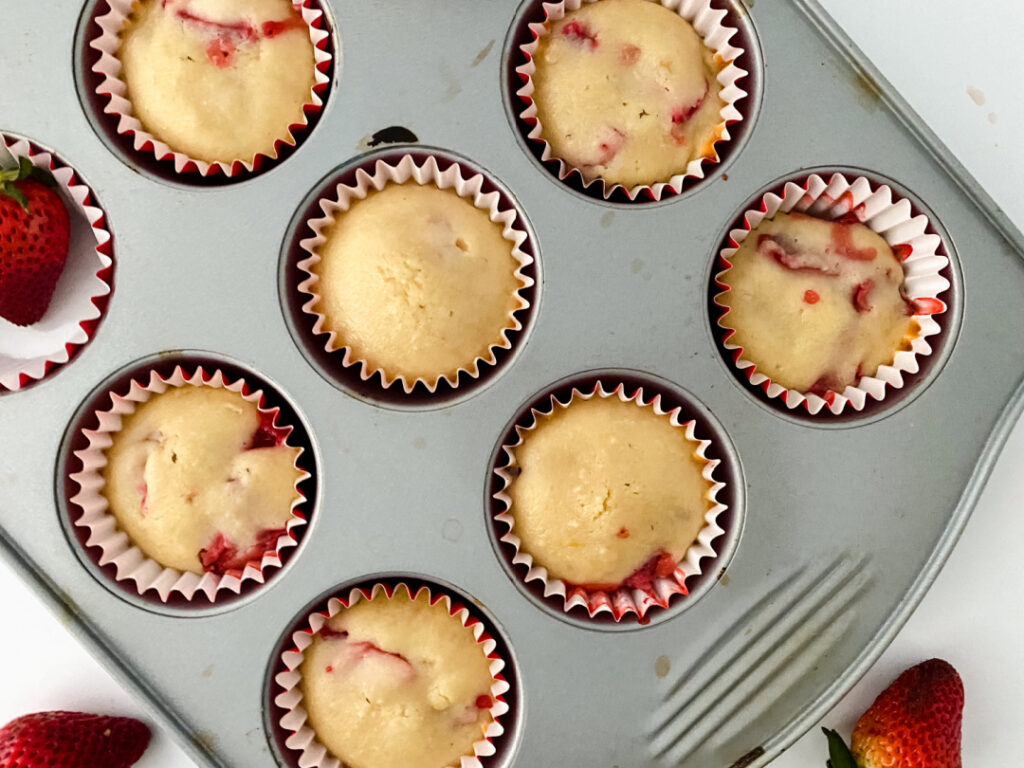
Using an ice cream scooper, add even amounts to the muffins tin.
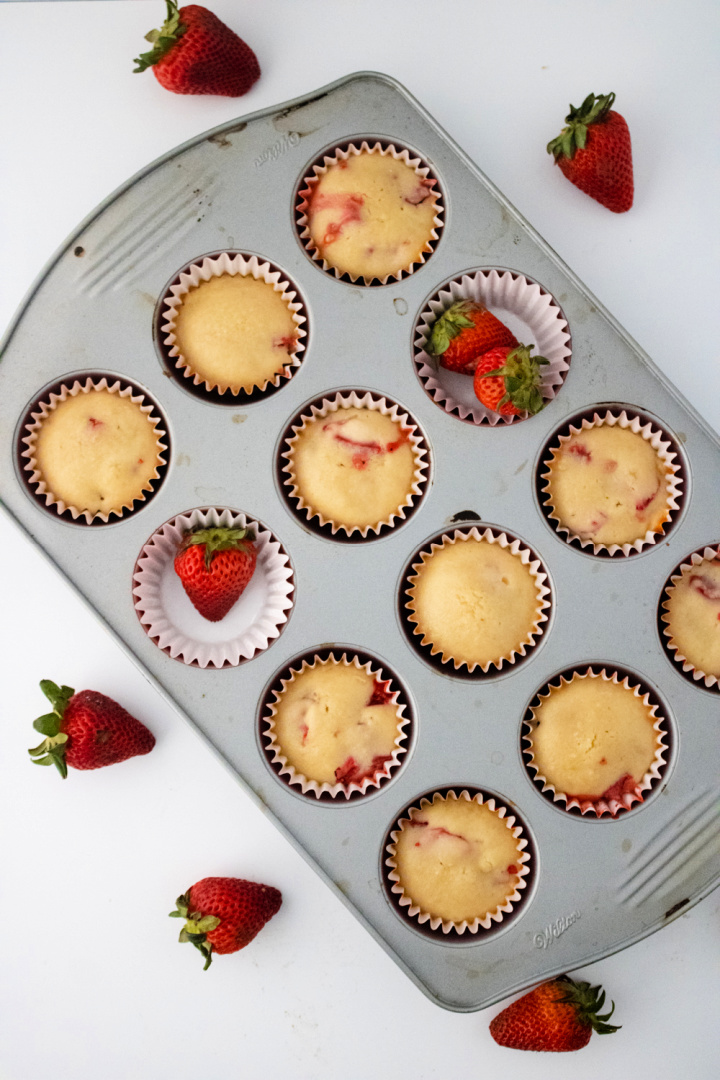
Bake for 20-25 mins.
Strawberry Muffins
Ingredients
- 1/4 cup butter, melted
- 3/4 cup granulated sugar
- 1 egg
- 1 tsp vanilla extract
- ½ cup whole milk
- 1 1/4 cup all purpose flour (scooped and leveled)
- 1 ½ tsp baking powder
- 5-7 strawberries chopped into small pieces
Instructions
Preheat the oven to 350.
Prepare the muffin tin with liners and set aside.
Add butter to microwave safe bowl and melt in 15 sec increments (this prevents it from exploding).
To a medium sized mixing bowl add melted butter and sugar.
Whisk together.
Add in the egg, milk and vanilla and mix well.
Sift in the flour, baking powder and salt.
Mix well.
Stir in strawberries.
Using an ice cream scooper, add even amounts to the muffins tin.
Bake for 20-25 mins.
Frequently Asked Questions
Can I use frozen strawberries instead of fresh?
Yes, you can use frozen strawberries, but fresh strawberries are recommended for the best flavor and texture. If using frozen, make sure to thaw and drain them well to avoid excess moisture in the batter.
How do I store these muffins?
Store the muffins in an airtight container at room temperature for up to two days. For longer storage, you can refrigerate them for up to a week or freeze them for up to three months.
Can I make these muffins gluten-free?
Yes, you can substitute the all-purpose flour with a gluten-free flour blend. Ensure that the blend you choose is suitable for baking.
What can I use instead of whole milk?
You can use any milk you prefer, including almond milk, soy milk, or oat milk. Whole milk gives the richest texture, but other types will work as well.
How can I make these muffins healthier?
You can reduce the sugar or use a natural sweetener like honey or maple syrup. You can also substitute some of the all-purpose flour with whole wheat flour.
Can I add other fruits or ingredients?
Feel free to add blueberries, raspberries, or even chocolate chips. Just keep the total quantity of add-ins around 5-7 small pieces per muffin to ensure even baking.
What if I don’t have muffin liners?
You can grease the muffin tin with butter or non-stick spray to prevent sticking if you don’t have liners.
How do I know when the muffins are done?
The muffins are done when a toothpick inserted into the center comes out clean or with just a few crumbs attached. They should also be golden brown on top.
Can I double the recipe?
Yes, you can double the recipe to make a larger batch. Just ensure you have enough muffin tins and space in your oven to bake them evenly.
Why did my muffins turn out dense?
Dense muffins can result from overmixing the batter or using too much flour. Make sure to mix just until combined and measure your flour accurately by scooping and leveling.