
-
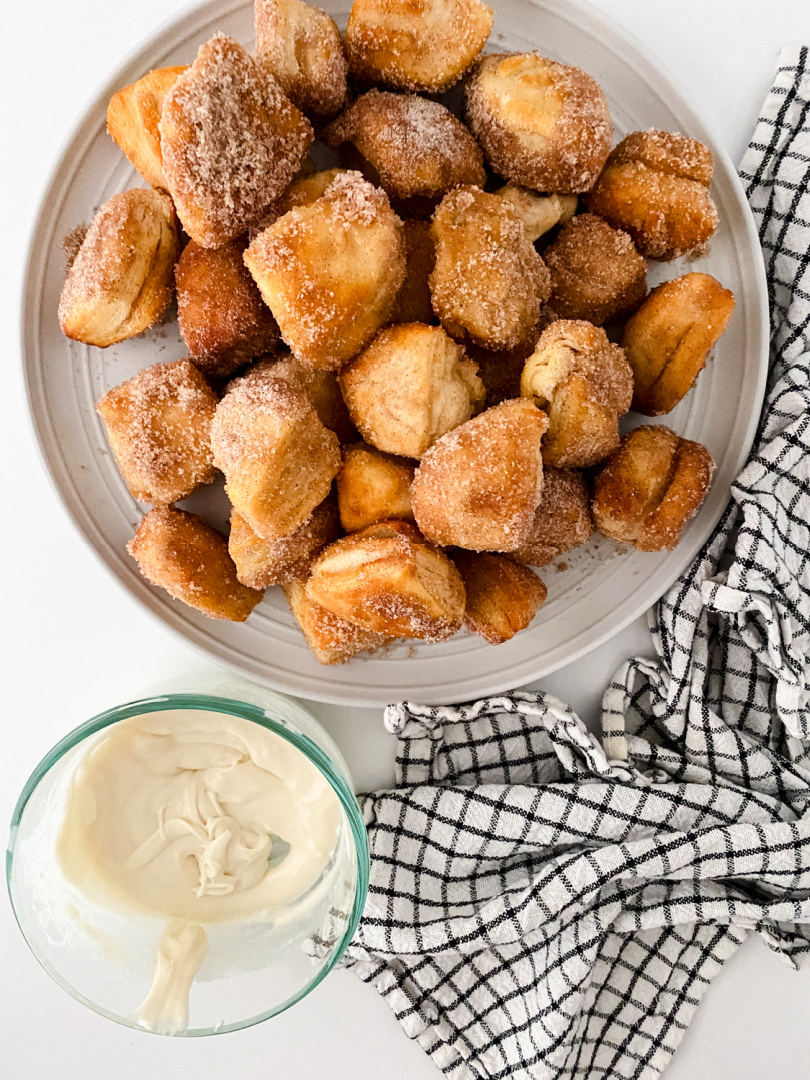
Air Fryer Cinnamon Sugar Bites
Air Fryer Cinnamon Sugar Bites: A Southern Treat I’m excited to share a quick and easy recipe that’s bound to become a favorite in your home: Air Fryer Cinnamon Sugar Bites. These little bites of heaven are perfect for any occasion, and best of all, they come together in just 15 minutes! You may also…
-
Patriotic Jello Cups (Non Alcoholic)
Patriotic Jello Cups – A Fun and Festive Treat for Your Next Celebration If you’re looking for an easy red, white, and blue dessert that everyone at your summer party can enjoy, these non-alcoholic Patriotic Jello Cups are just the thing. Made in simple 1-ounce plastic shot glasses, they’re the kind of make-ahead treat that’s…

-
Lemon Blueberry Bundt Cake
Easy Lemon Blueberry Bundt Cake for Any Occasion If you’re looking for a simple and reliable lemon blueberry Bundt cake recipe, you’re in the right place. This cake is packed with fresh blueberries, a hint of lemon, and that tender, moist texture we all love in a good Bundt cake. It’s the kind of dessert…

-
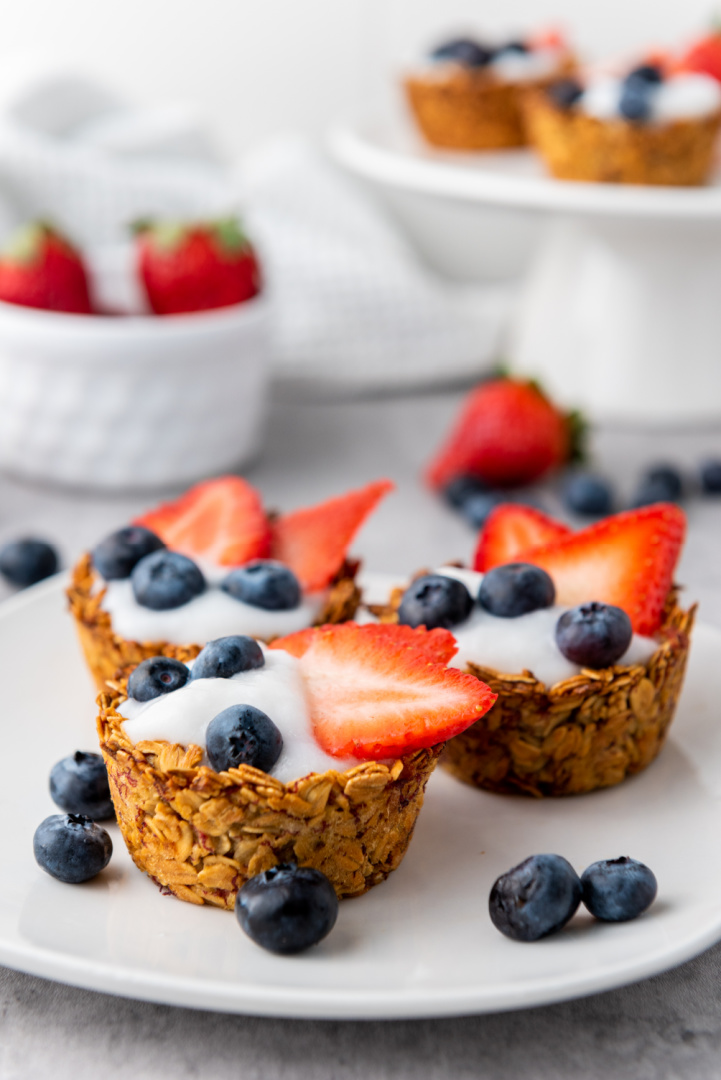
Granola Berry Cups with Yogurt and Fruit
Granola Berry Cups: A Simple, Healthy Snack or Breakfast Idea That Works for Any Occasion If you’re looking for a quick and easy breakfast recipe with oats and yogurt or a kid-friendly healthy snack idea, these Granola Berry Cups are worth adding to your list. They come together fast, use just a handful of simple…
-
Pumpkin Cinnamon Rolls with Frosting
Pumpkin Cinnamon Rolls: A Southern Twist on a Fall Favorite When cooler weather rolls in and the leaves start to change, it’s hard not to crave a warm, homemade treat straight from the oven. These Pumpkin Cinnamon Rolls are just the kind of recipe that brings folks to the kitchen. They’re soft, spiced just right,…
